The Mollie Payment Integration add-on for Booknetic allows your customers to securely complete payments using Mollie's diverse payment methods. Integrating Mollie with Booknetic ensures a smooth and secure payment process during appointment bookings.
Prerequisites
Before starting the integration process, make sure that:
- You have the Booknetic plugin installed and activated on your WordPress site.
- You have an active Mollie account or are ready to create one.
Step-by-Step Integration Guide
Step 1: Create a Mollie Account
To integrate Mollie with Booknetic, start by creating a Mollie account:
-
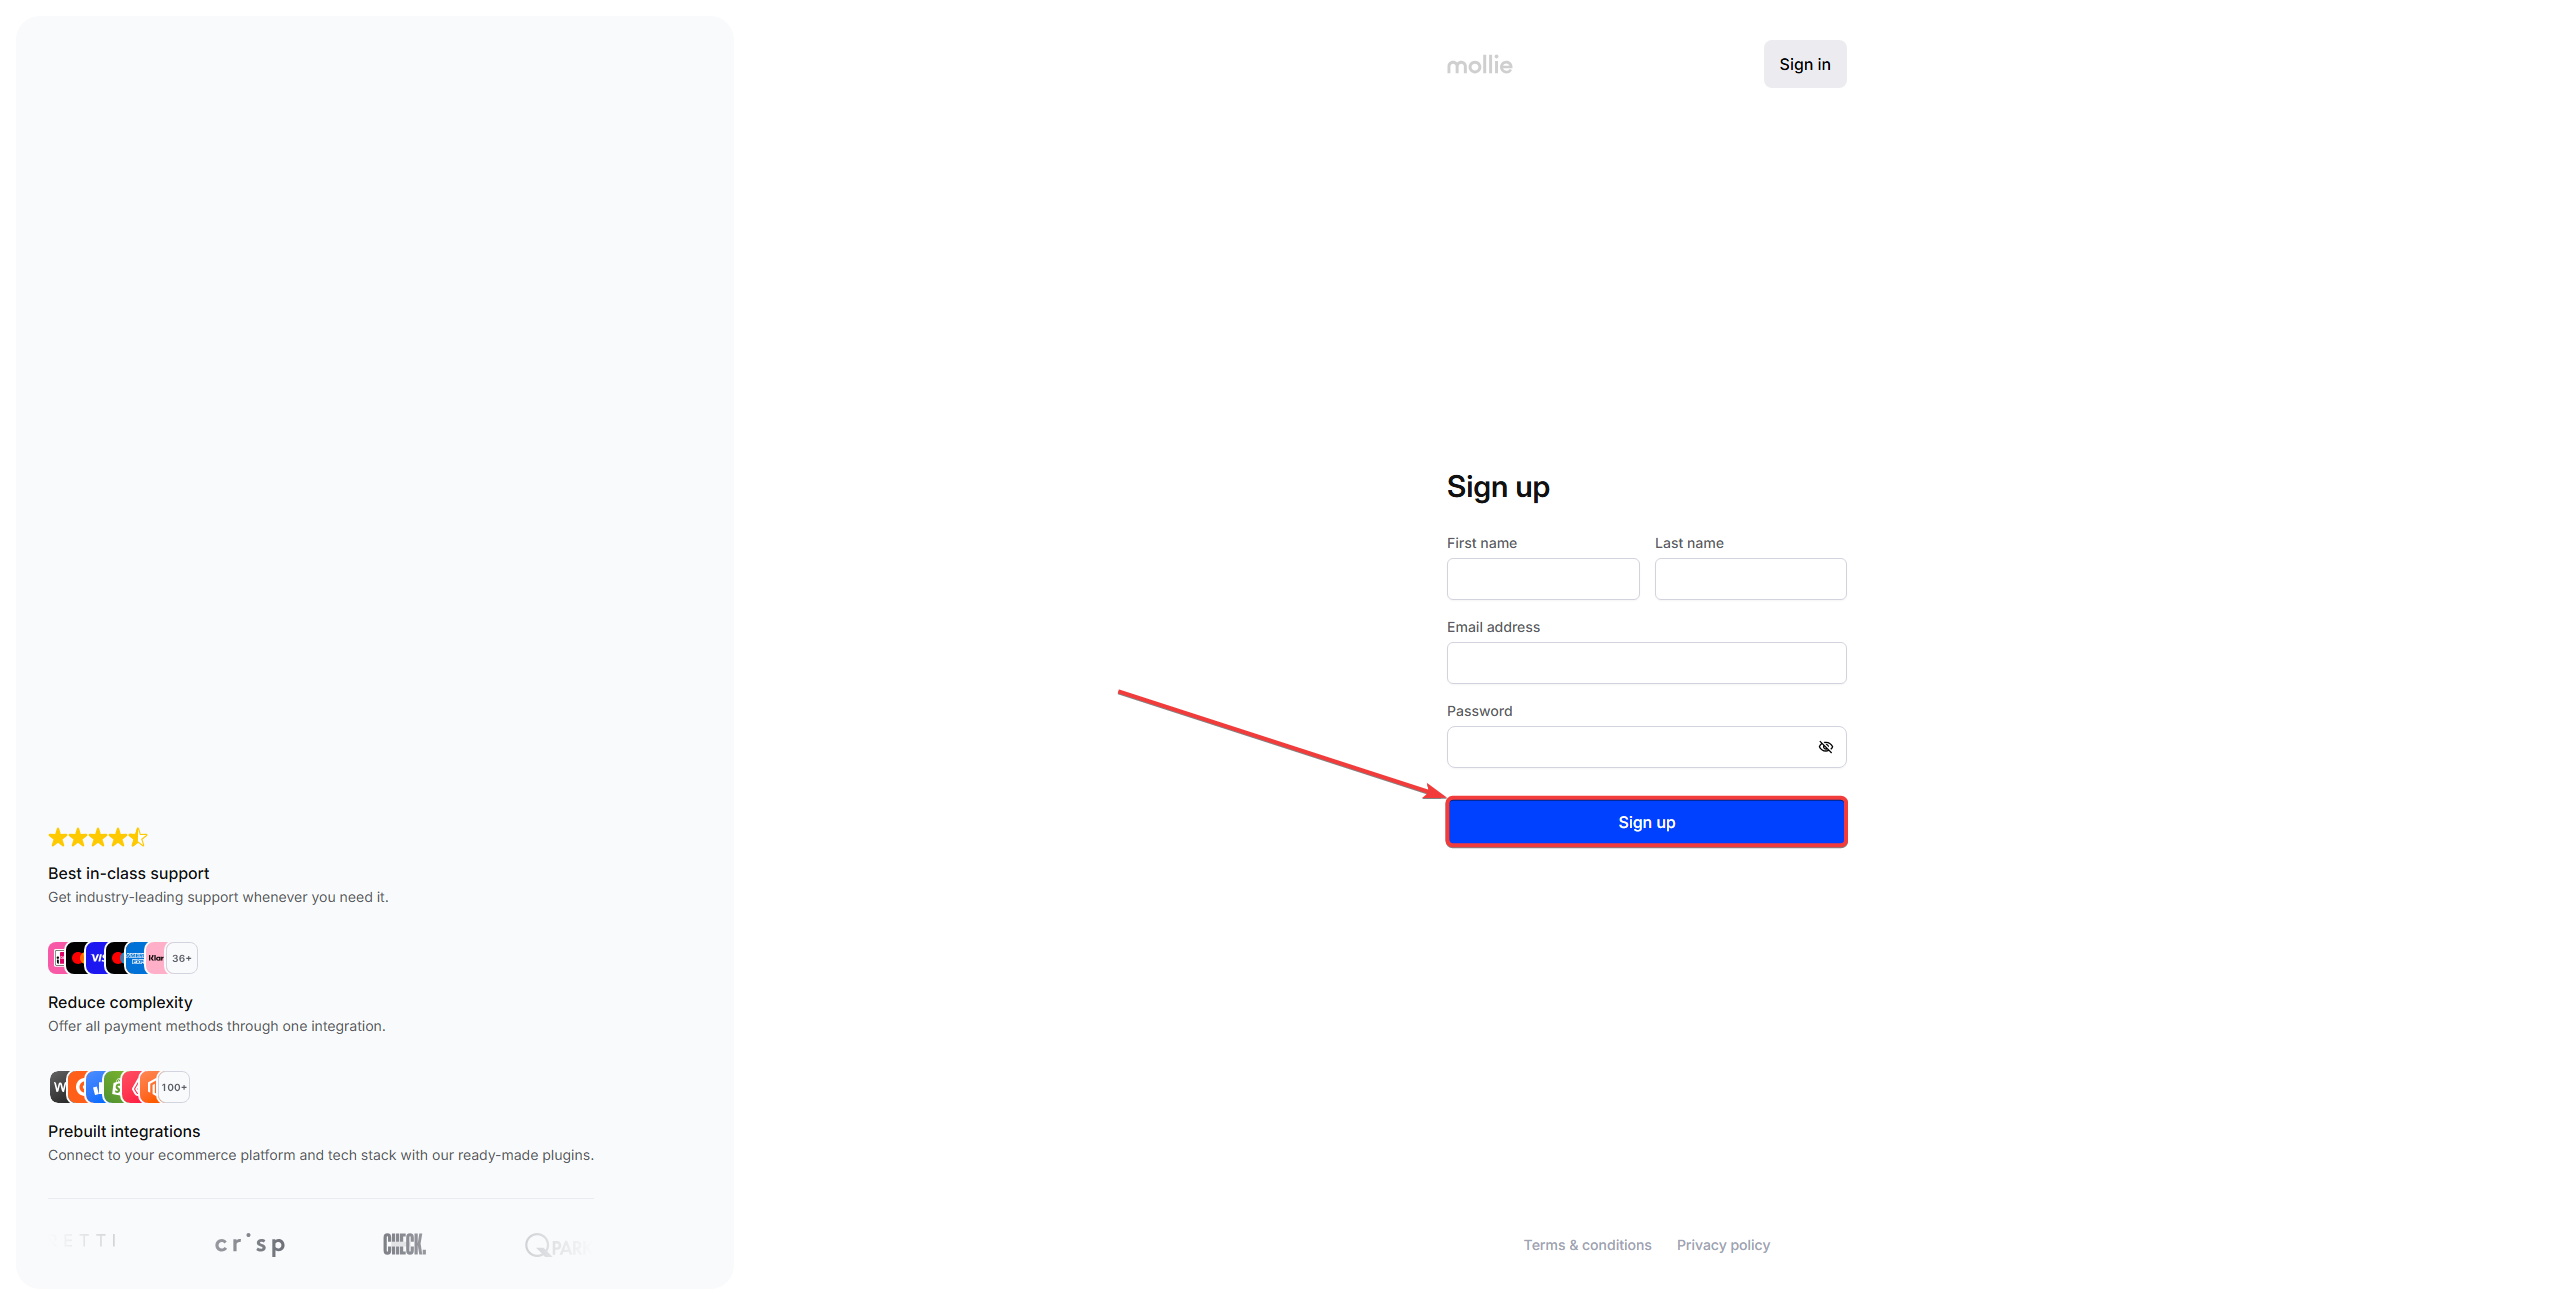
Visit Mollie's Signup Page:
- Navigate to Mollie Signup.
- Complete the registration form and click the “Create account” button.
-
Verify Your Email:
- Mollie will send a verification email to your provided email address.
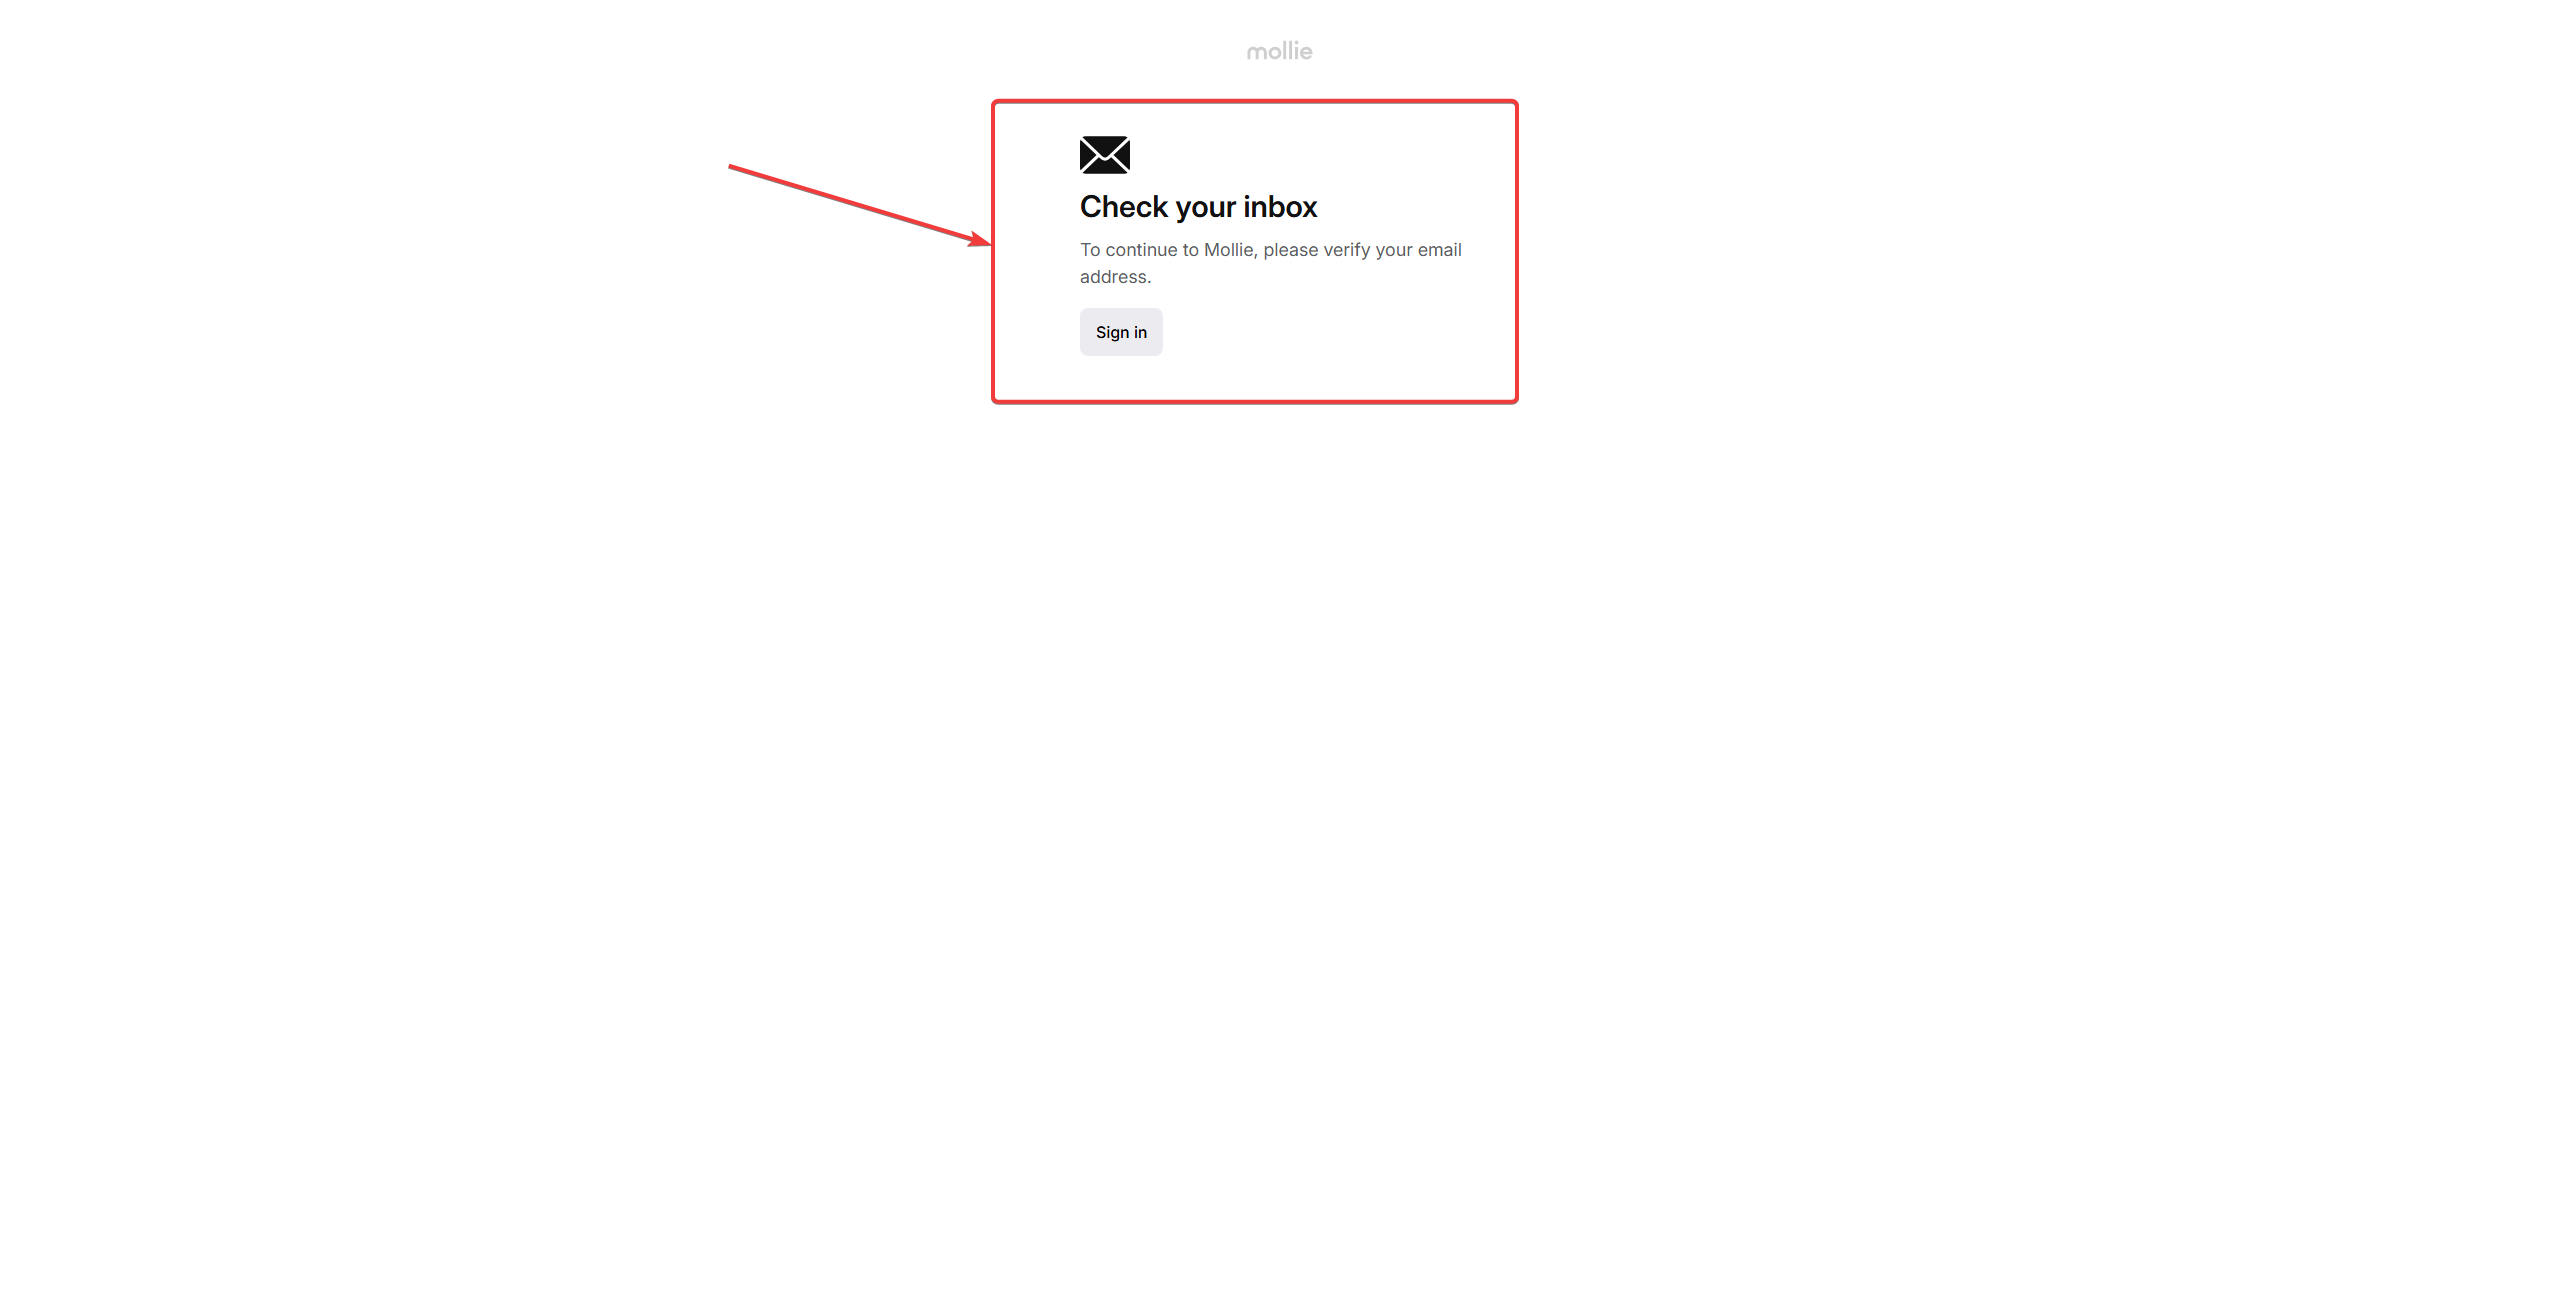
- Open the email and click the provided verification link.

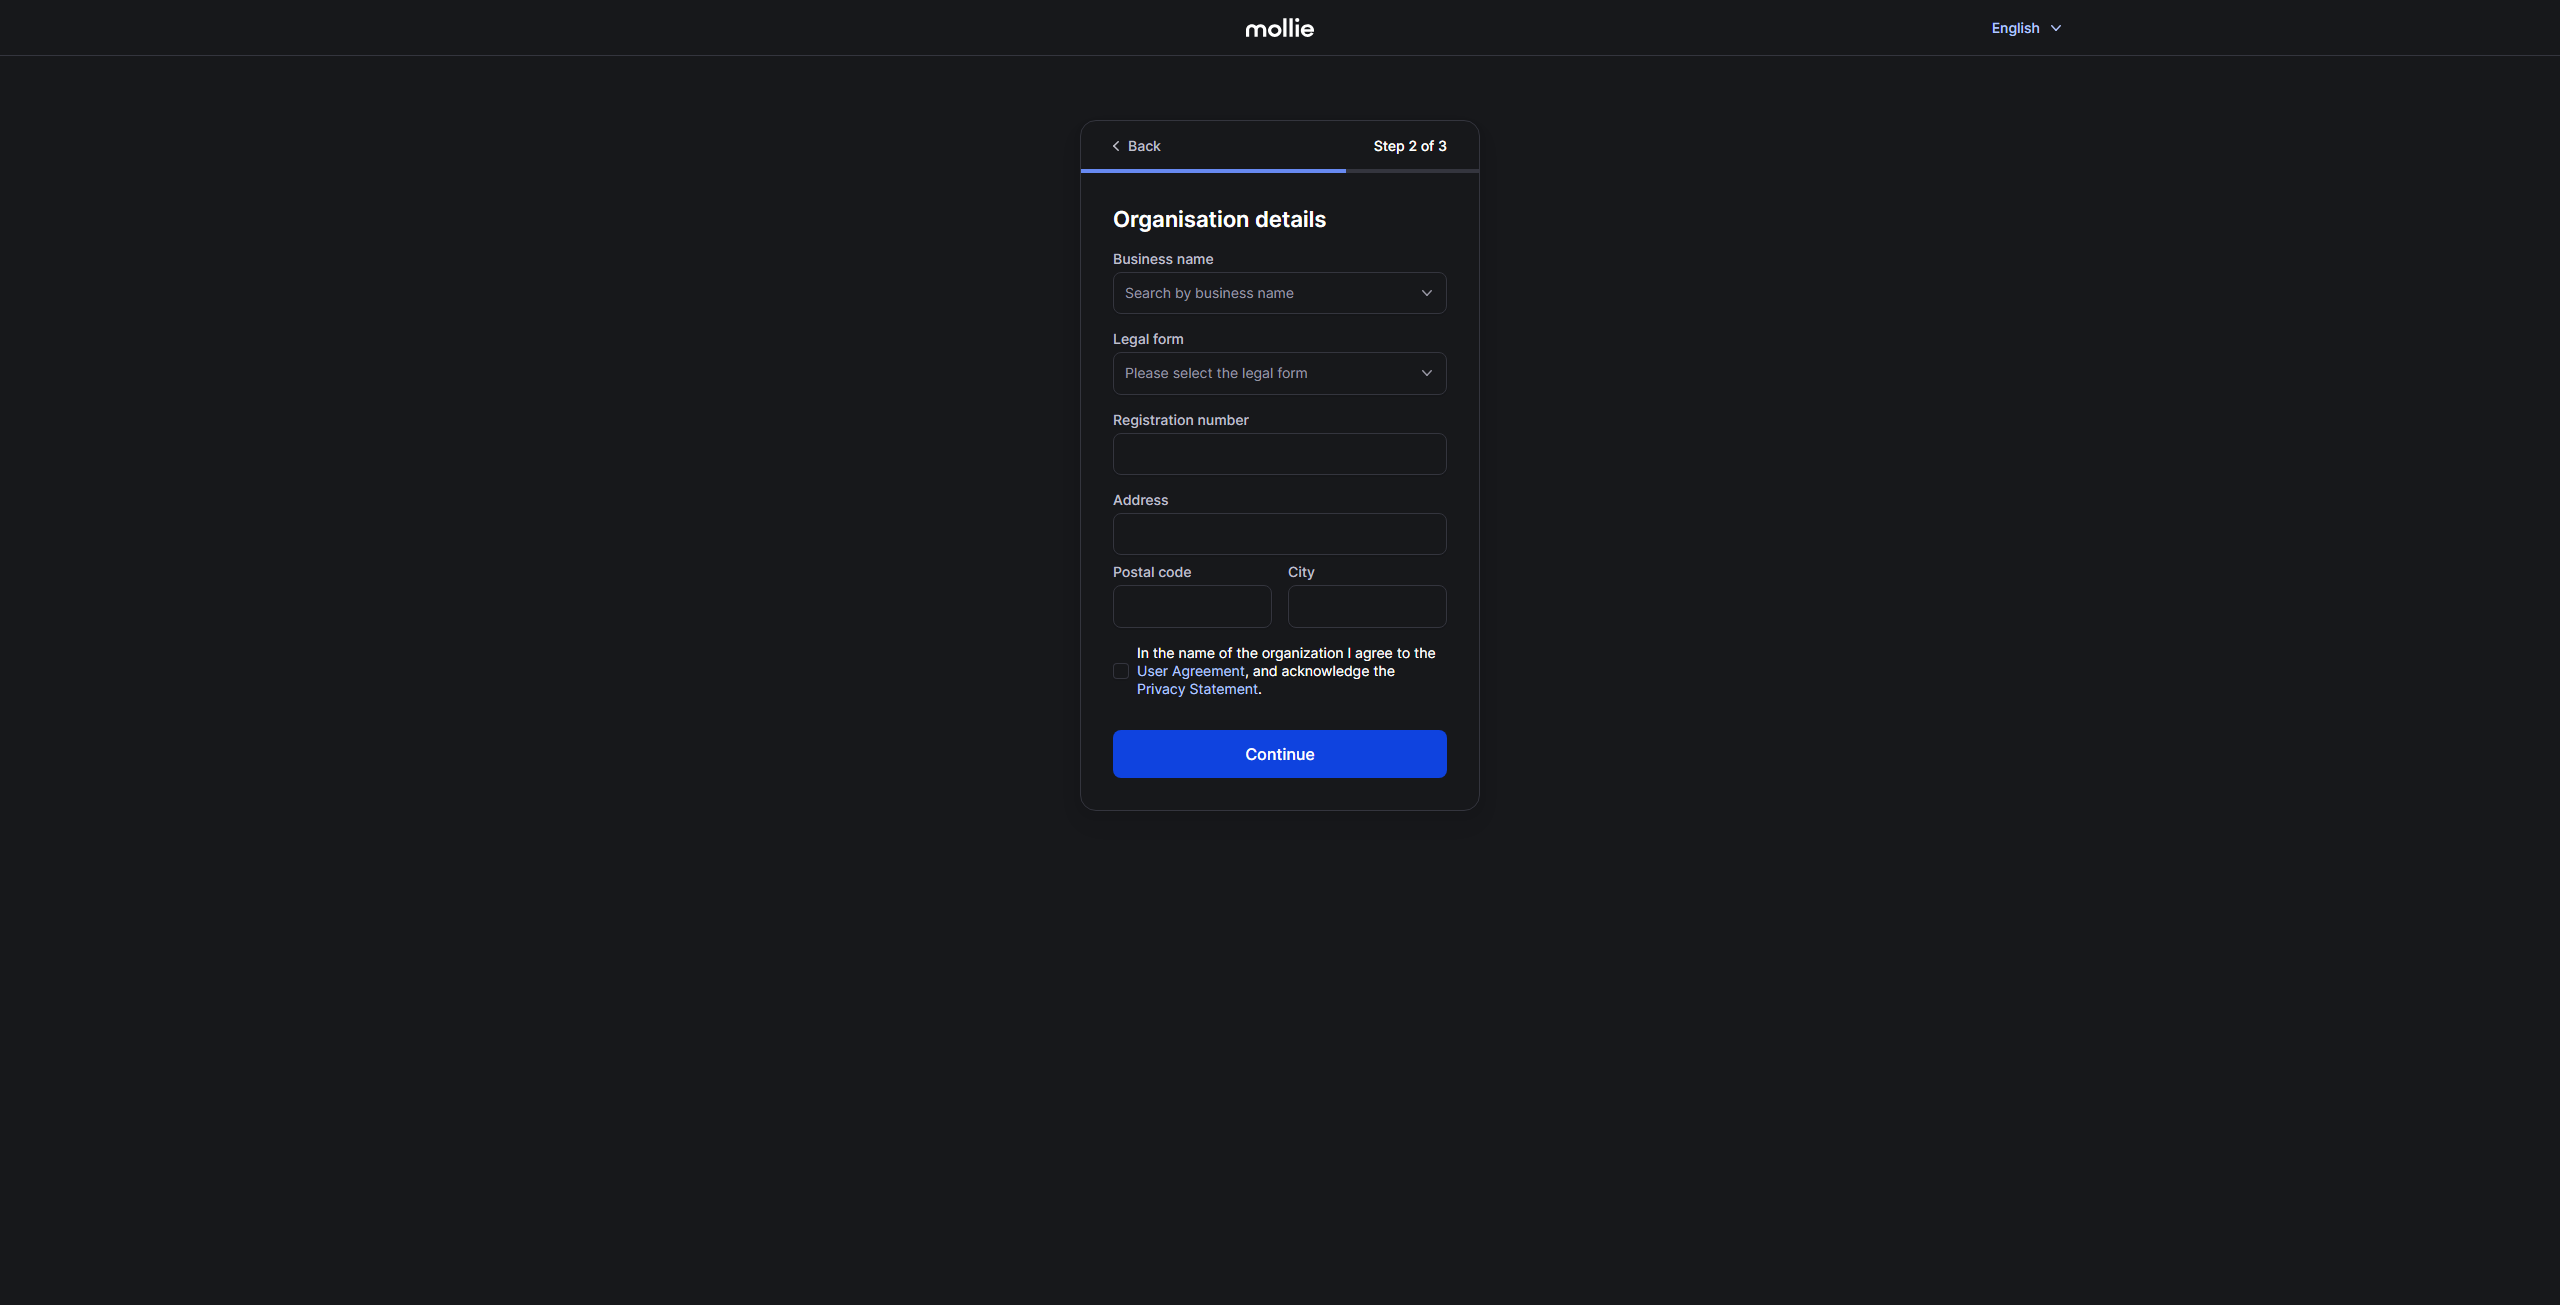
Step 2: Complete Mollie's Initial Setup
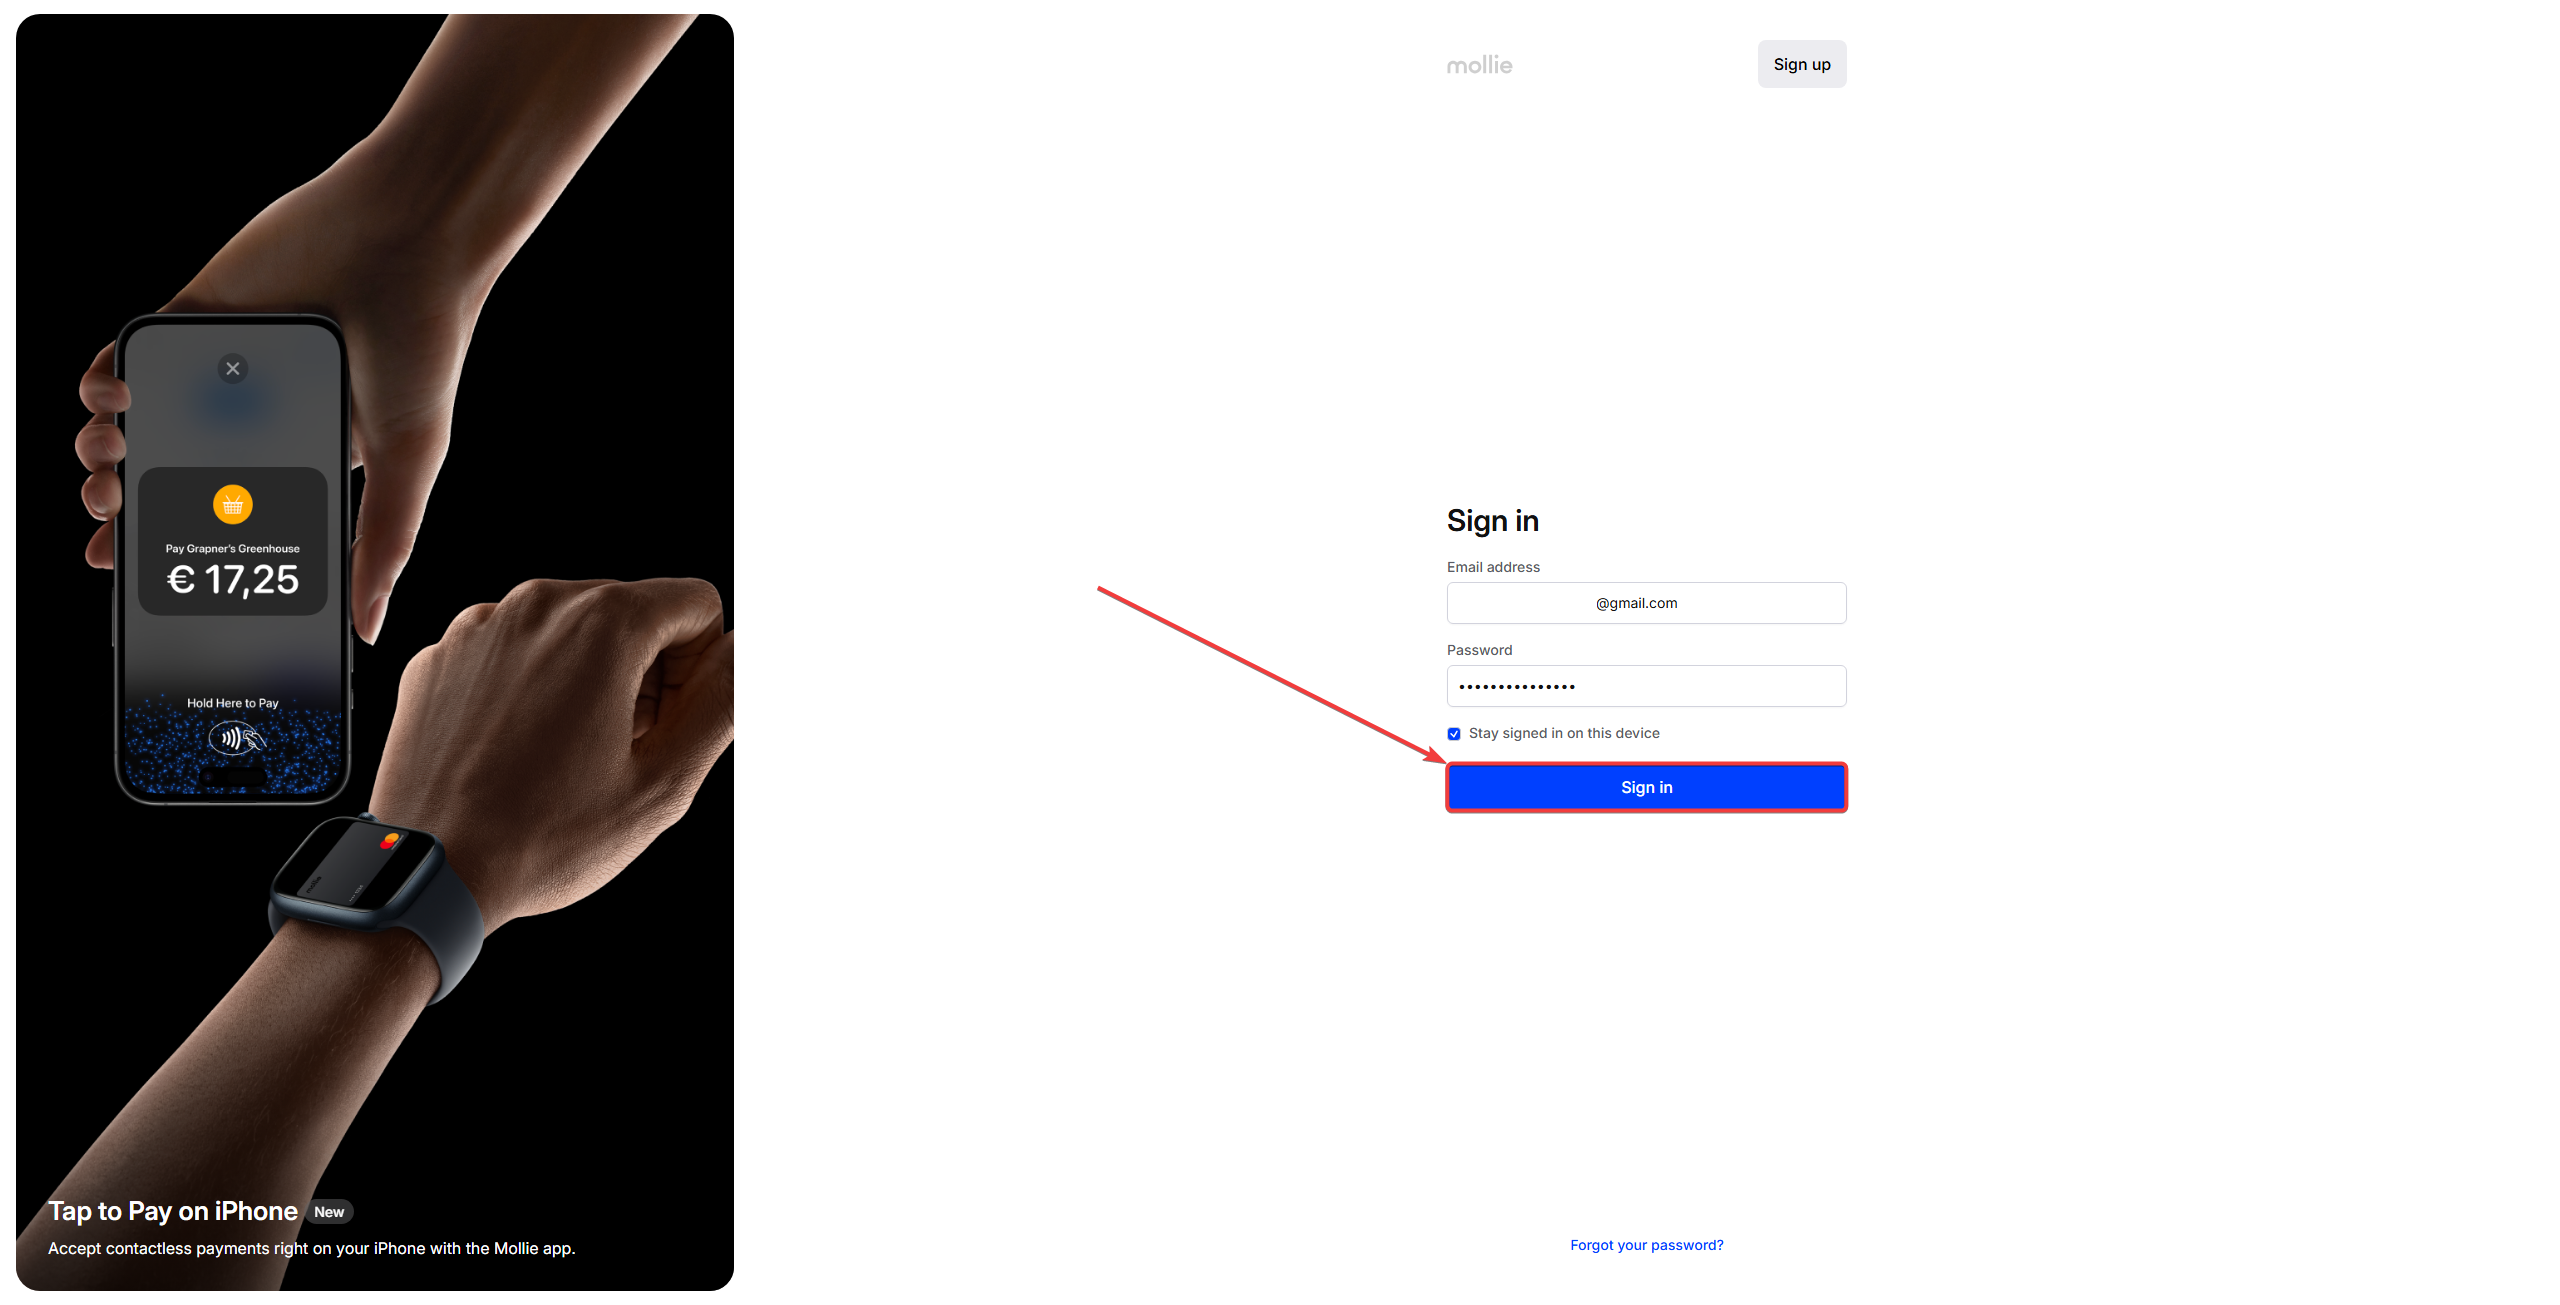
After verifying your email:
-
Log in to Mollie Dashboard:
-
Complete Account Information:
- Mollie may prompt you to answer initial setup questions about your business.
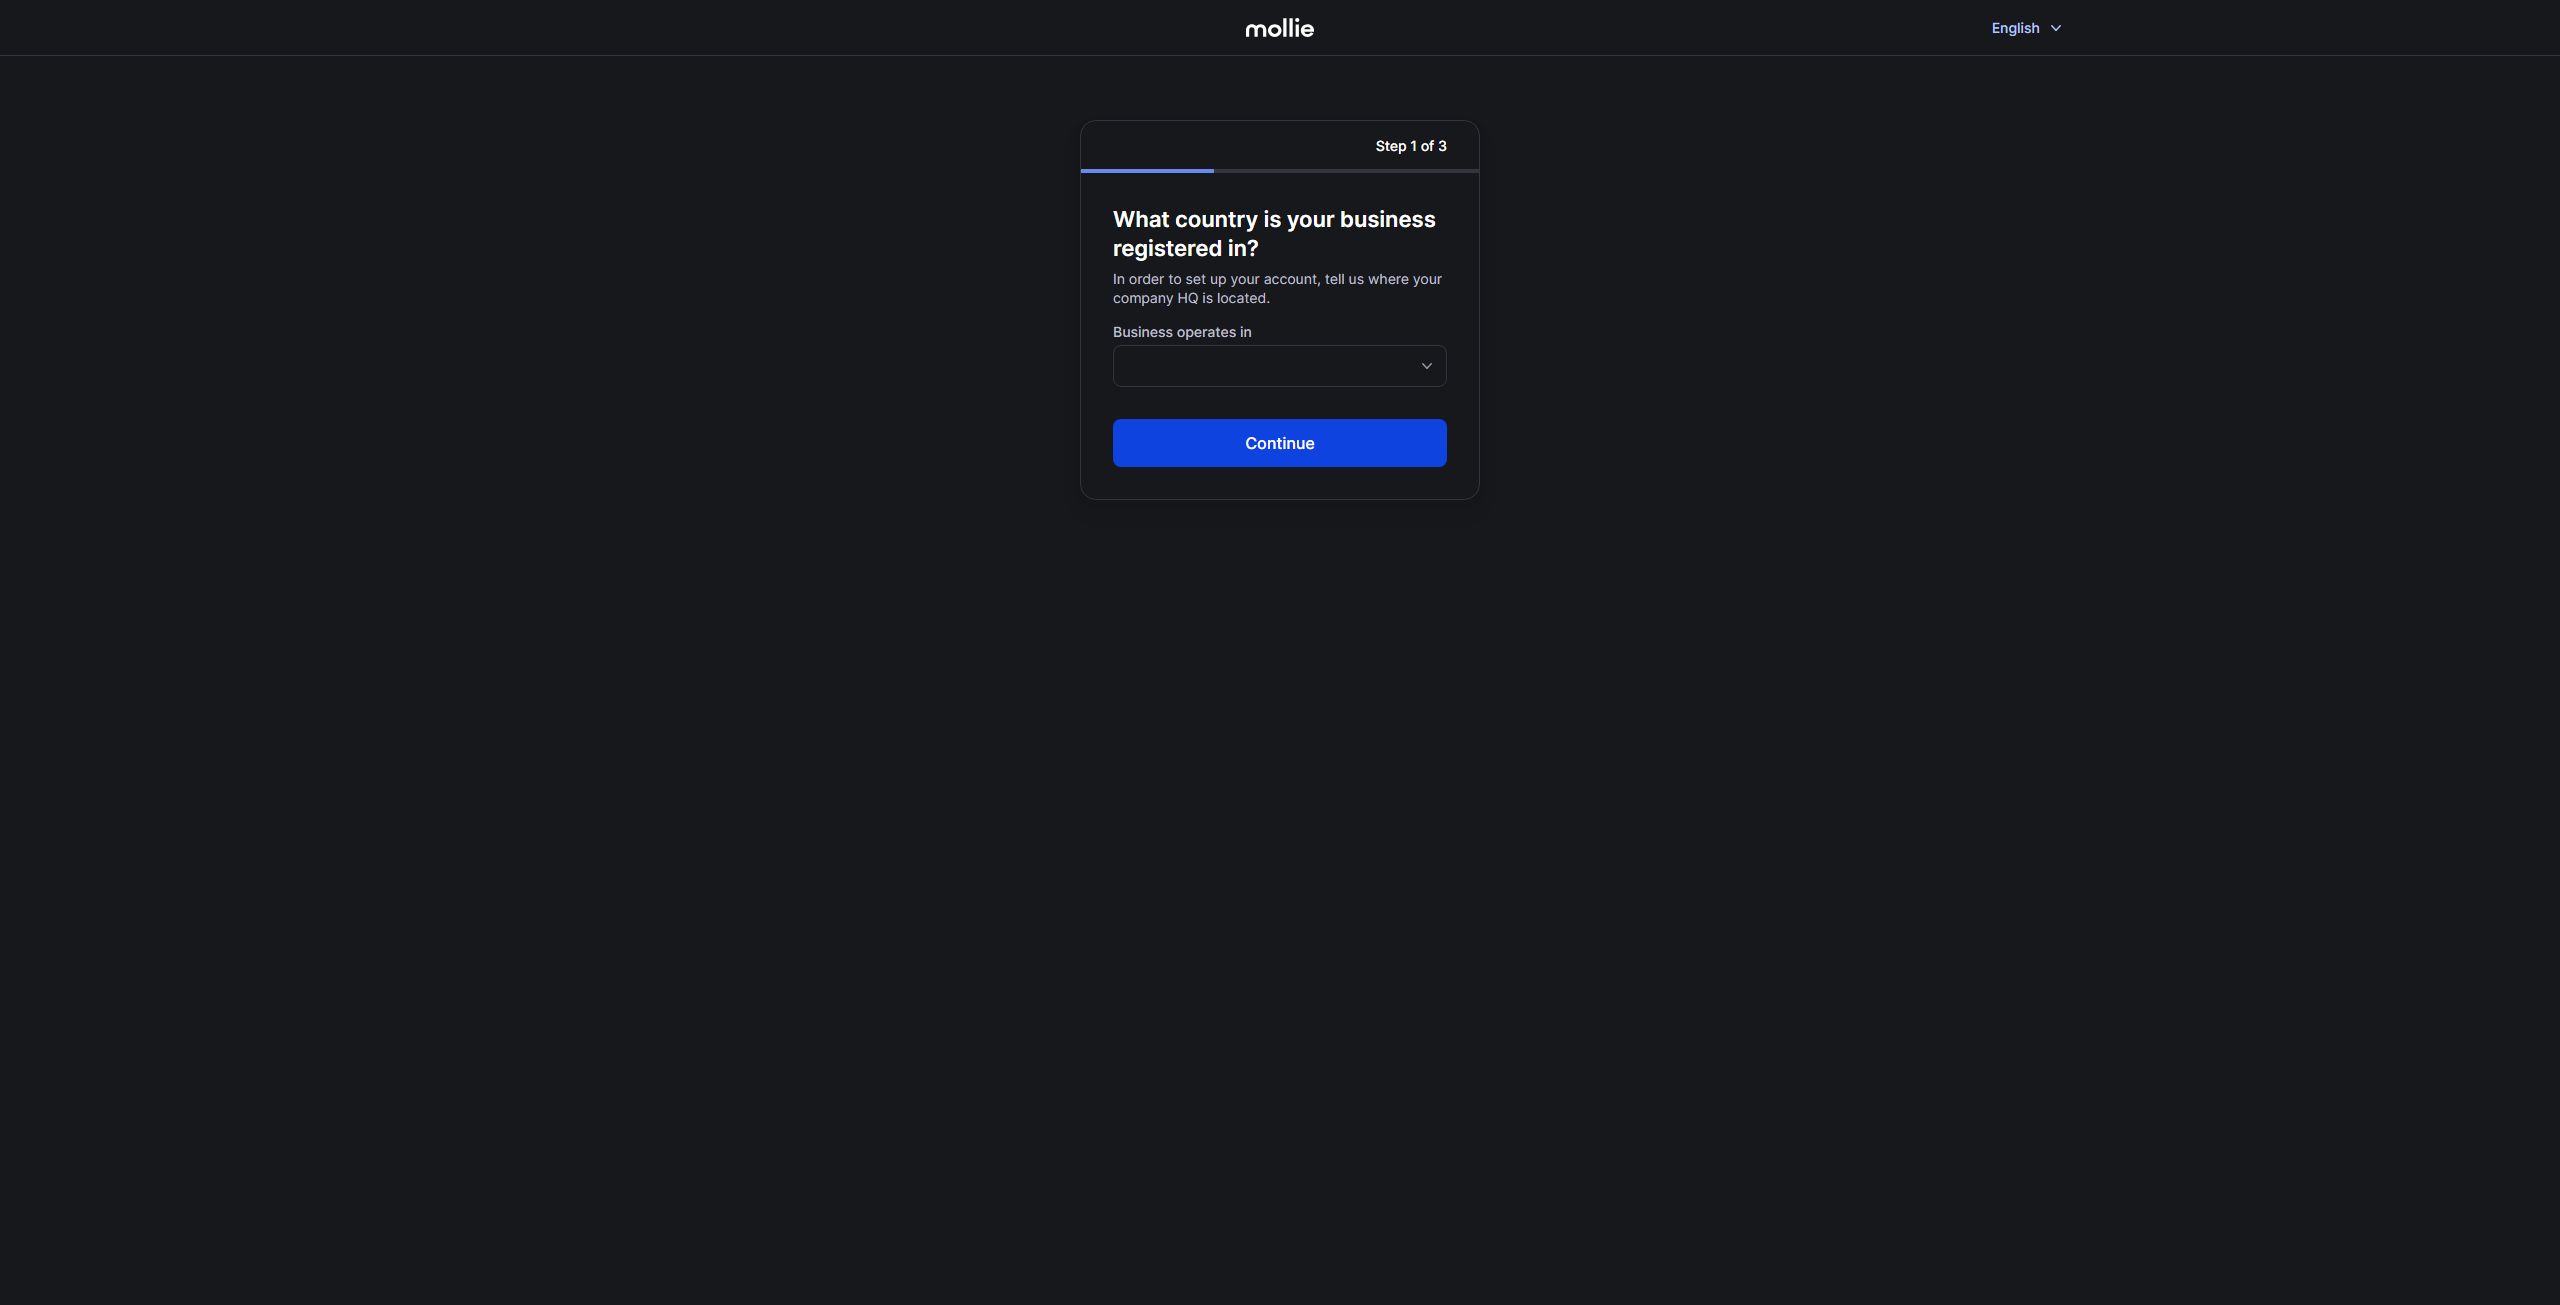
- Provide accurate details as requested, ensuring smooth approval for payments.
Step 3: Obtain Mollie API Keys
You need Mollie's API keys to connect Mollie to Booknetic:
-
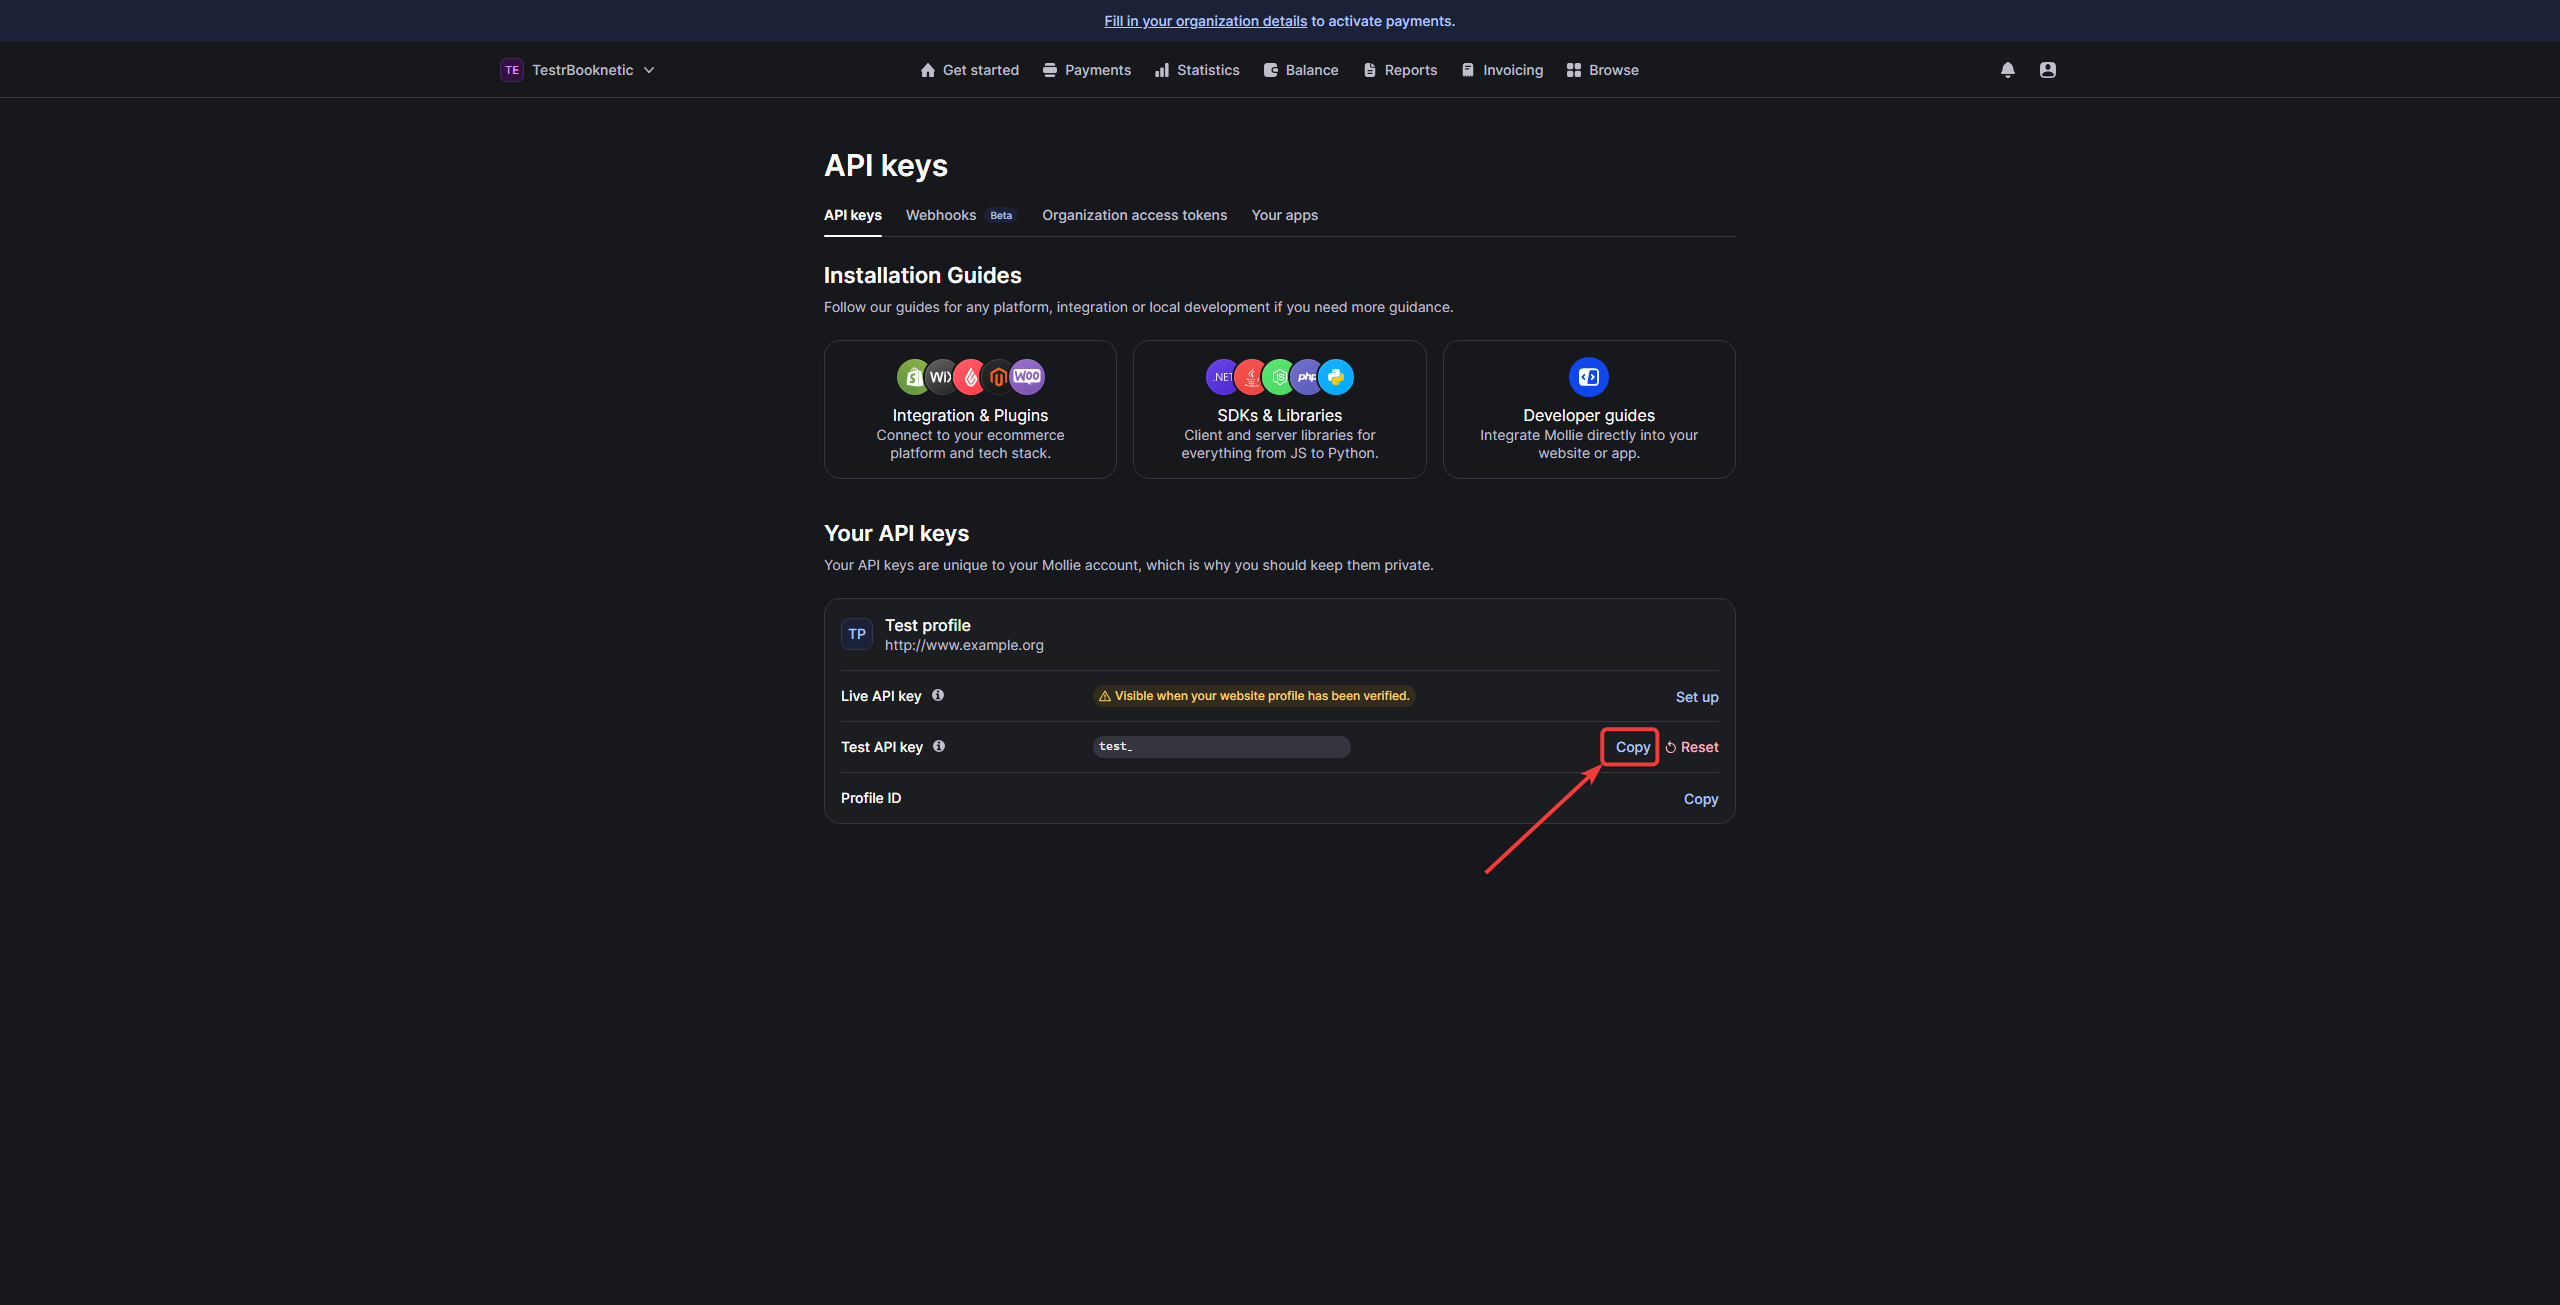
Navigate to API Keys Section:
- From your Mollie Dashboard, click “Browse” in the navigation menu.

- Select the “Developers” tab.

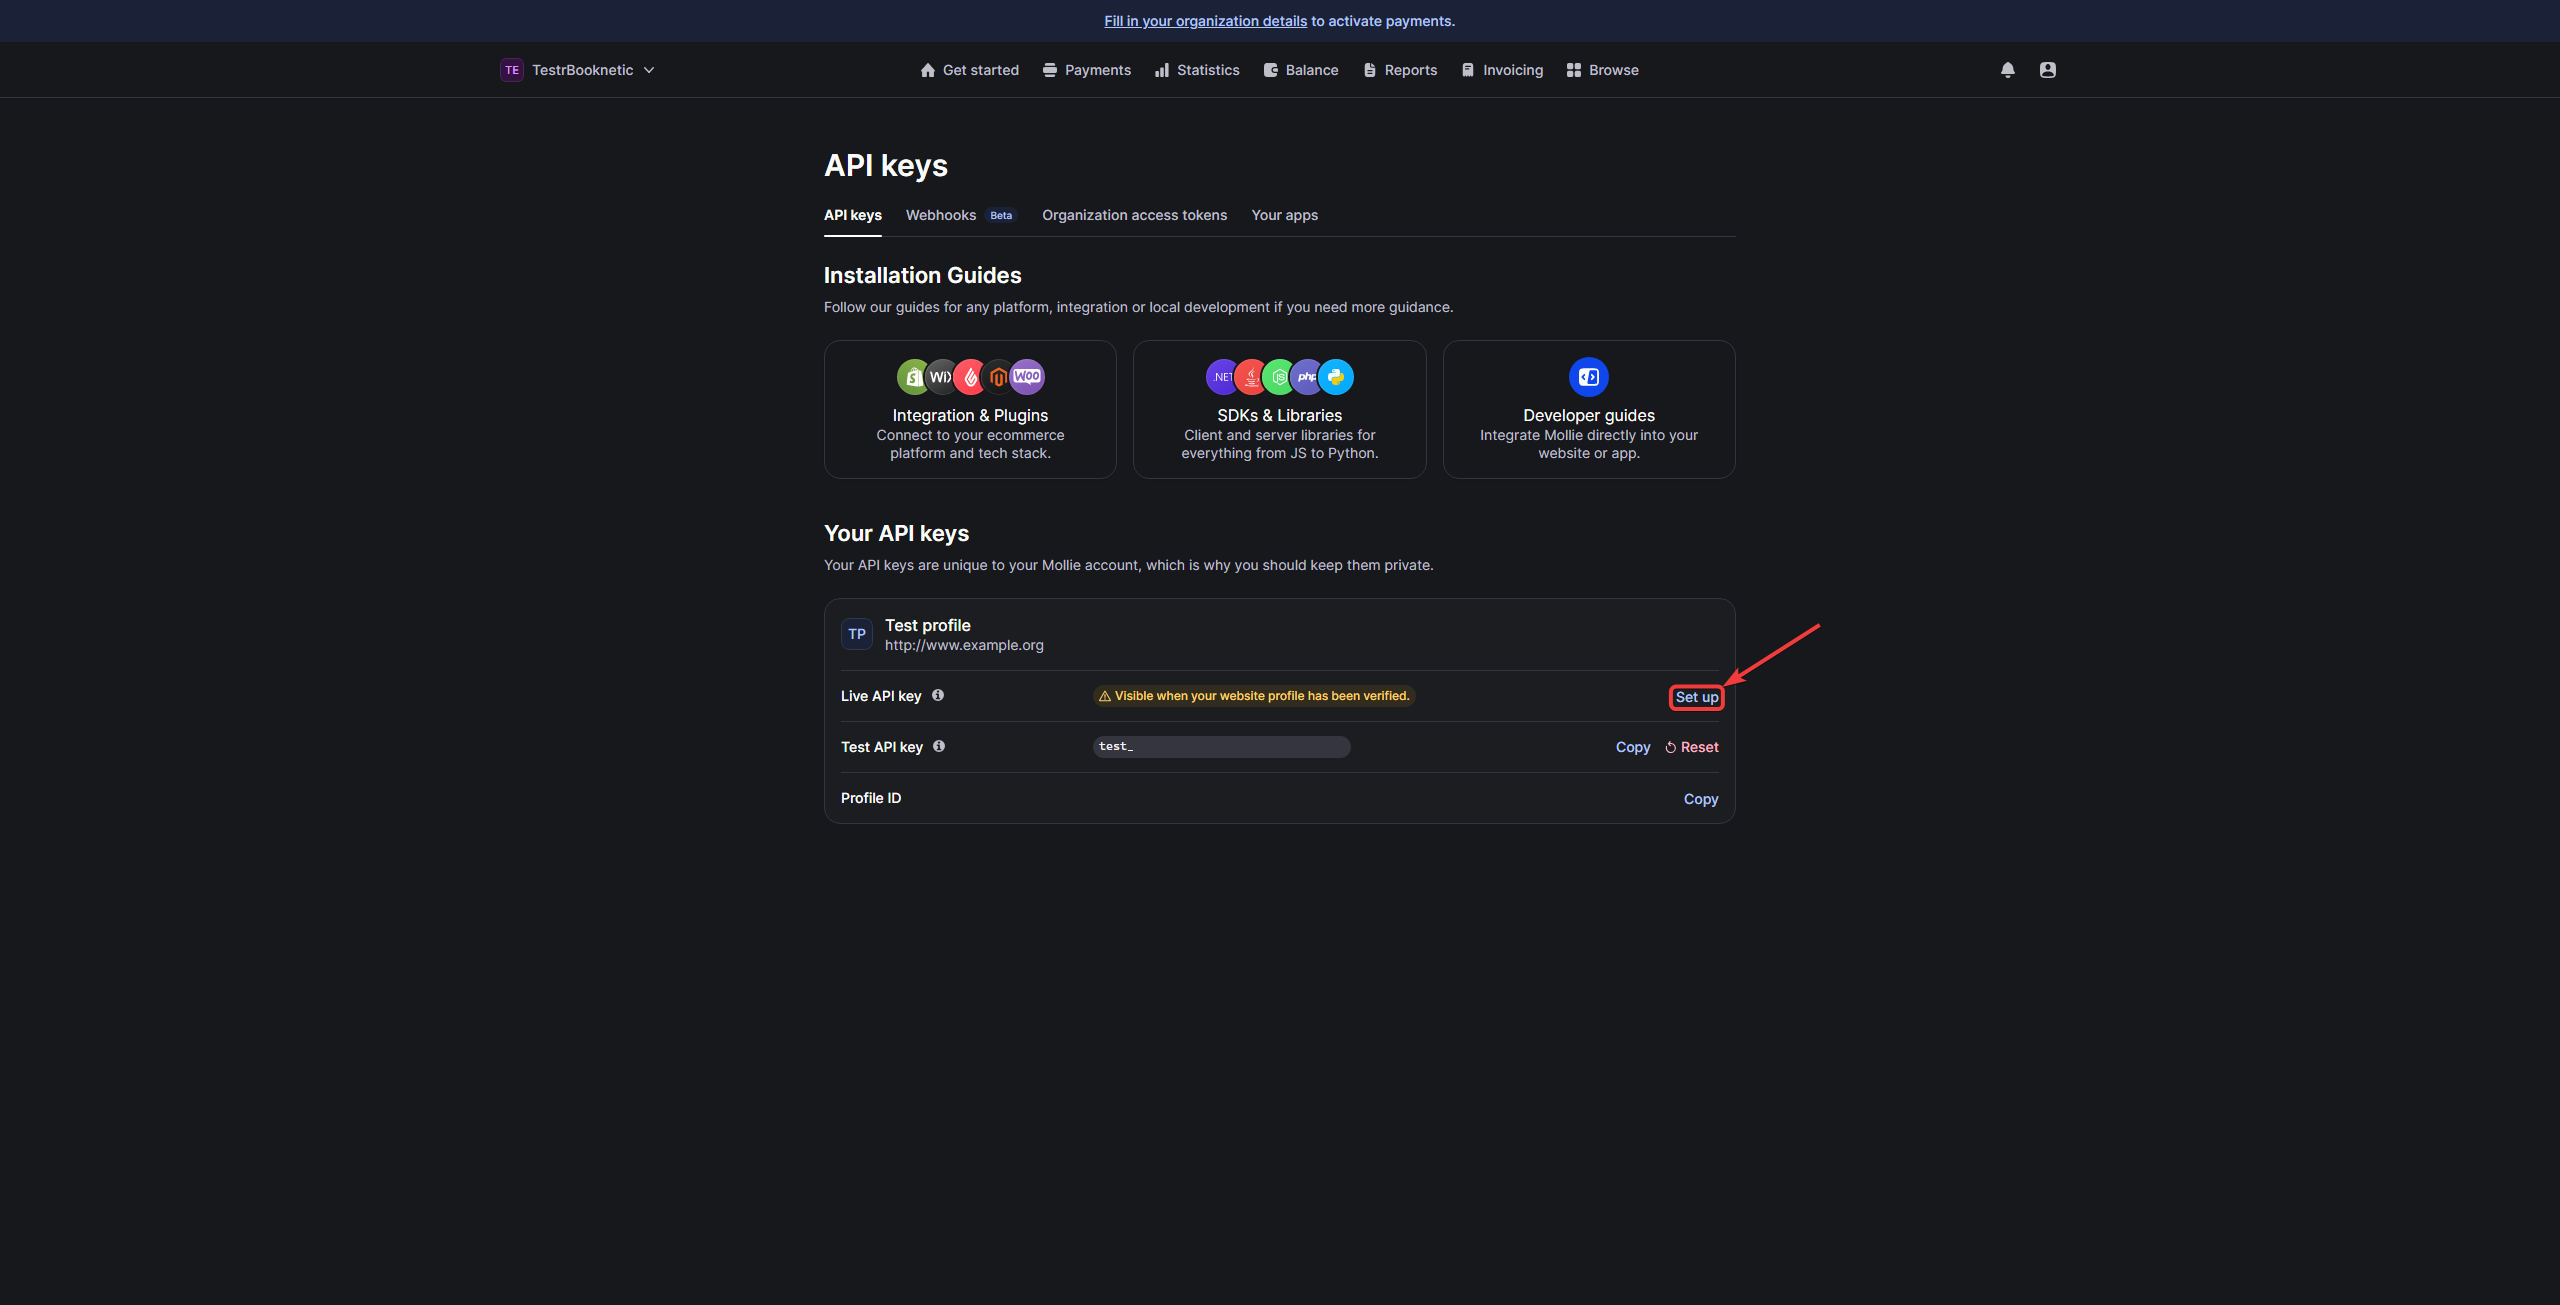
-
Access API Keys:
- Initially, you will have access to the Test API Key for trial purposes.
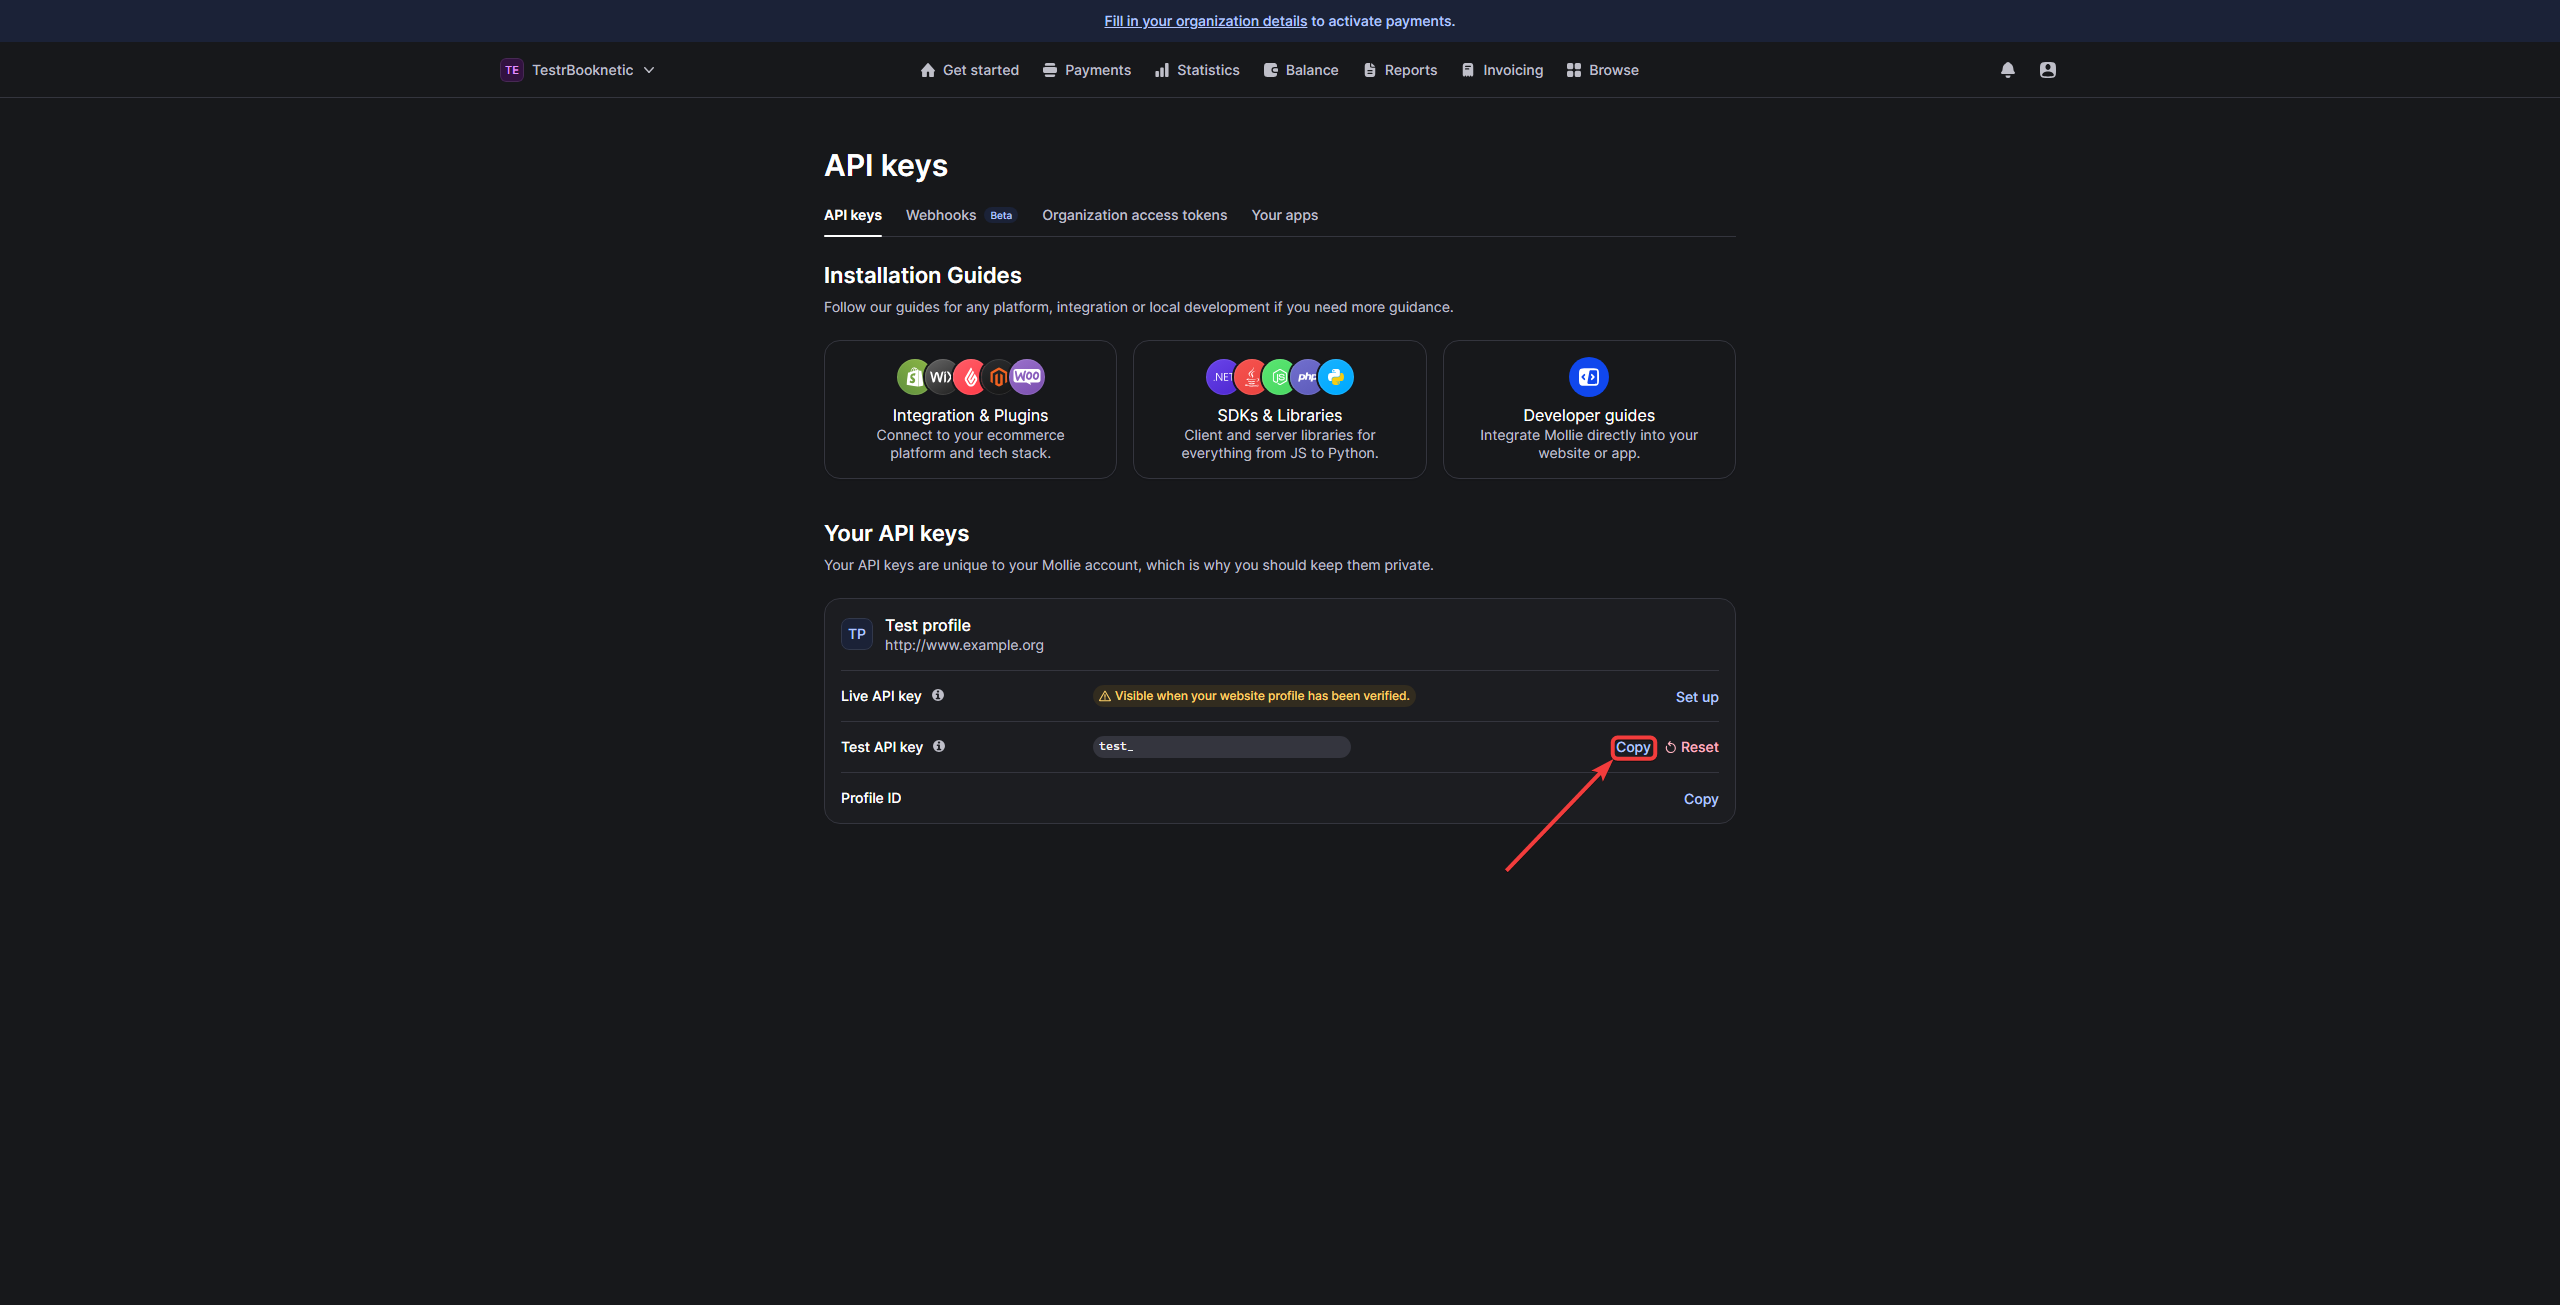
- To get your Live API Key, Mollie requires additional verification of your business details and stakeholders. Complete this information as prompted.
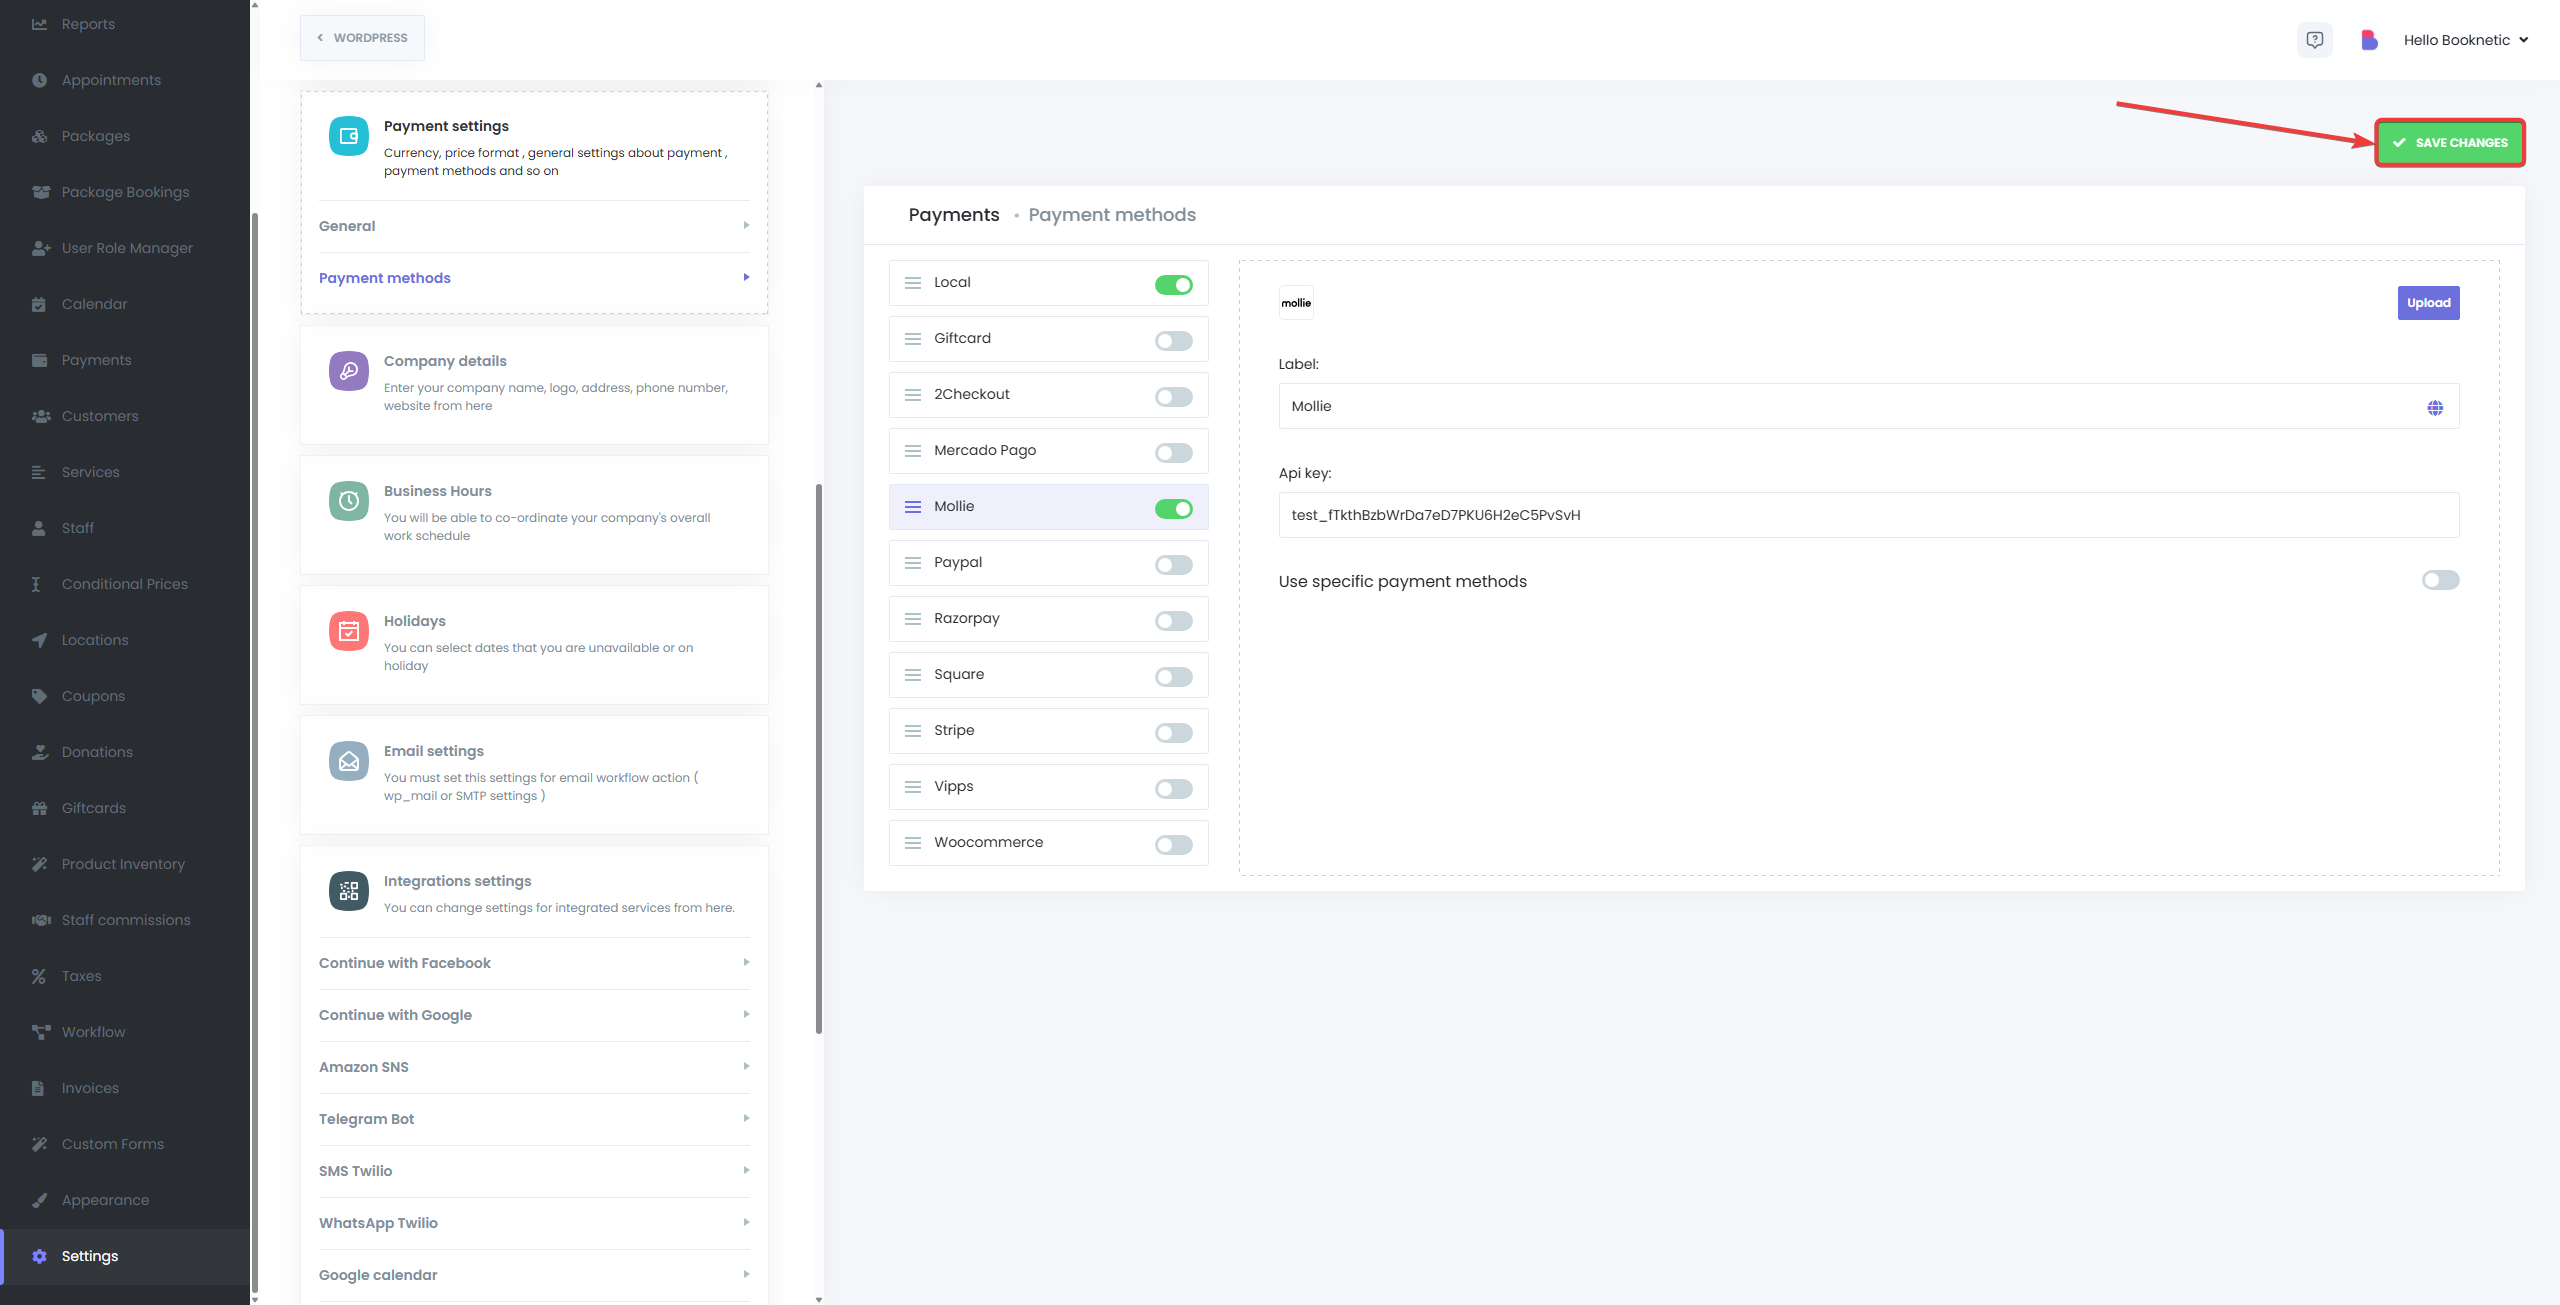
Step 4: Integrating Mollie with Booknetic
Now, configure Mollie in your Booknetic payment settings:
-
Access Booknetic Payment Settings:
- Log in to your WordPress admin panel and navigate to Booknetic.
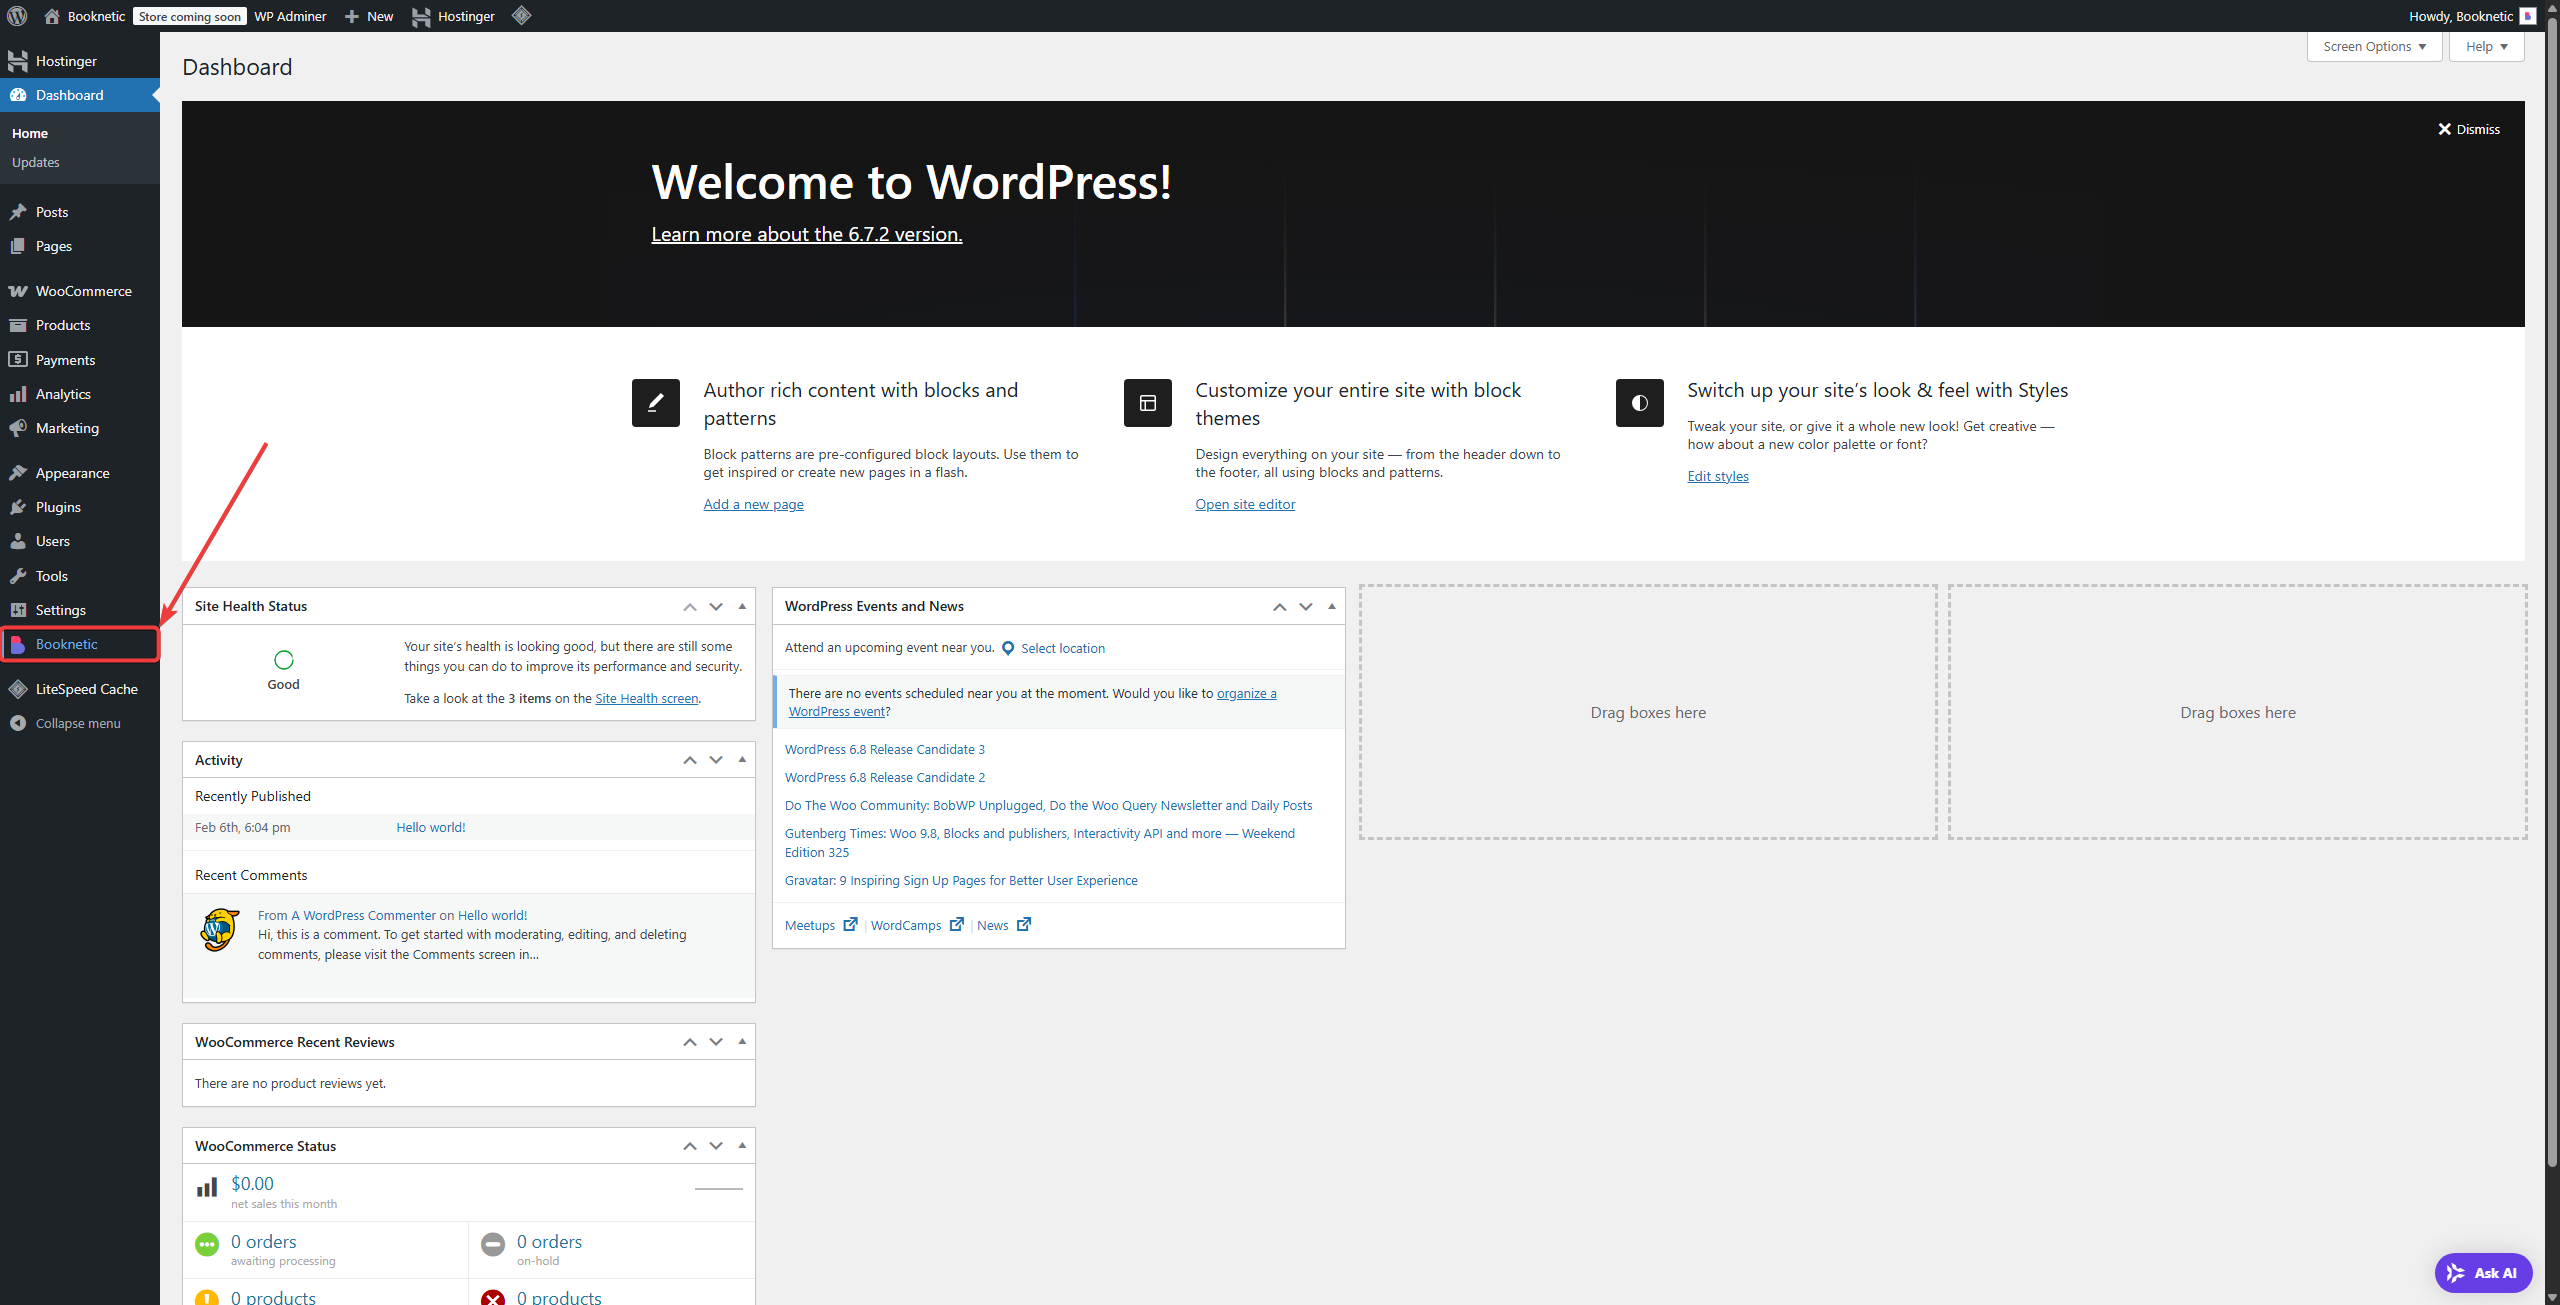
- Go to Settings > Payment Methods.
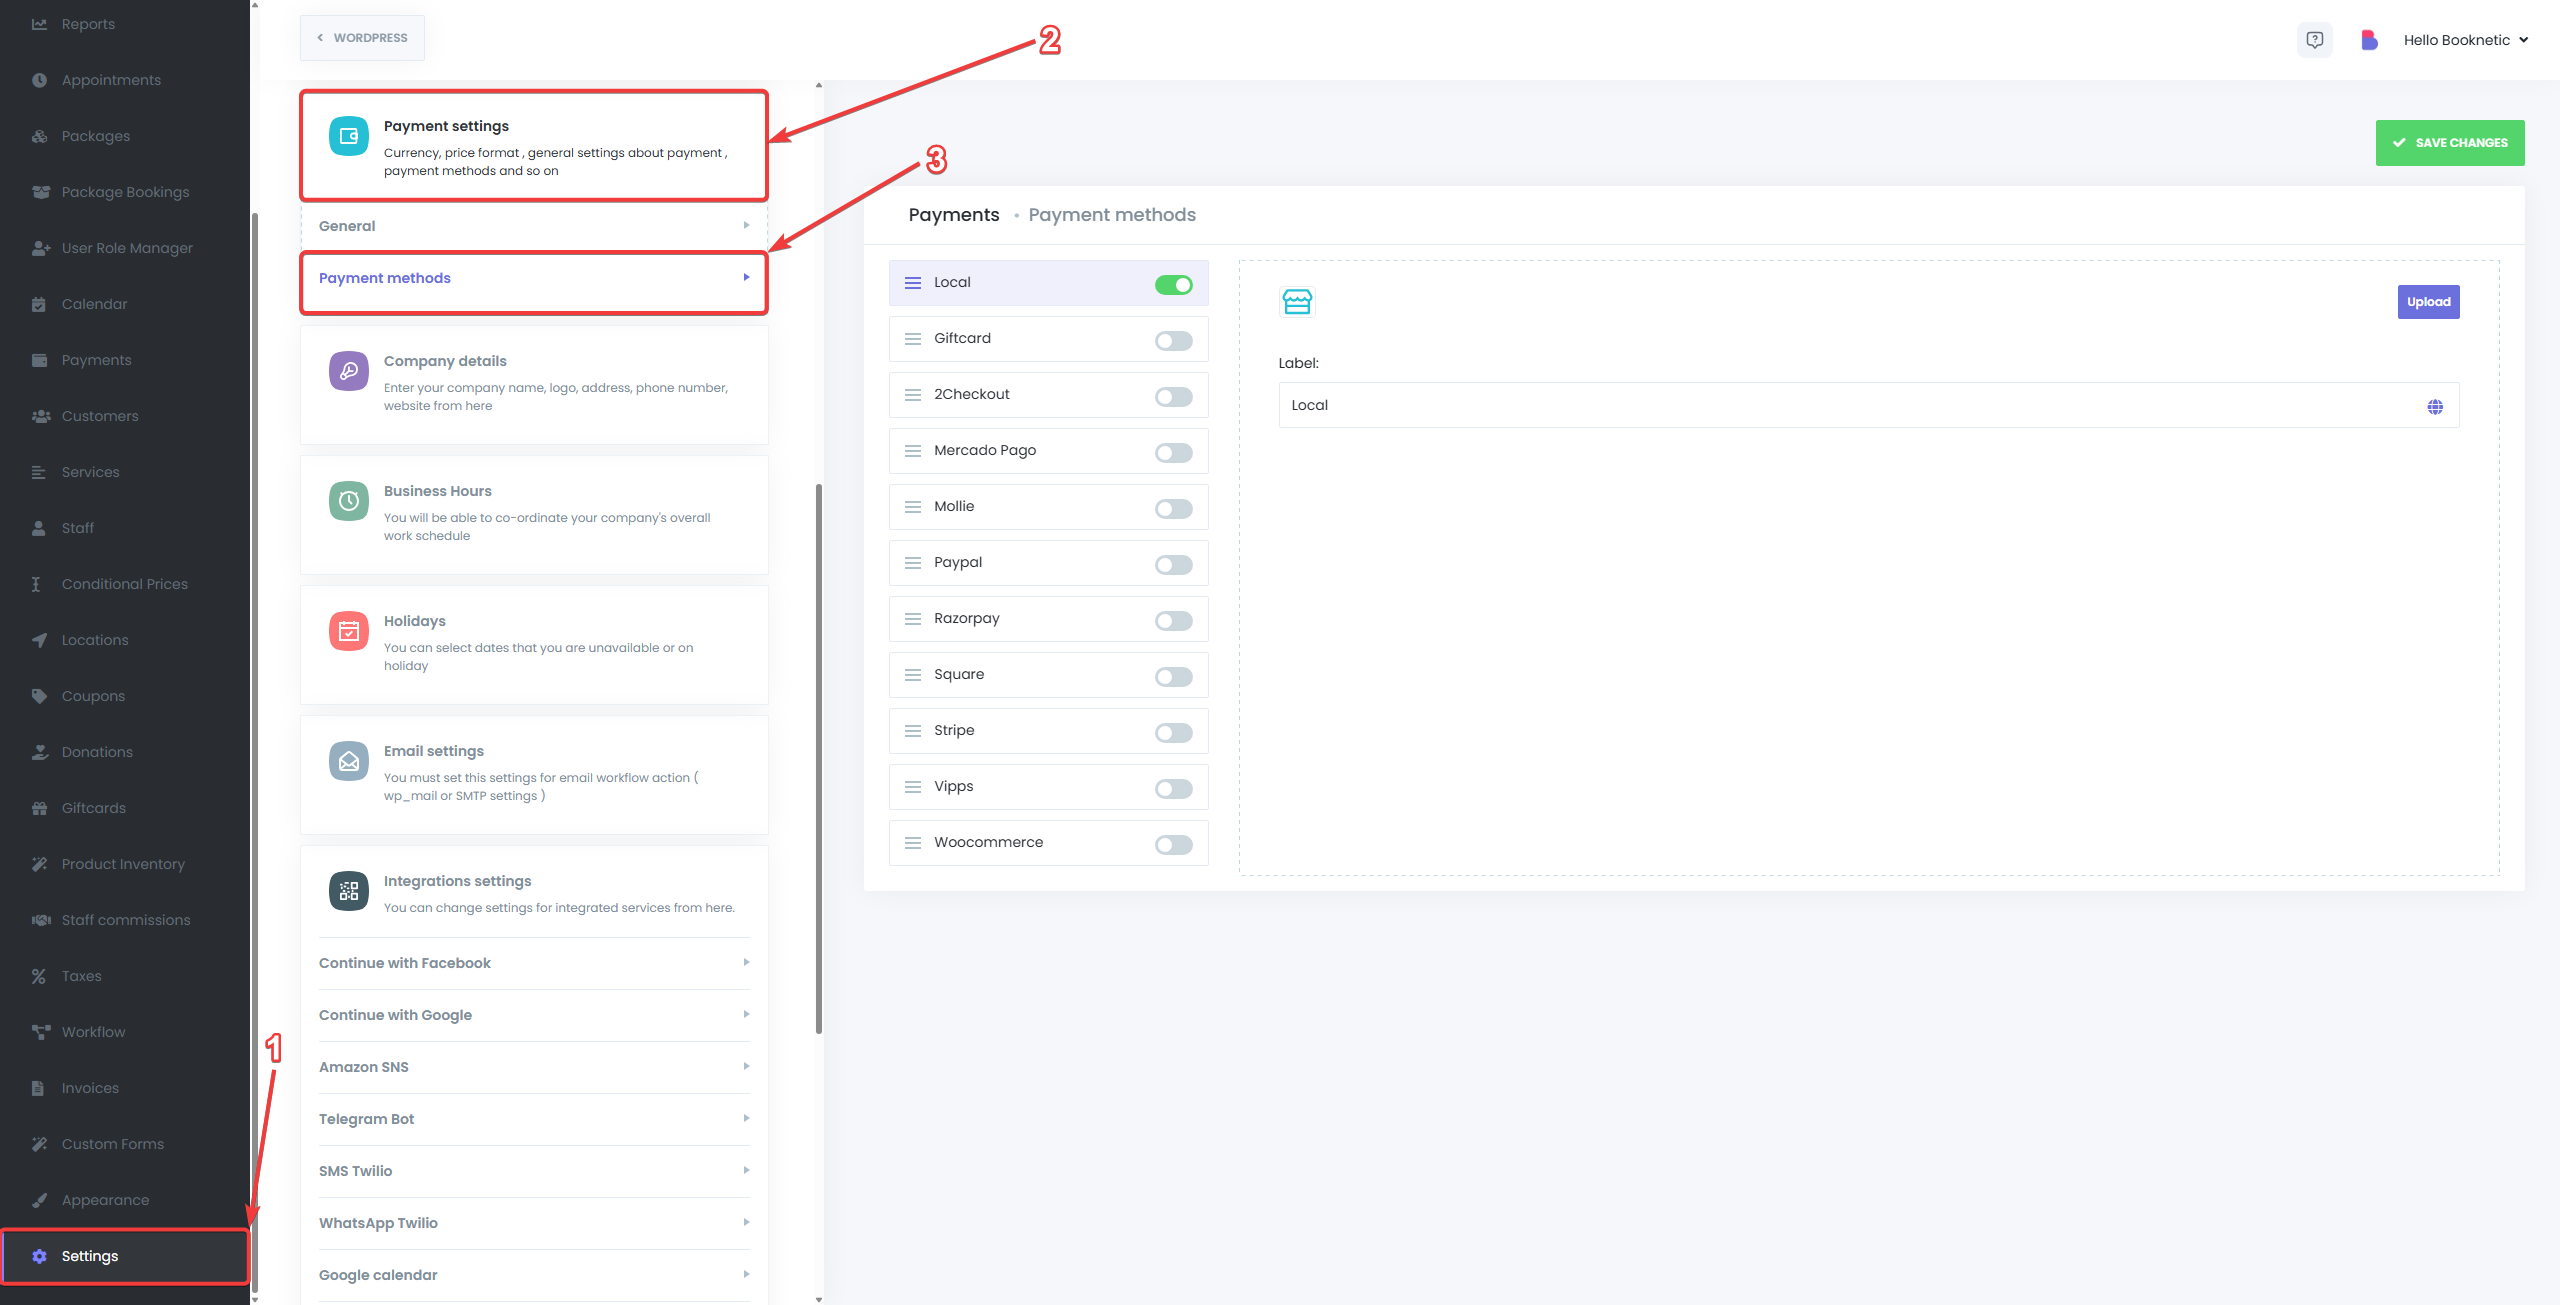
-
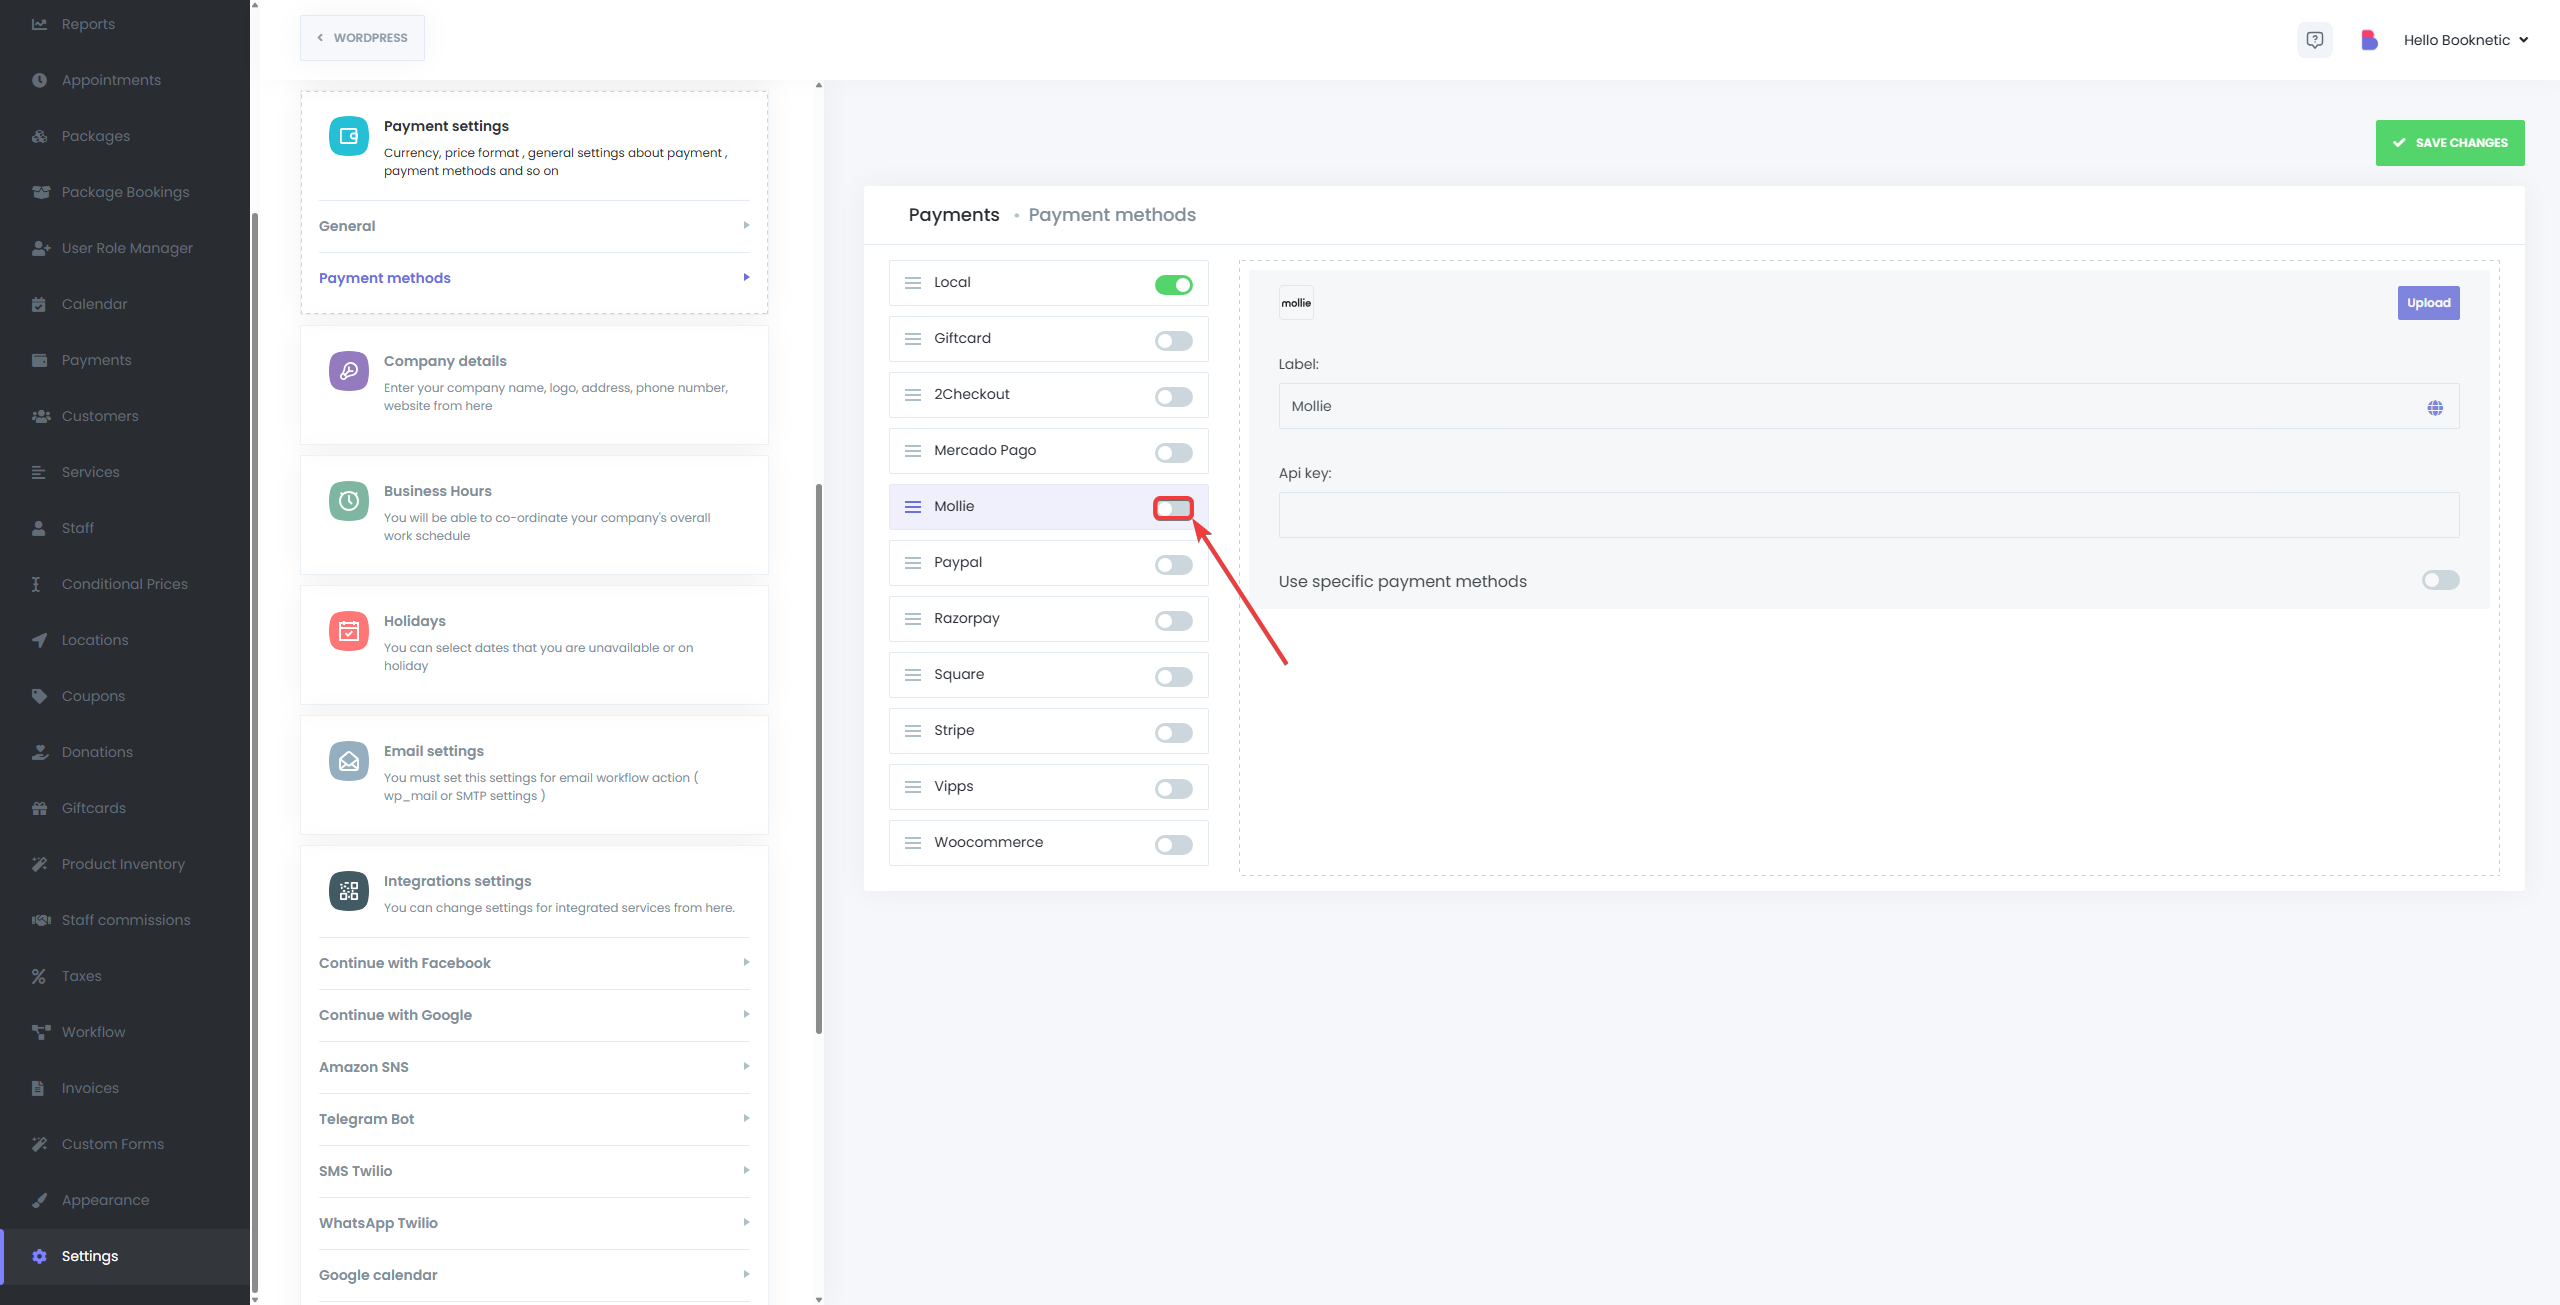
Enable Mollie Payment Method:
- Locate the Mollie option and toggle it to Enable.
-
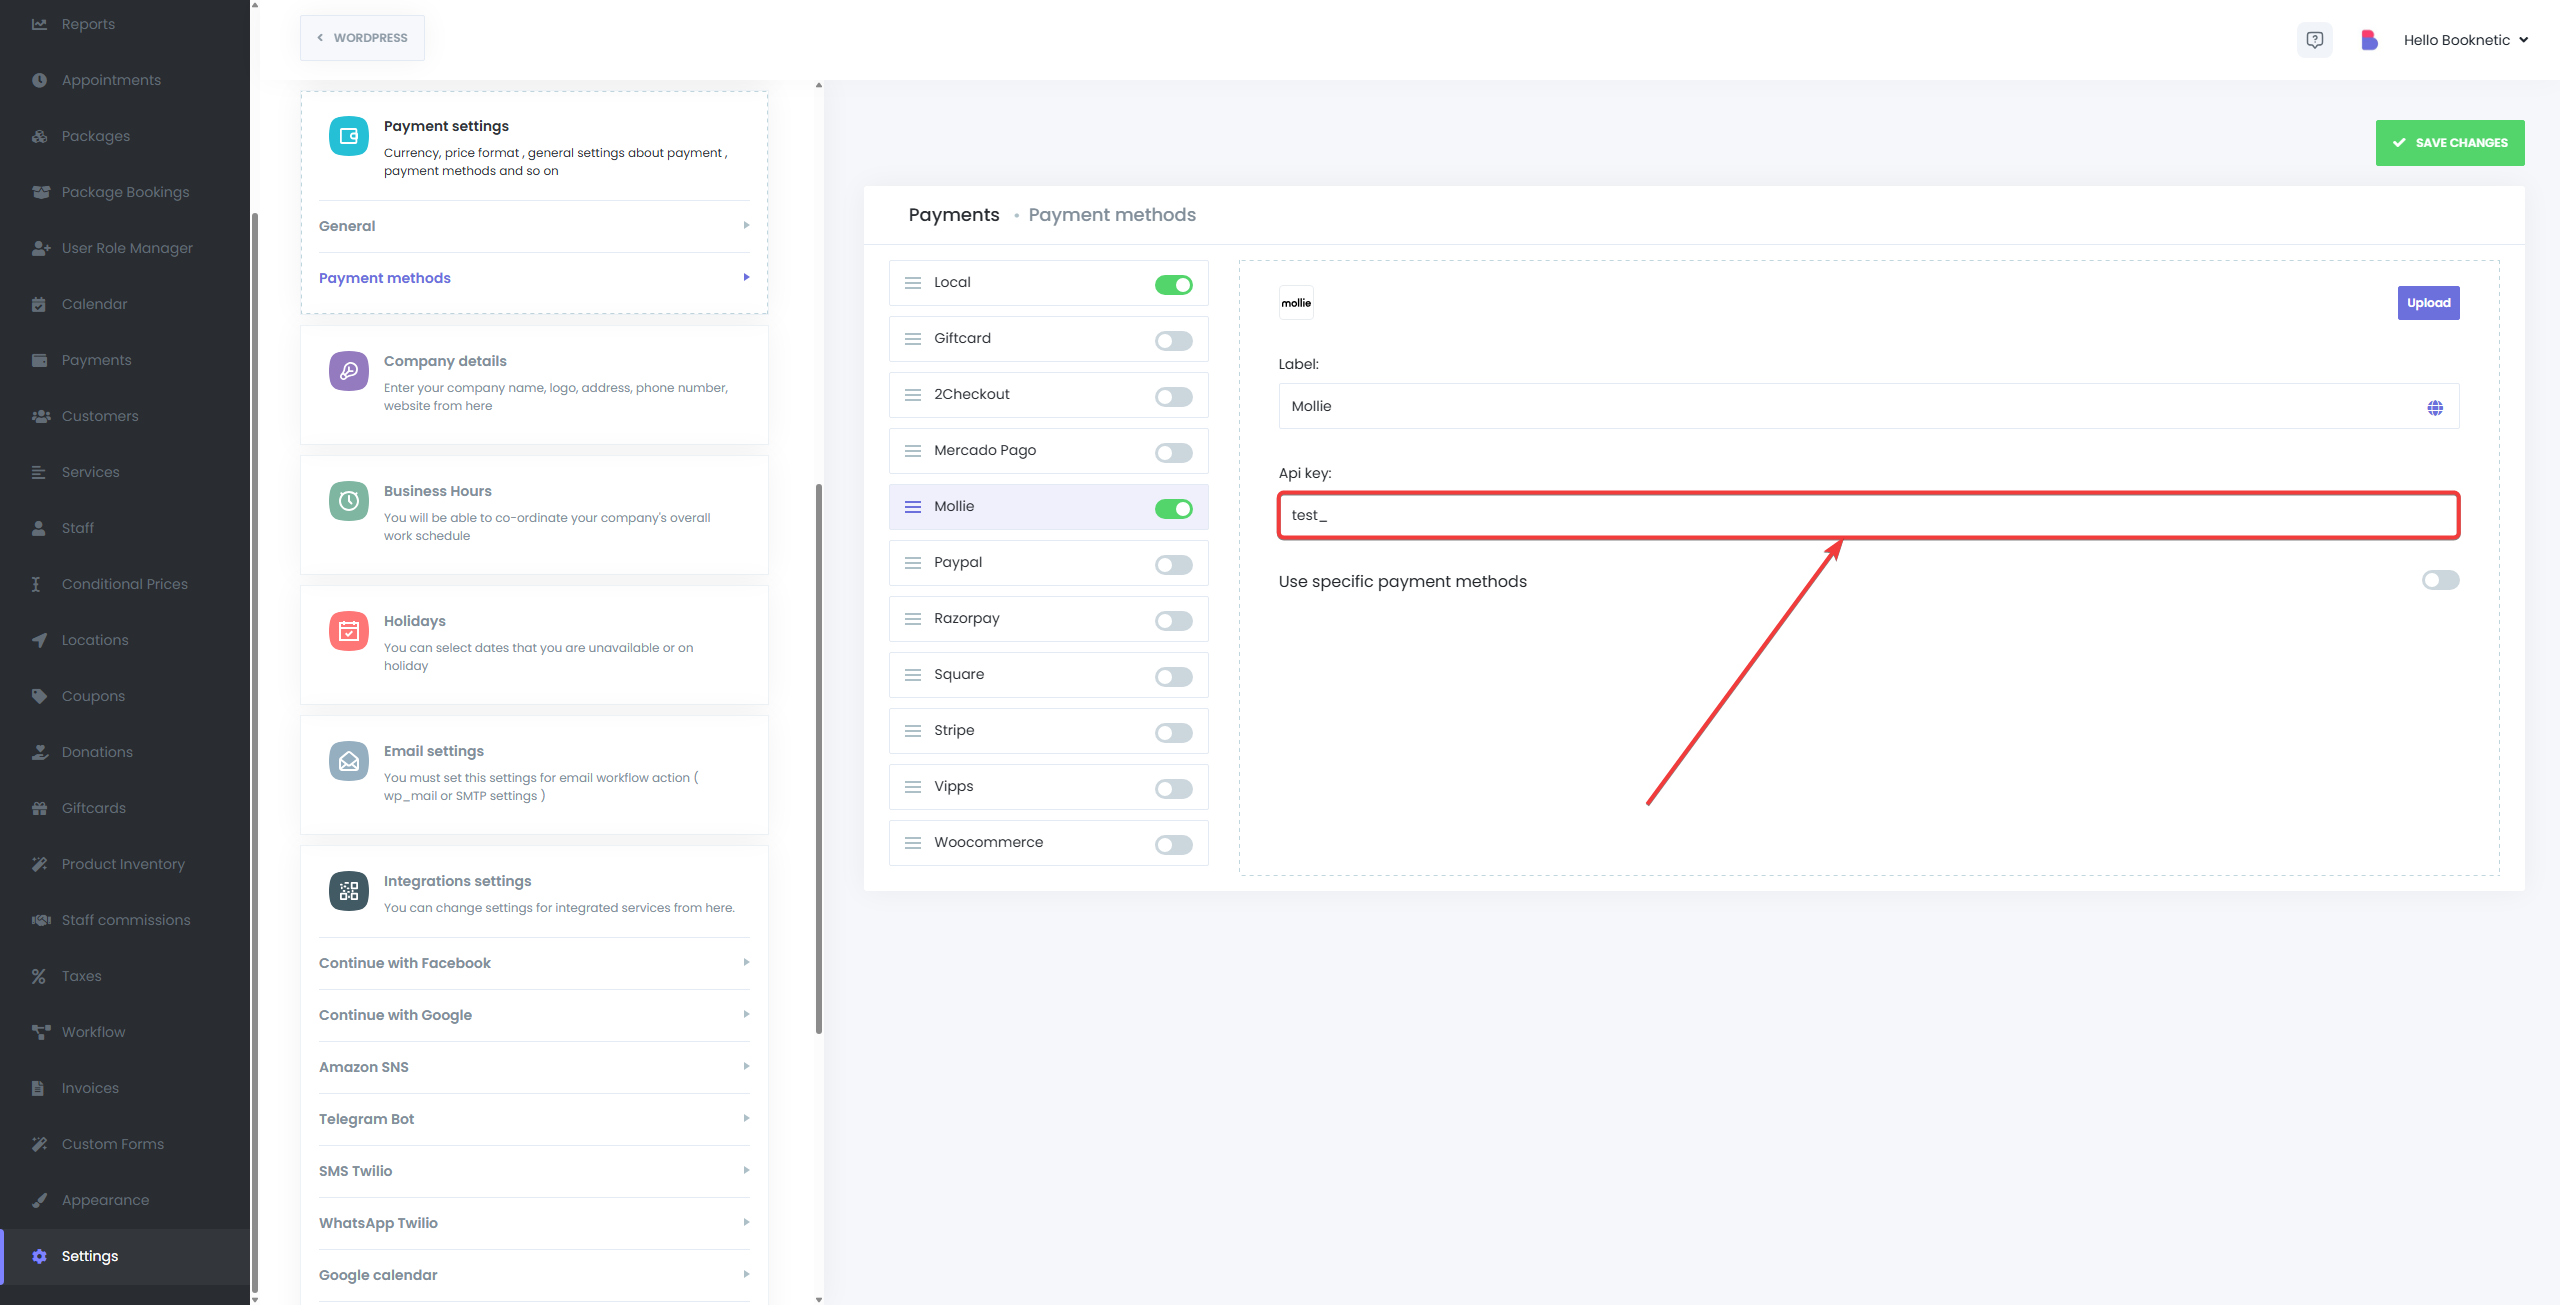
Paste Mollie API Key:
- Copy your Mollie API key (Test or Live) from the Mollie Dashboard.
- Paste the API key into the designated field in Booknetic settings.
-
Save Your Settings:
- After entering the API key, click “Save” to finalize integration.
Testing Mollie Integration
Before you go live, it's recommended to test your Mollie integration:
- Use Mollie's Test API Key:
- Enter your test API key in Booknetic’s Mollie settings.
- Perform a test booking and choose Mollie as your payment method.
- Mollie provides test payment credentials, allowing you to simulate transactions.
Managing Payments with Mollie
Payments made through Mollie can be managed easily from your Mollie Dashboard:
- View Payments:
- Process Refunds:
- Select the transaction from the payment list and process refunds directly within Mollie.
- Payment Status and Appointment Synchronization:
- Successful payments automatically mark Booknetic appointments as Approved.
- Failed payments will leave the appointments in a Pending or Rejected state.
Troubleshooting Common Issues
- Incorrect API Key:
- Ensure you're using the correct API key (Test or Live).
- Payments Not Processing:
- Verify your Mollie account is fully activated and business details are verified.
- Status Sync Issues:
- Confirm the API key is accurately pasted and that Mollie is enabled in Booknetic’s payment settings.