Cron Job Configuration
Cron Job of Booknetic. Multi-purpose Appointment Booking Plugin For Wordpress.

By using this site, you agree to our Cookie Policy

Cron Job of Booknetic. Multi-purpose Appointment Booking Plugin For Wordpress.
As of Booknetic v5.9.0, all workflow actions — booking confirmations, appointment reminders, follow-ups, birthday greetings, status-change notifications, and every other workflow-driven notification — are written to a processing queue and dispatched on the next cron run.
Without a real server cron job running every 1 minute, workflow emails, SMS, WhatsApp, and Telegram notifications will NOT be sent.
WordPress includes a built-in scheduling mechanism (known as "pseudo-cron") that runs scheduled tasks only when a page is loaded on your site. On low-traffic sites, this means tasks can be skipped or delayed unpredictably. Booknetic's workflow queue requires a real, server-level cron job firing on a fixed 1-minute schedule to process and dispatch all notifications reliably.
Open your wp-config.php file (located in the root directory of your WordPress installation) and add the following line above the comment that reads /* That's all, stop editing! Happy publishing. */:
define('DISABLE_WP_CRON', true);This setting tells WordPress to stop running scheduled tasks on page loads, handing full control of cron execution to your real server cron job.
Your cron job must call the WordPress cron endpoint every 1 minute. Replace YOUR-DOMAIN.com with your actual domain name:
Using curl (recommended):
* * * * * curl -s https://YOUR-DOMAIN.com/wp-cron.php?doing_wp_cron >/dev/null 2>&1Using wget:
* * * * * wget -O /dev/null https://YOUR-DOMAIN.com/wp-cron.php?doing_wp_cron > /dev/null 2>&1The prefix schedules the command to run every minute. Both curl and wget produce the same result — use whichever is available on your server. curl is more widely available on modern Linux servers.
If your hosting uses cPanel:
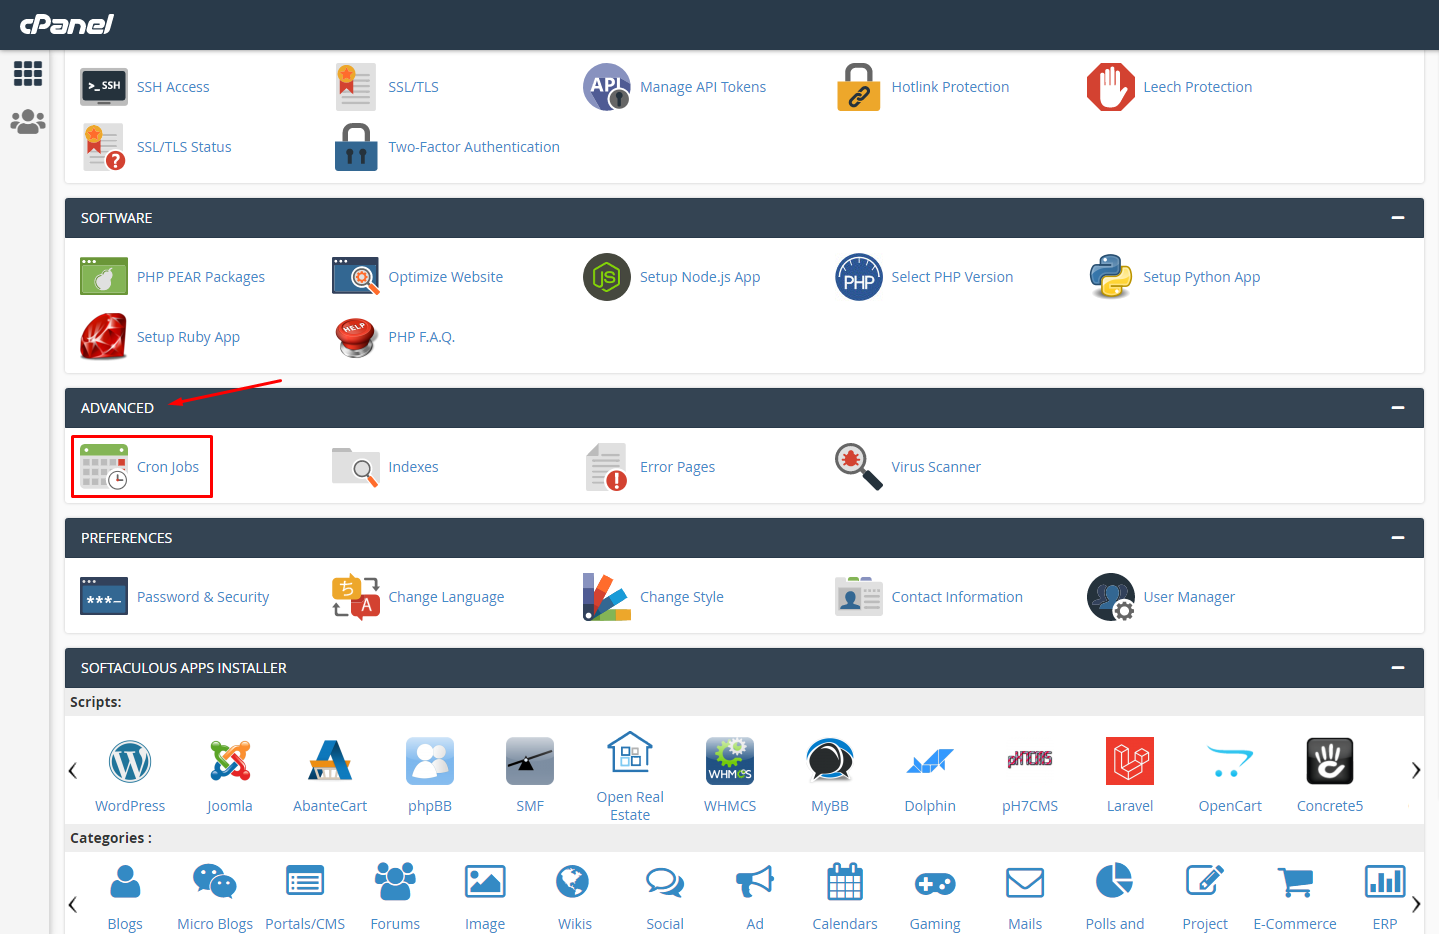
On some containerized or managed hosting environments (for example, certain Docker setups, managed WordPress platforms, or environments where the WordPress cron loopback call is blocked by a load balancer or firewall), the standard wp-cron.php call may fail to reach your own server.
In those cases, add this line to wp-config.php alongside DISABLE_WP_CRON:
define('ALTERNATE_WP_CRON', true);This tells WordPress to use an alternative cron dispatching mechanism that works around loopback restrictions. Your wp-config.php should then have both lines:
define('DISABLE_WP_CRON', true);
define('ALTERNATE_WP_CRON', true);
If your standard cron setup is not triggering workflow actions and you are on a managed or containerized host, adding ALTERNATE_WP_CRON is the first thing to try.
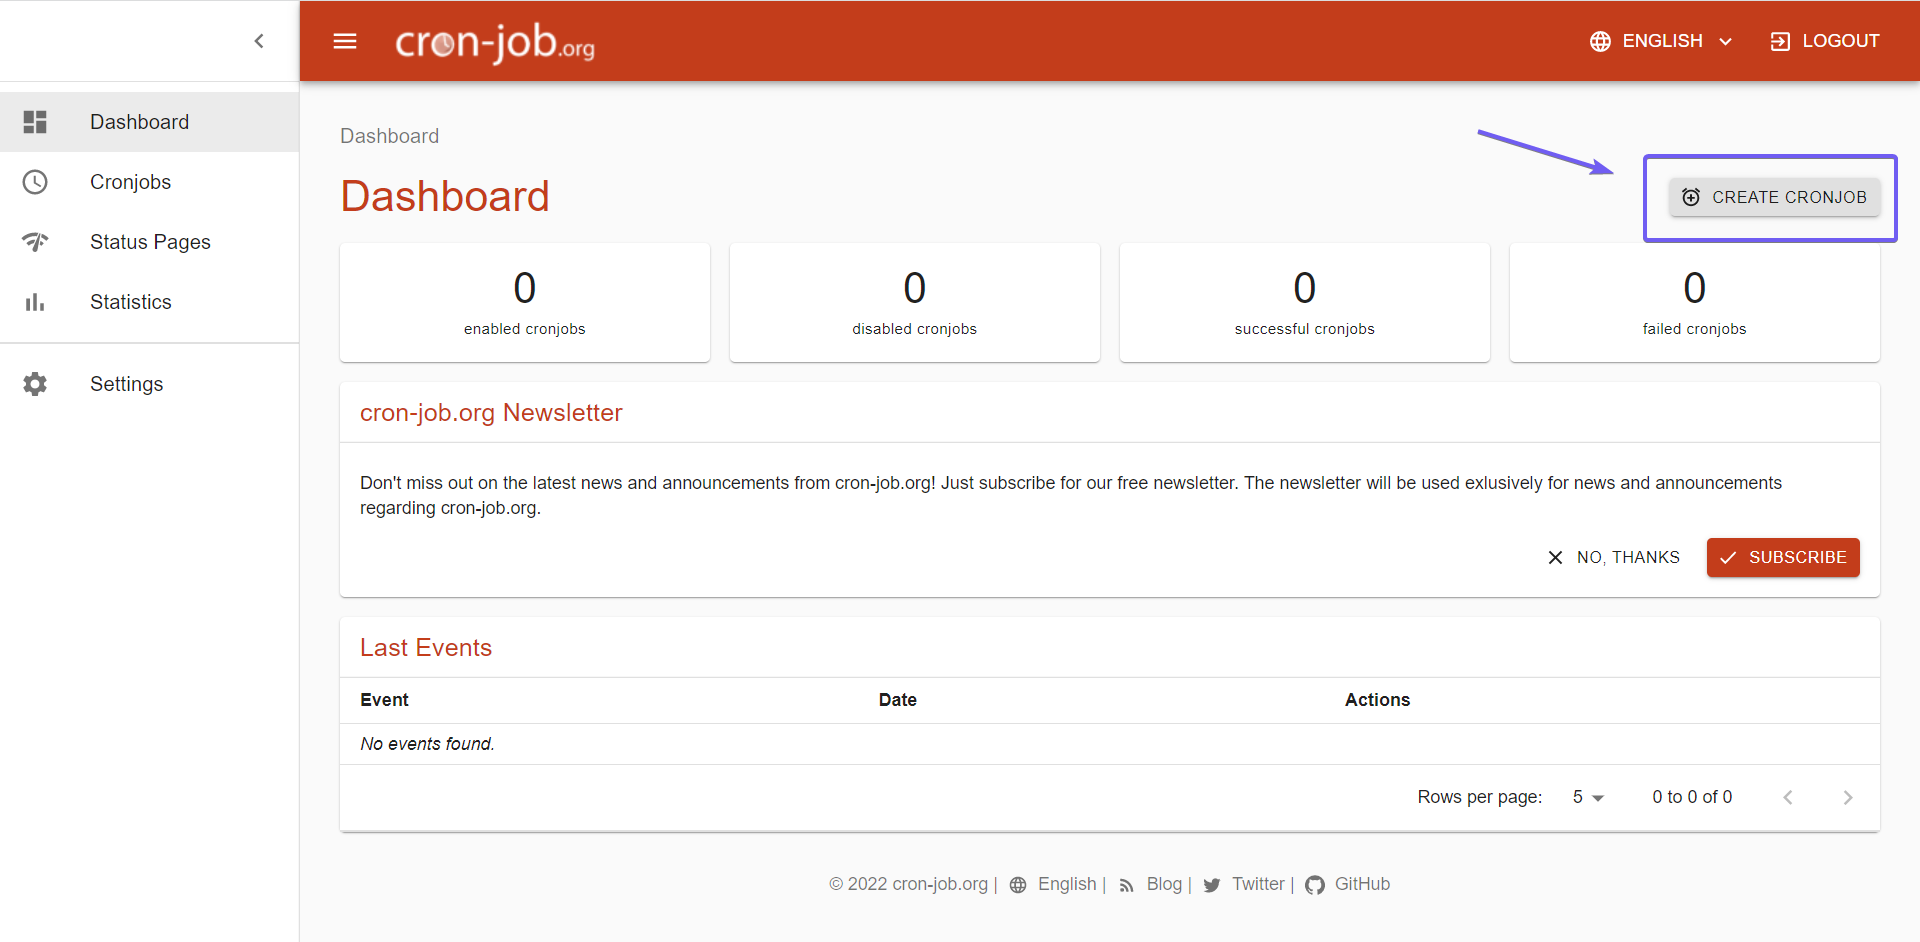
If your hosting does not provide server-level cron job access, you can use a third-party cron service to call your WordPress cron endpoint on a schedule. One popular option is cron-job.org.
Before using a third-party service, verify that your plan supports a 1-minute execution interval. Plans that only allow 5-minute or 15-minute minimum intervals are not sufficient for reliable Booknetic workflow notification delivery.
To set up cron-job.org: