Setting Up Staging Environment
Booknetic WordPress Appointment Booking Solution Provides Staging Environment For Safety Checkings
By using this site, you agree to our Cookie Policy
Booknetic WordPress Appointment Booking Solution Provides Staging Environment For Safety Checkings
Setting up a staging environment for Booknetic allows you to safely test updates, customizations, and configuration changes without affecting your live website. This guide explains how to create a staging environment and correctly activate Booknetic using the new staging license system.
A staging environment is a clone of your live website used for testing changes before deploying them to production. It allows you to:
Test plugin updates, including Booknetic updates.
Experiment with new settings or customizations.
Identify potential conflicts with other plugins or your theme.
Ensure smooth operation without risking your live booking system.
Purchased add-ons will be available for the staging license as well.
Most hosting providers offer one-click staging site creation. Check your hosting dashboard for options like "Create Staging Site." If you prefer to set up a new WordPress site from scratch on a staging subdomain, follow these steps:
Create a Subdomain: Access your hosting control panel and navigate to the domain management section. The subdomains that MUST be used are “test”, “staging”, "local", "localhost", "testing", "stage".
Install WordPress: Go to the website application section of your hosting dashboard, select WordPress, and choose the subdomain you just created as the installation location. Follow the prompts to complete the WordPress installation.
This method allows you to develop on a completely clean WordPress installation, ensuring that your tests and developments do not interfere with your live site.
Important change: Booknetic no longer allows using the same license key on both live and staging environments. A separate staging license must now be generated.
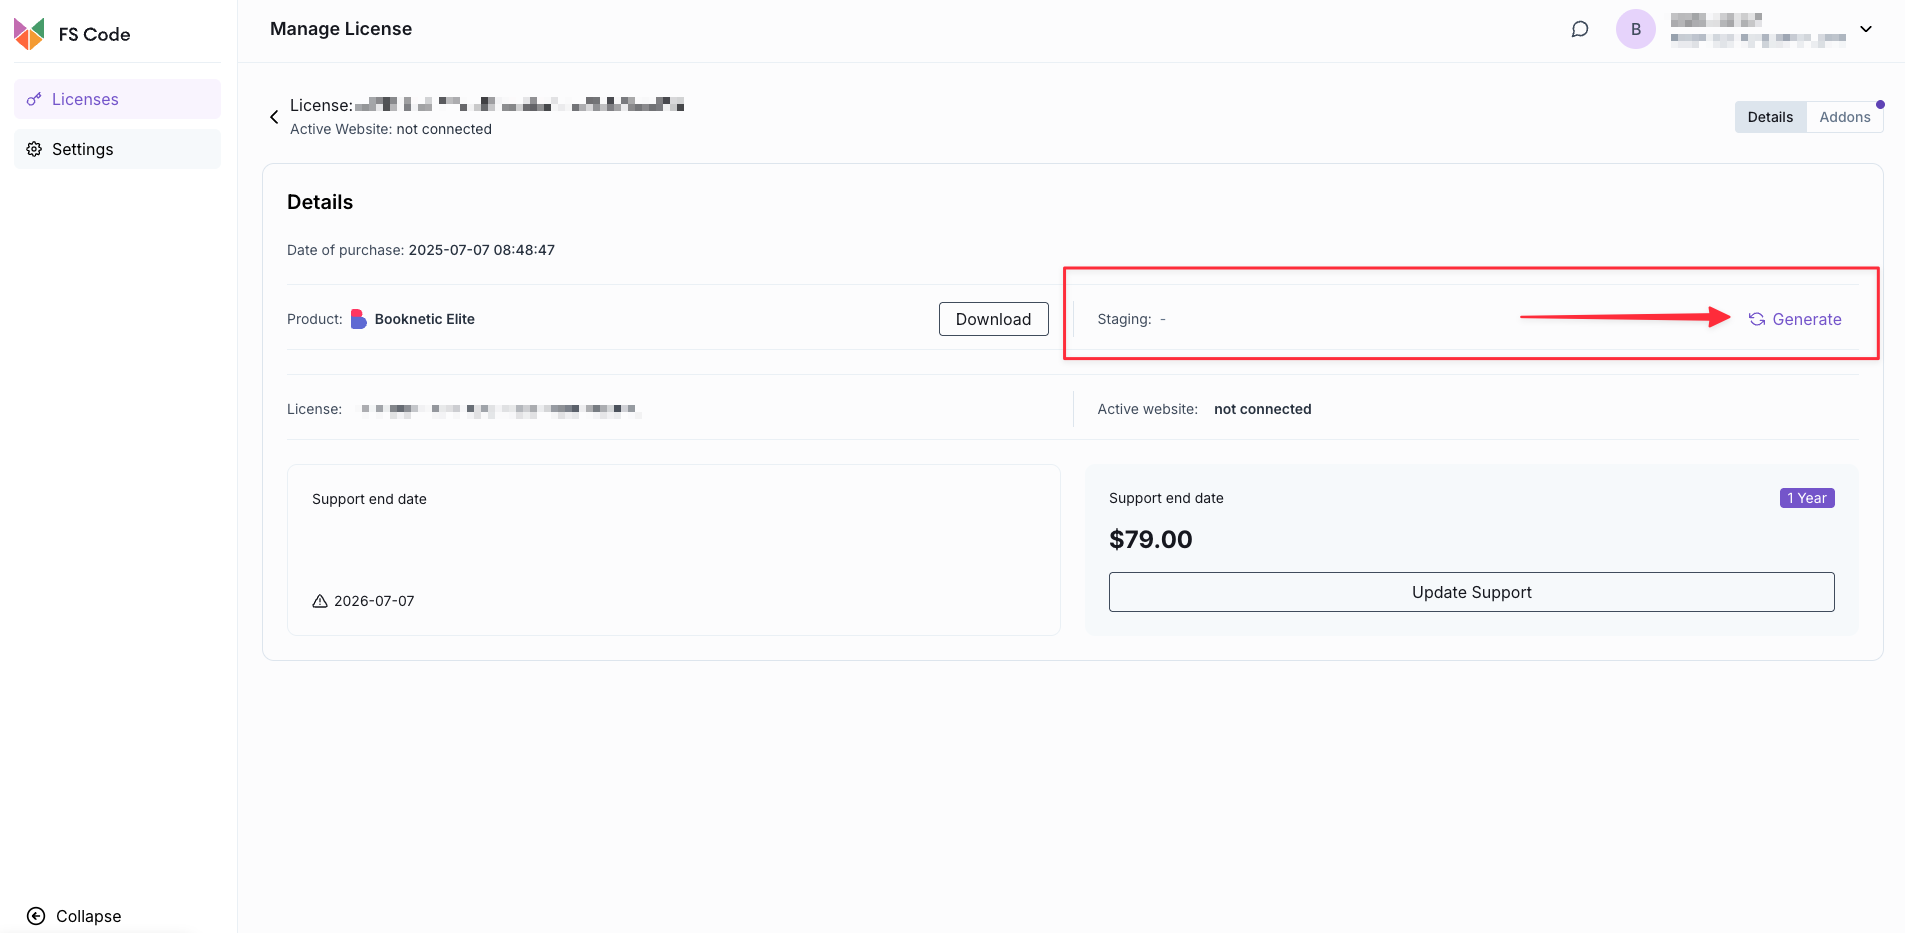
To generate a staging license:
Log in to your account at my.fs-code.com
Open your Booknetic license
Use the Generate button
Copy the generated staging license key
This staging license is exclusively intended for non-production environments and does not count as an additional paid license.
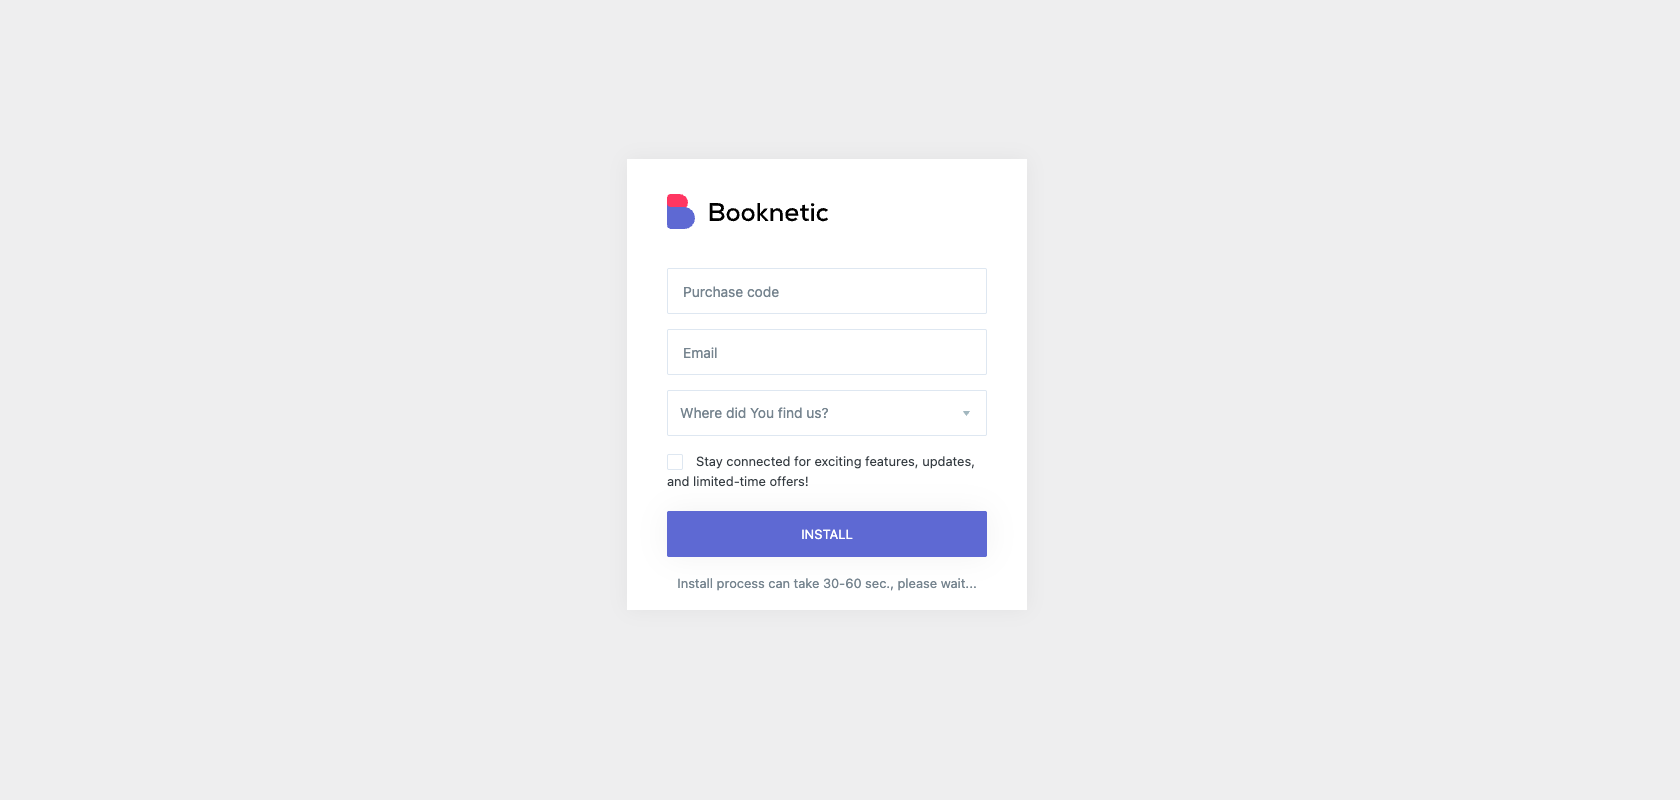
For setting up the Booknetic on your new WordPress site, you can refer to the Booknetic Installation Guide.
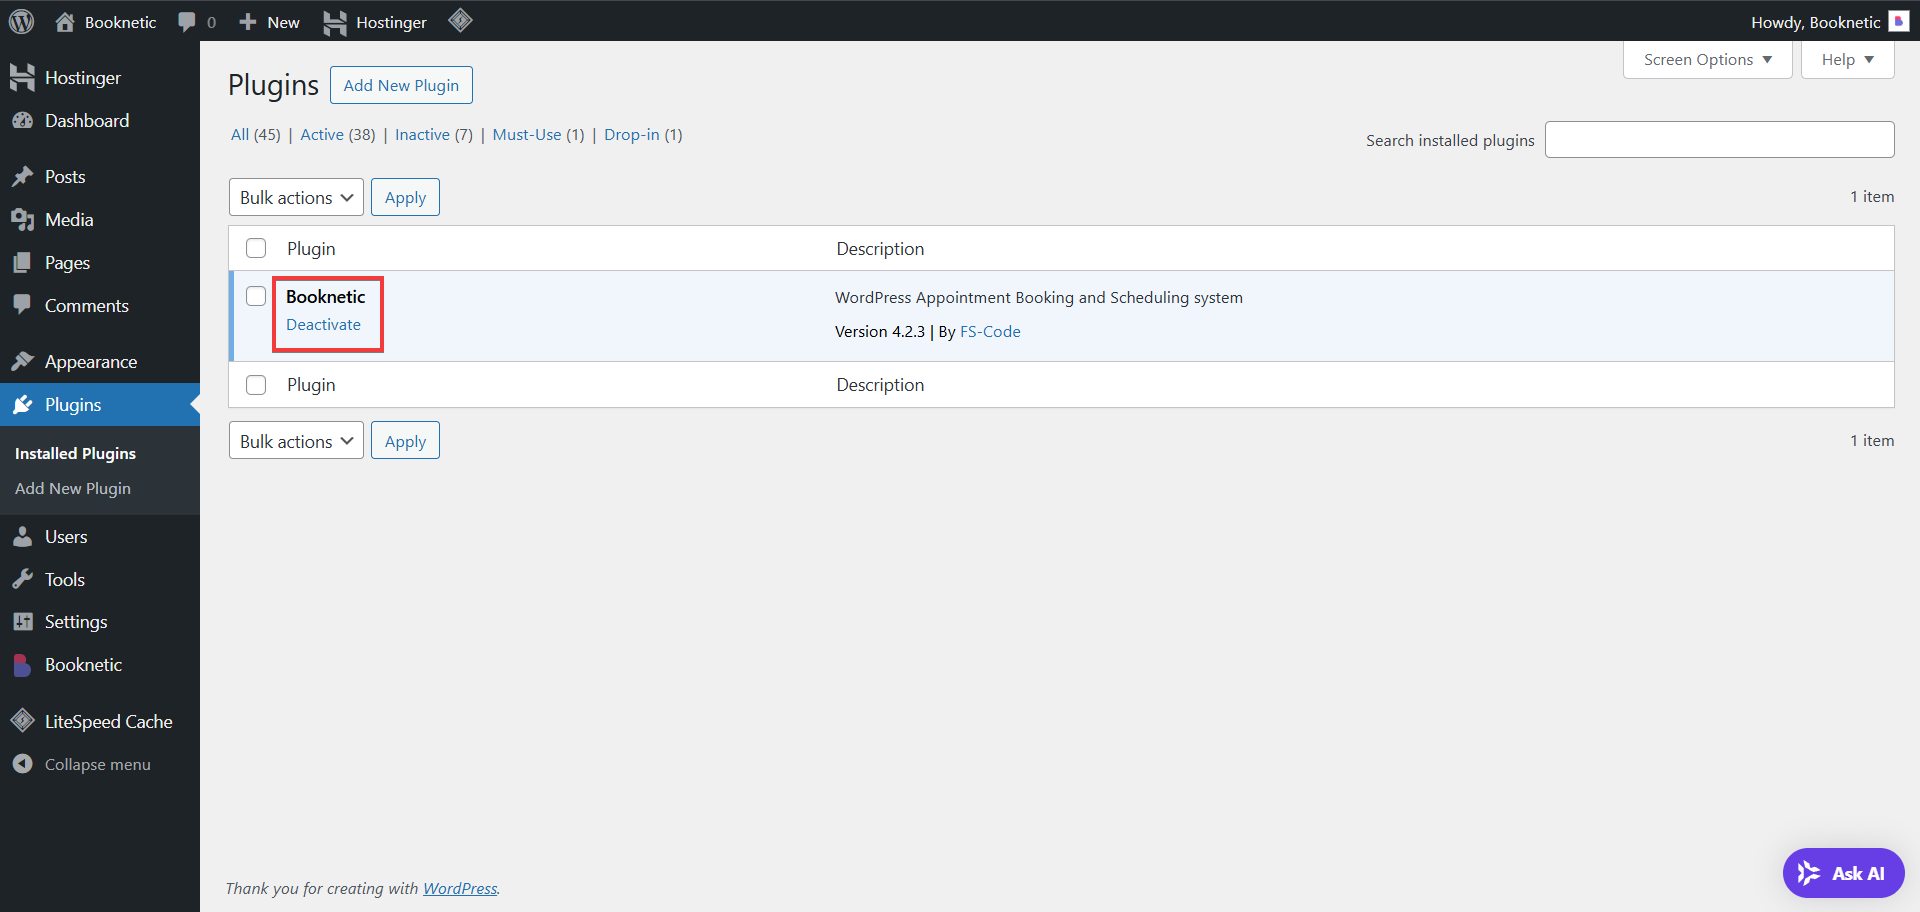
Once your staging site is set up, to double check that everything is alright, ensure Booknetic is properly installed and activated:
Navigate to Plugins > Installed Plugins.
Ensure Booknetic is active on the staging site.
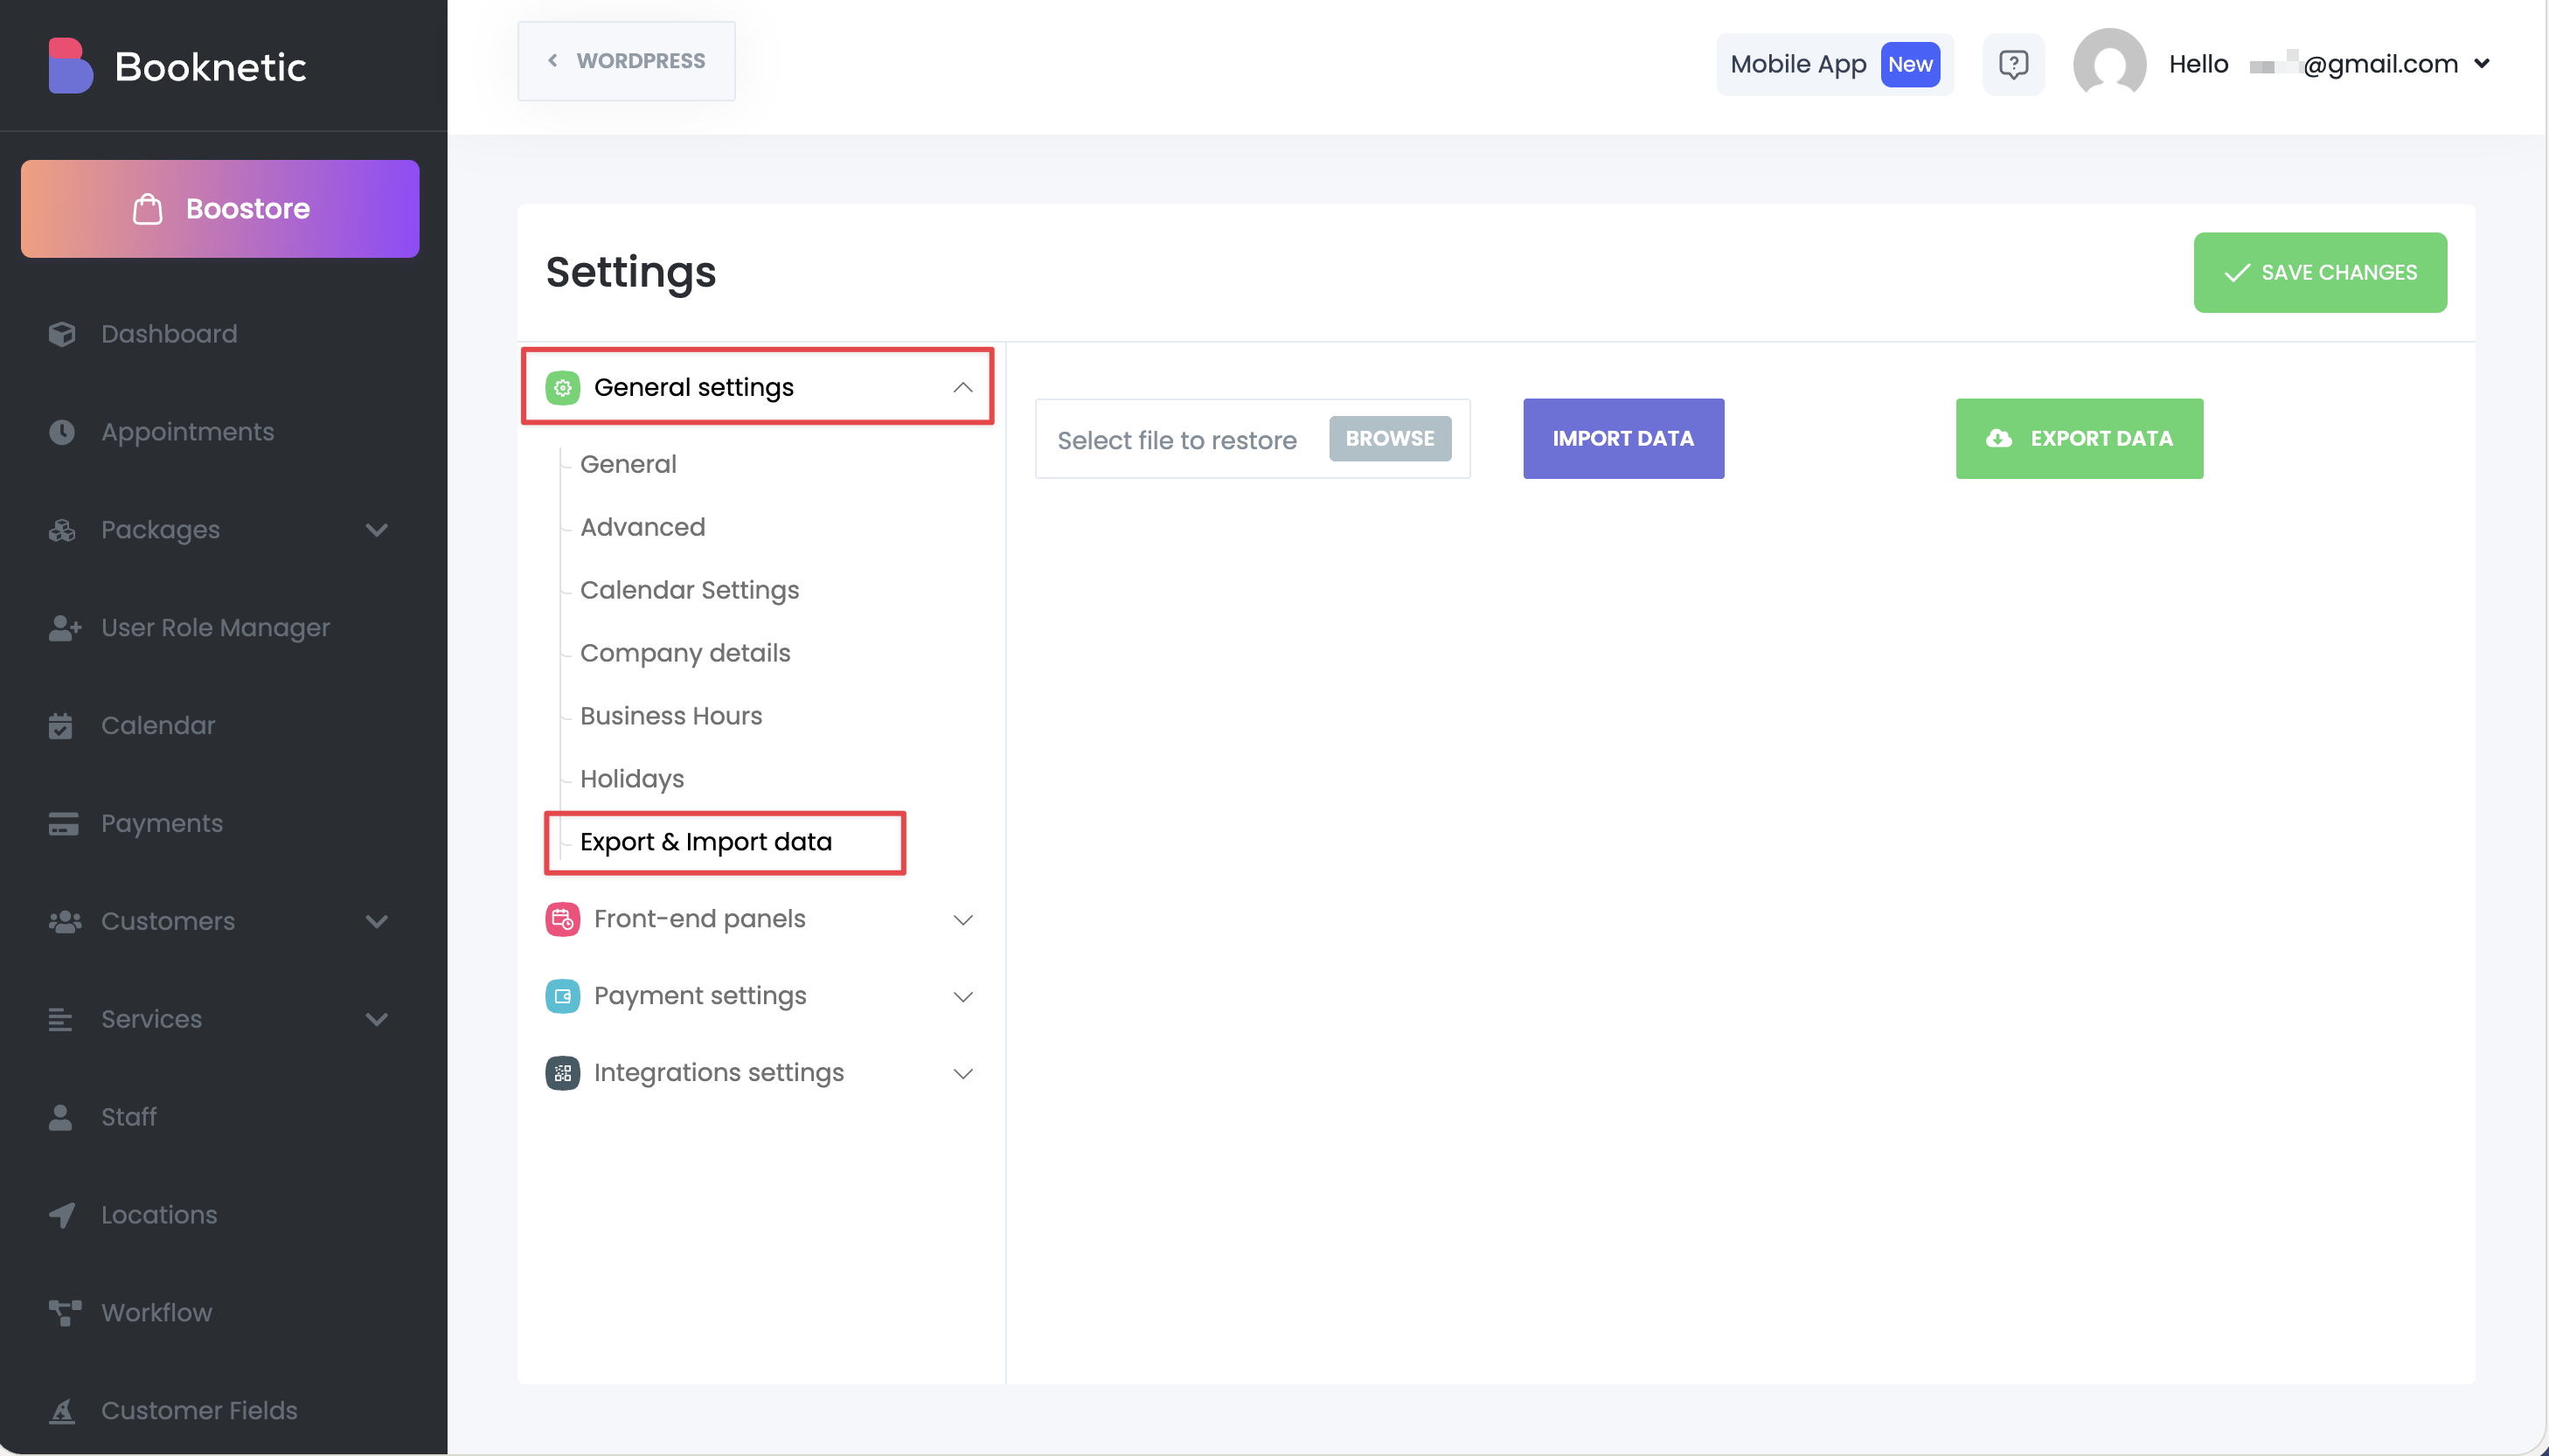
You can have the exact same setup as your production to make better testing.
Go to Booknetic > Settings > Import/Export Data on your production environment.
Click on the "Export data" button.
Go back to your staging environment
Import the exported data
To avoid sending real booking confirmation emails or sms messages to customers from your staging site, it’s recommended to disable notifications in Booknetic:
Go to Booknetic > Workflows.
Disable all of your Workflows.
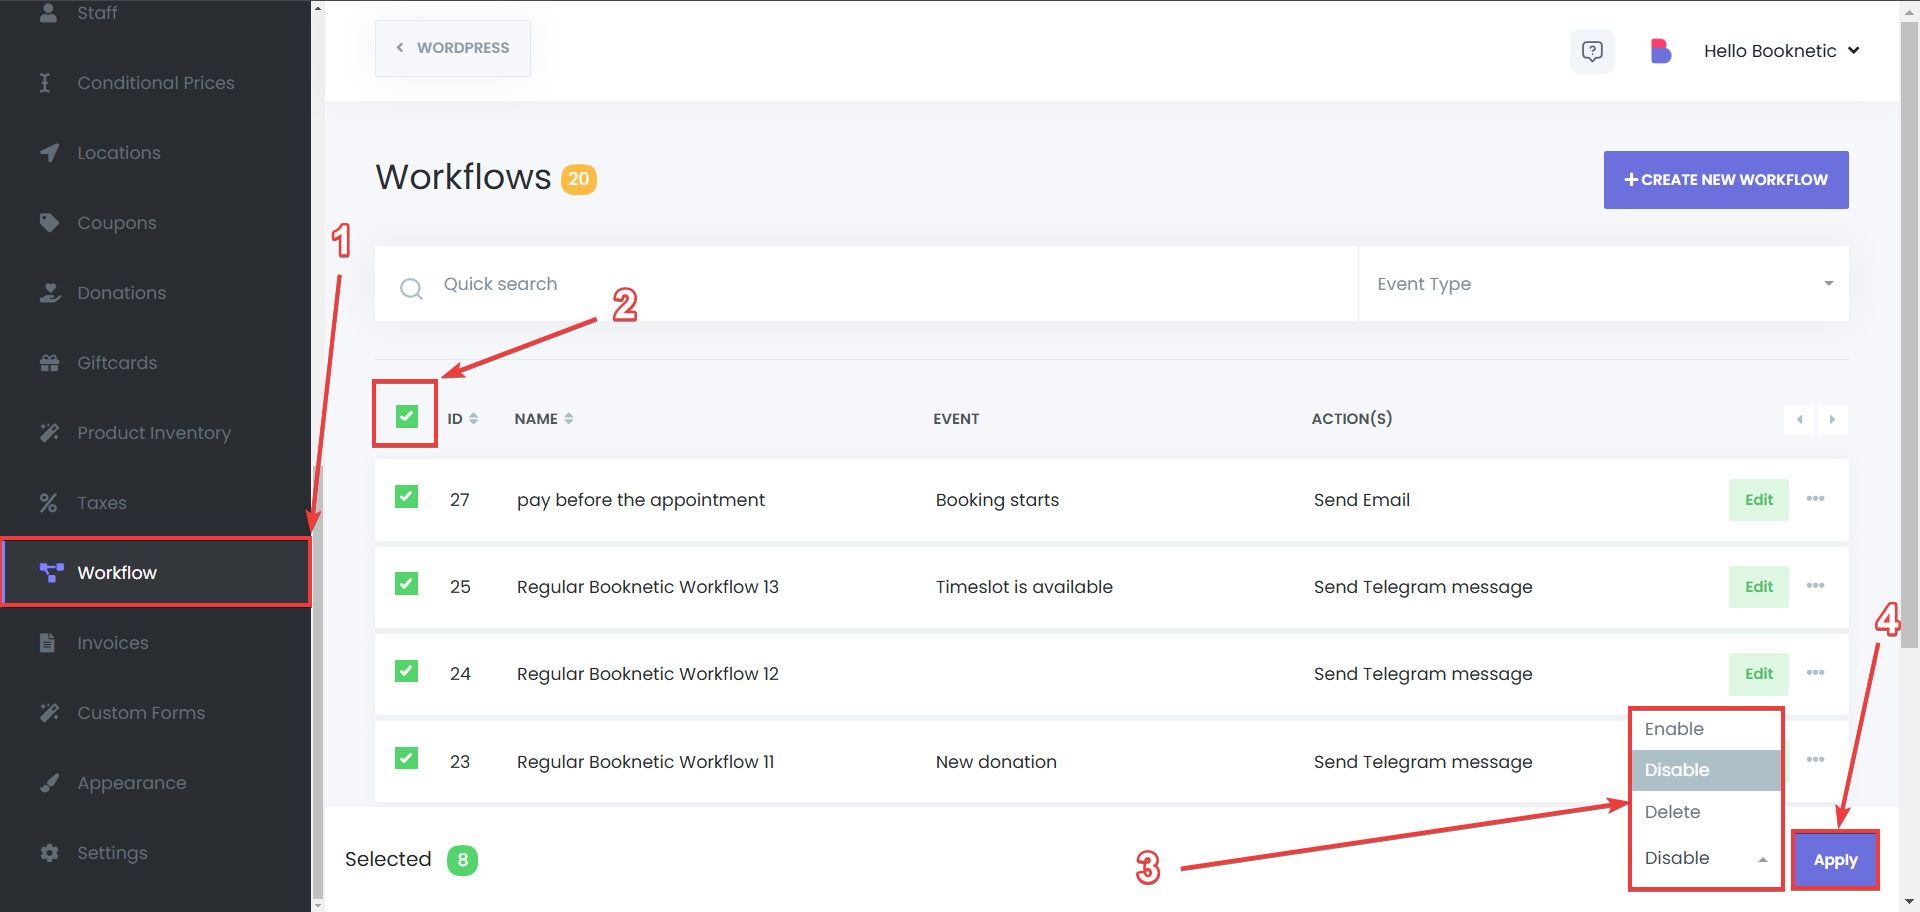
This step helps prevent confusion for your real customers.