Installing Booknetic
Installing Booknetic. Multi-purpose Appointment Booking Plugin For Wordpress.
By using this site, you agree to our Cookie Policy
Installing Booknetic. Multi-purpose Appointment Booking Plugin For Wordpress.
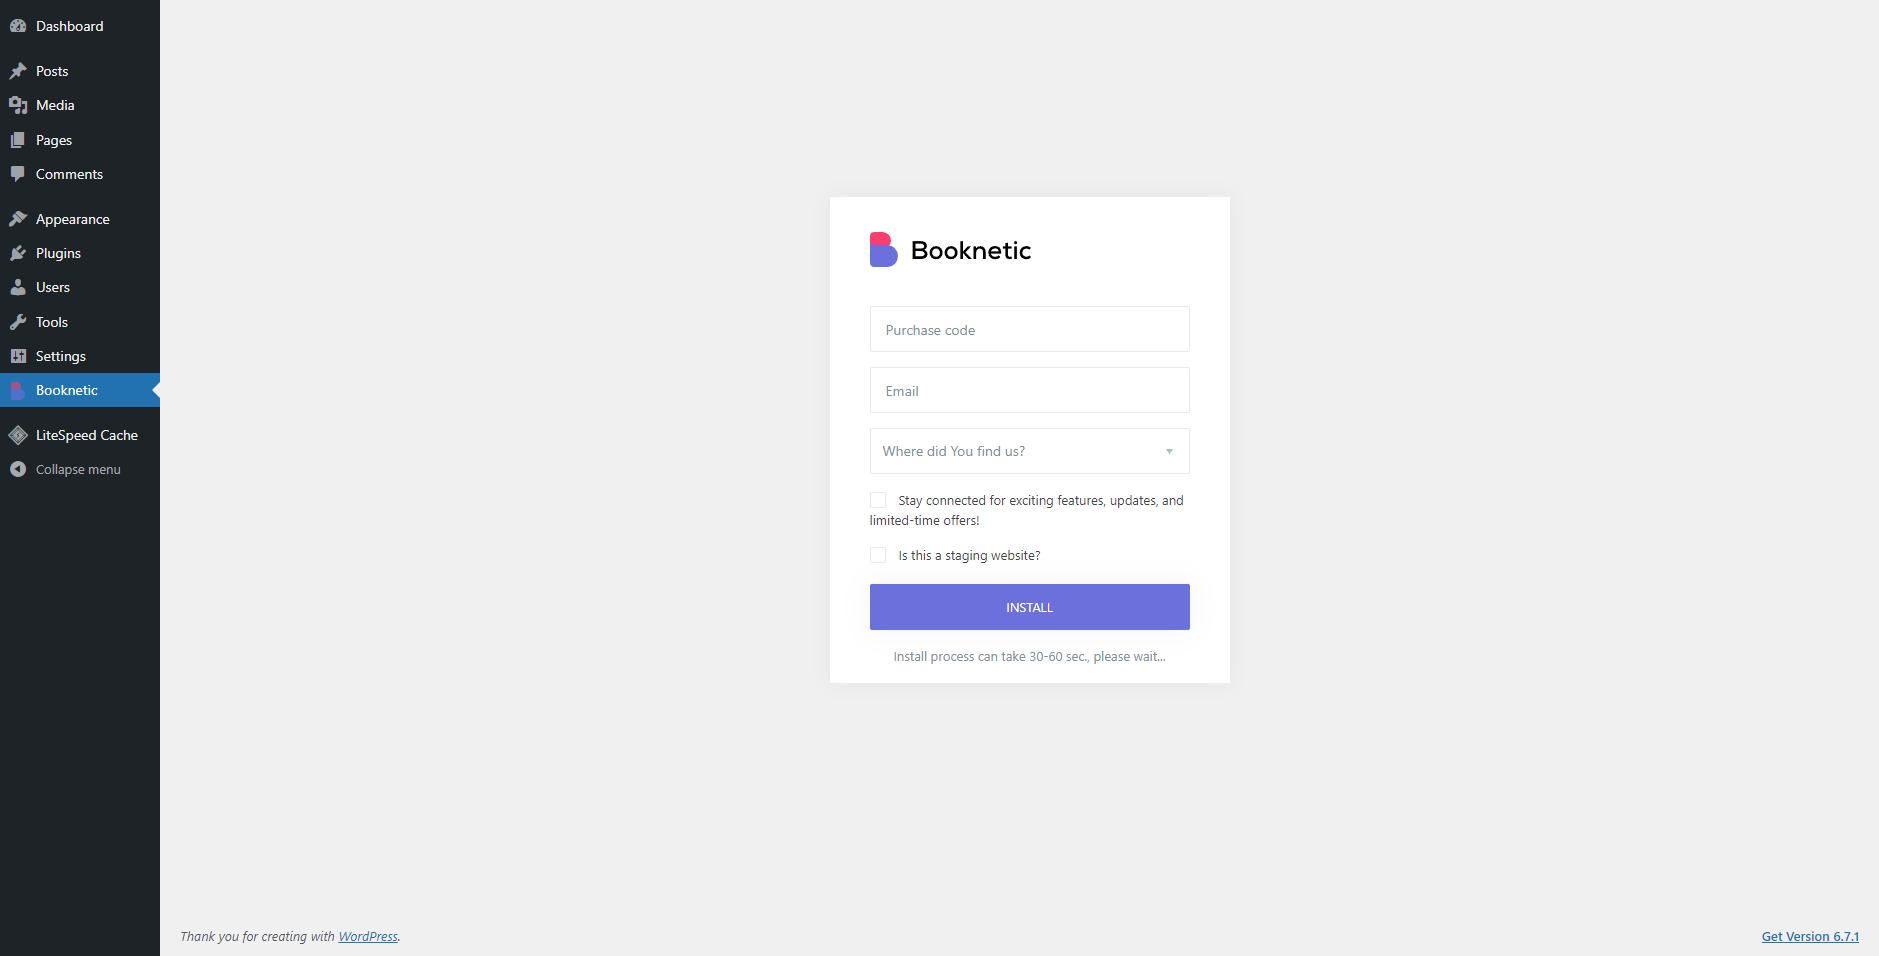
To install the Booknetic WordPress appointment plugin, please follow the steps below:
From Codecanyon:
From the Official Website (Booknetic.com):
From AppSumo:

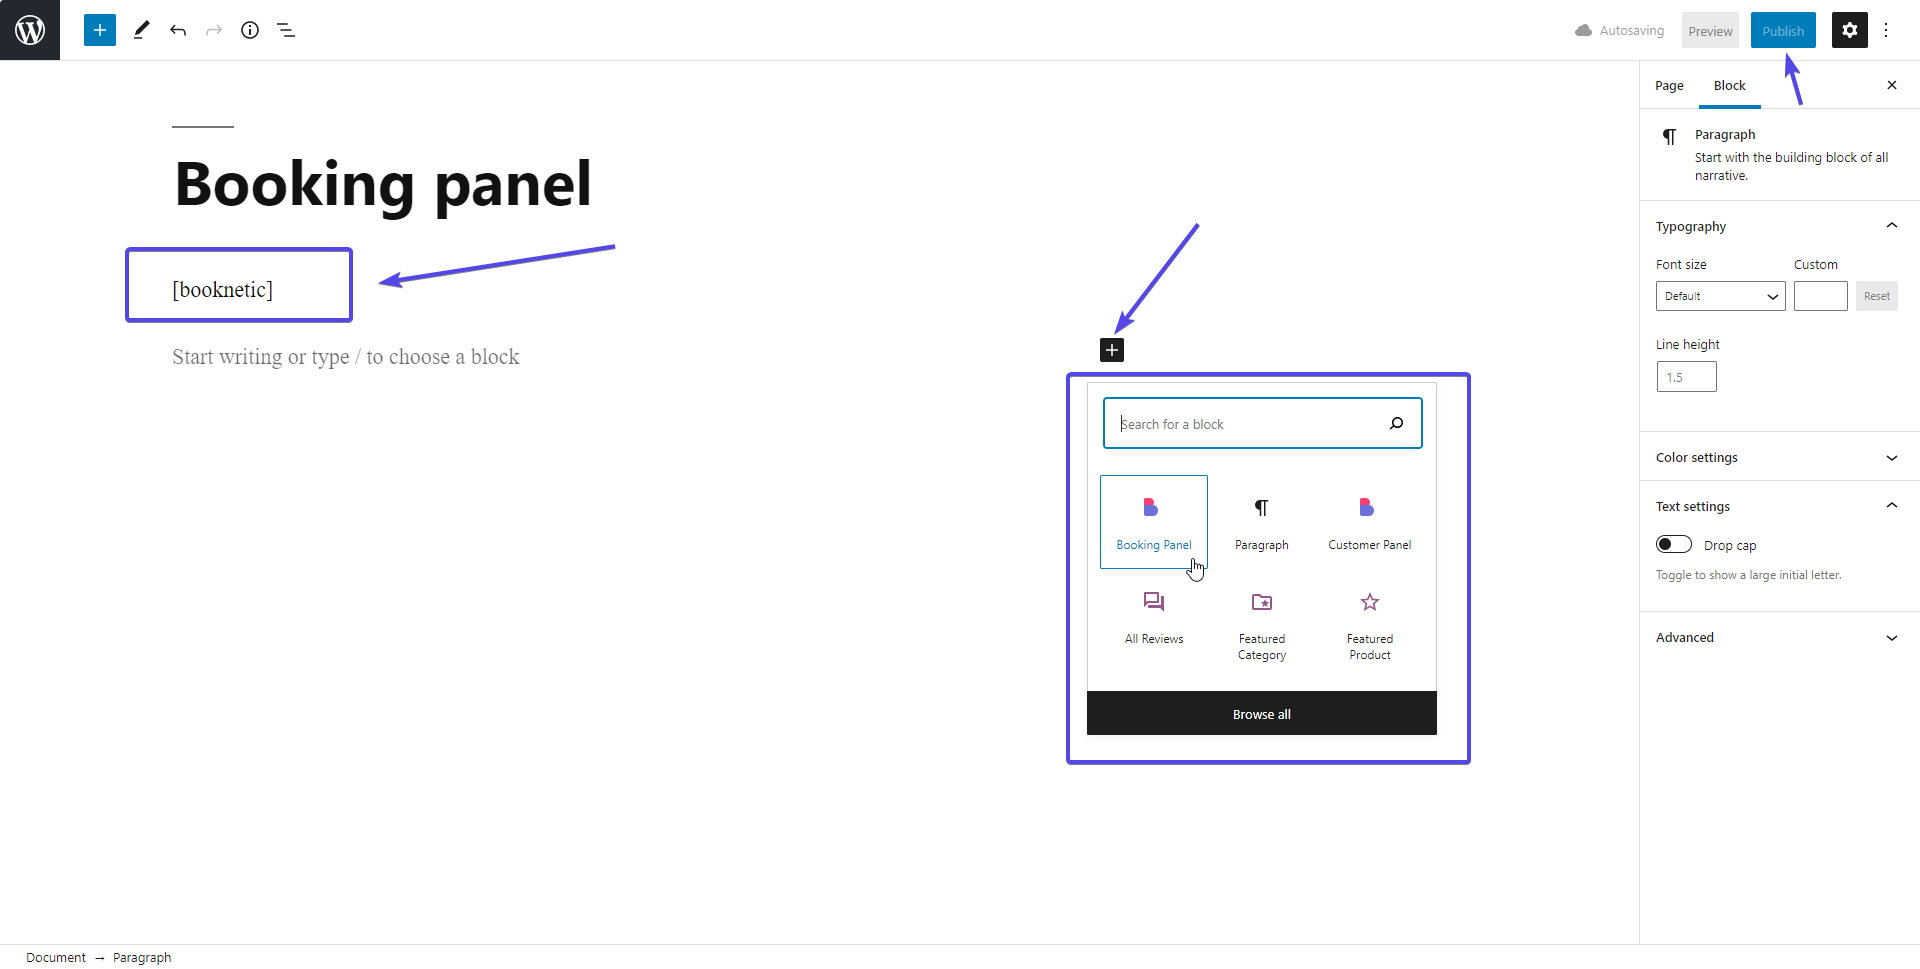
After installing the plugin, you will first need to place the Booking panel on any part of your website, to let your customers be able to book your services. You can edit the page and use the [booknetic] shortcode or click the + button to choose the Booking panel.
When you enter the page where you added the Booking panel, you will see that the booking panel is placed successfully. However, the installation of the plugin is not complete yet.
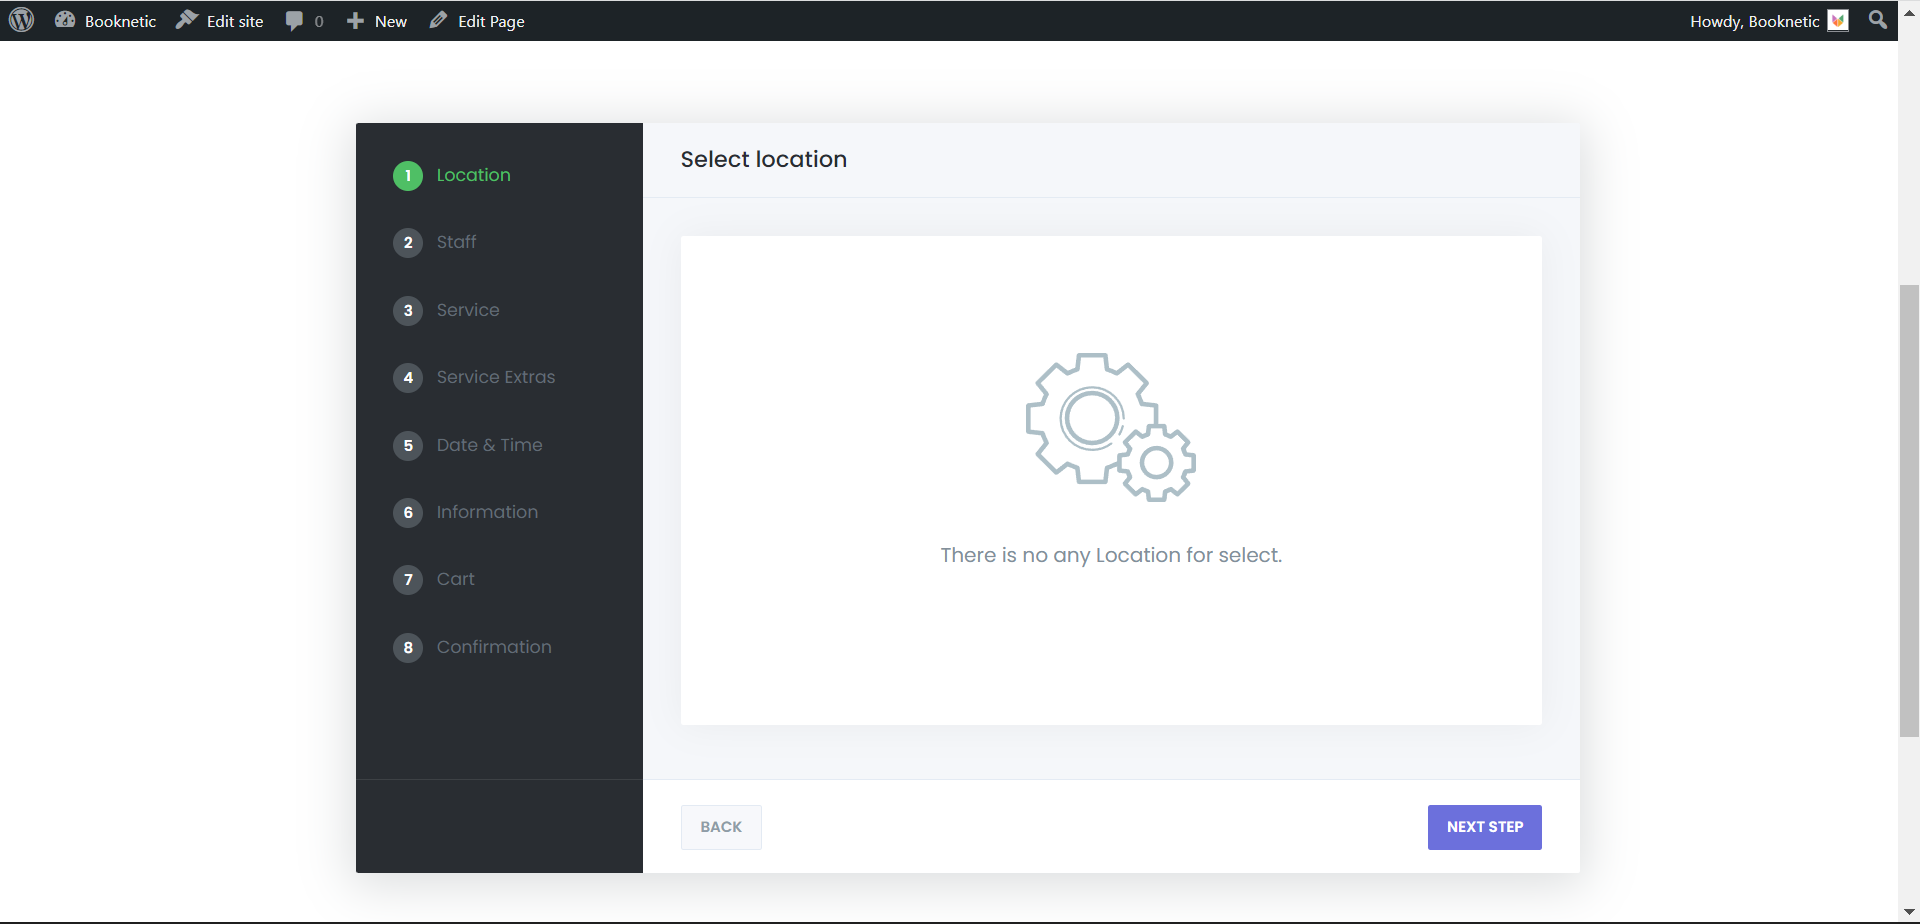
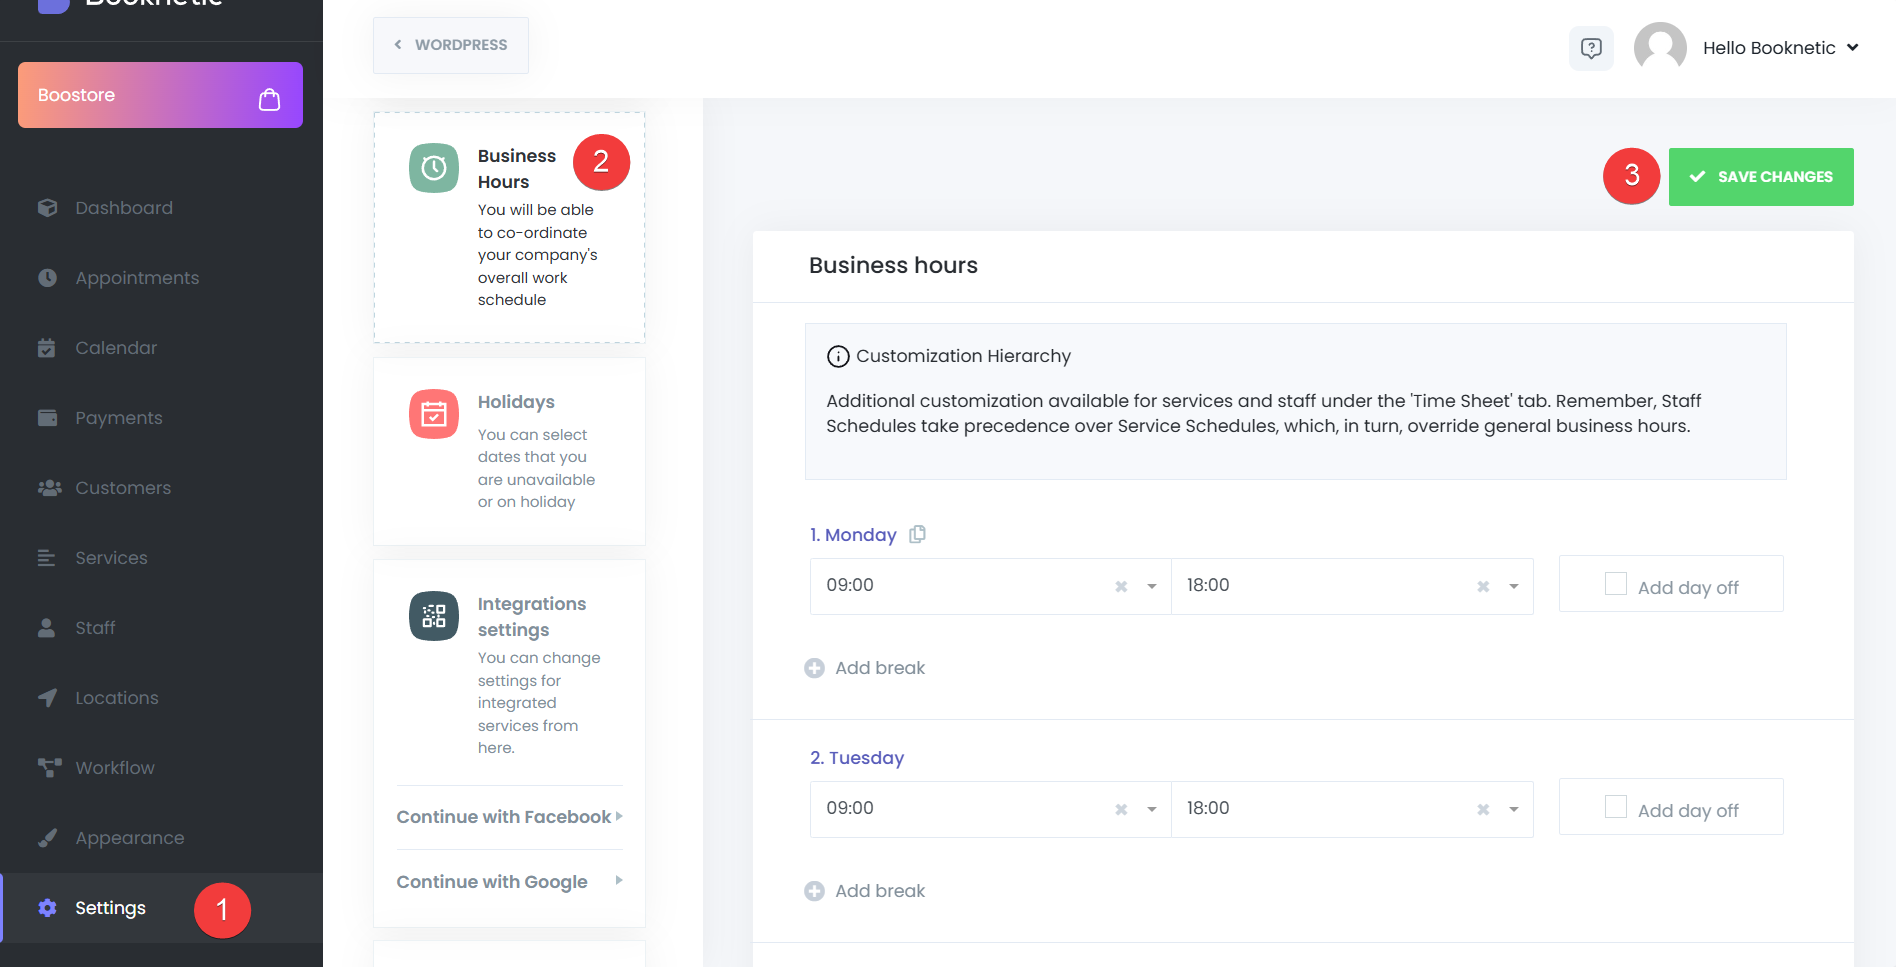
For your Booking panel to start doing its job, you need to set Working Hours, Location, and Staff. Let's start with working hours first. You can set working hours suitable for each service and staff. You can also set general working hours for your business. To do this, we go to the Settings > BusinessHours tab.
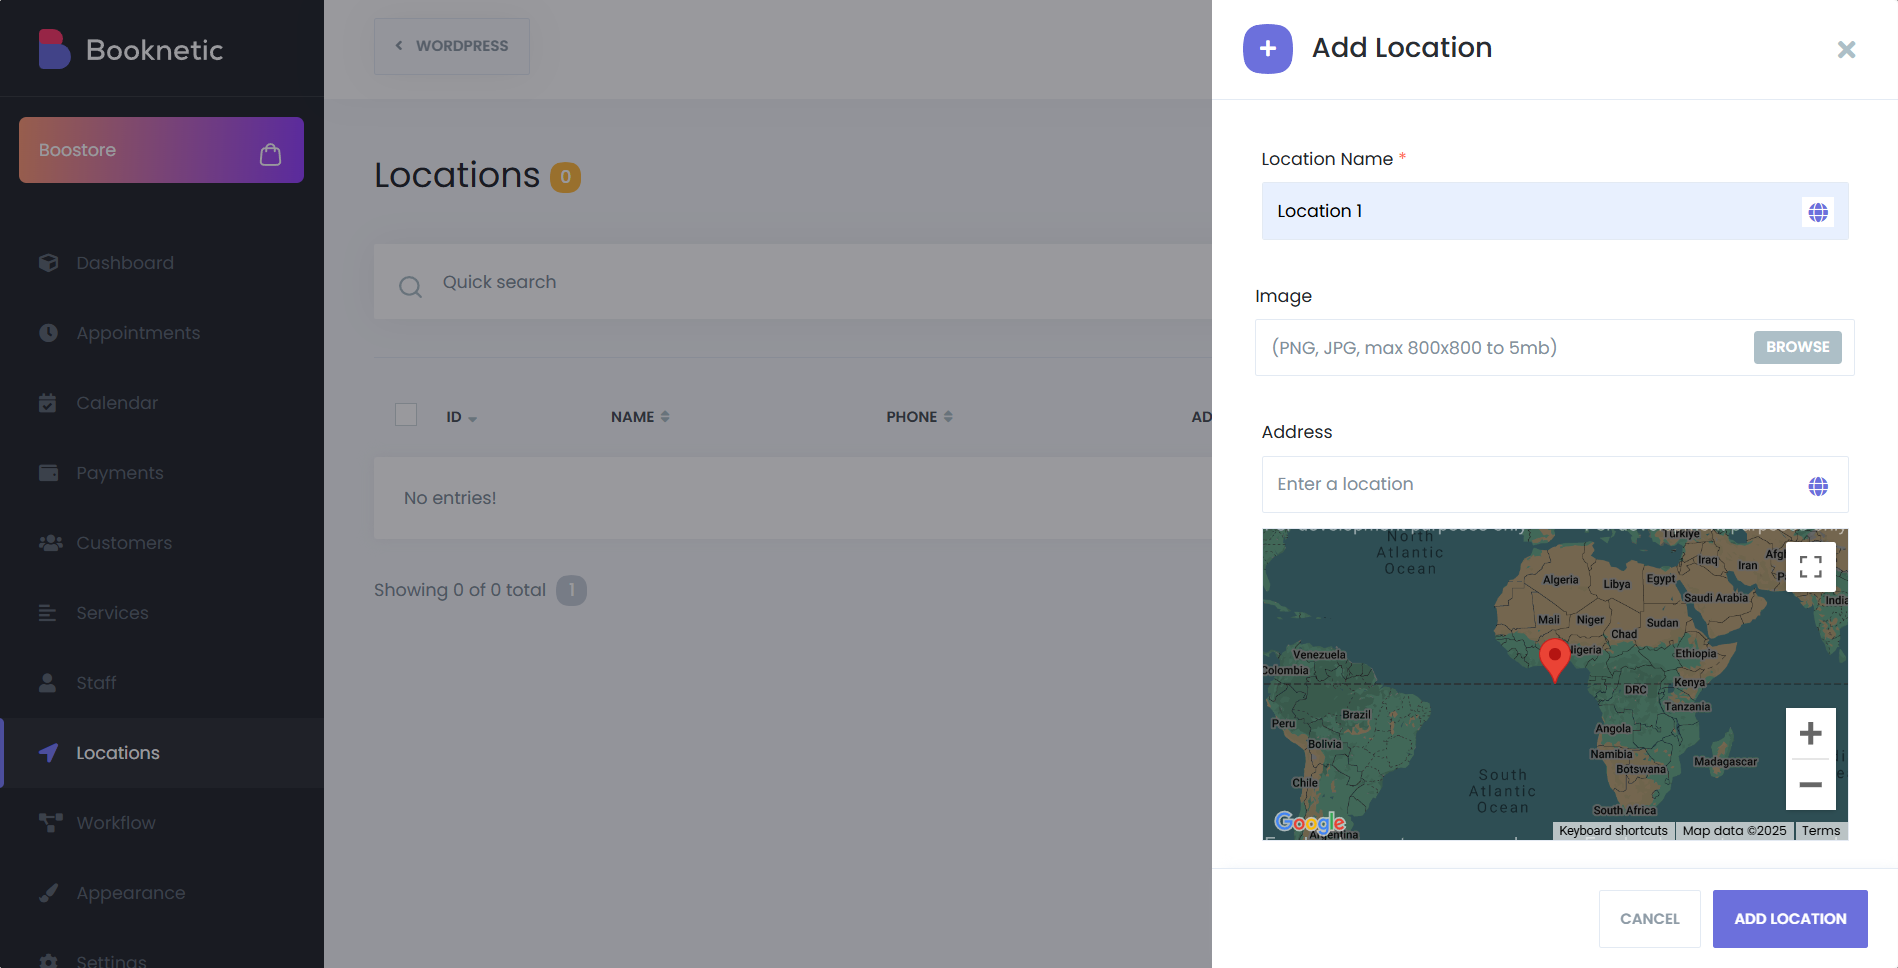
Then, you need to go to the Location tab and add a new location for your service.
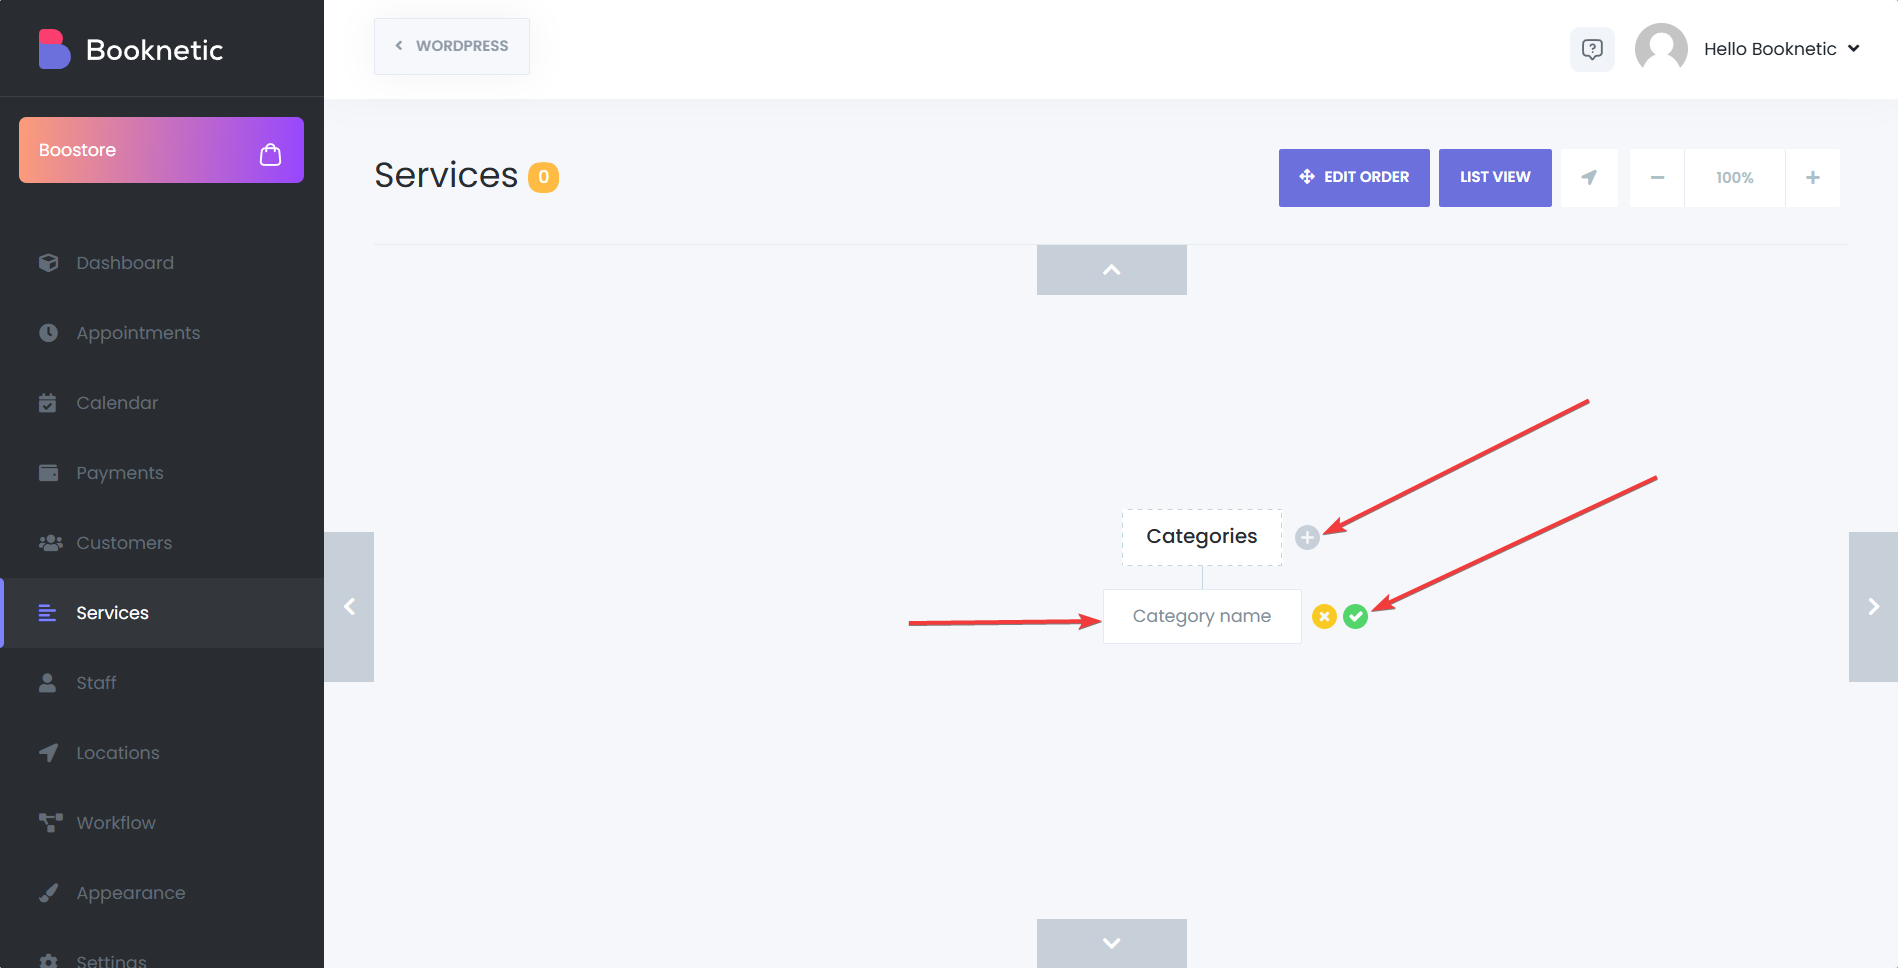
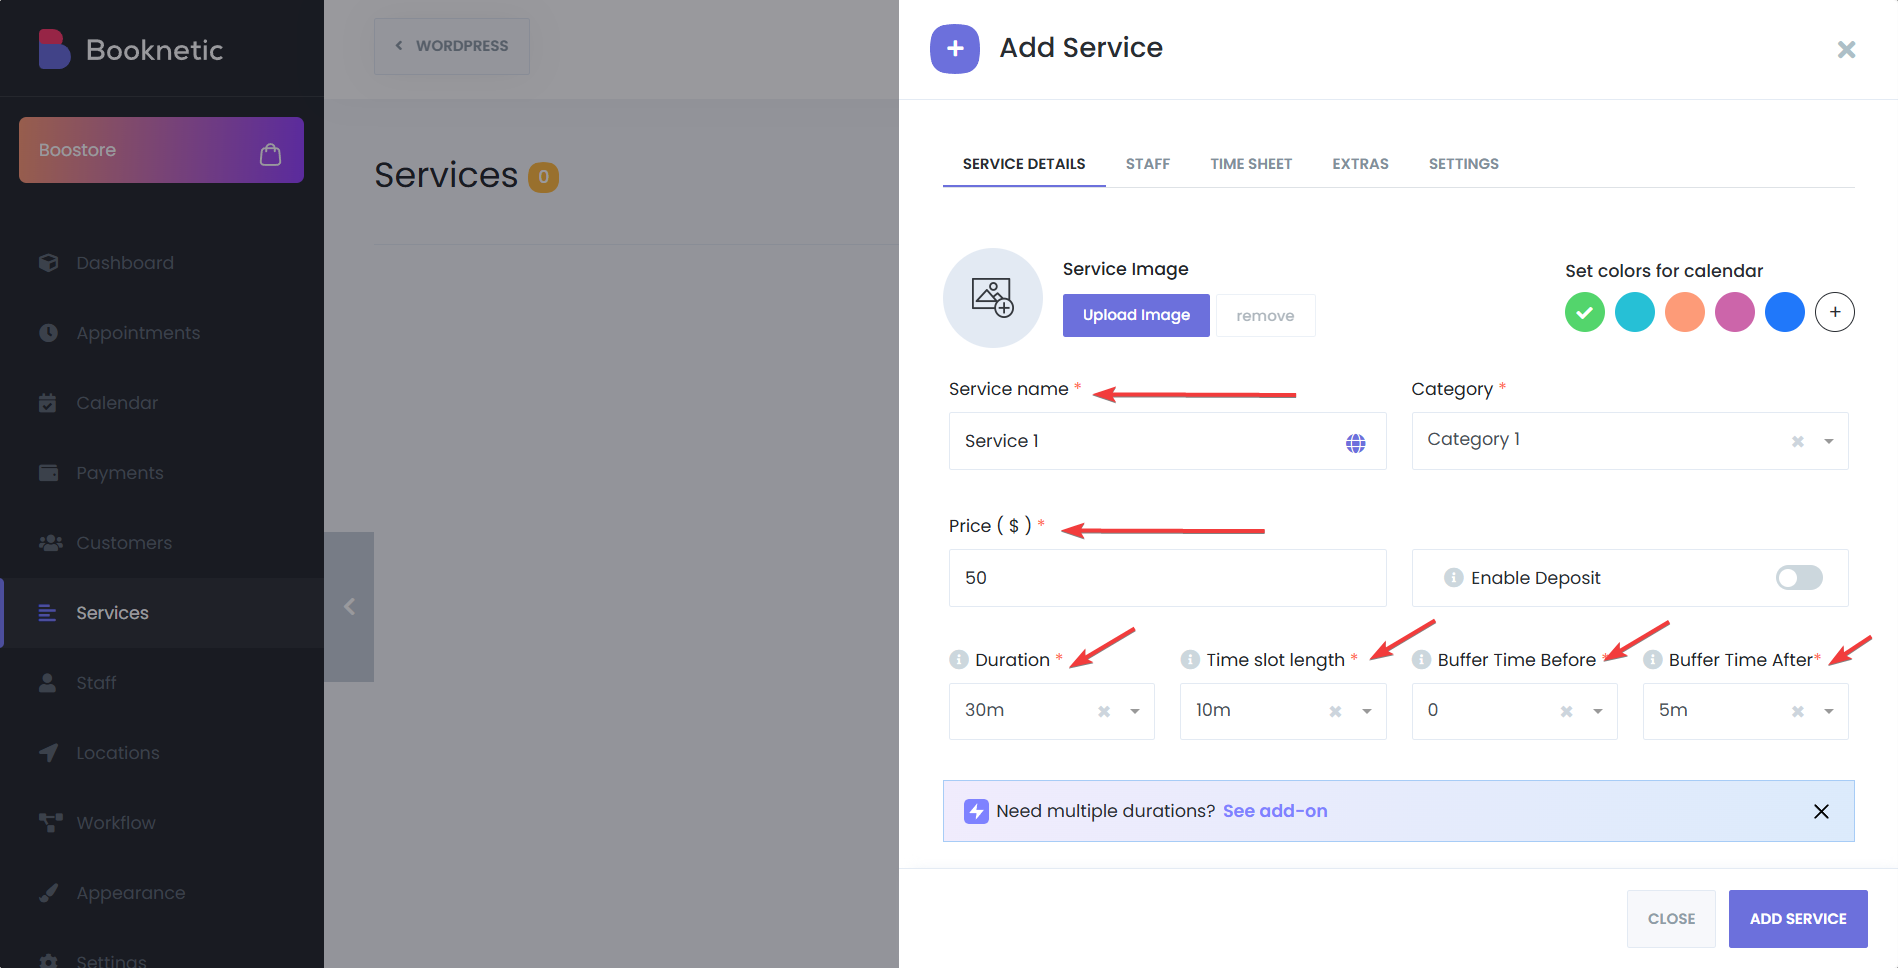
The next step you need to do after adding a location is to add a new service. To do this, you need to go to the Services tab to create a category.
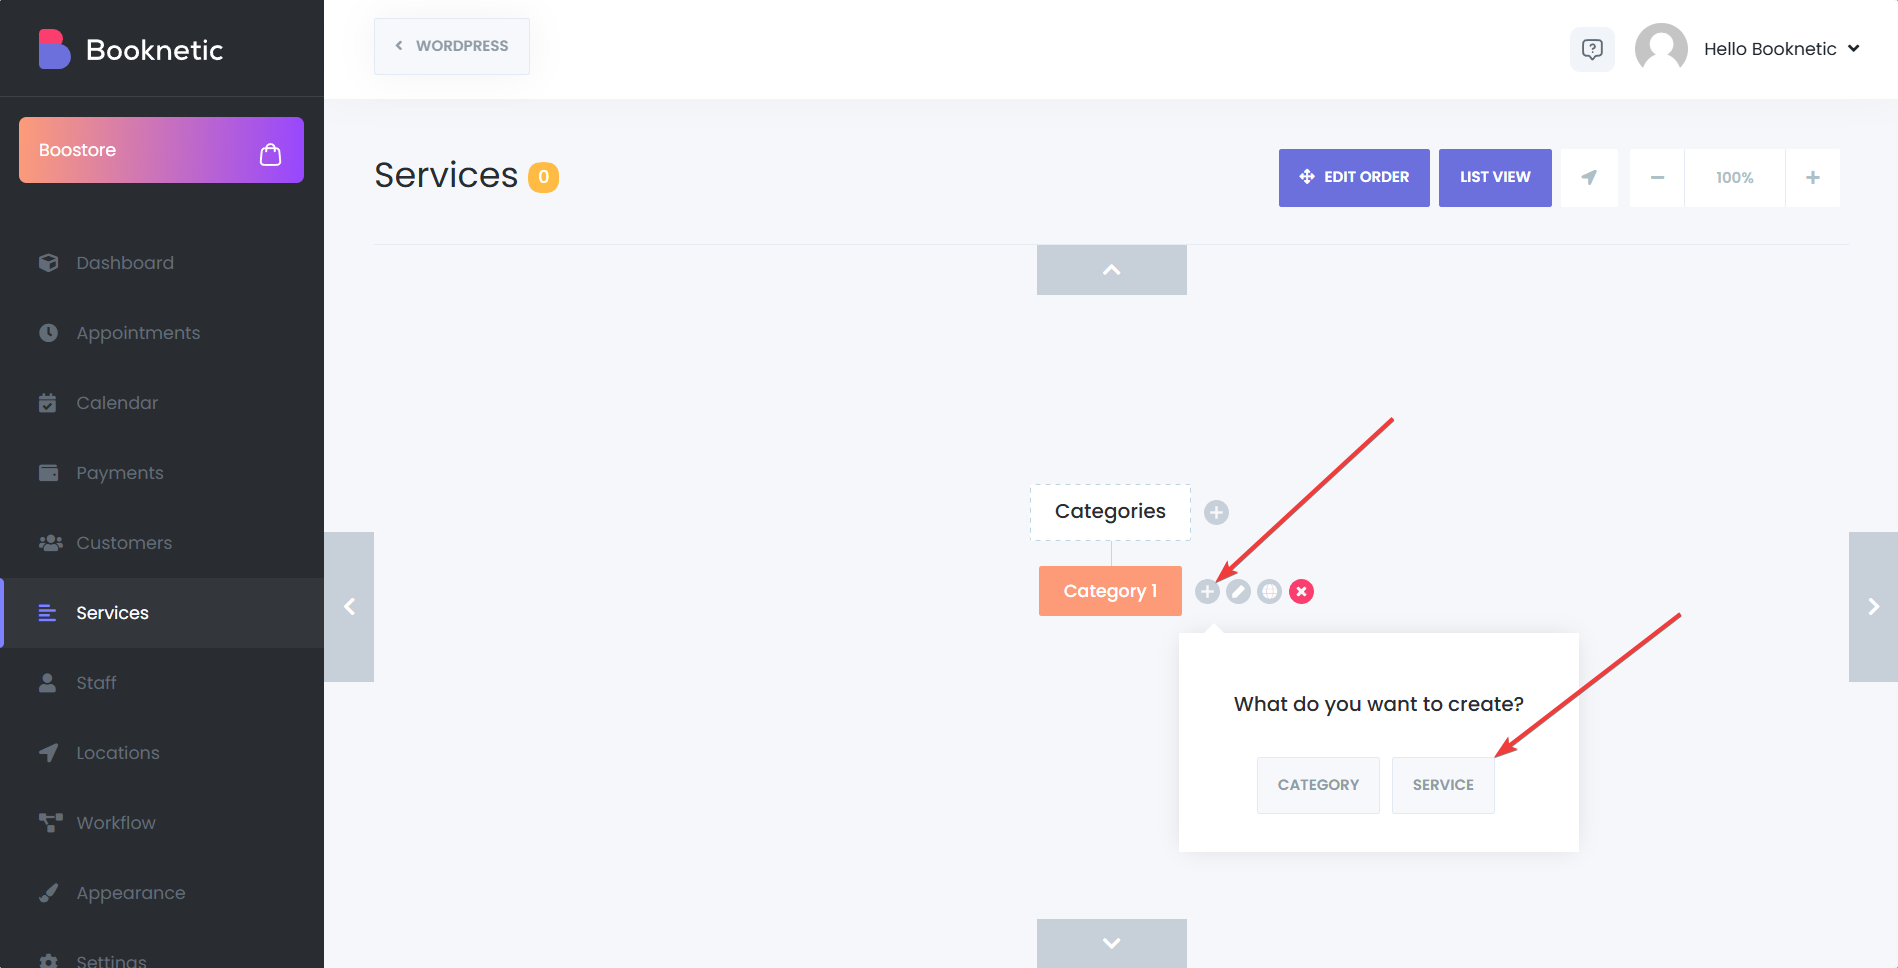
After adding a category, the next step is to create a new service under this category. Or, if you have many services, you can categorize them more, by creating another sub-category first, then creating the service under that sub-category. This will ensure that your services are organized in the booking panel, which will should your customers with their booking process.
The service name, price, duration, time slot length, buffer time before and buffer time after are important when adding a service. You can also set a picture for your service, enable deposit for that particular service, set a color for that service for the calendar, and do many more. You can learn more, by checking the documentation page of the services in Booknetic.
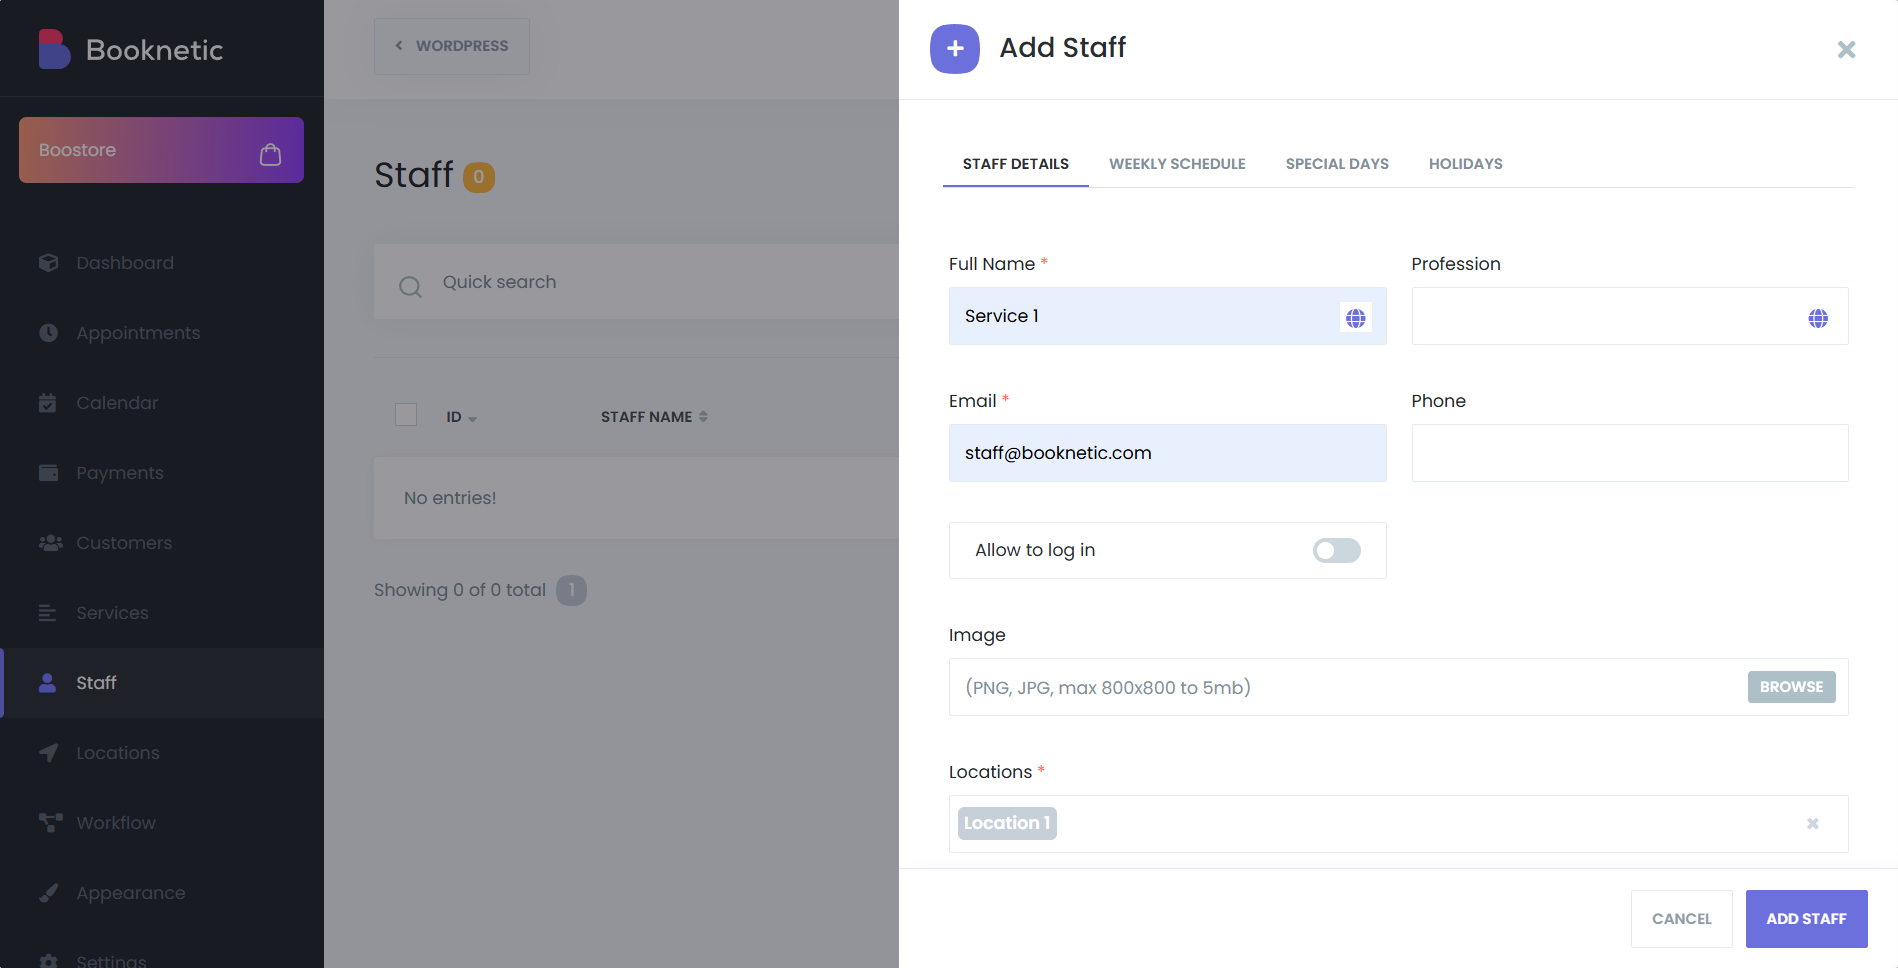
After successfully adding the service, all that remains is to add a Staff. For this, you need to go to the Staff tab and add a new Staff. When adding Staff, you must assign this Staff to the location and service you created.
Everything is ready! The booking panel is ready for you to use and is waiting for your orders!