The Continue with Google button integration in Booknetic allows your customers to sign up and log in to your booking system using their Google account. This feature streamlines the login process, providing a faster and more secure alternative to traditional sign-up methods.
Setting Up the Google Integration
To enable the Continue with Google button, you need to set up OAuth 2.0 credentials via the Google Developers Console. Follow these steps to get started:
Step 1: Create a New Project in Google Developers Console
- Go to Google Developers Console.
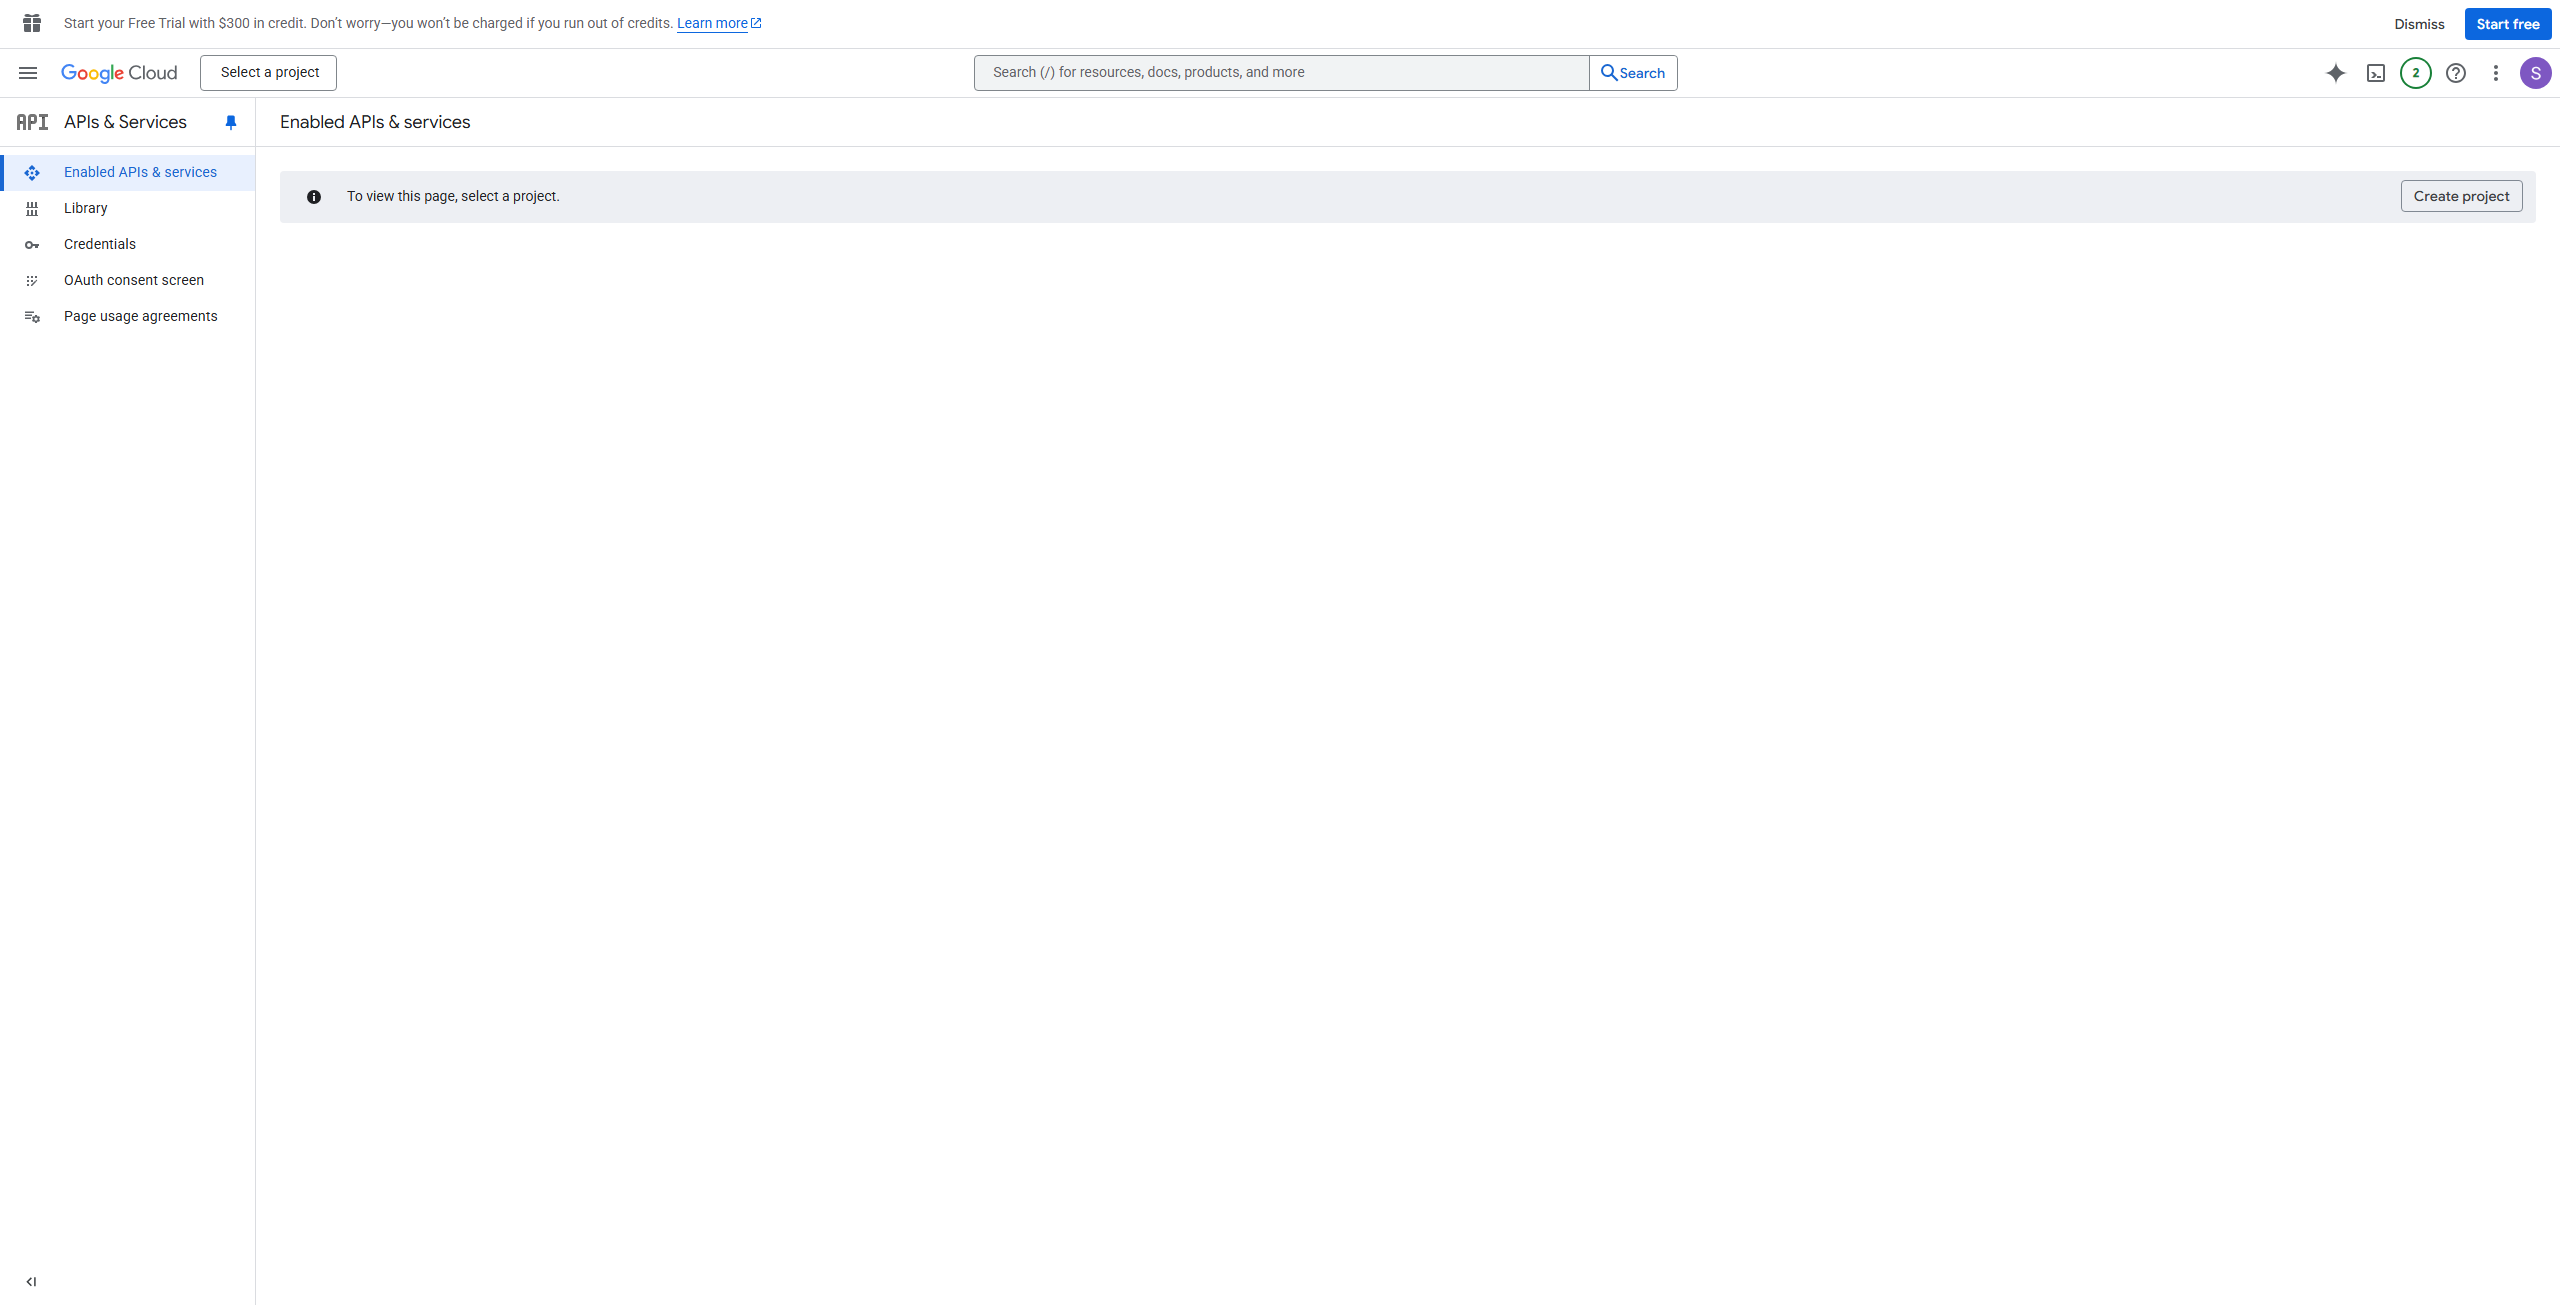
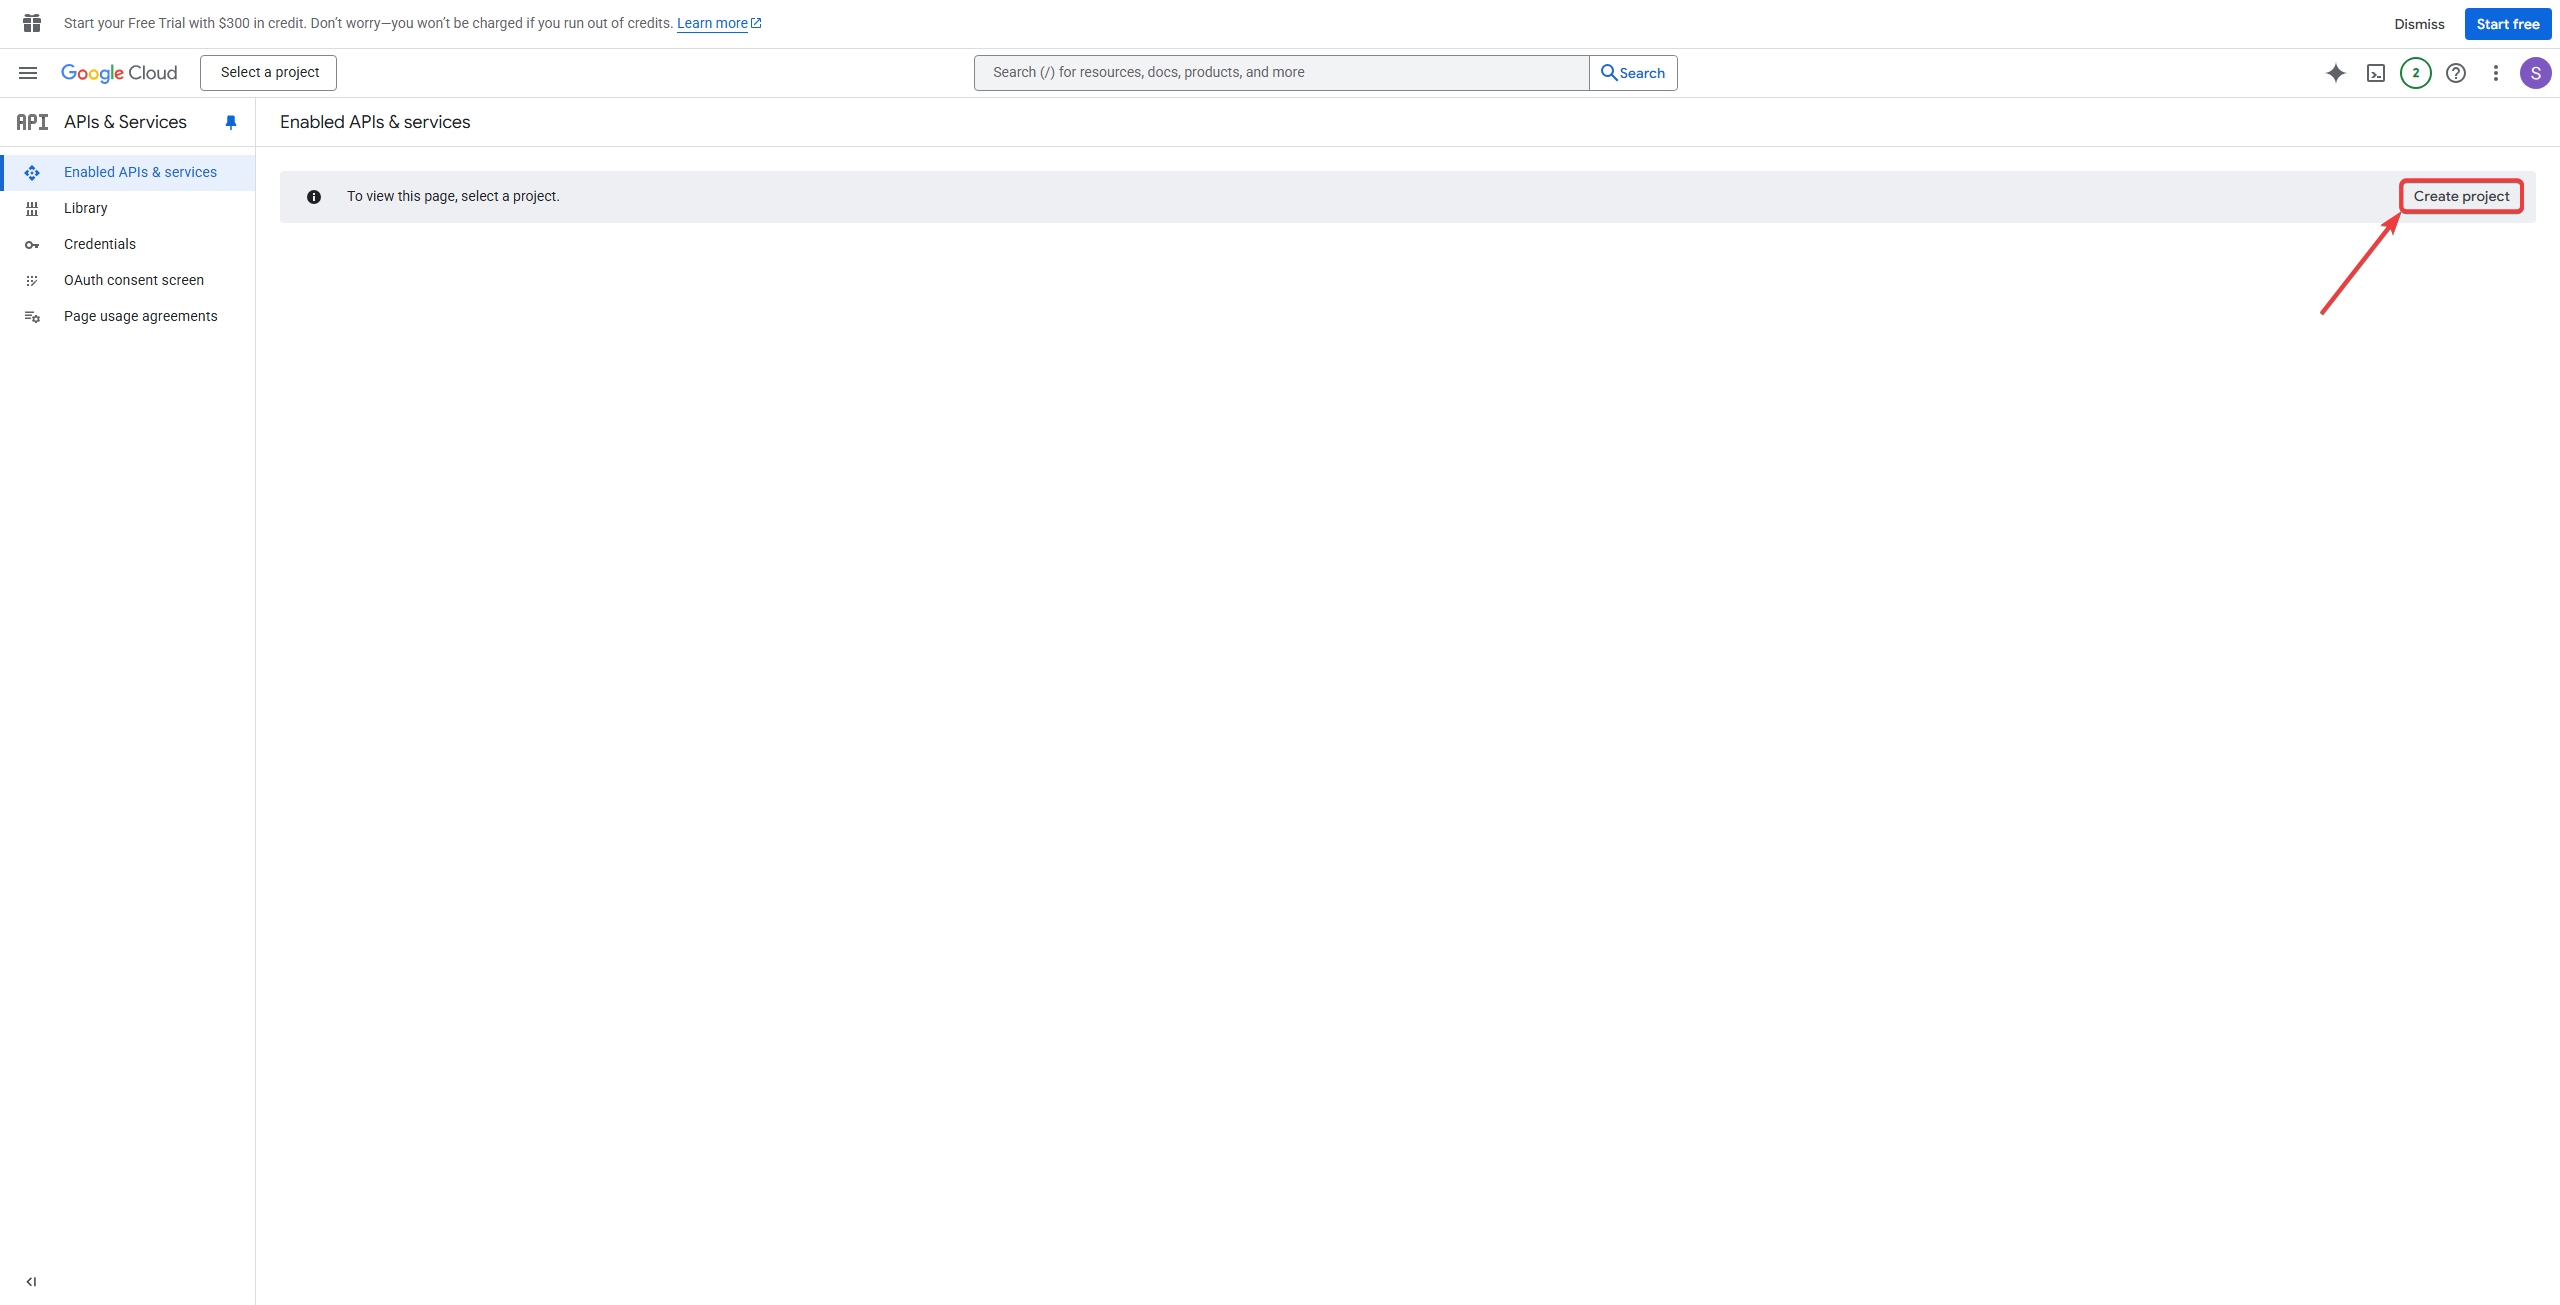
- Click on the "Create Project" button.
- Give your project a name and click on the "Create" button.

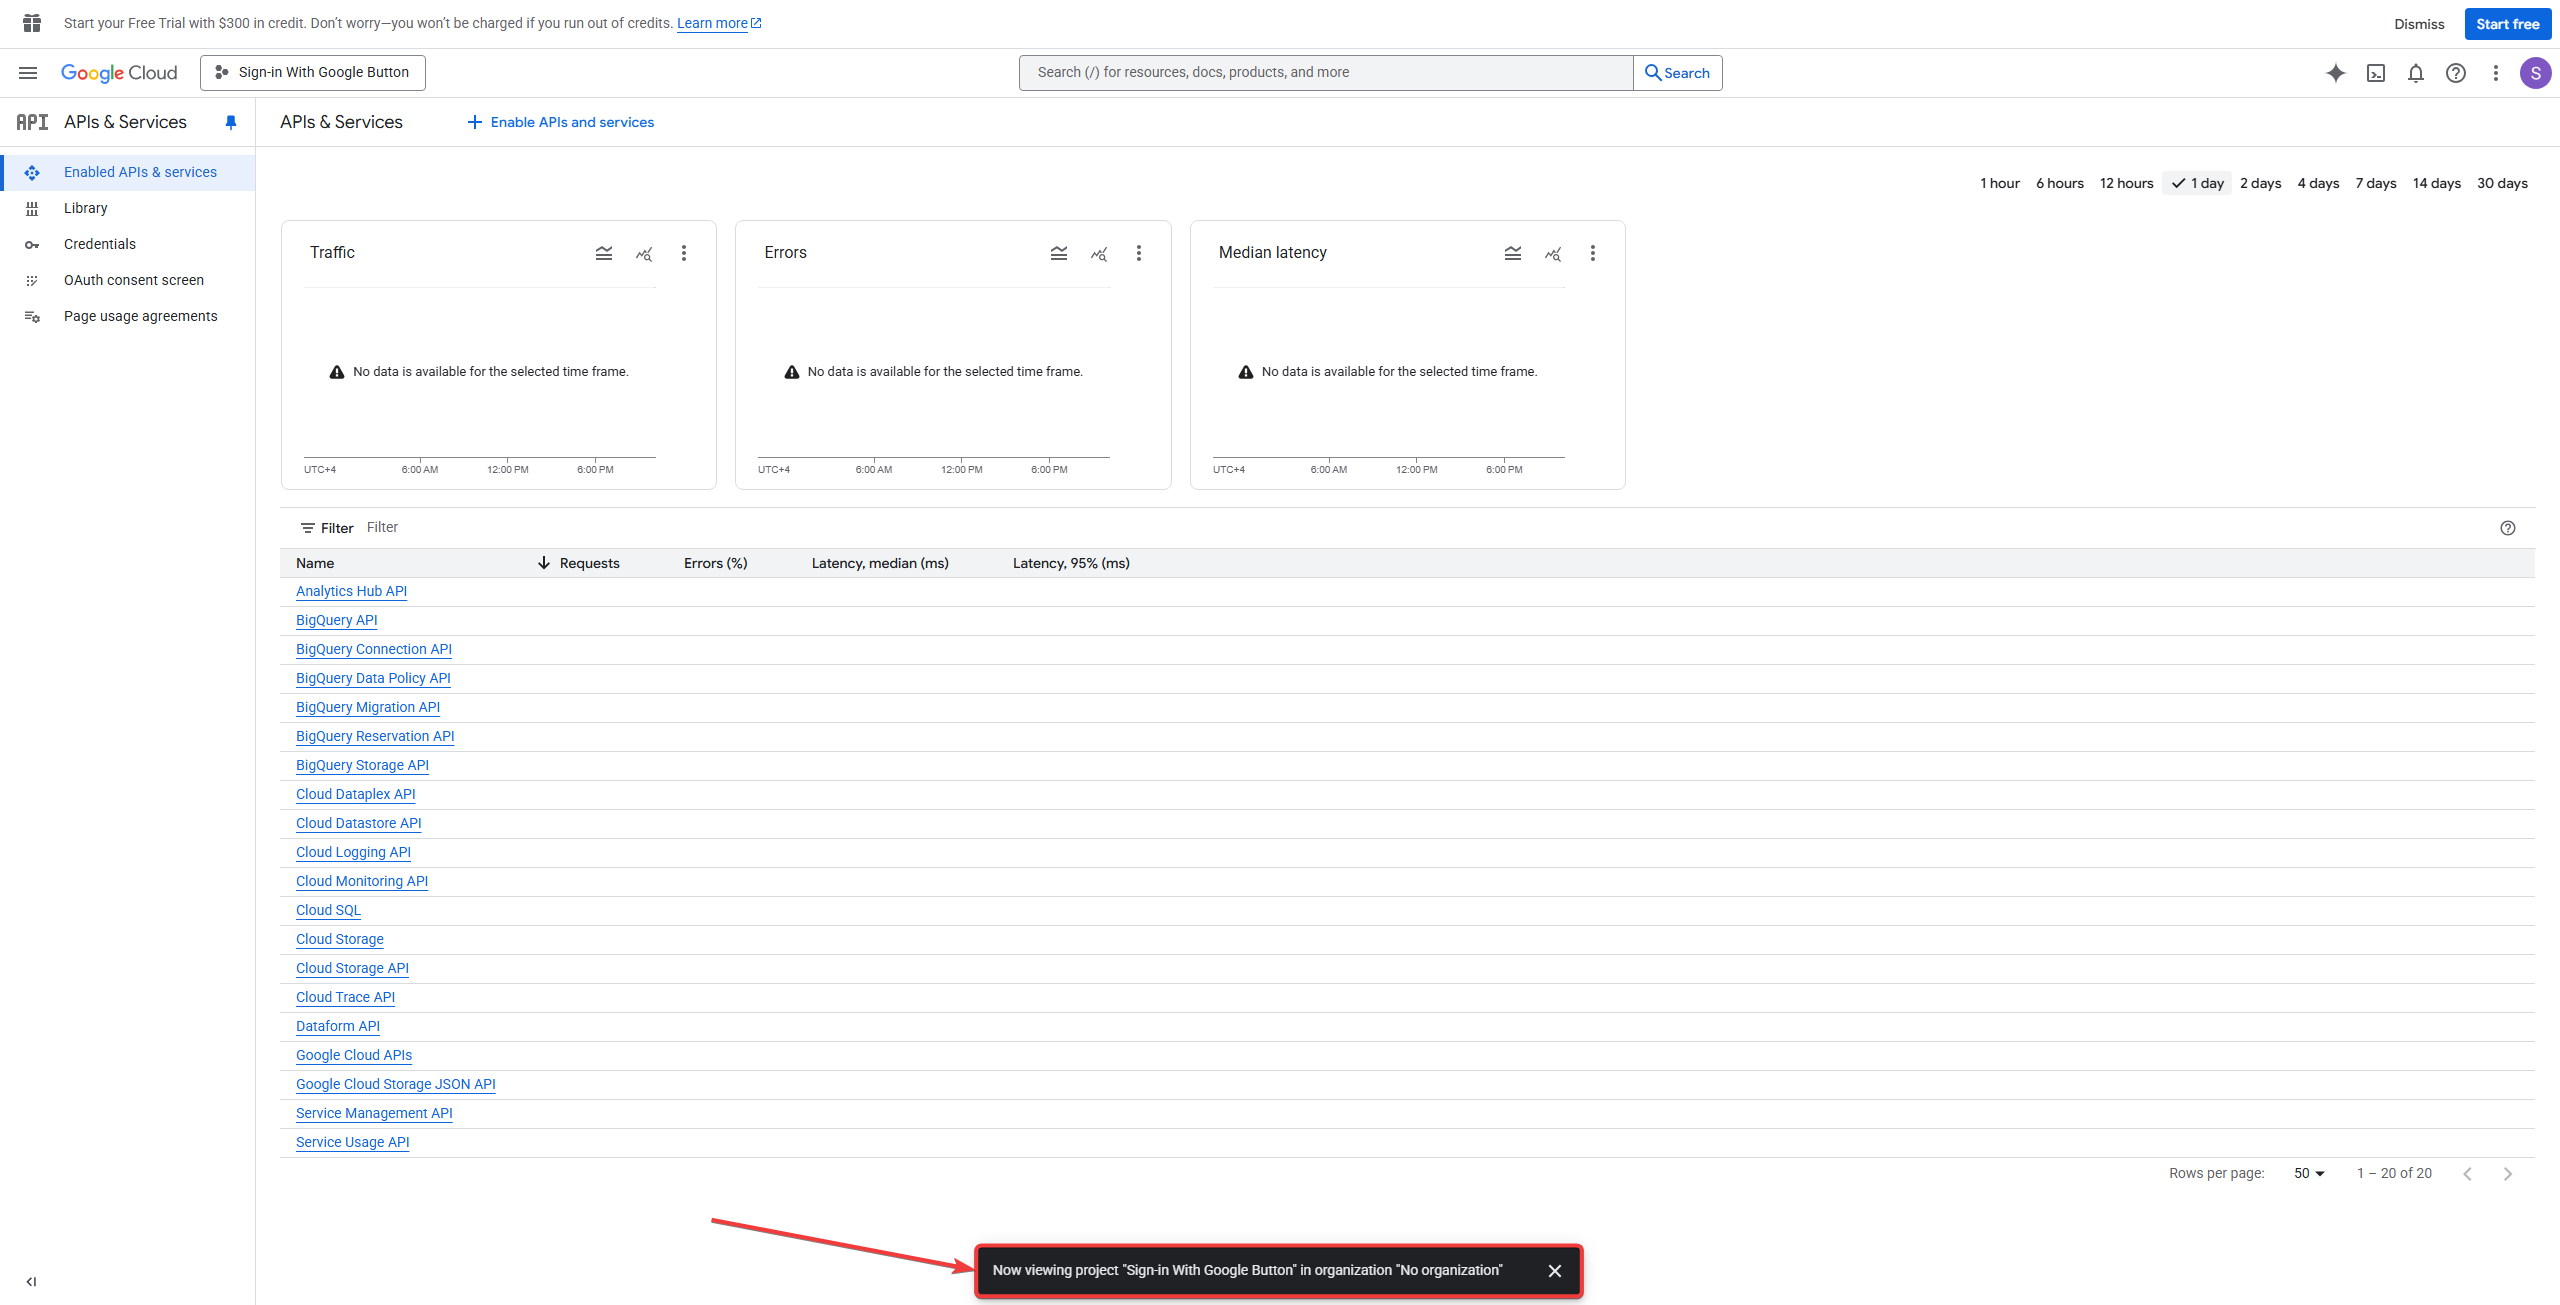
- After a few seconds, you'll receive a notification that the project has been created.
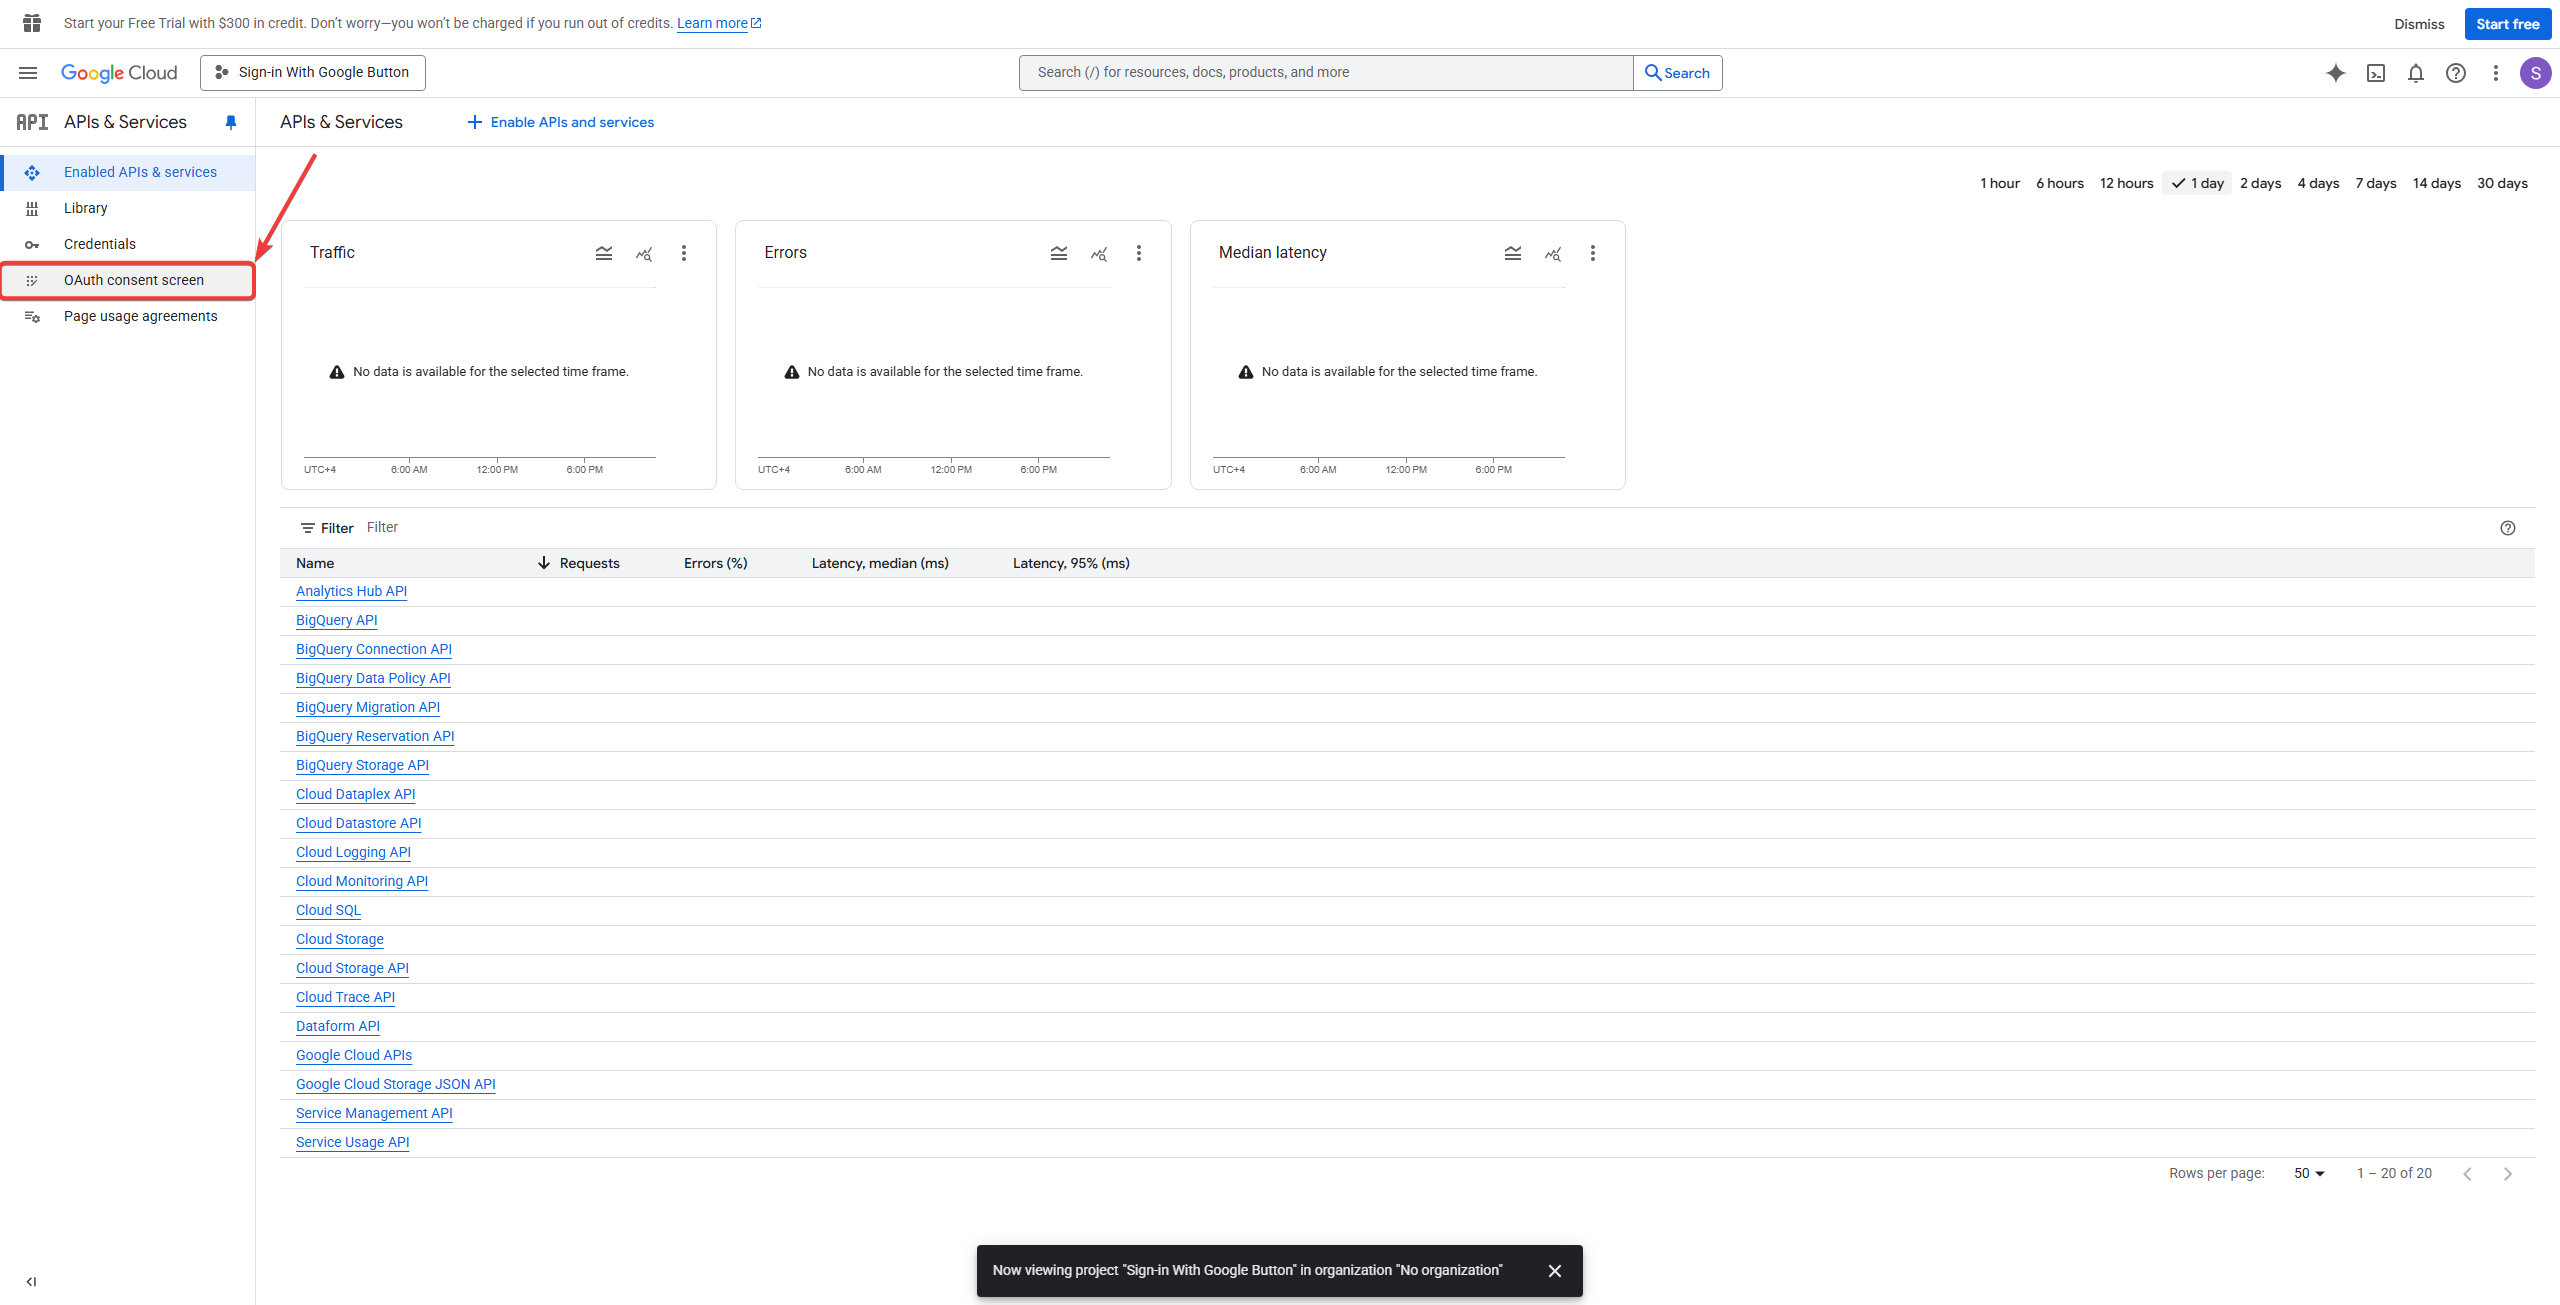
Step 2: Configure OAuth Consent Screen
- Navigate to APIs & Services > OAuth consent screen.
- Go to Audience.
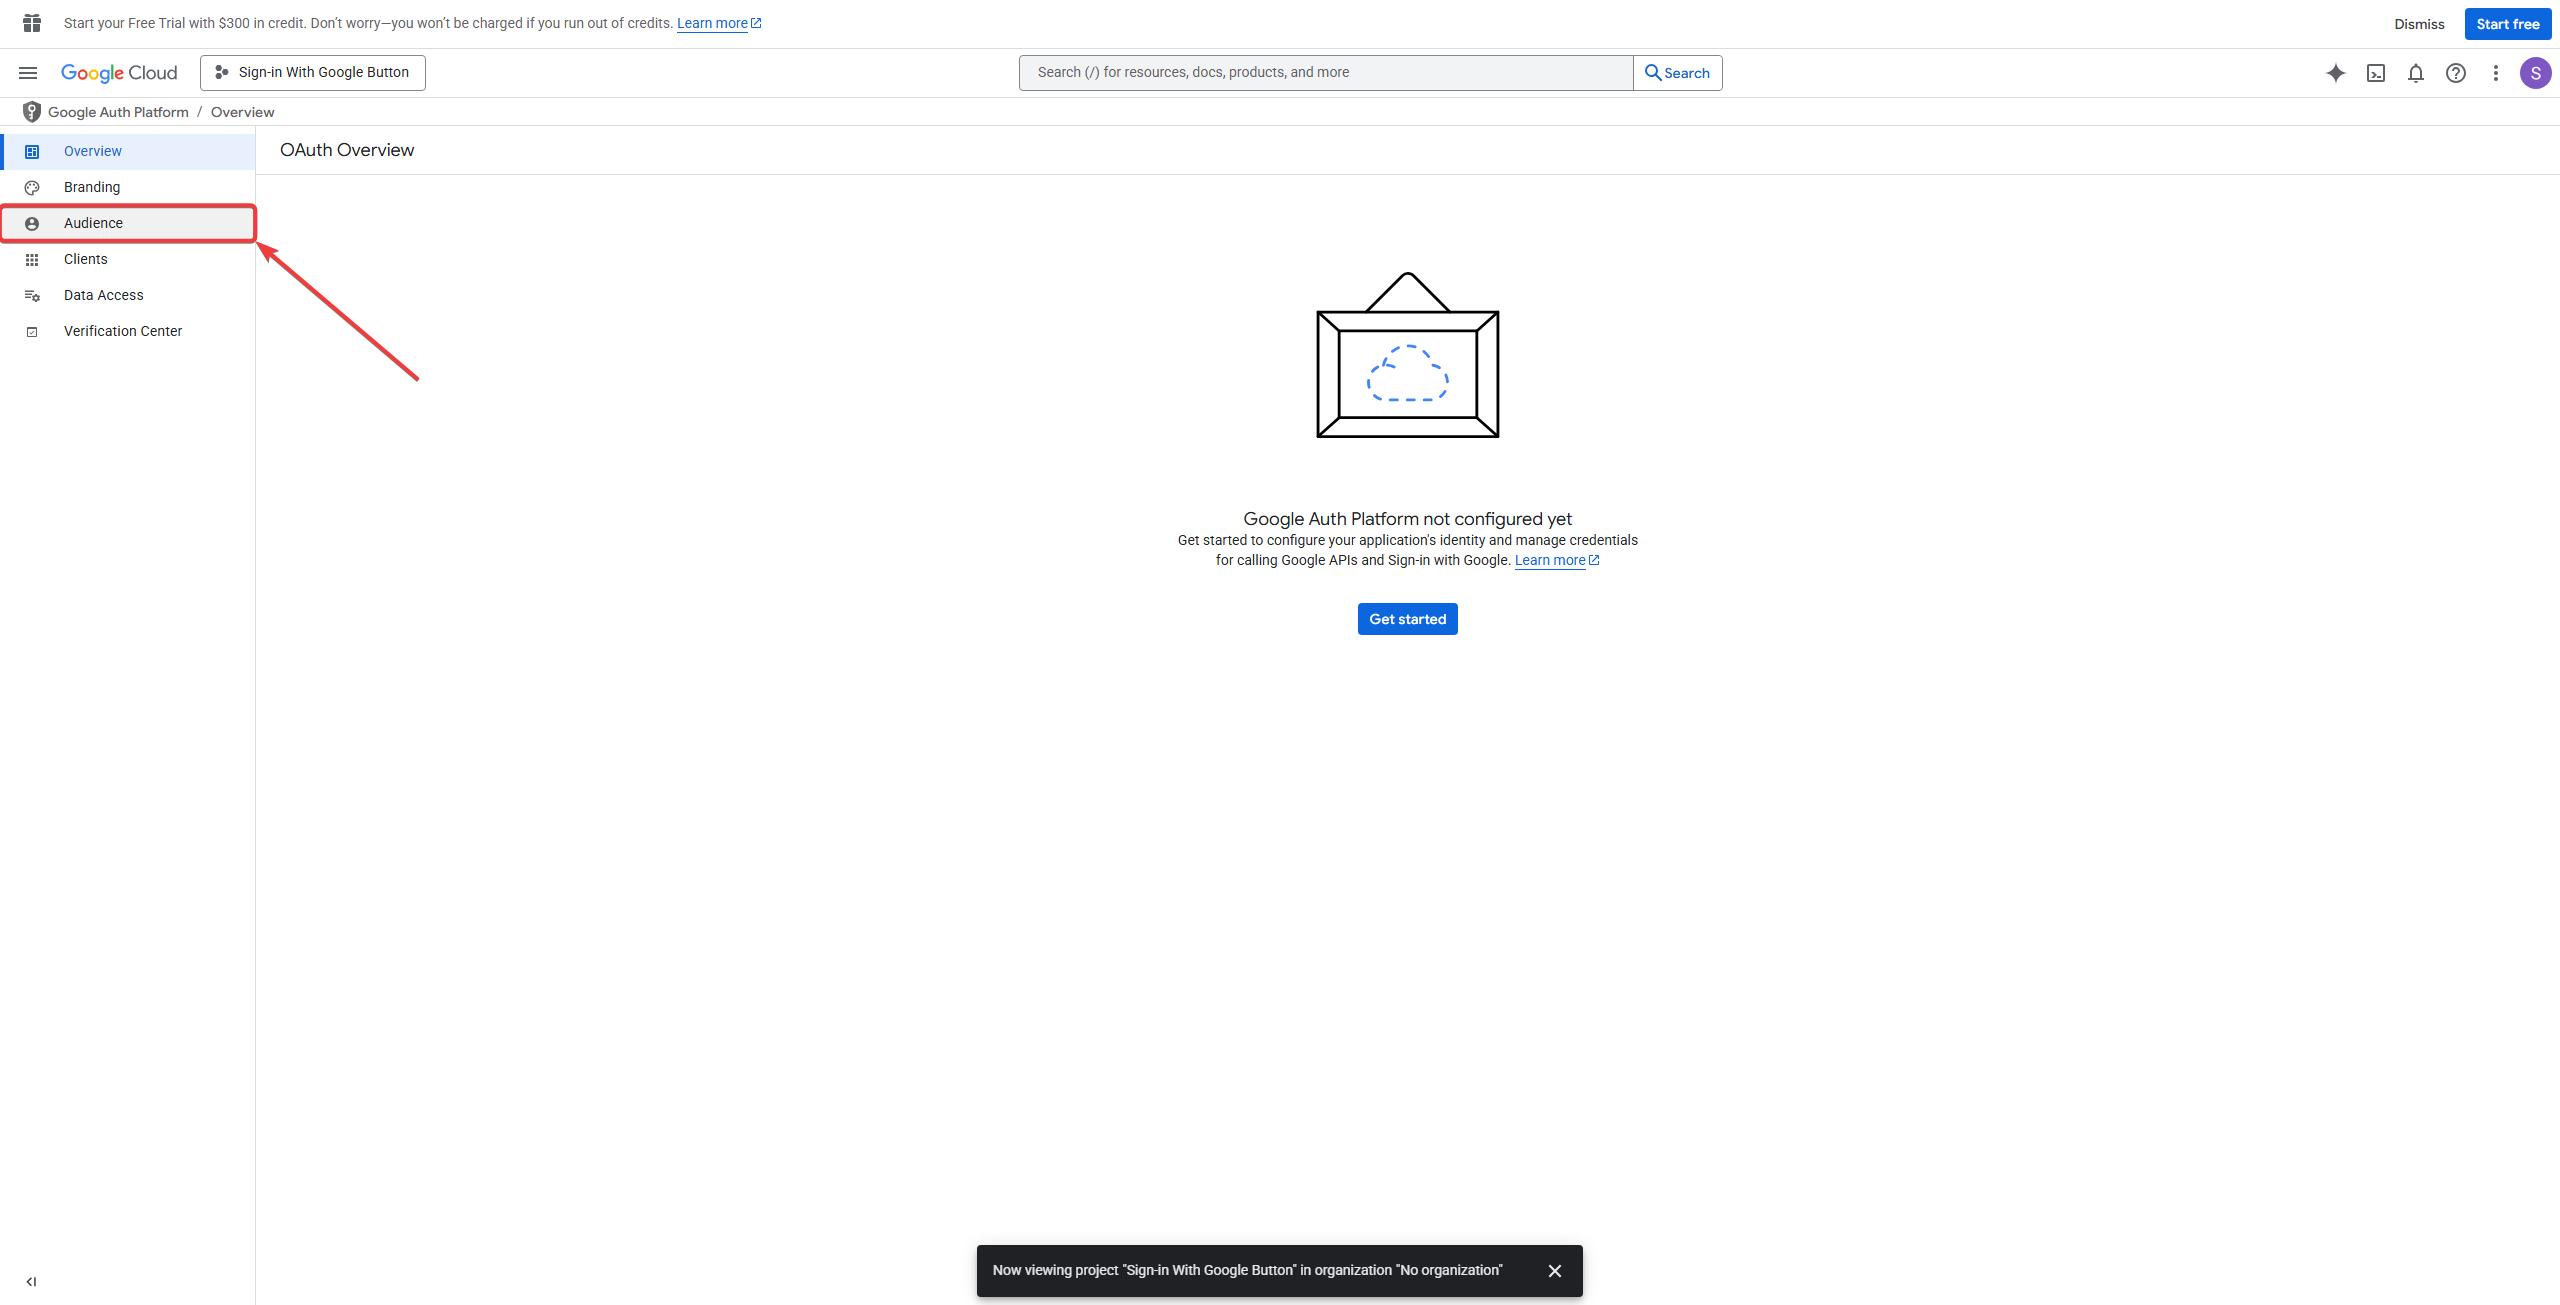
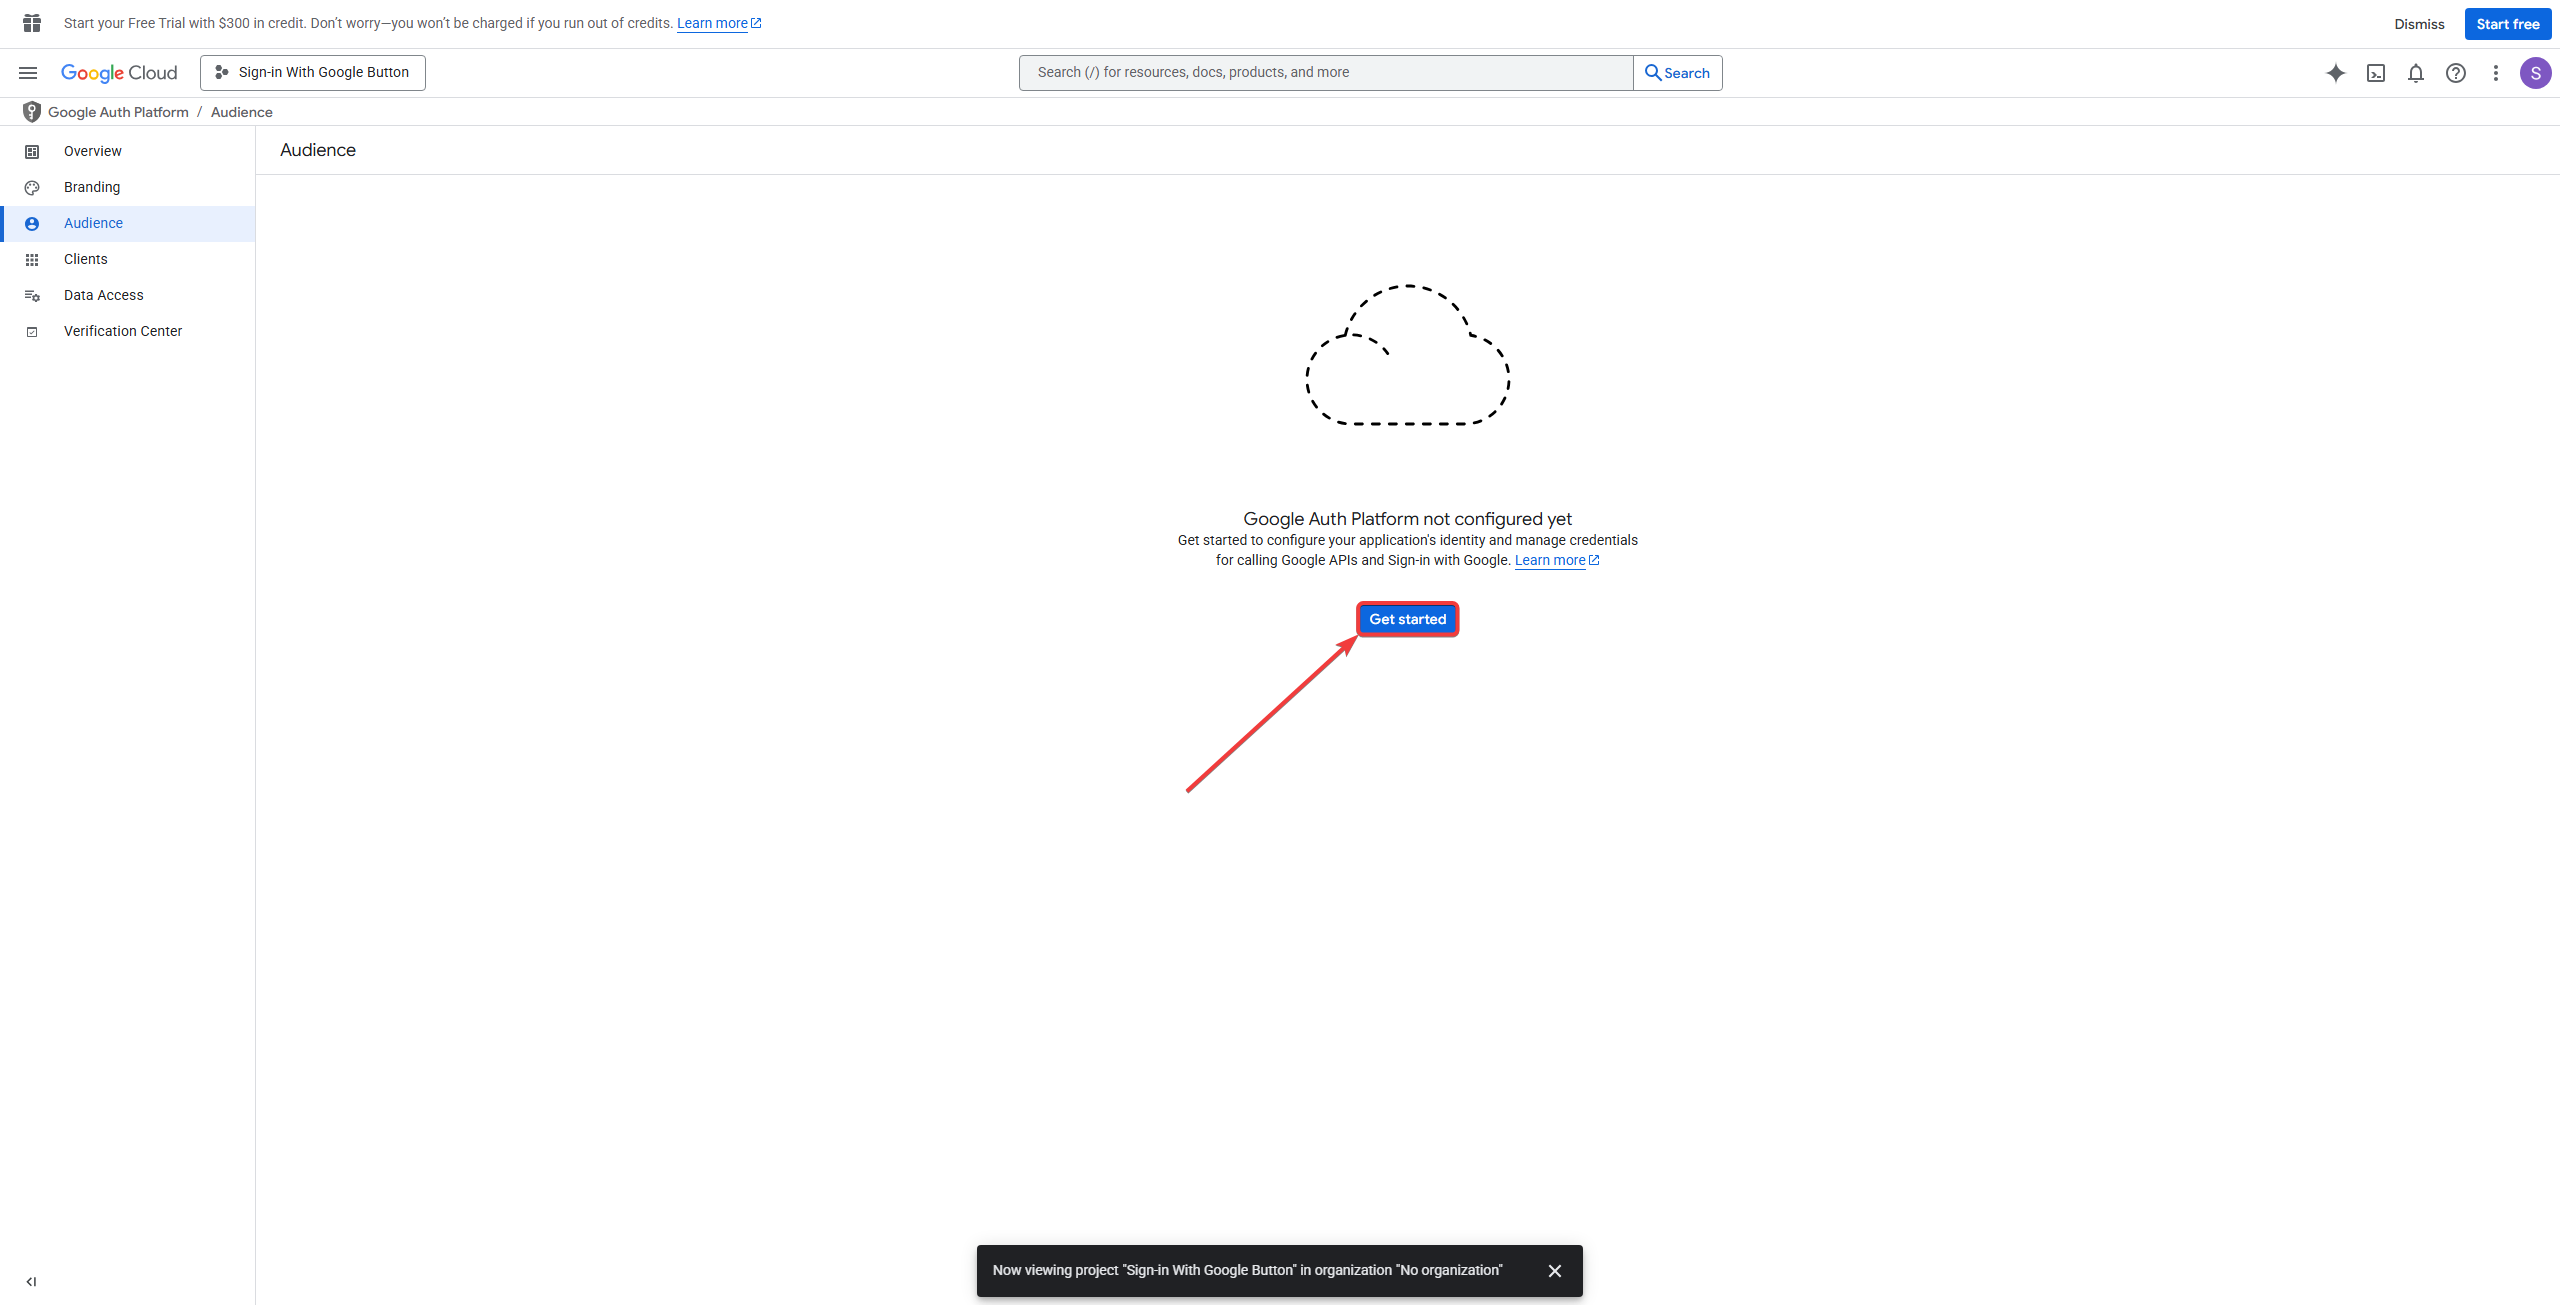
- Configure the Google Auth Platform.
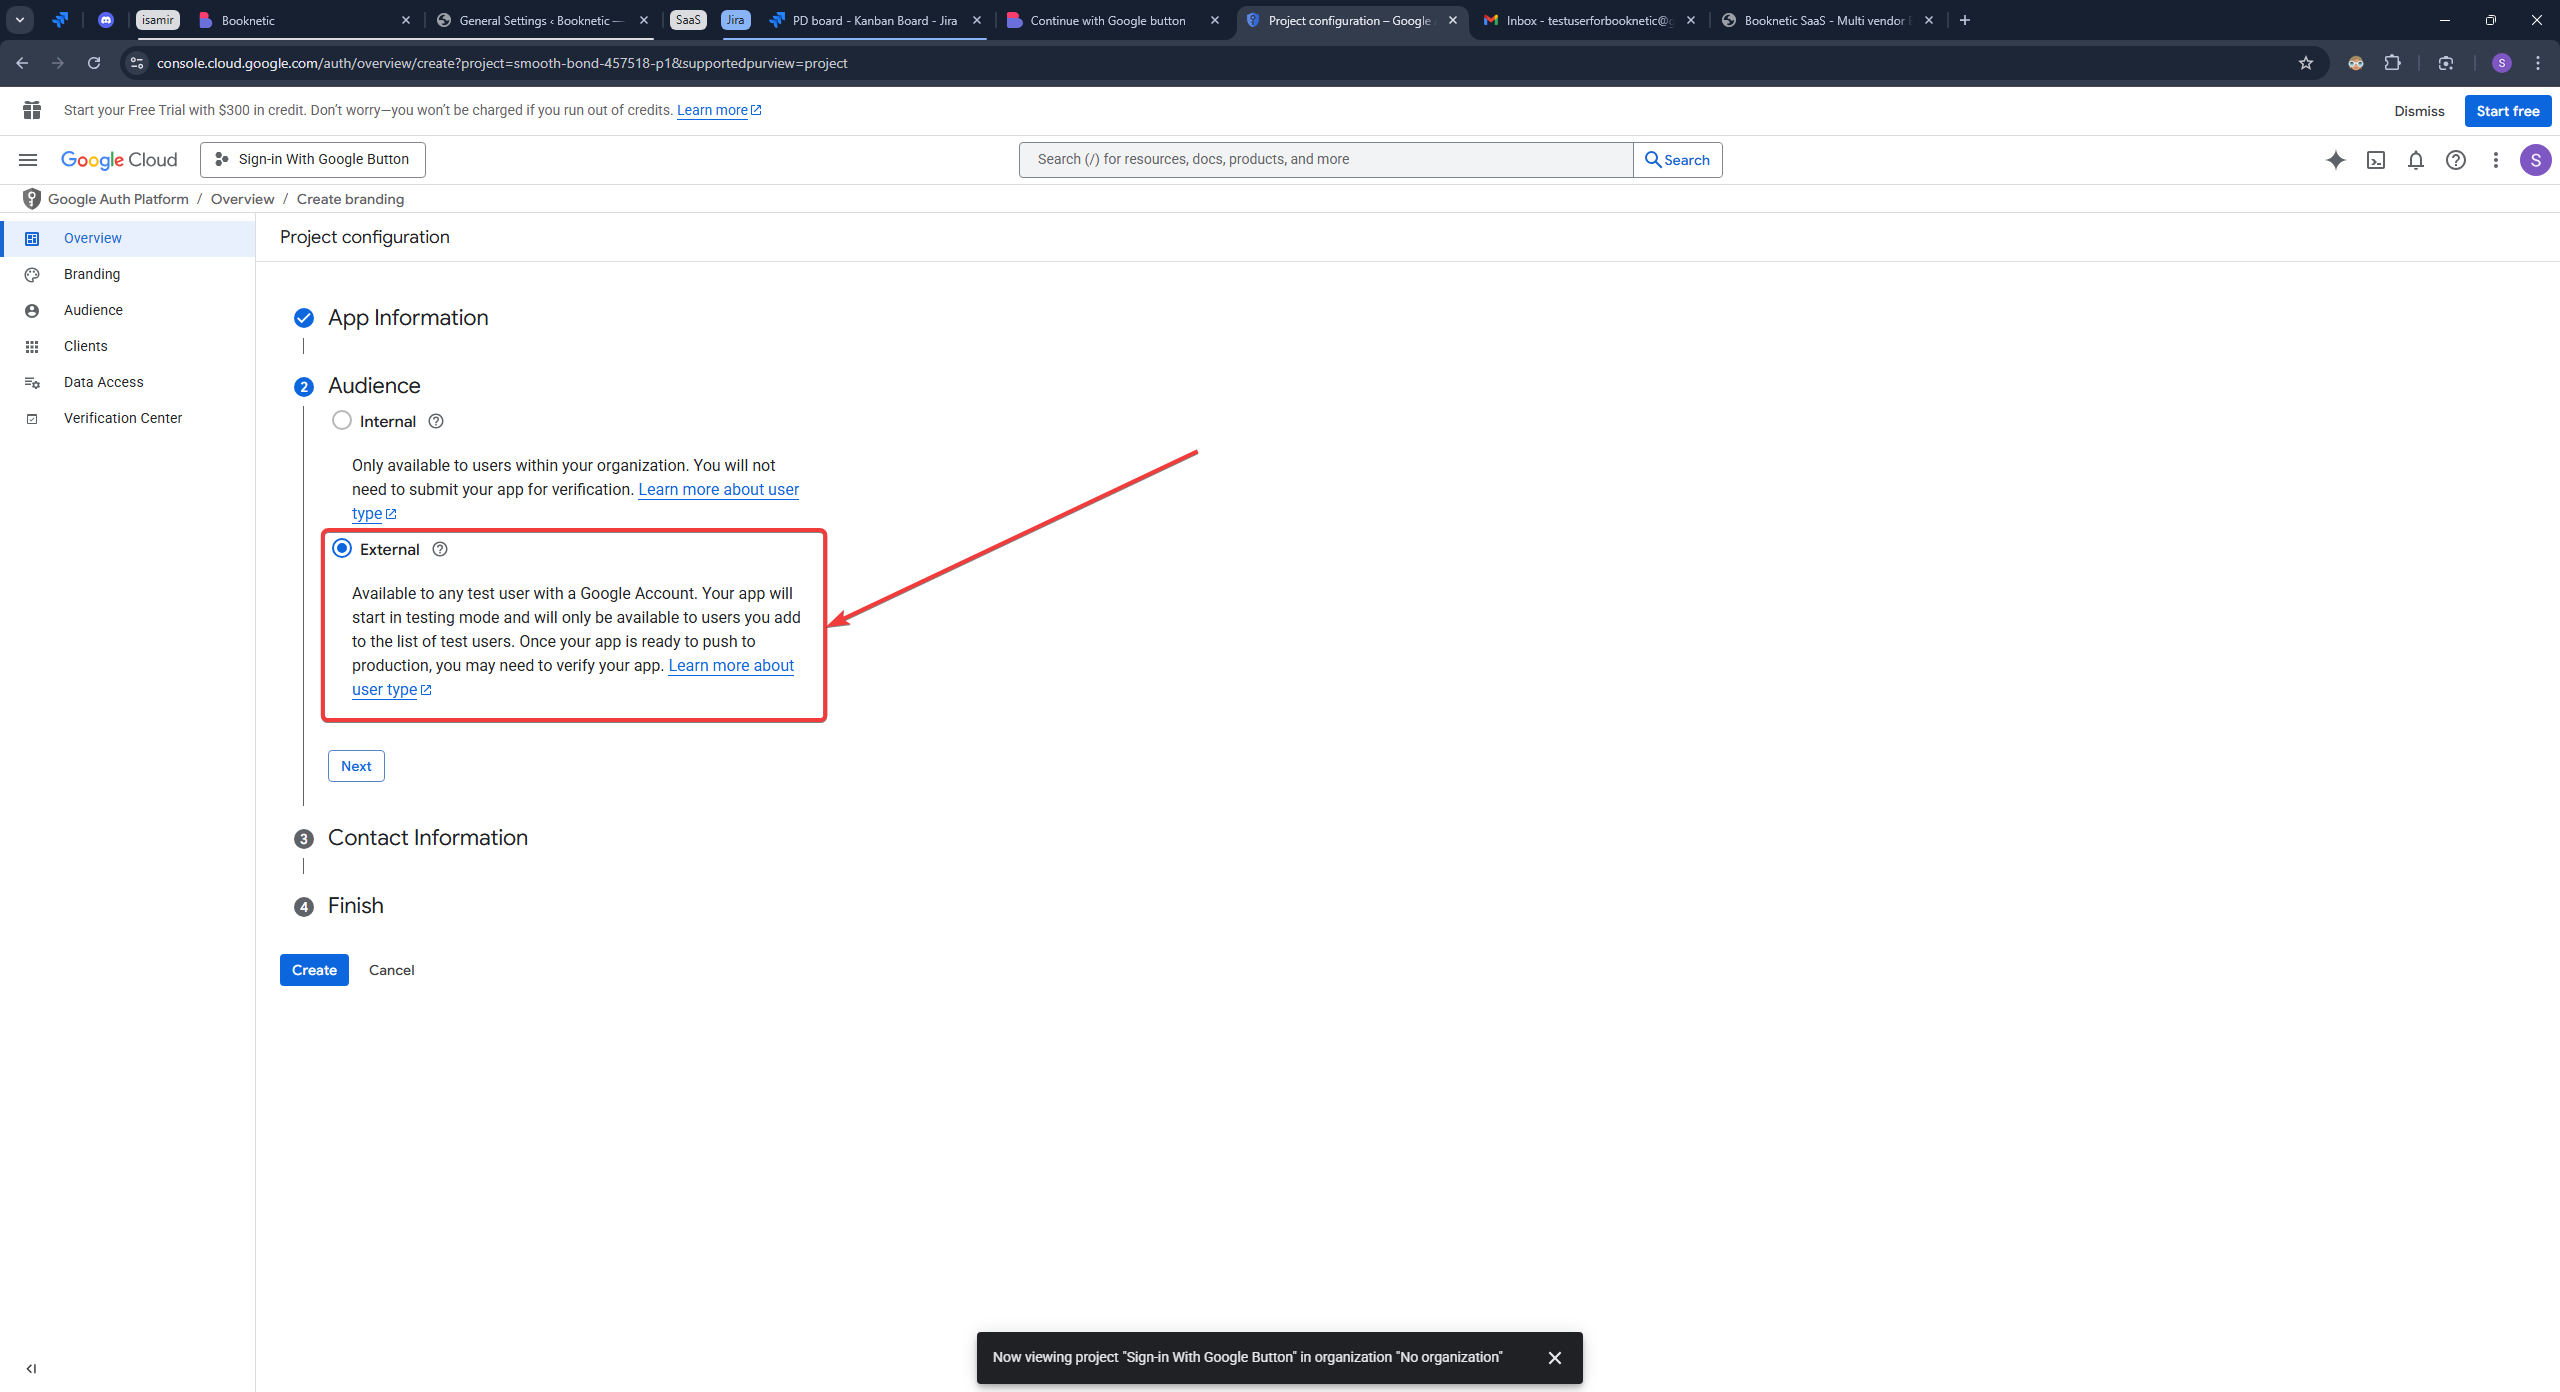
- After entering the app information, set the audience as “External”.
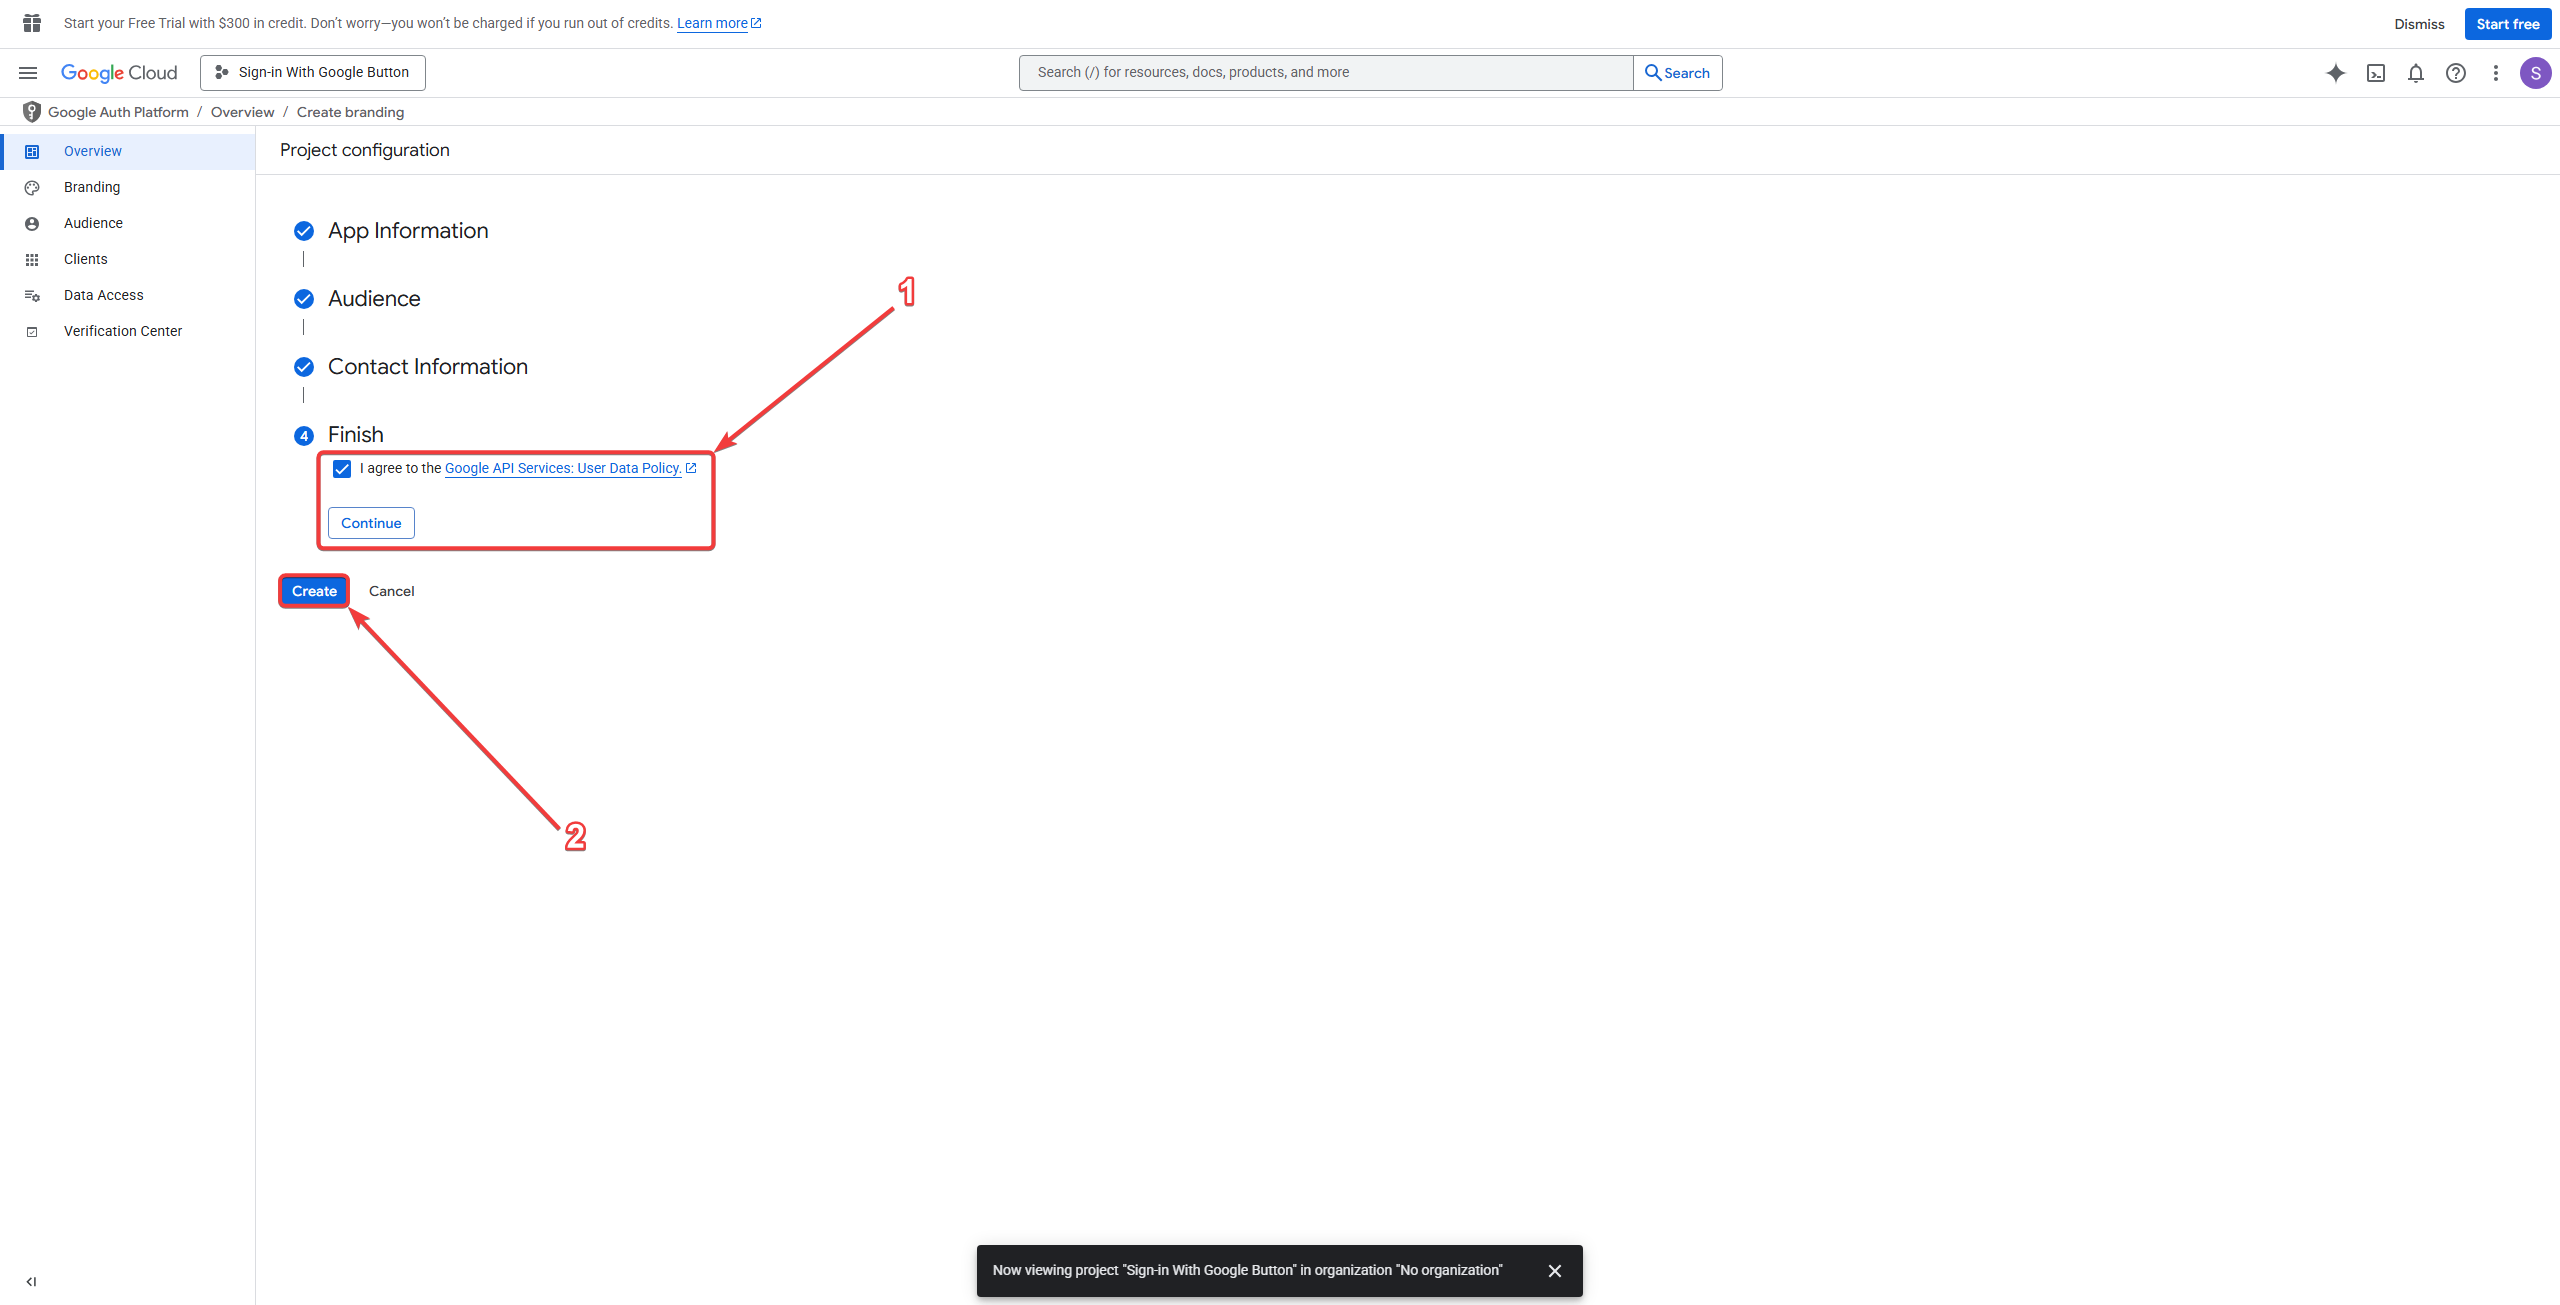
- After reviewing and agreeing with Google API Services: User Data Policy, click on the “Create” button.
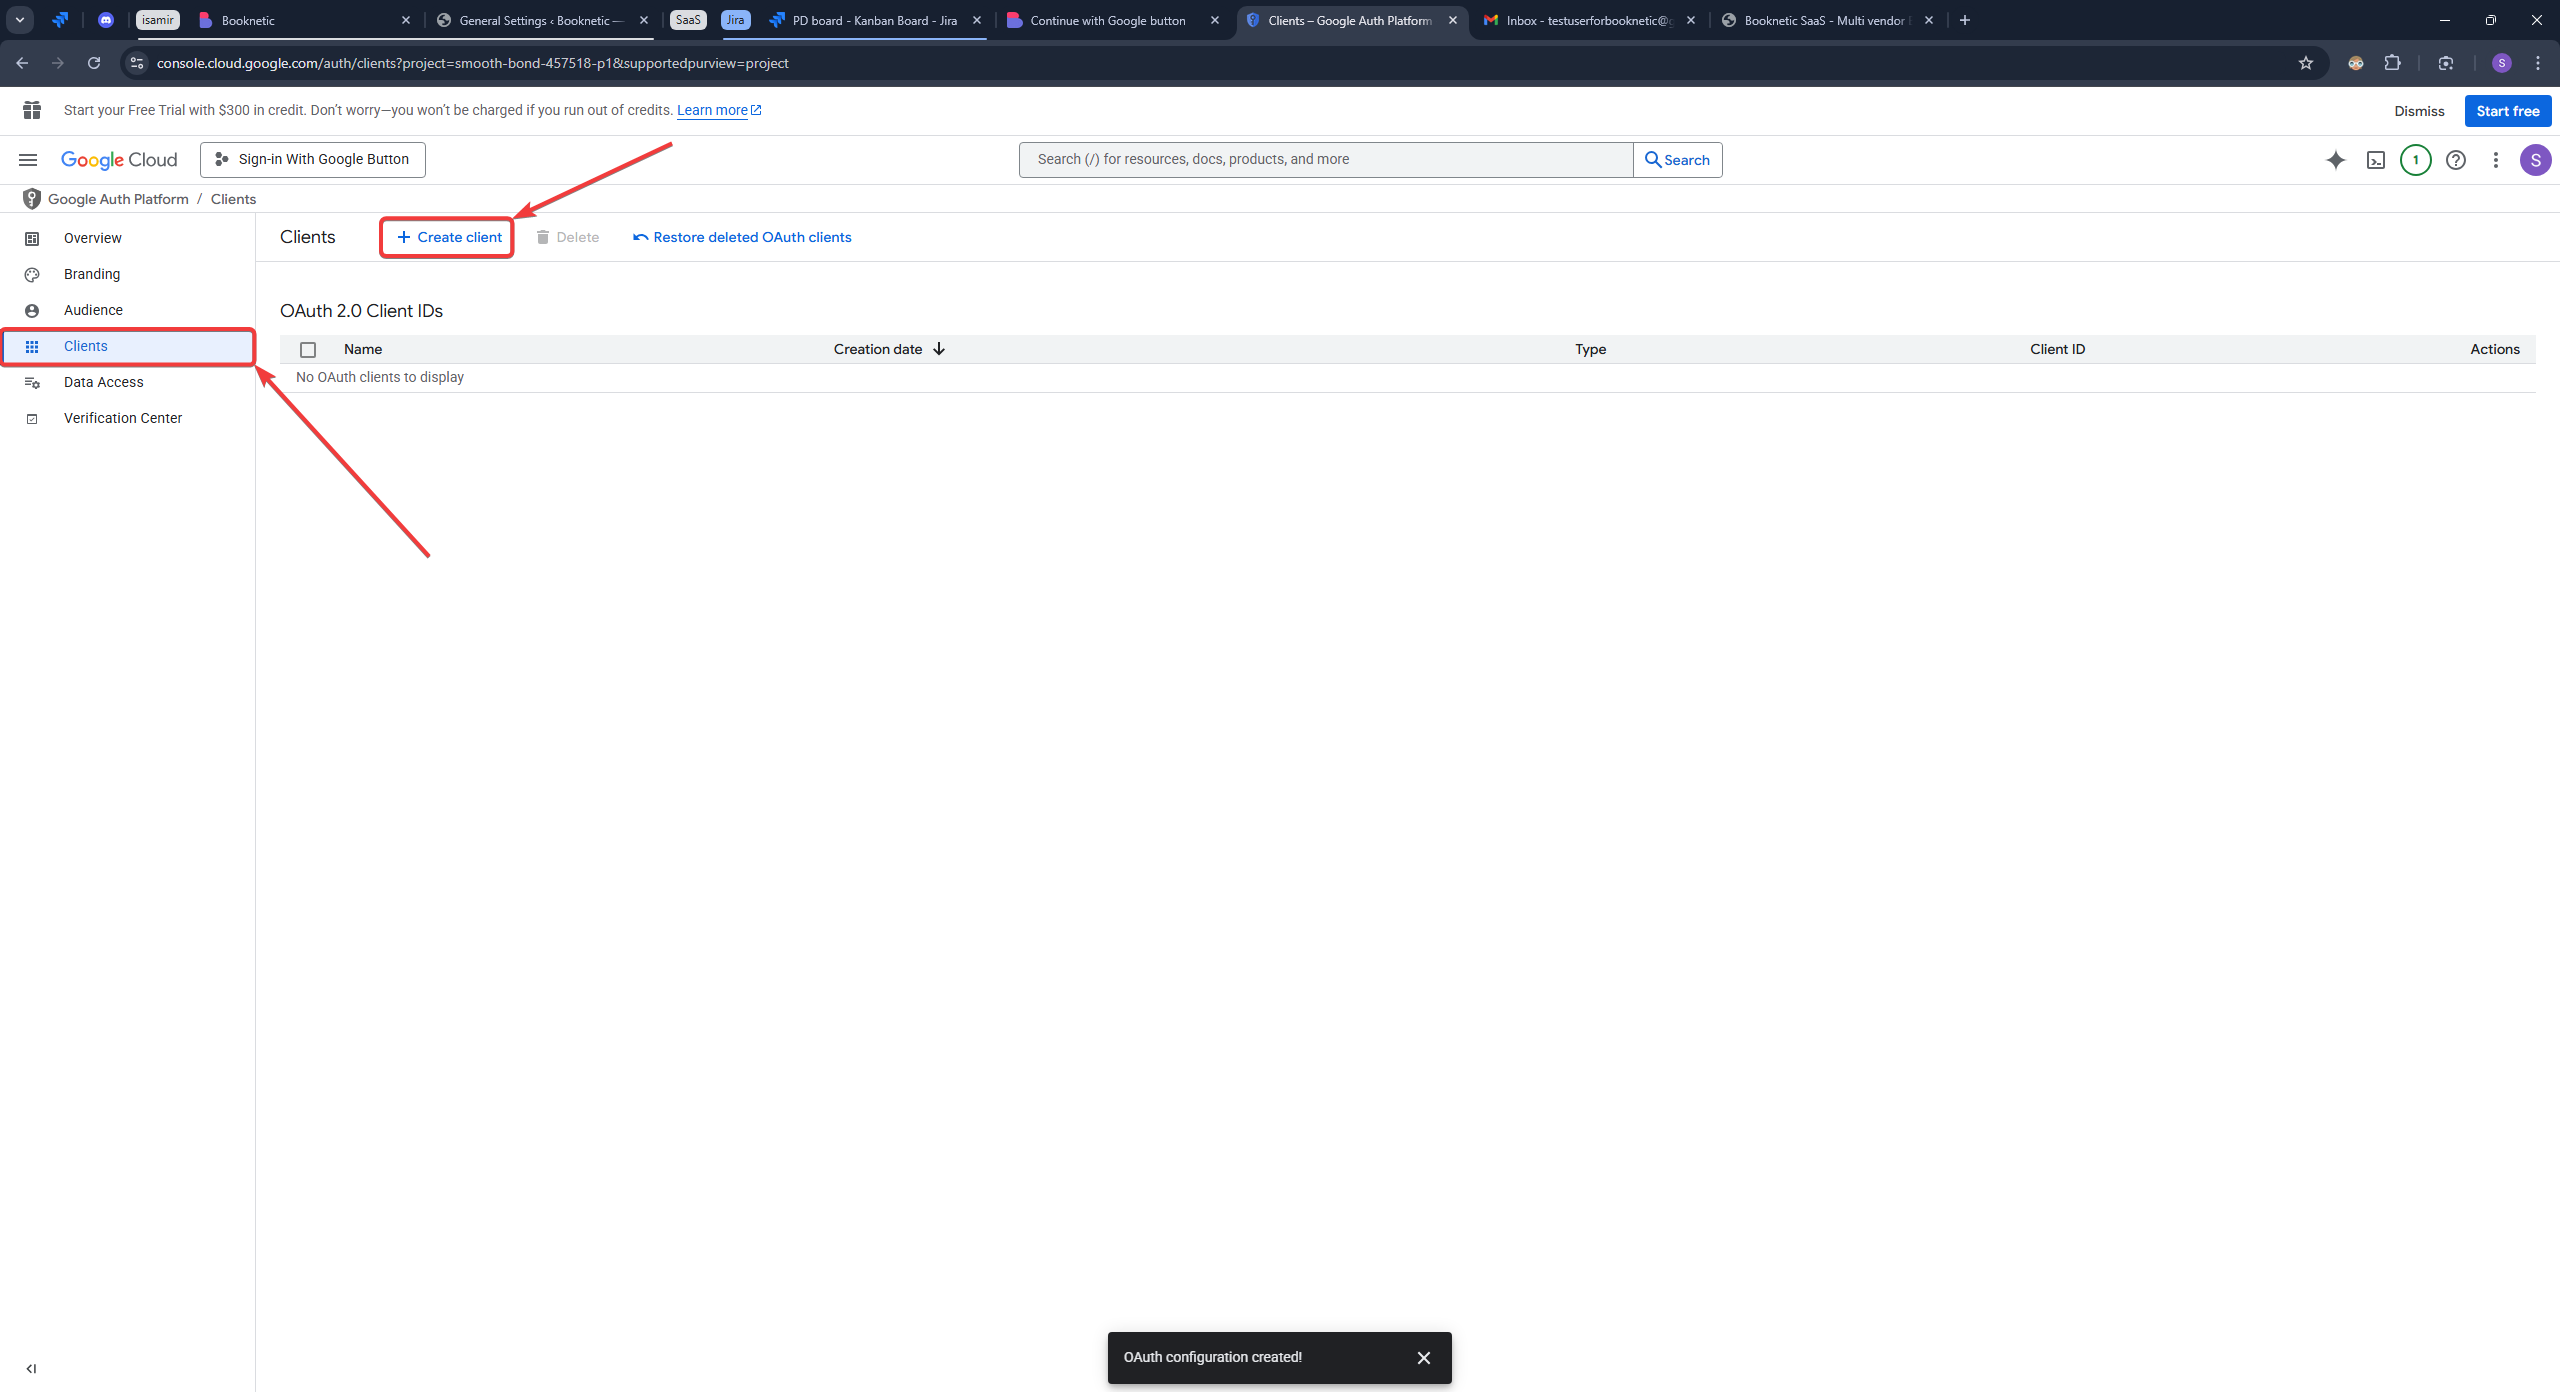
Step 3: Create OAuth Credentials
- Go to the Clients section and create a new client.
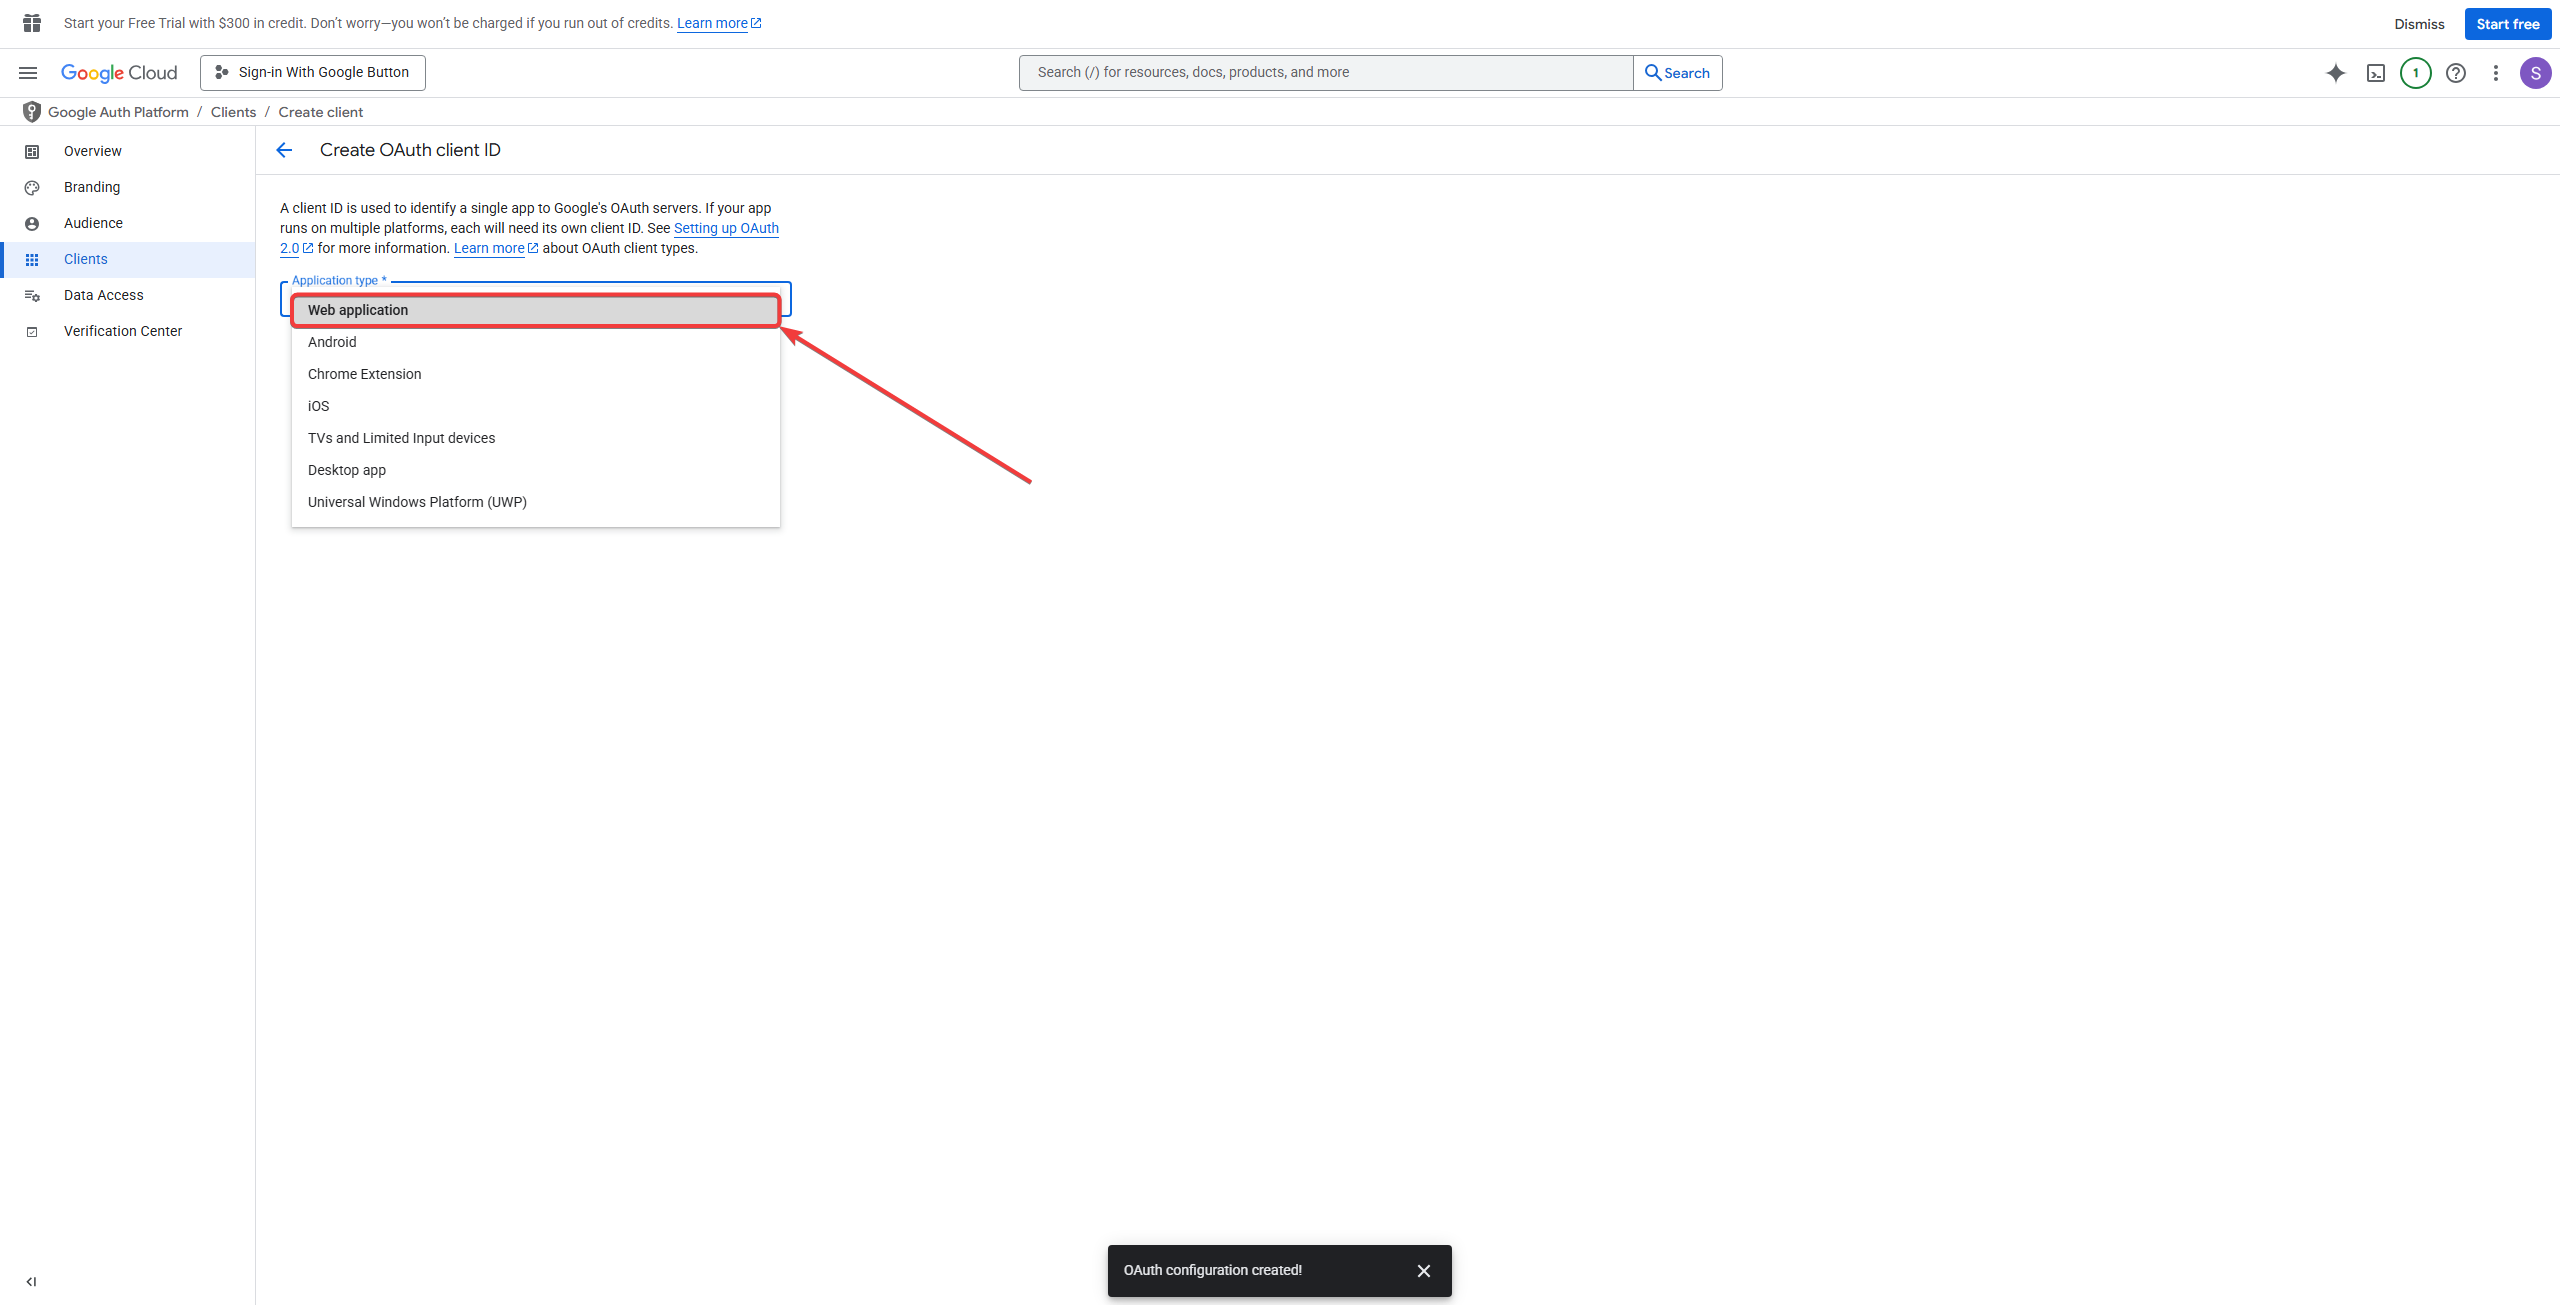
- Choose Web Application as the application type.
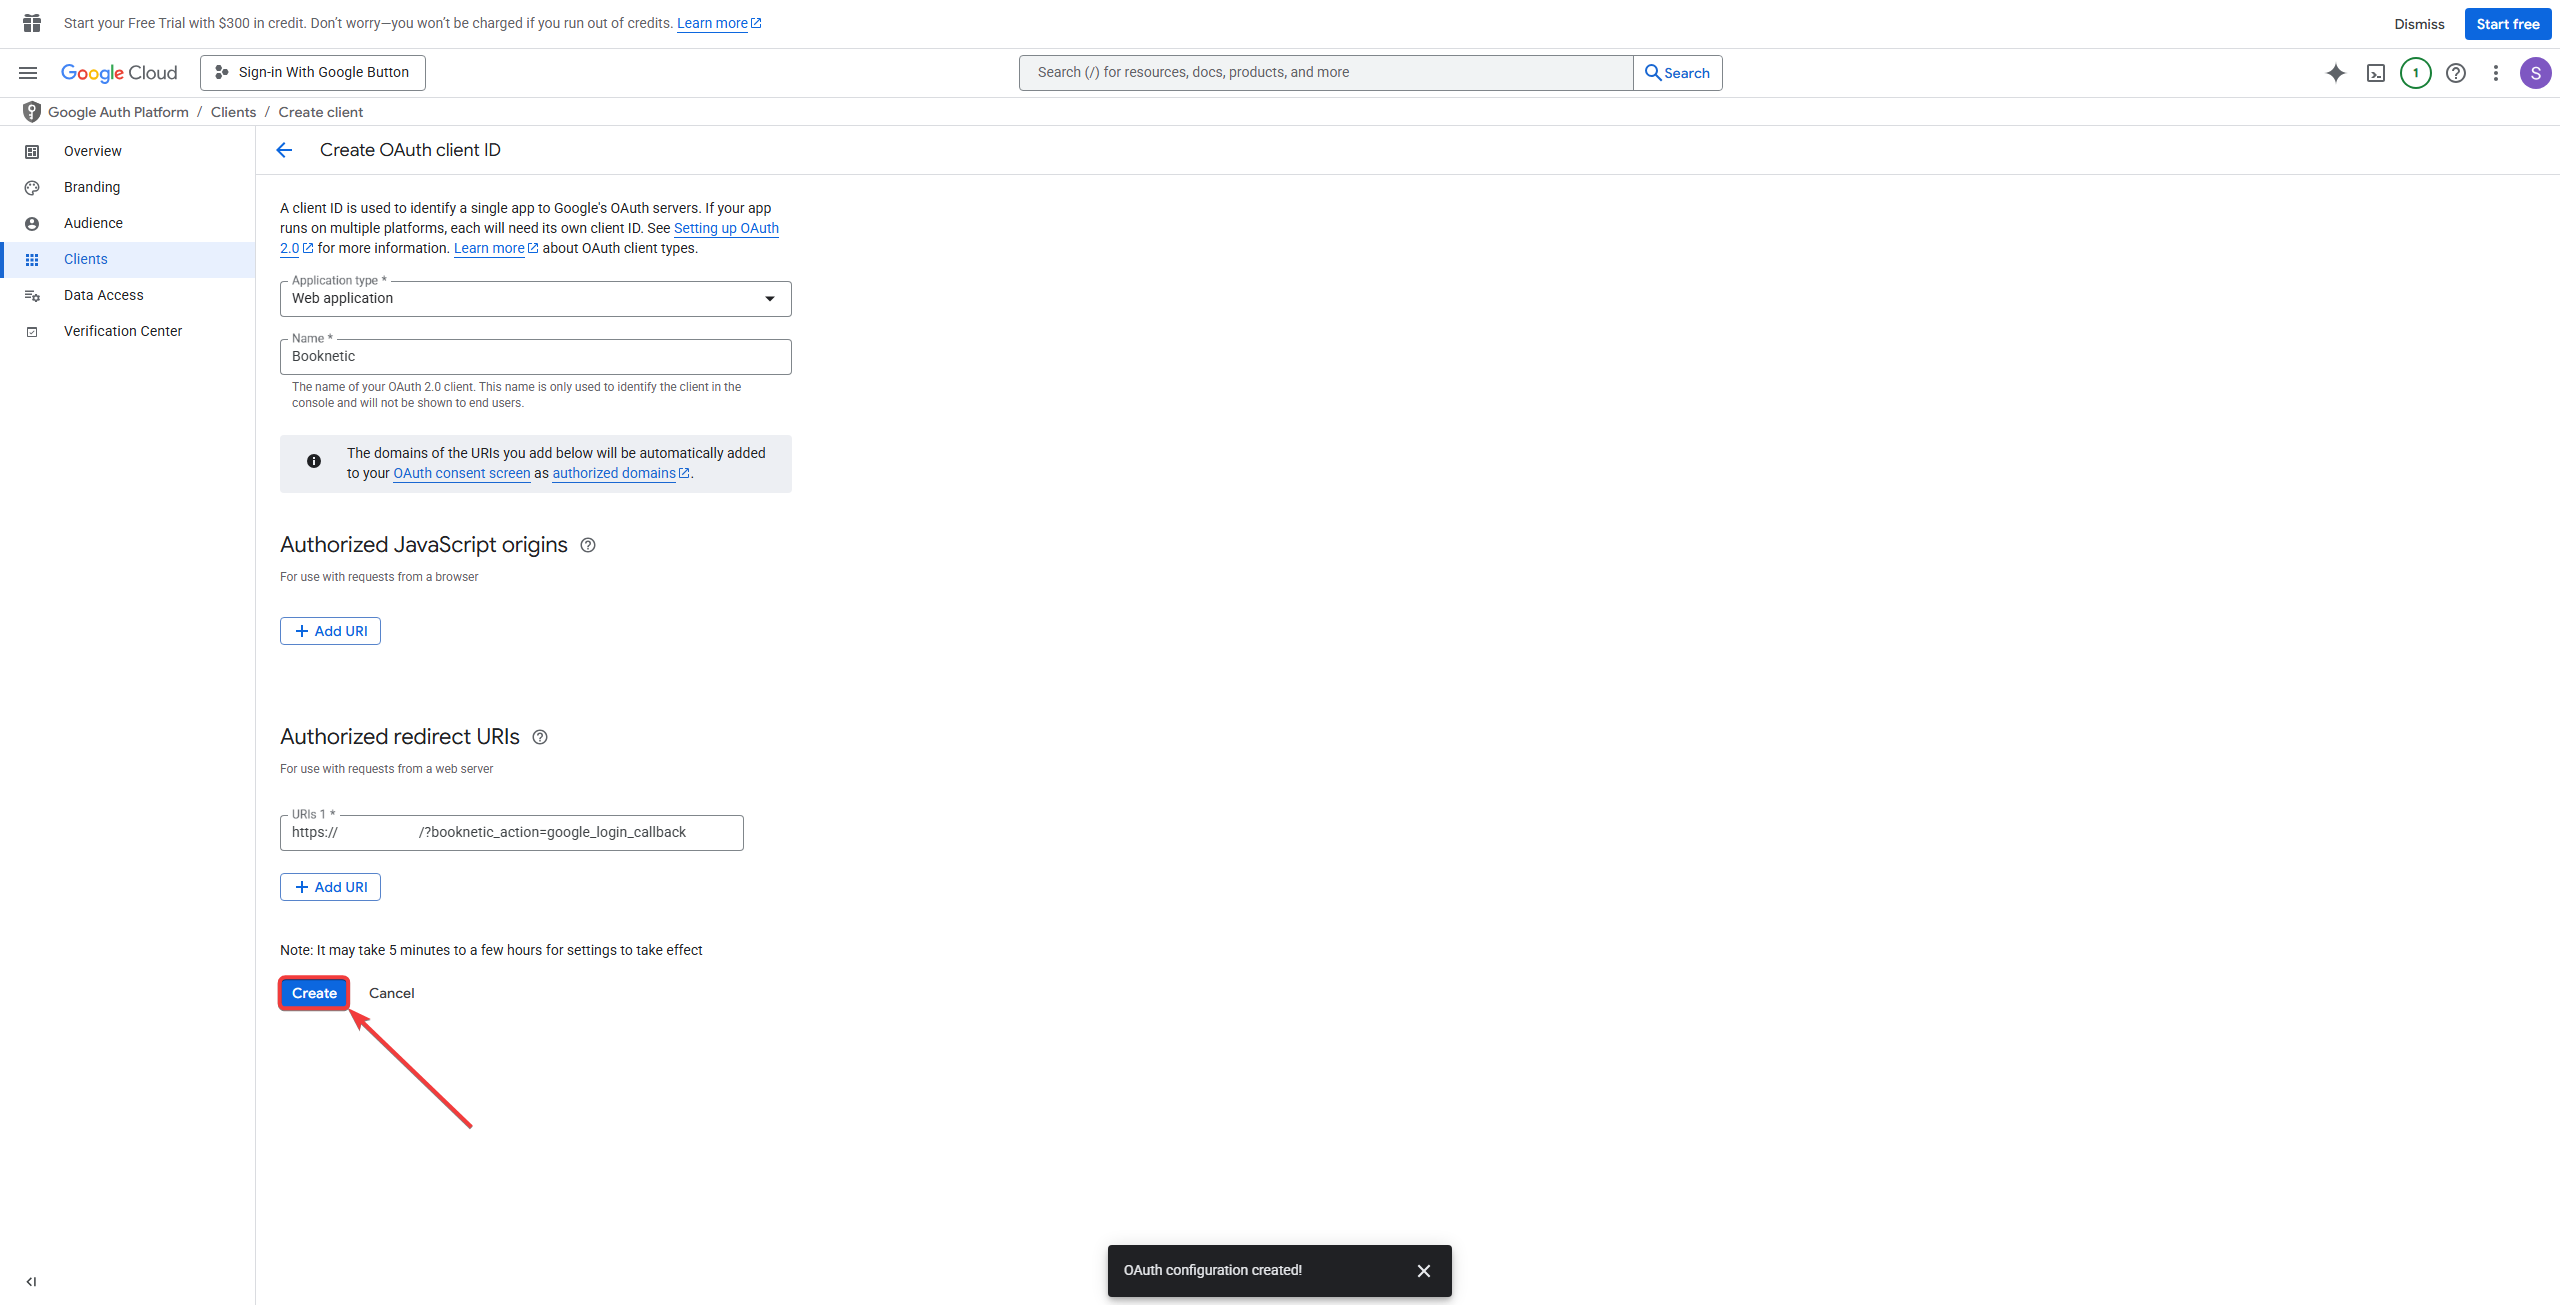
- Enter Booknetic for the Name and click + ADD URI under Authorized redirect URIs.

- Add the Redirect URI provided in Booknetic’s settings.

- After adding the link, click on the Create button.
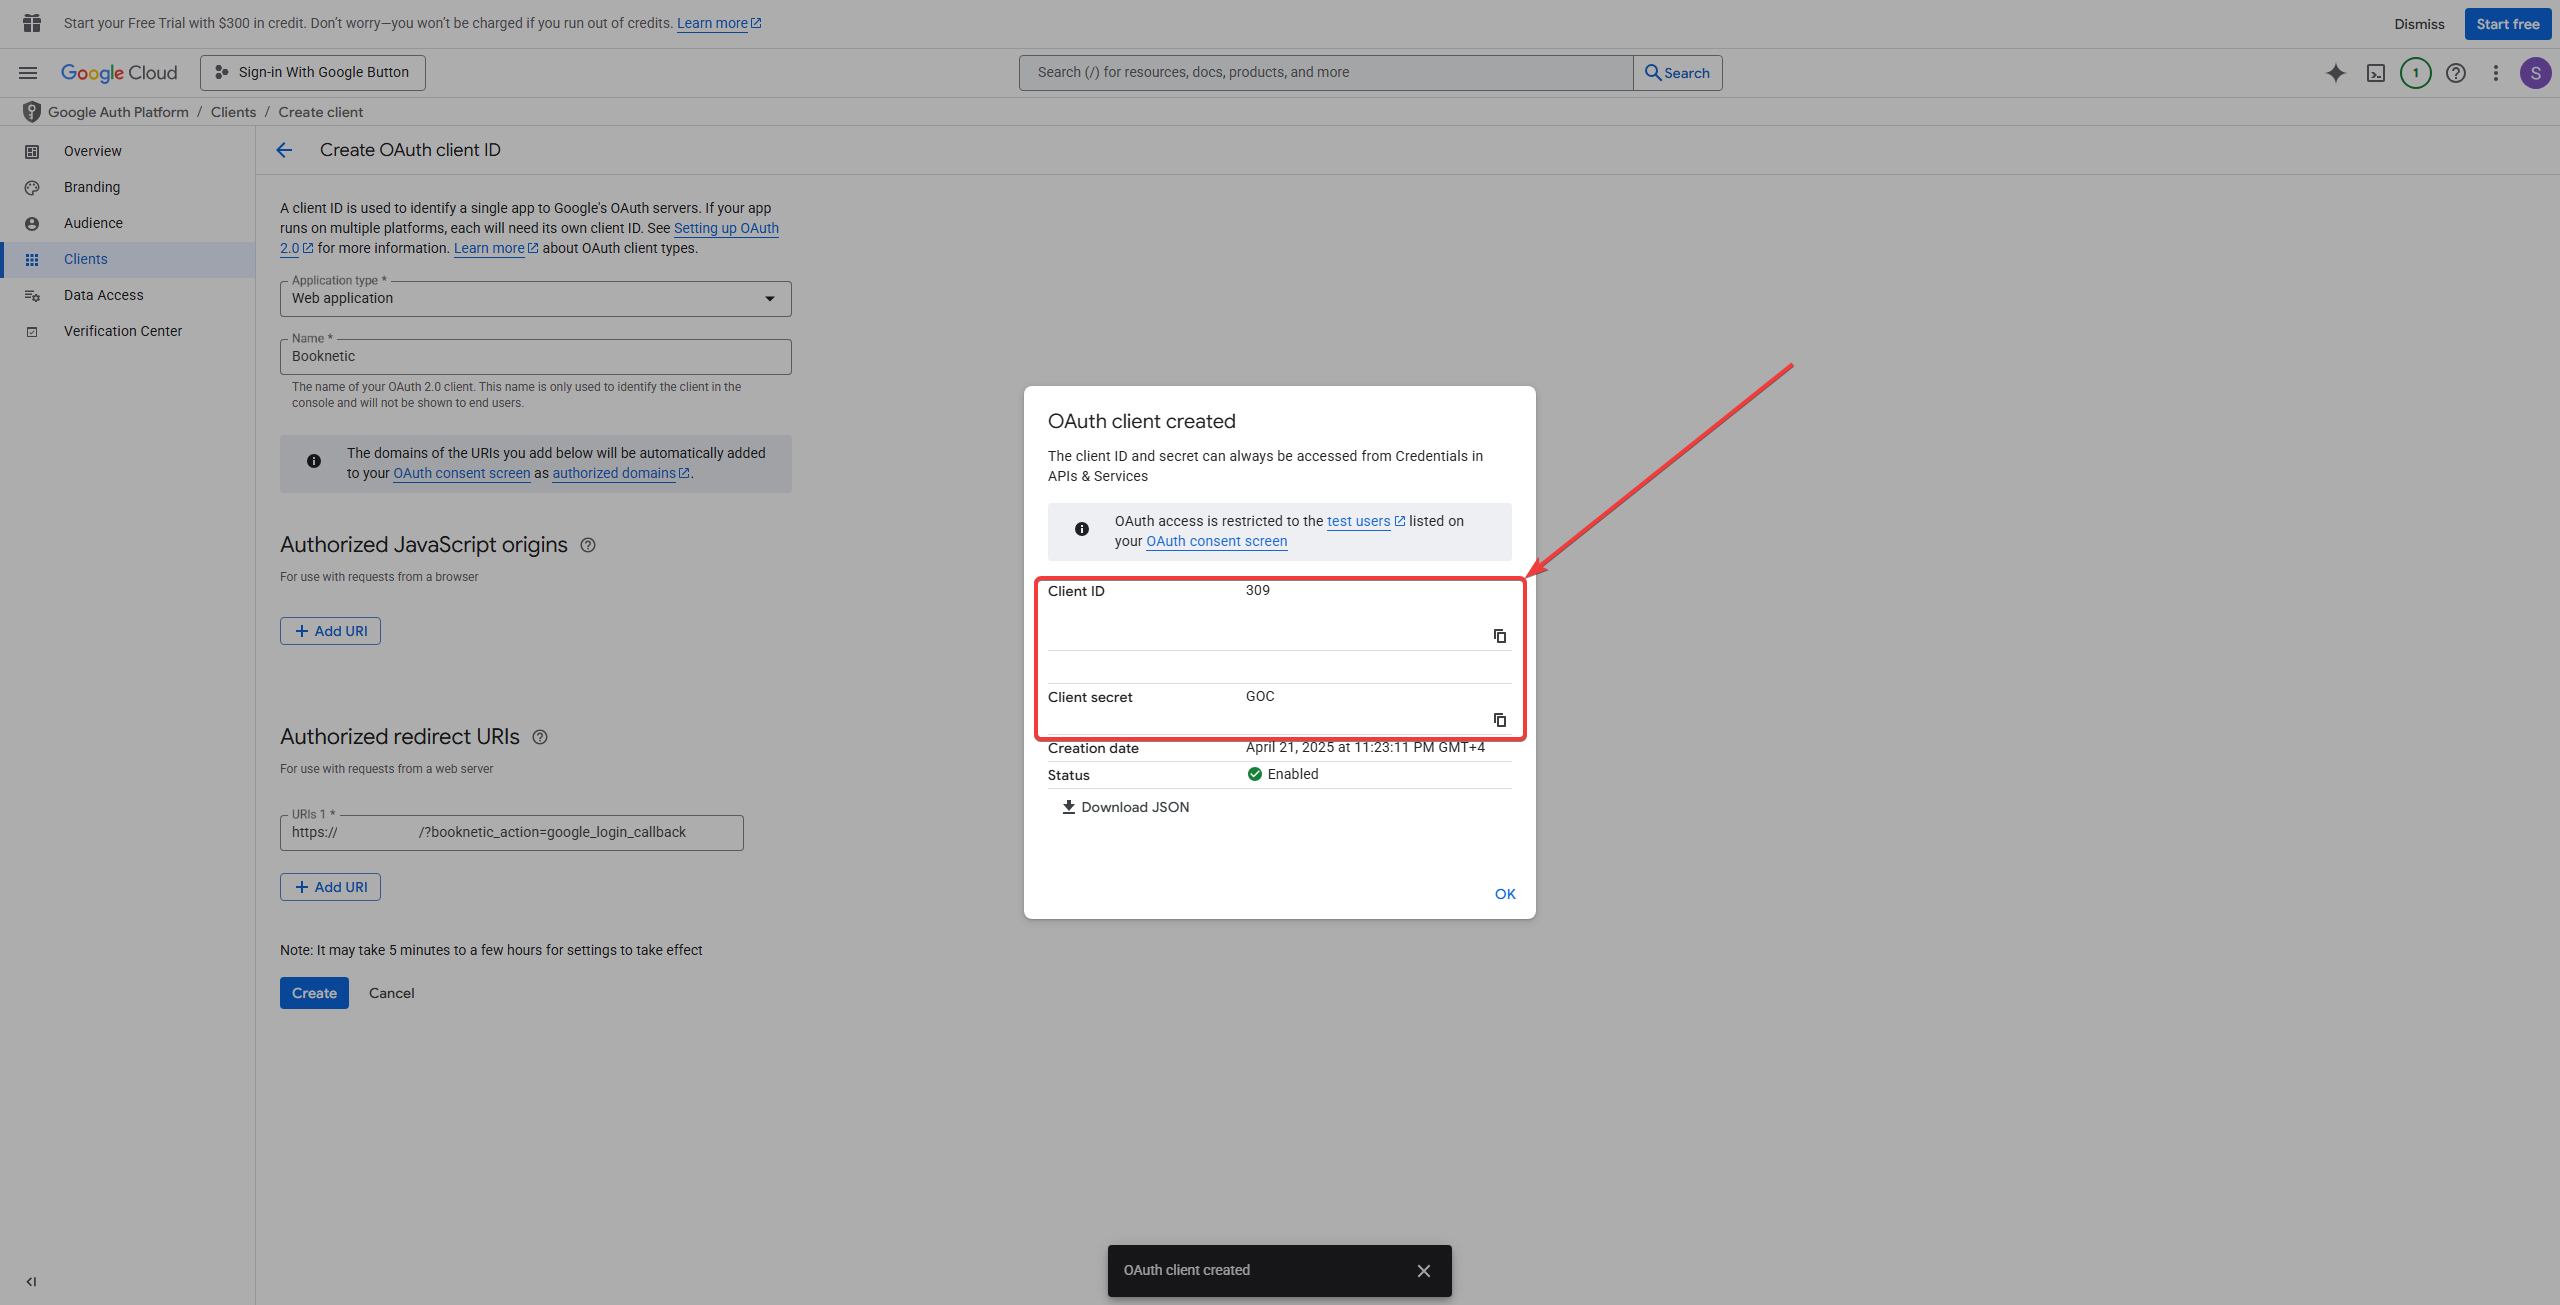
Step 4: Enter Credentials in Booknetic
- Copy the Client ID and Client Secret generated by Google.
- Navigate to Booknetic > Settings > Integrations > Continue with Google.
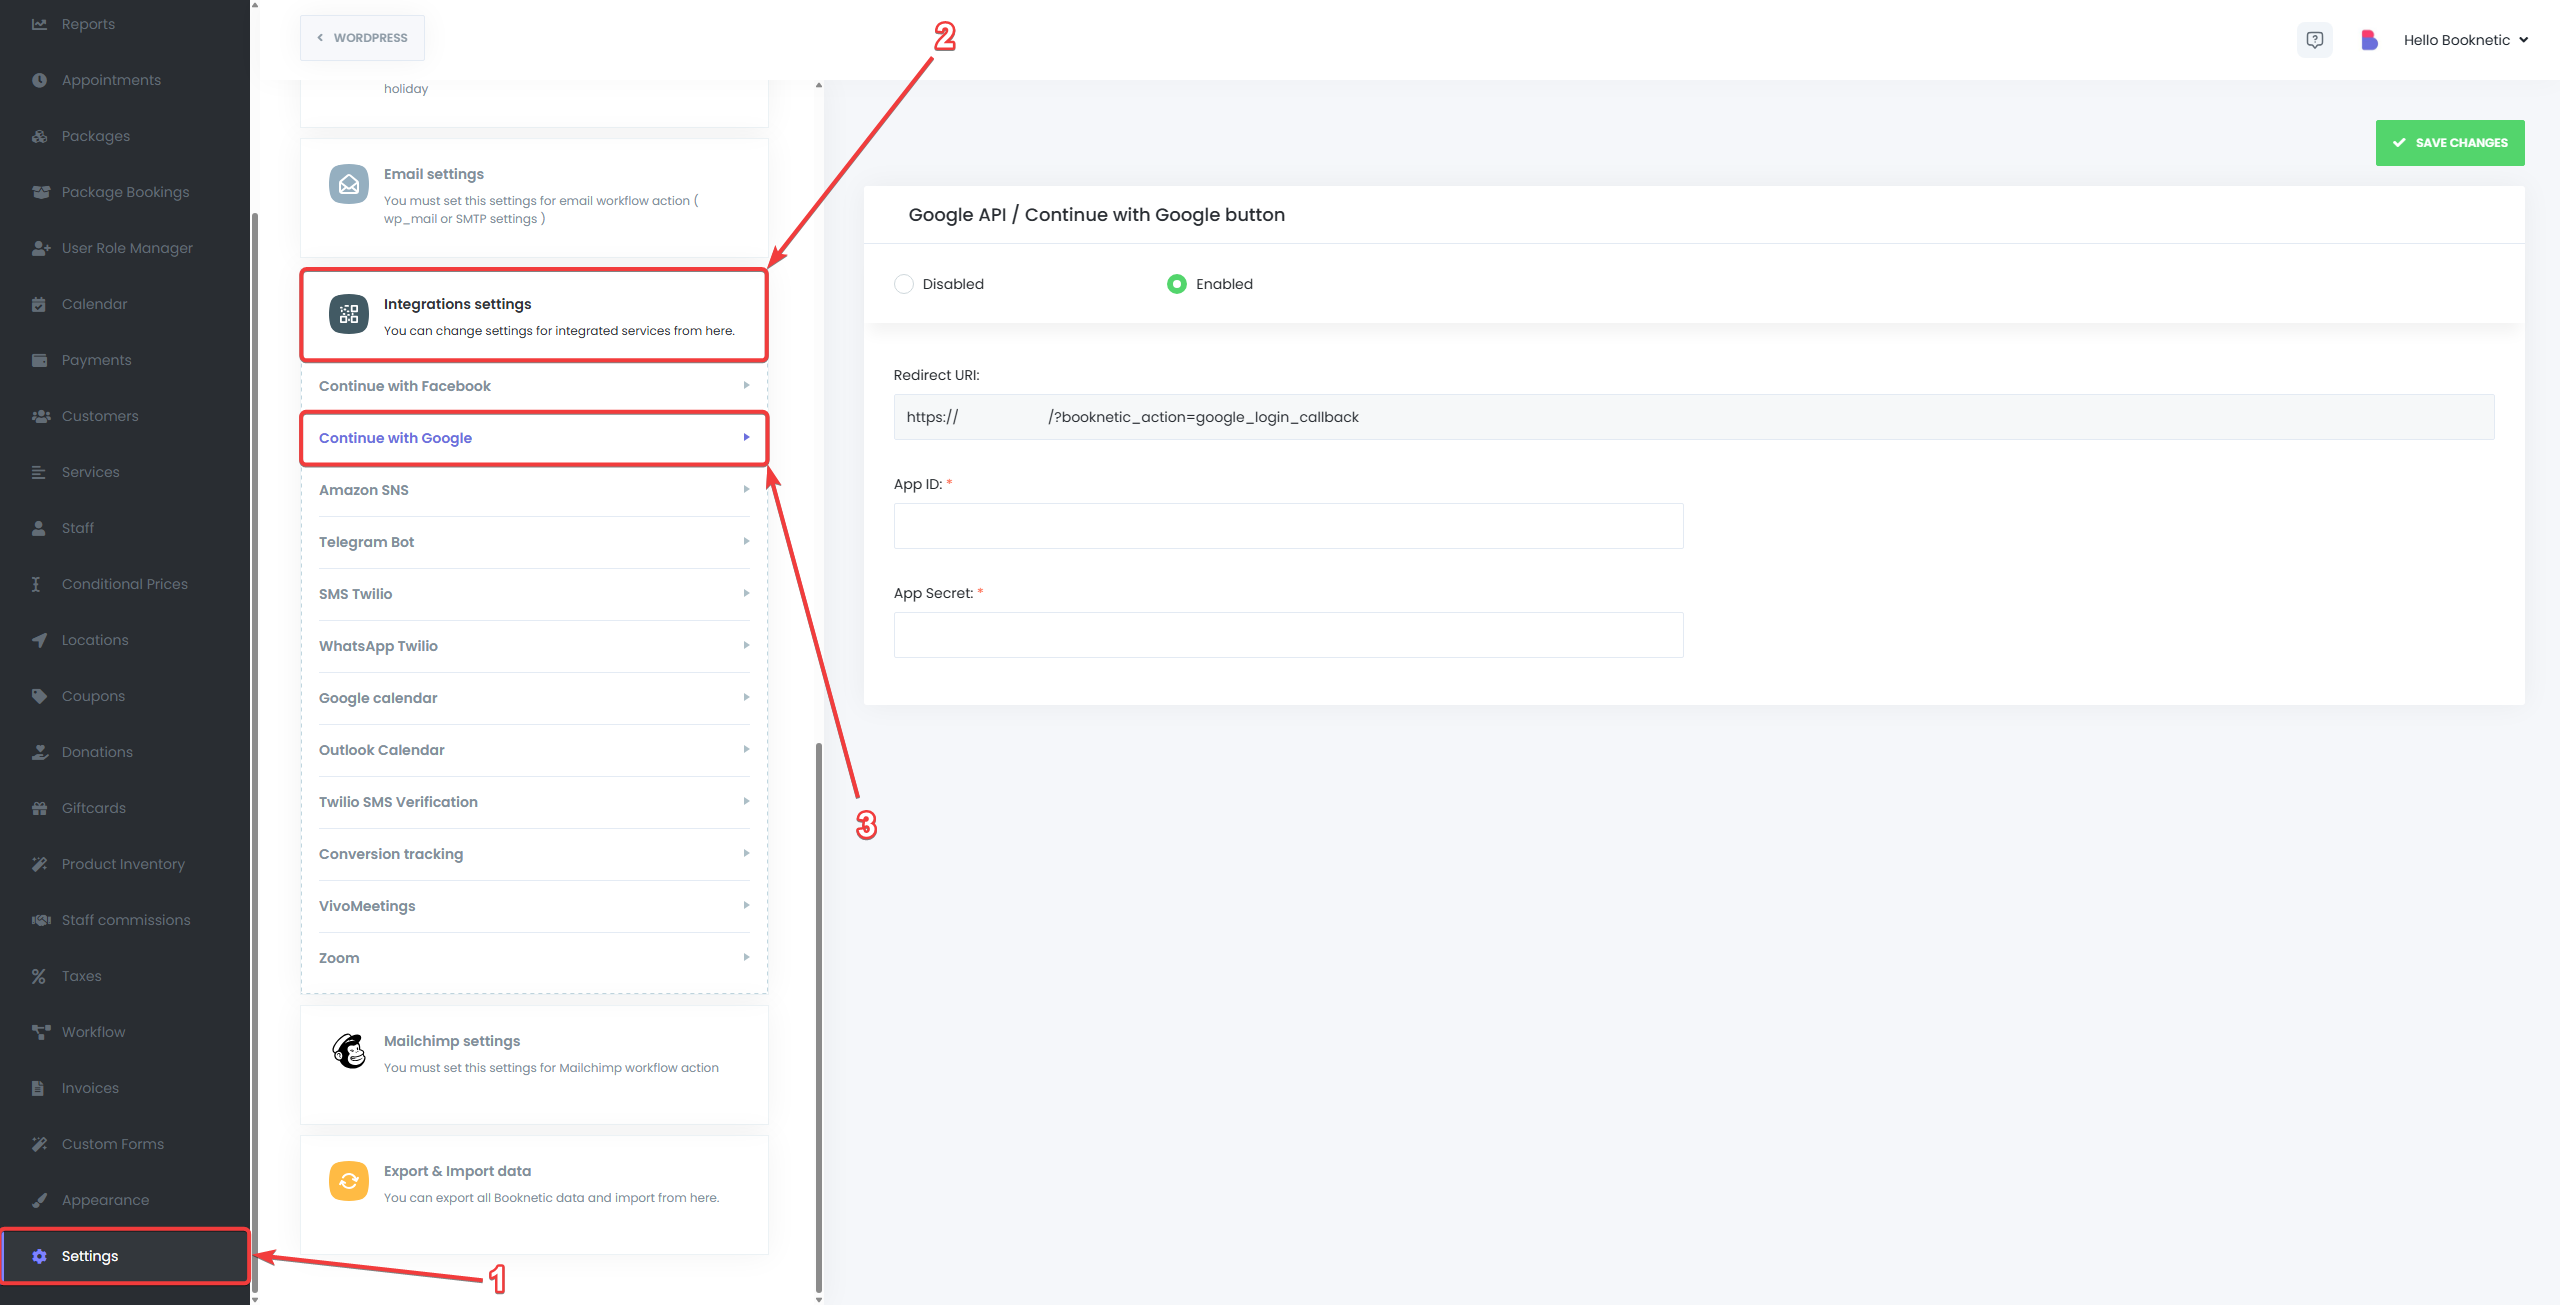
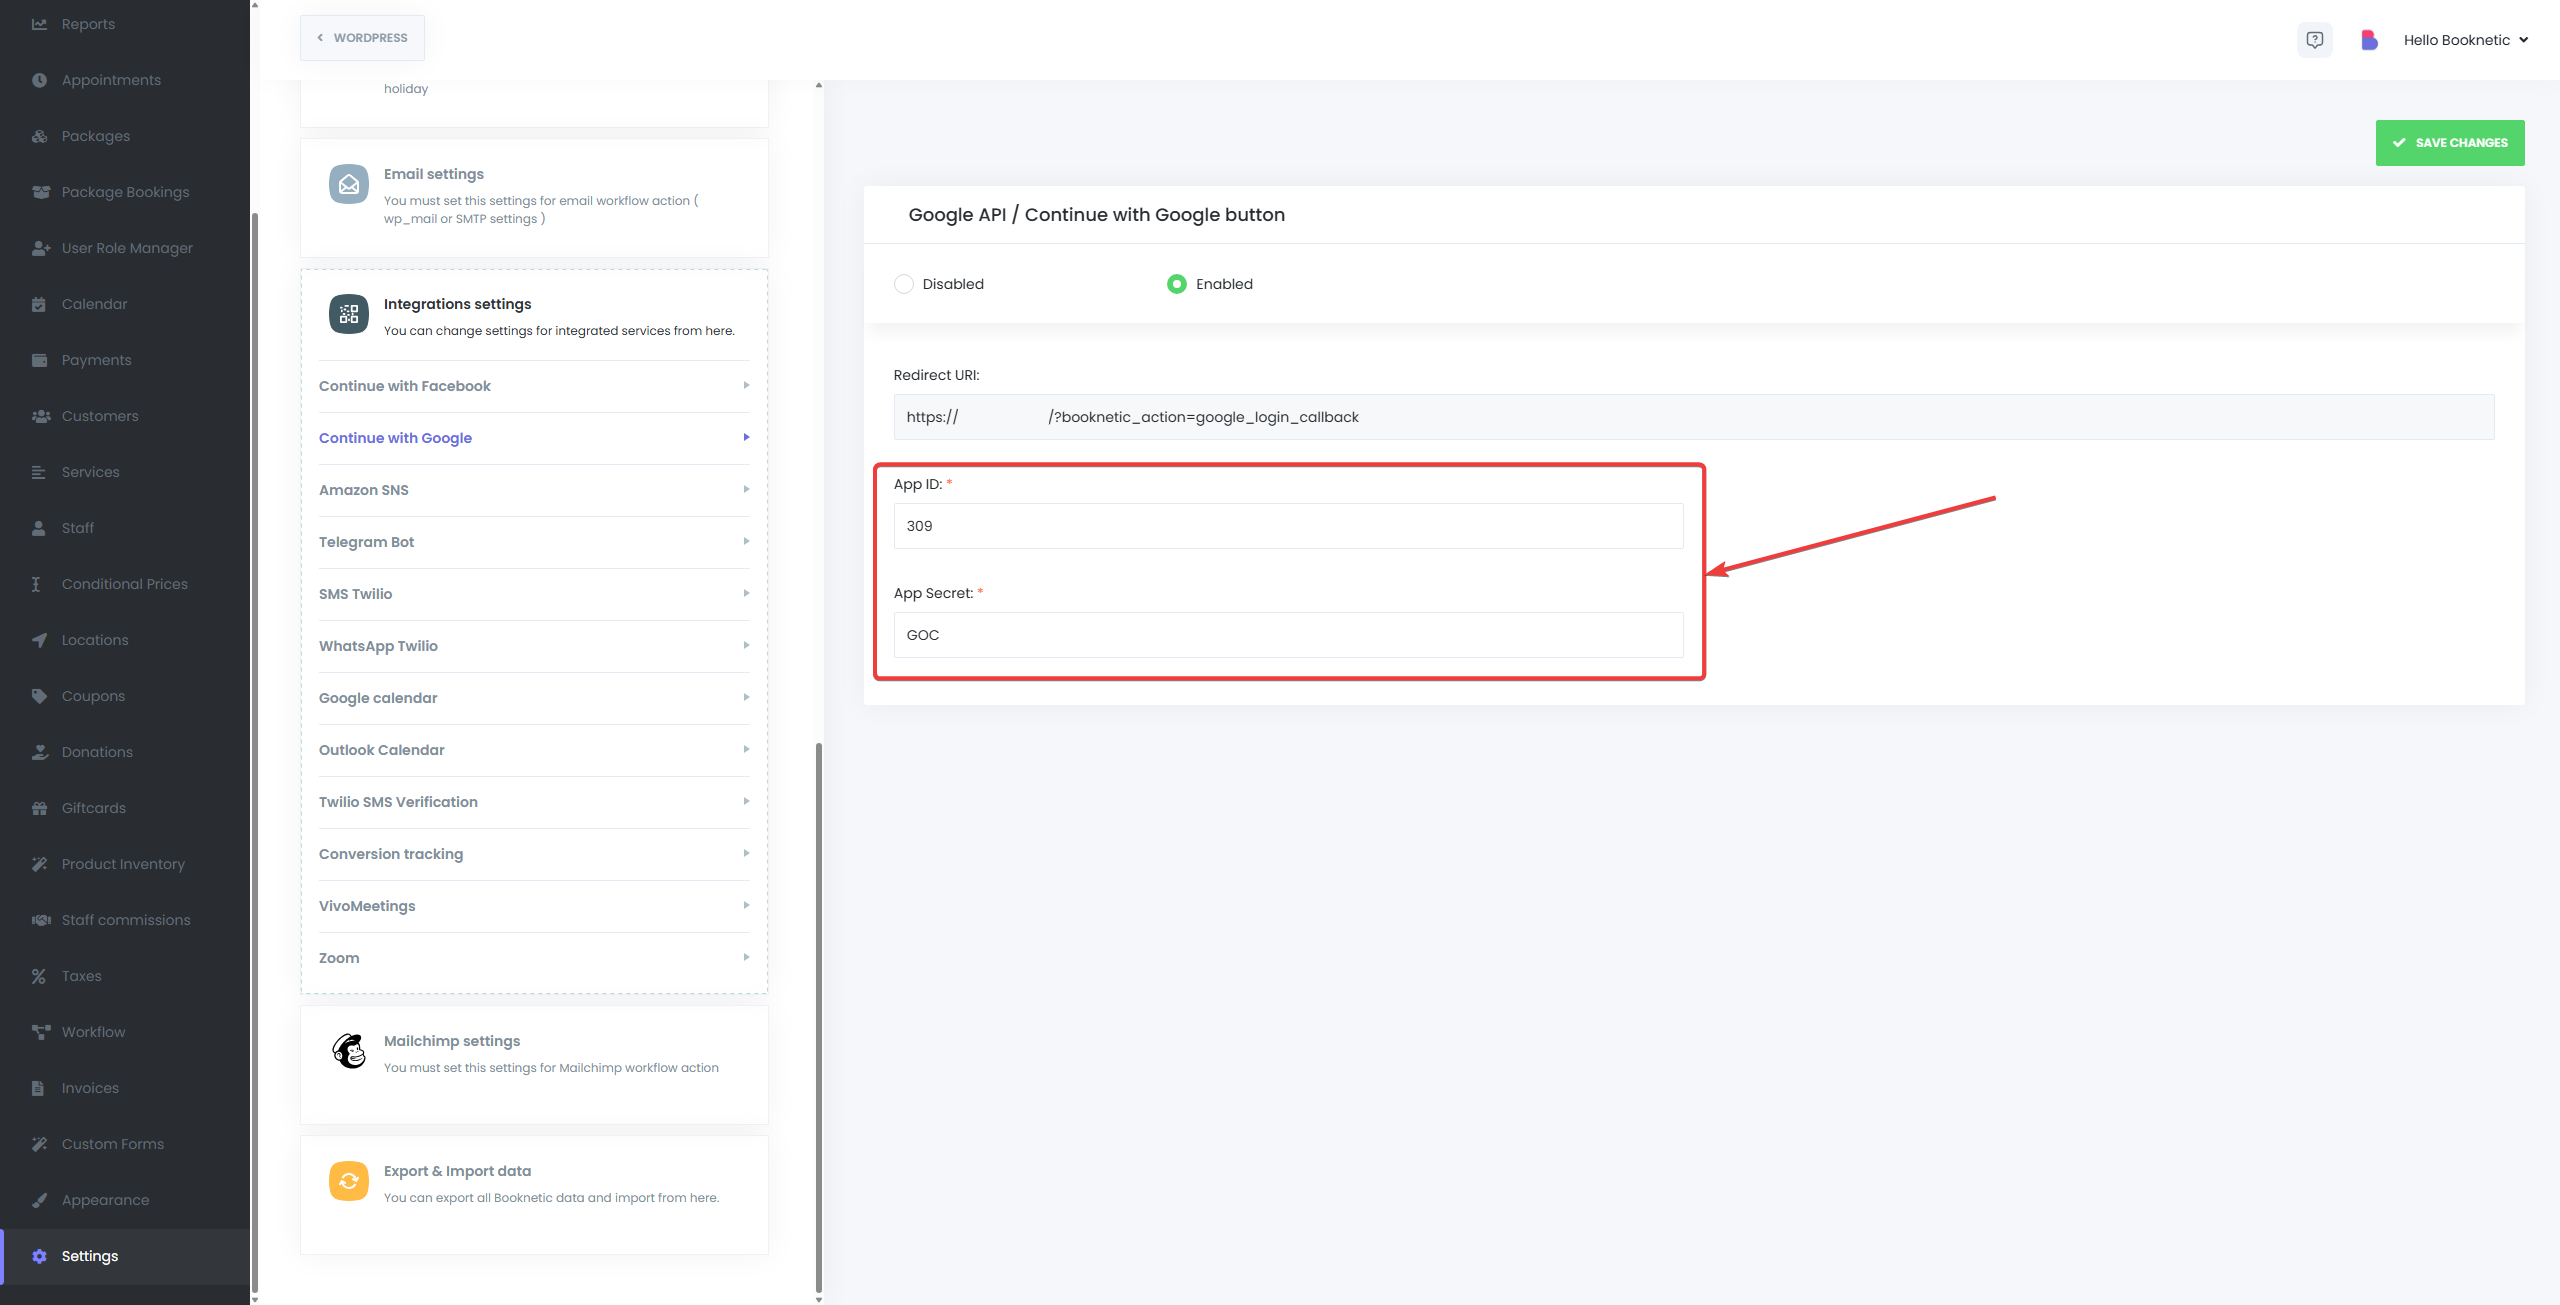
- Paste the Client ID and Client Secret into the appropriate fields.
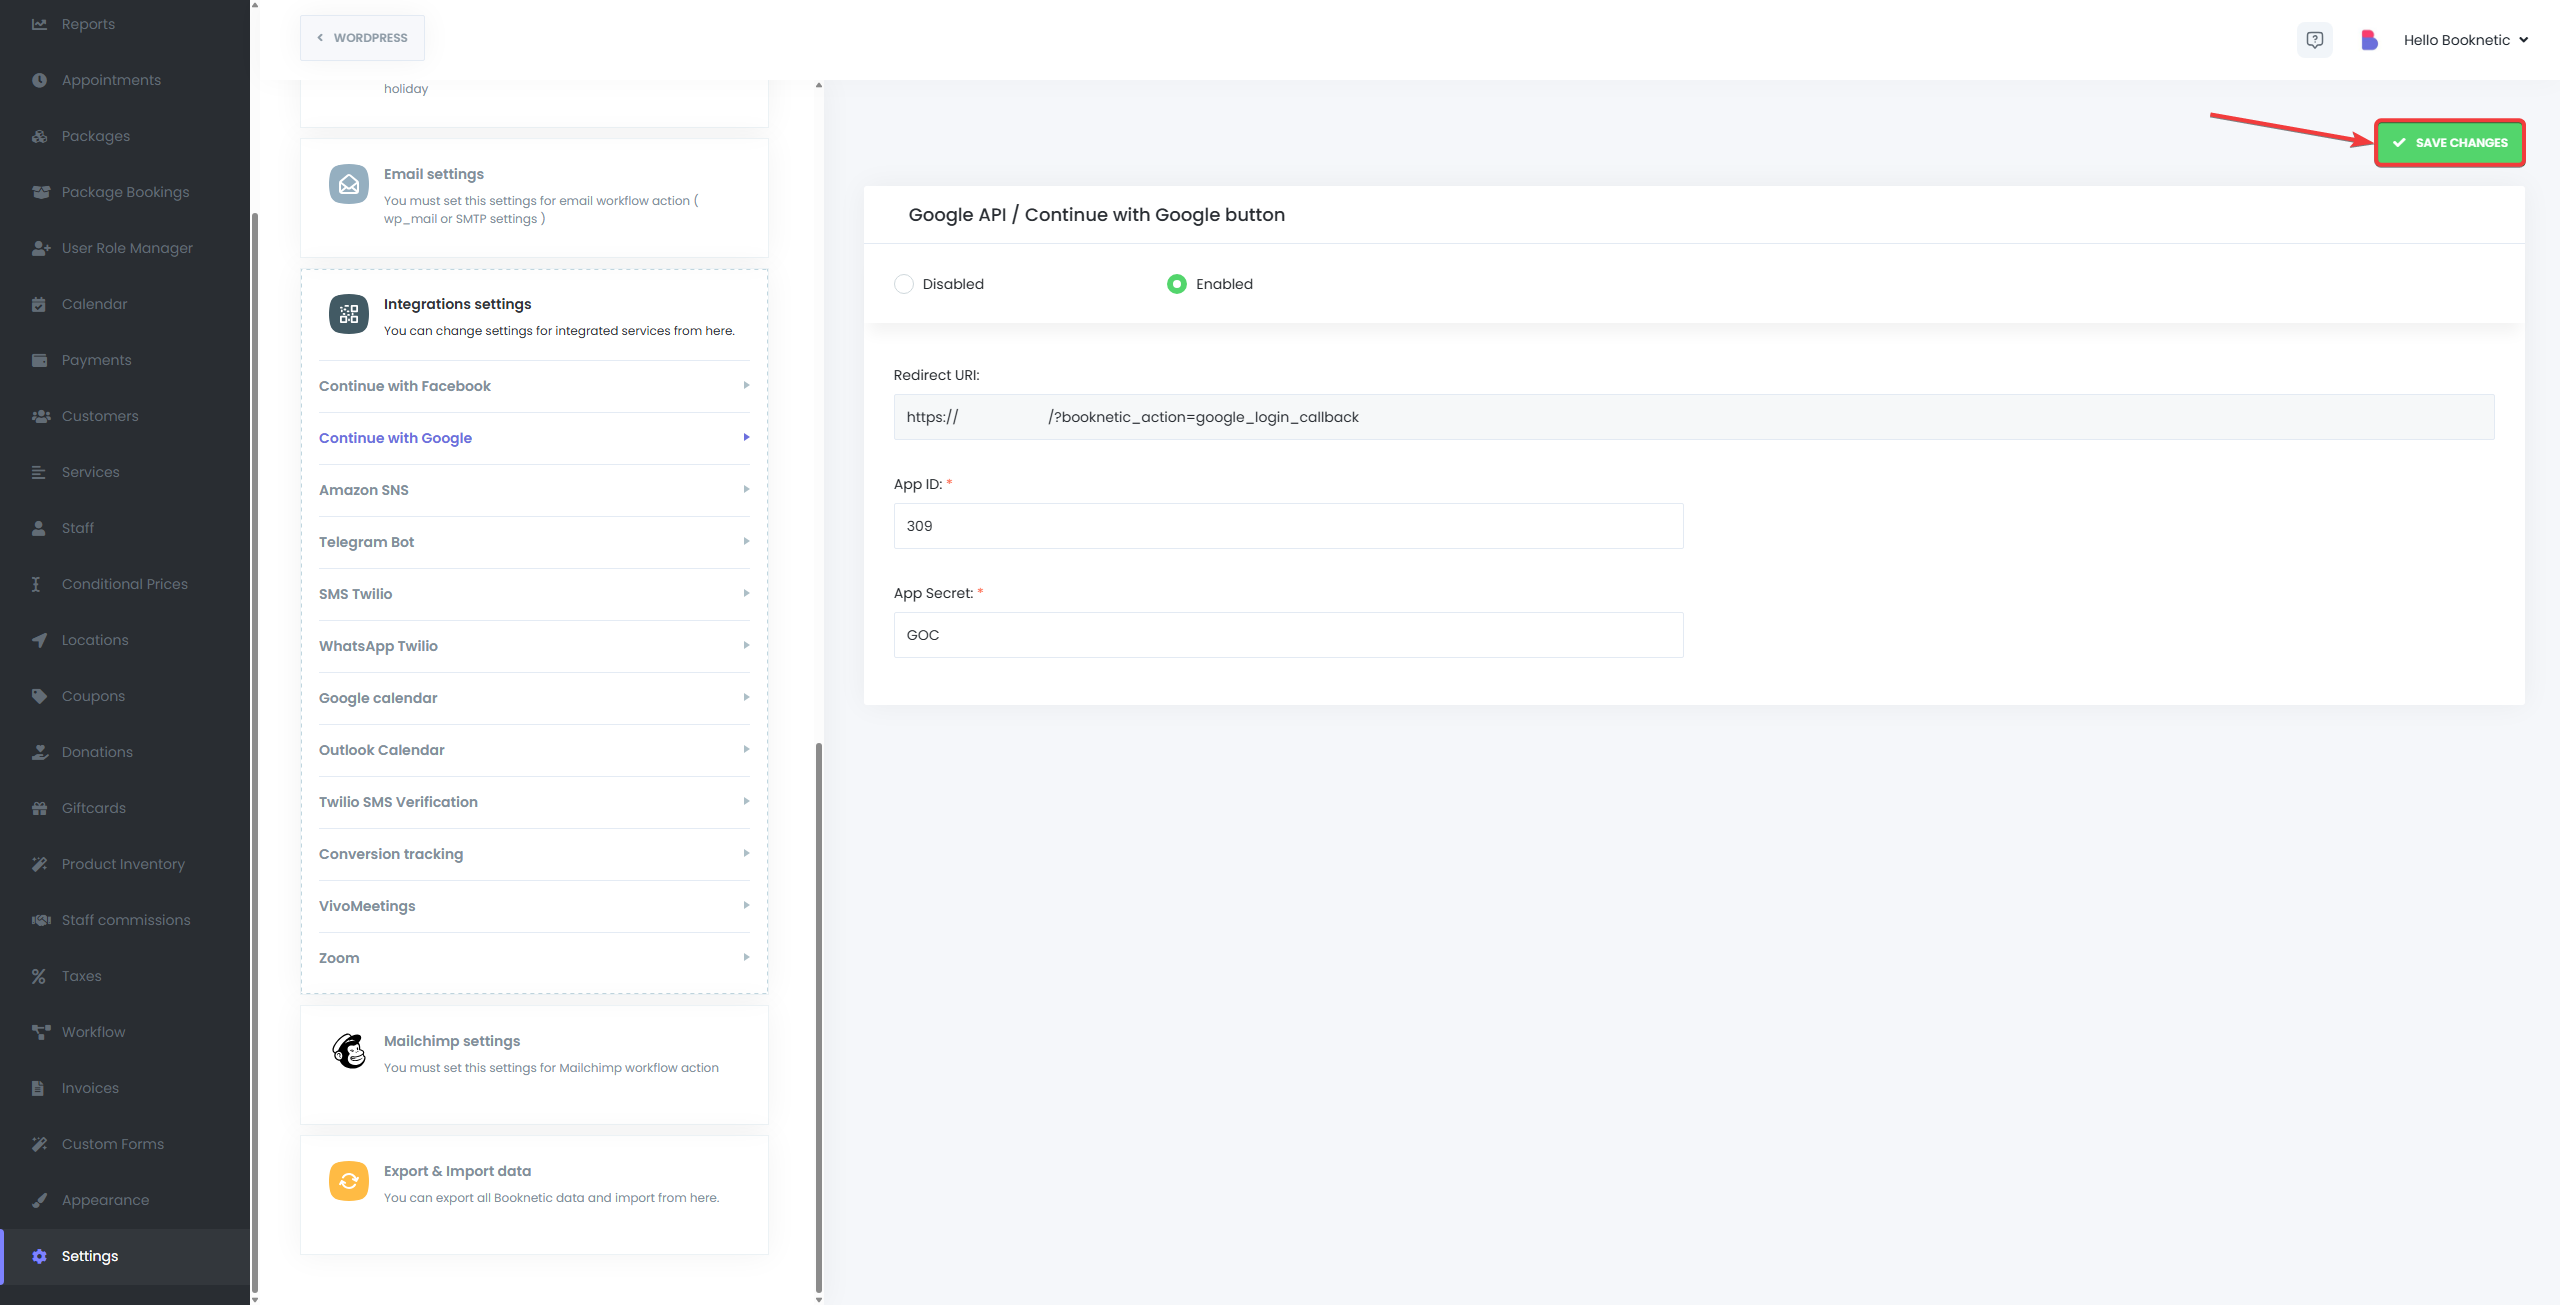
- Click Save to apply the changes.
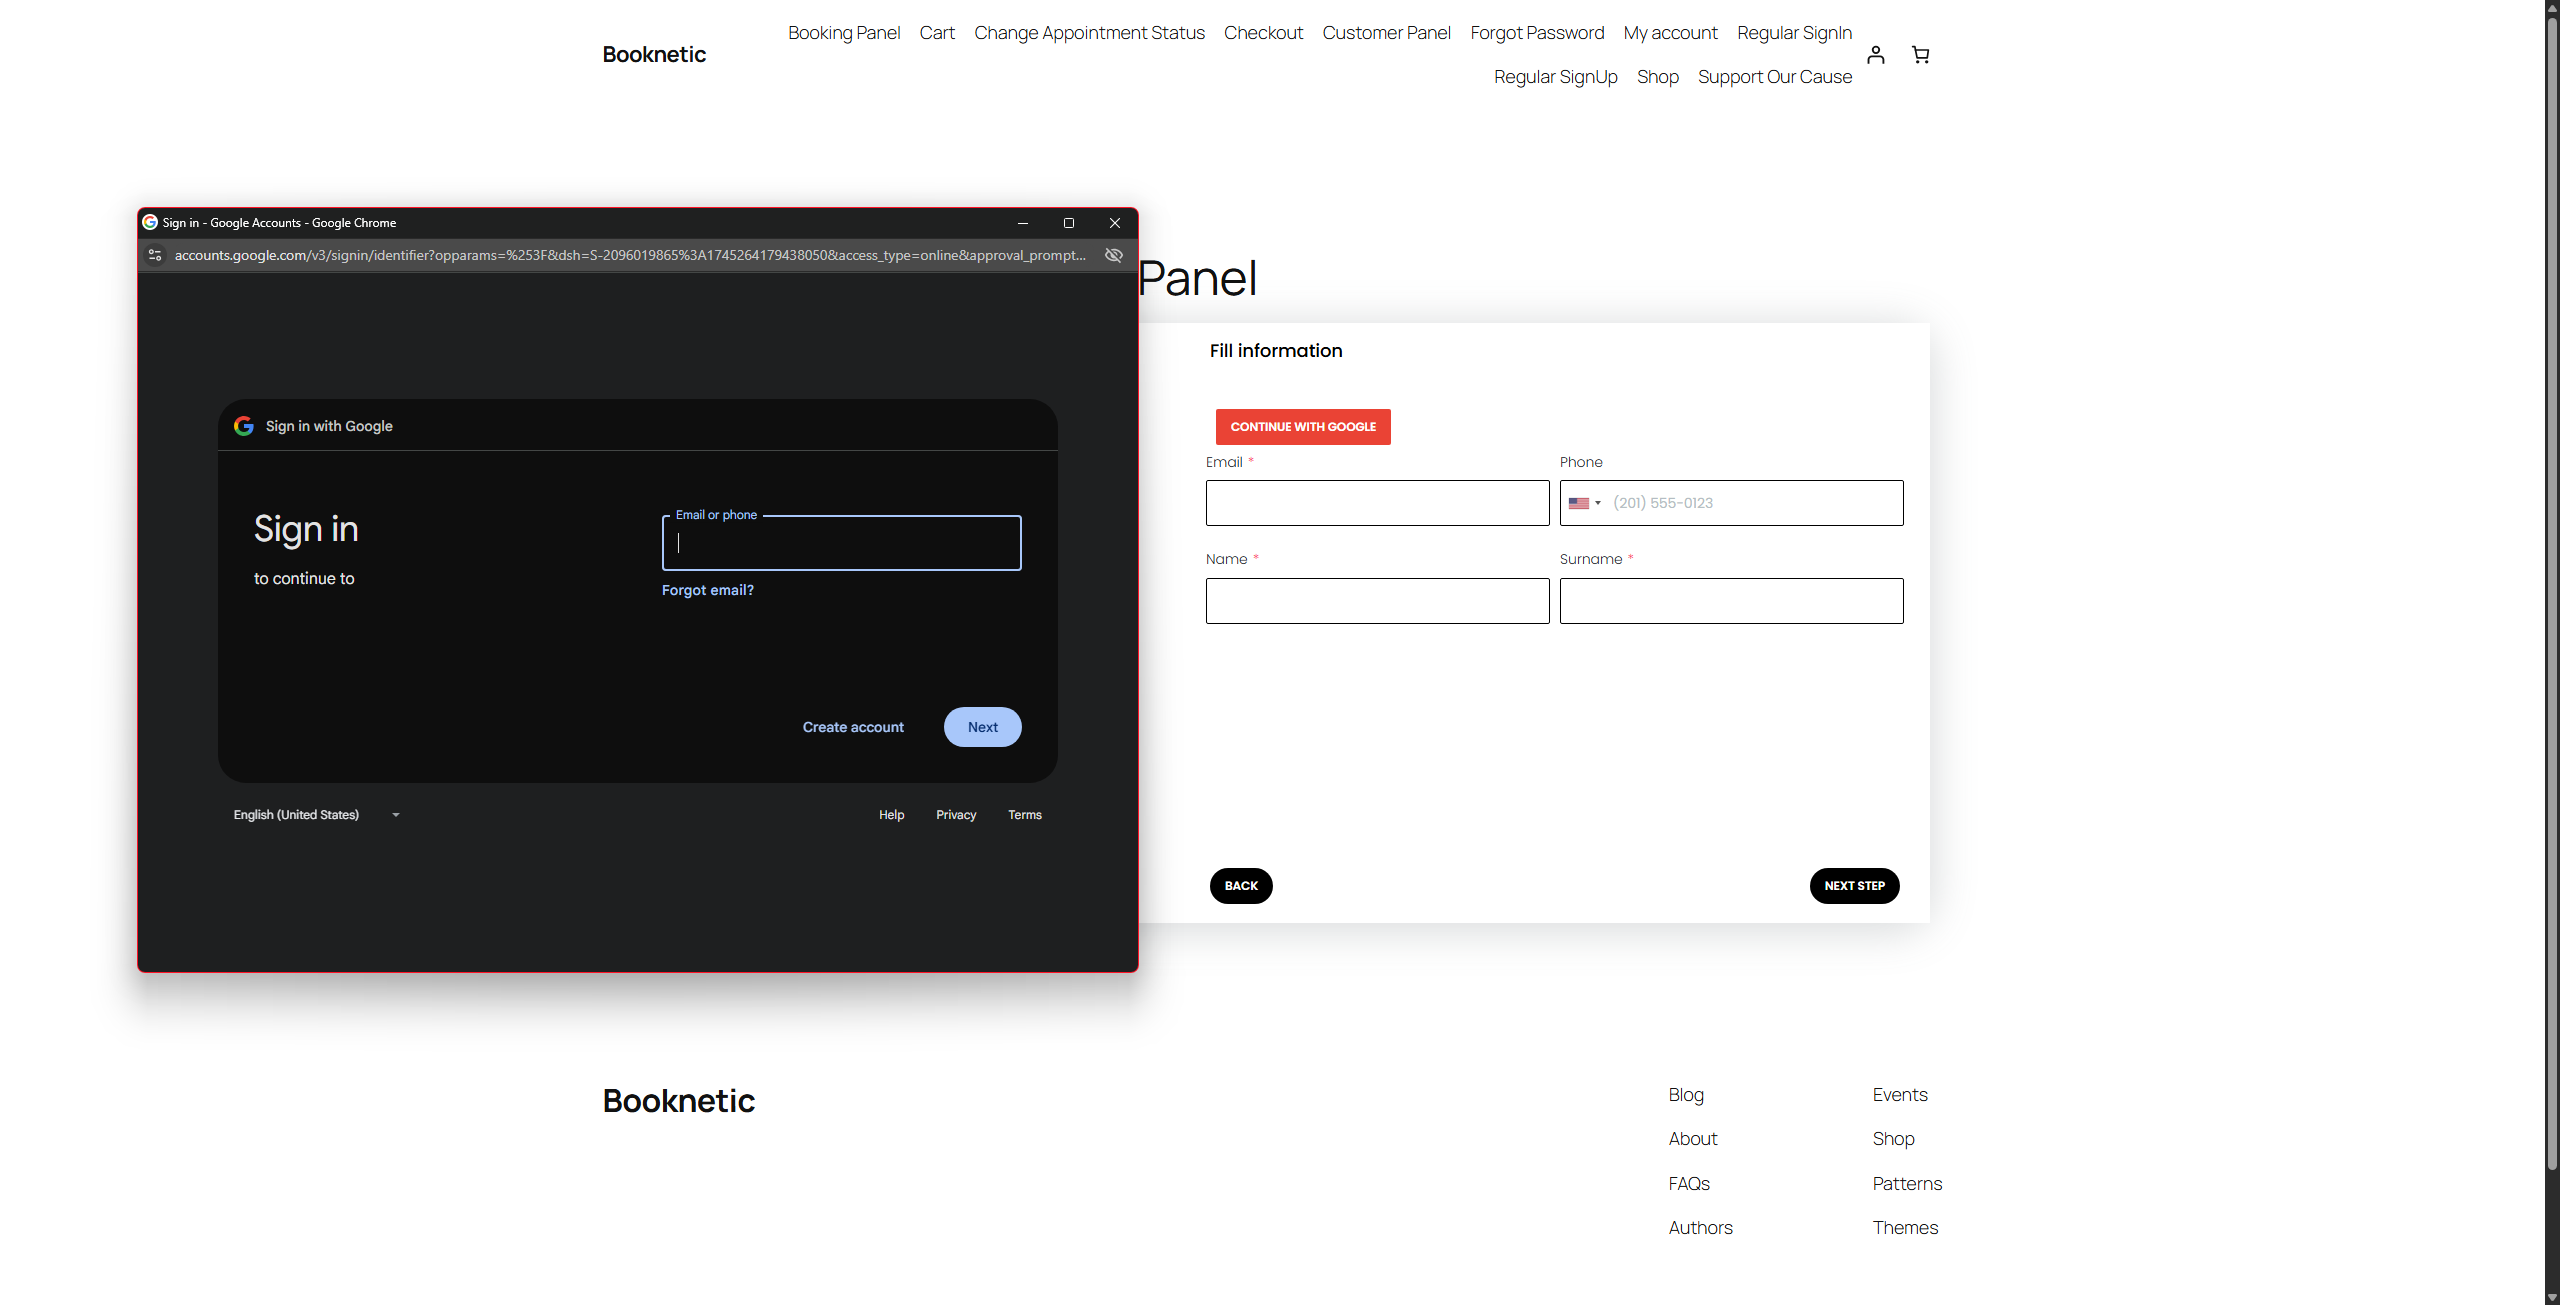
Step 5: Testing
- Go to the booking panel, and in the information step, click the “Continue with Google” button to test the integration.
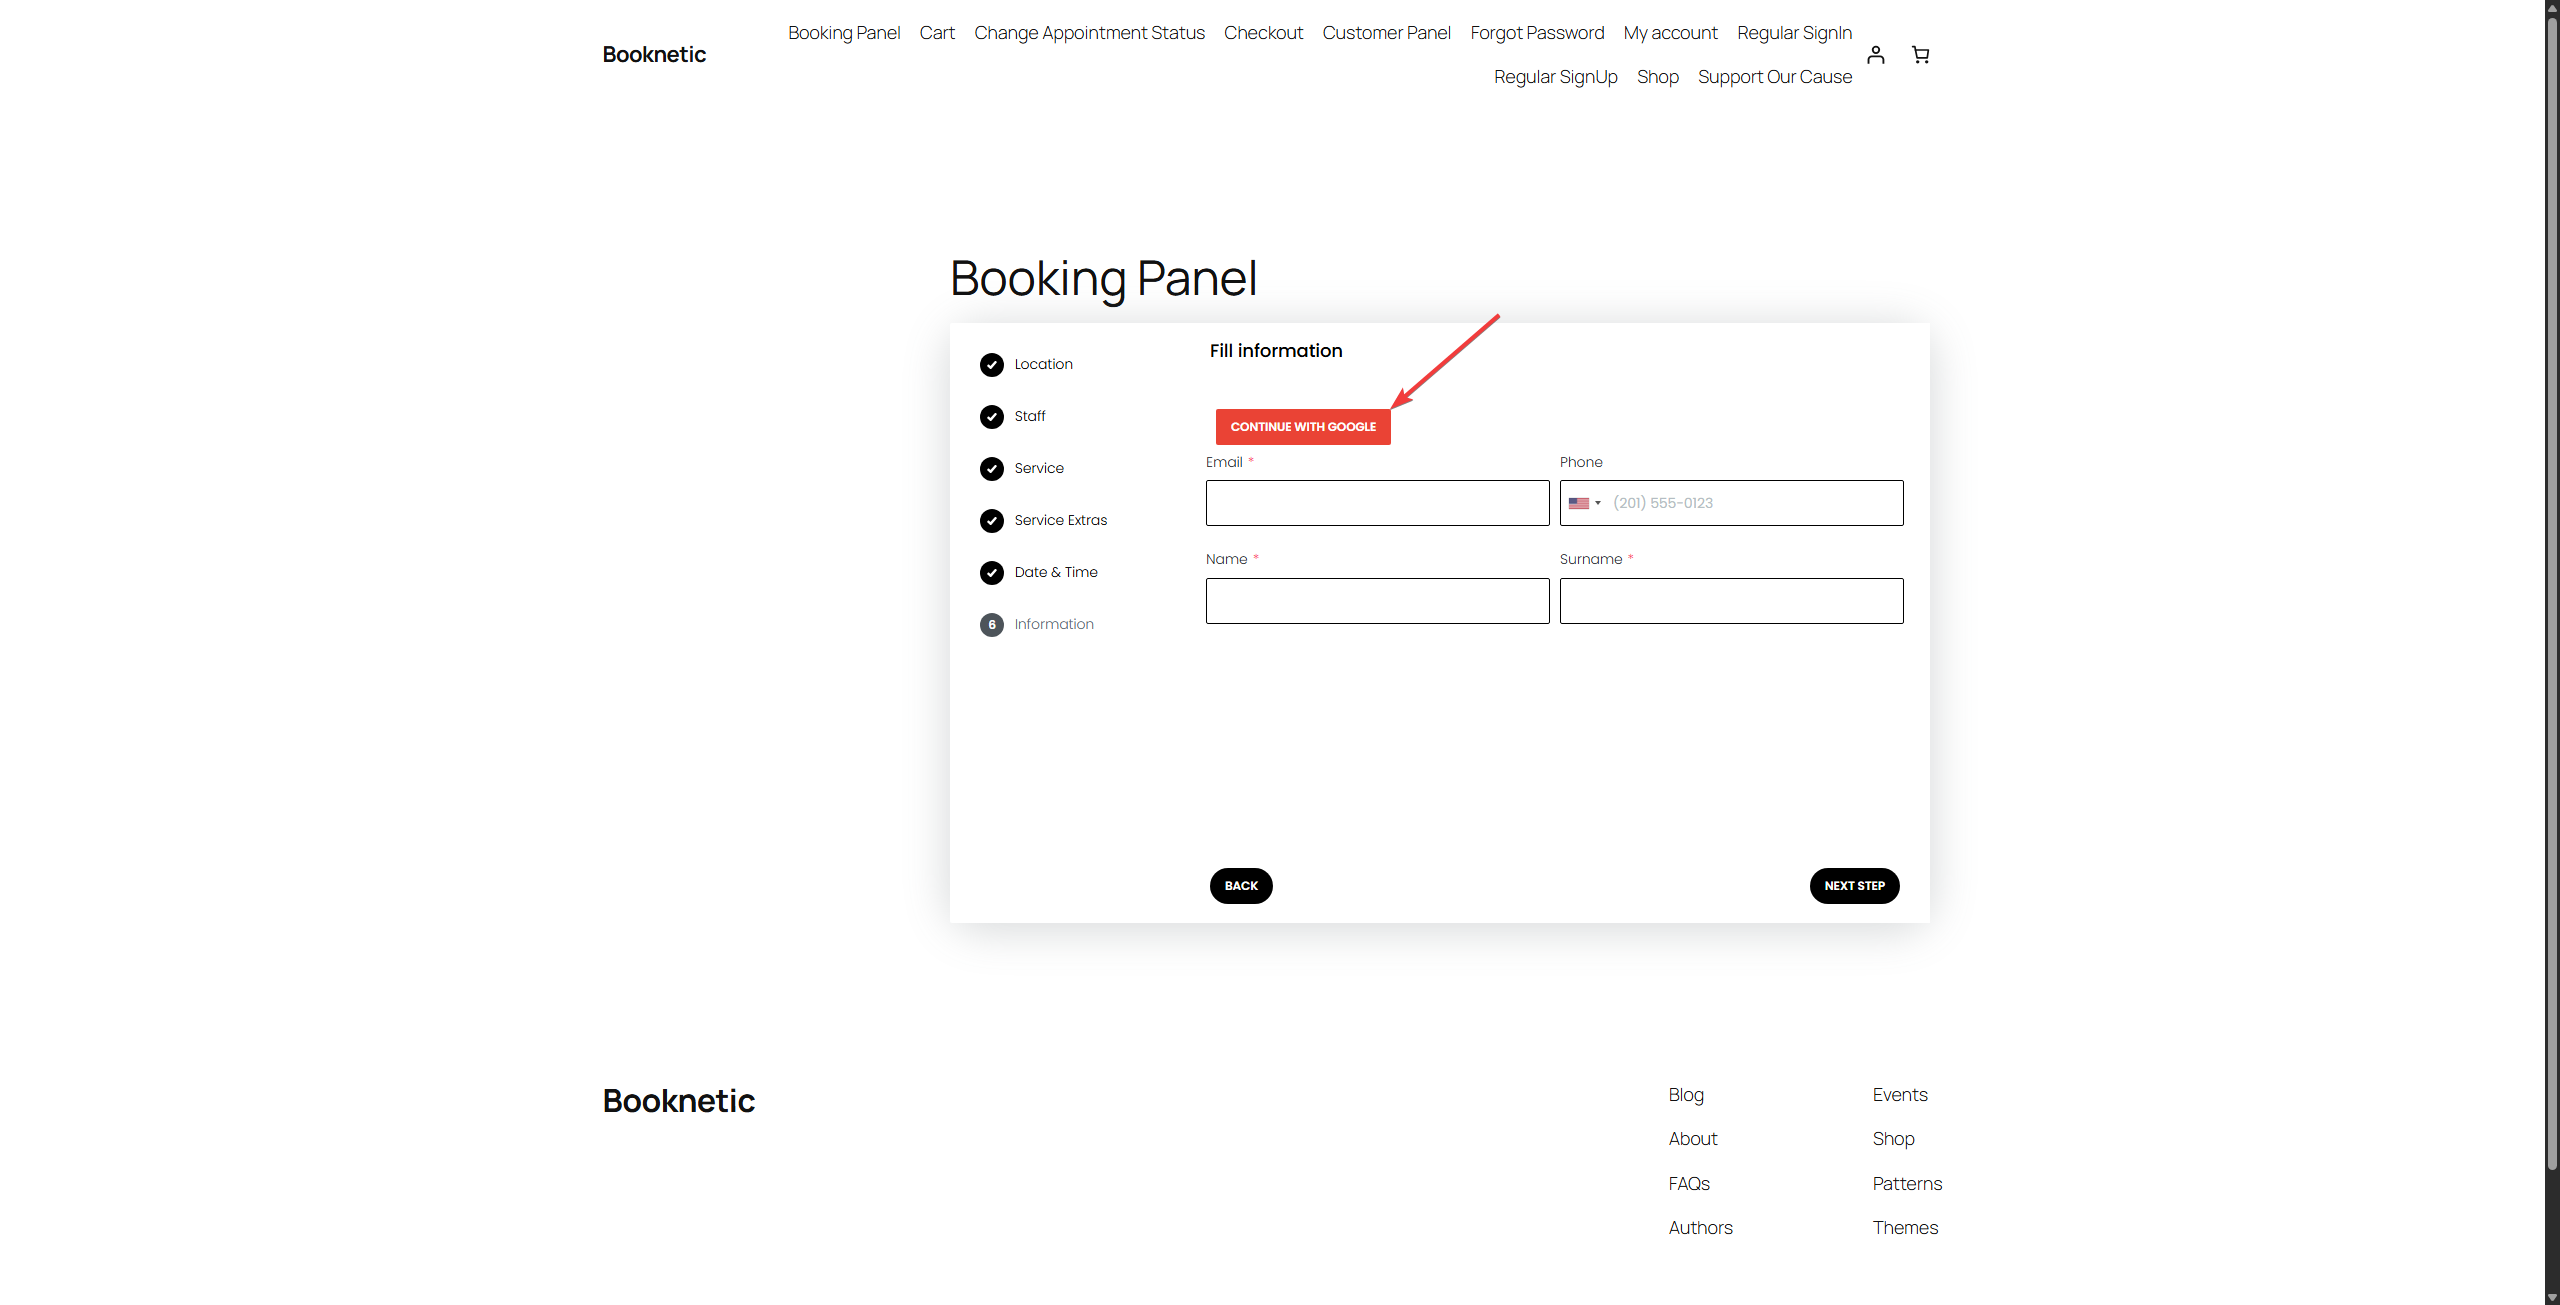
- Ensure that users are redirected to Google for authentication and that their account is successfully created or logged in.
Benefits of Using the Continue with Google Button
- Faster Login: Clients can log in quickly with their Google credentials, saving time during the booking process.
- Security: Google’s OAuth 2.0 ensures secure authentication, reducing the risk of account-related issues.
- Easy Setup: Once configured, the integration works seamlessly with minimal ongoing maintenance.