The Booking Limit Manager add-on for Booknetic offers complete control over your booking system, allowing you to set specific limits on appointments to optimize scheduling. Whether you're managing multiple locations, staff, services, or even customers, this powerful add-on ensures smooth operations, prevents overbooking, and enhances service quality.
Installing the Booking Limit Manager add-on
Before proceeding to the functionalities of the add-on, first the add-on itself should be installed in Booknetic from BooStore. For that:
- Navigate to the Booknetic Dashboard.
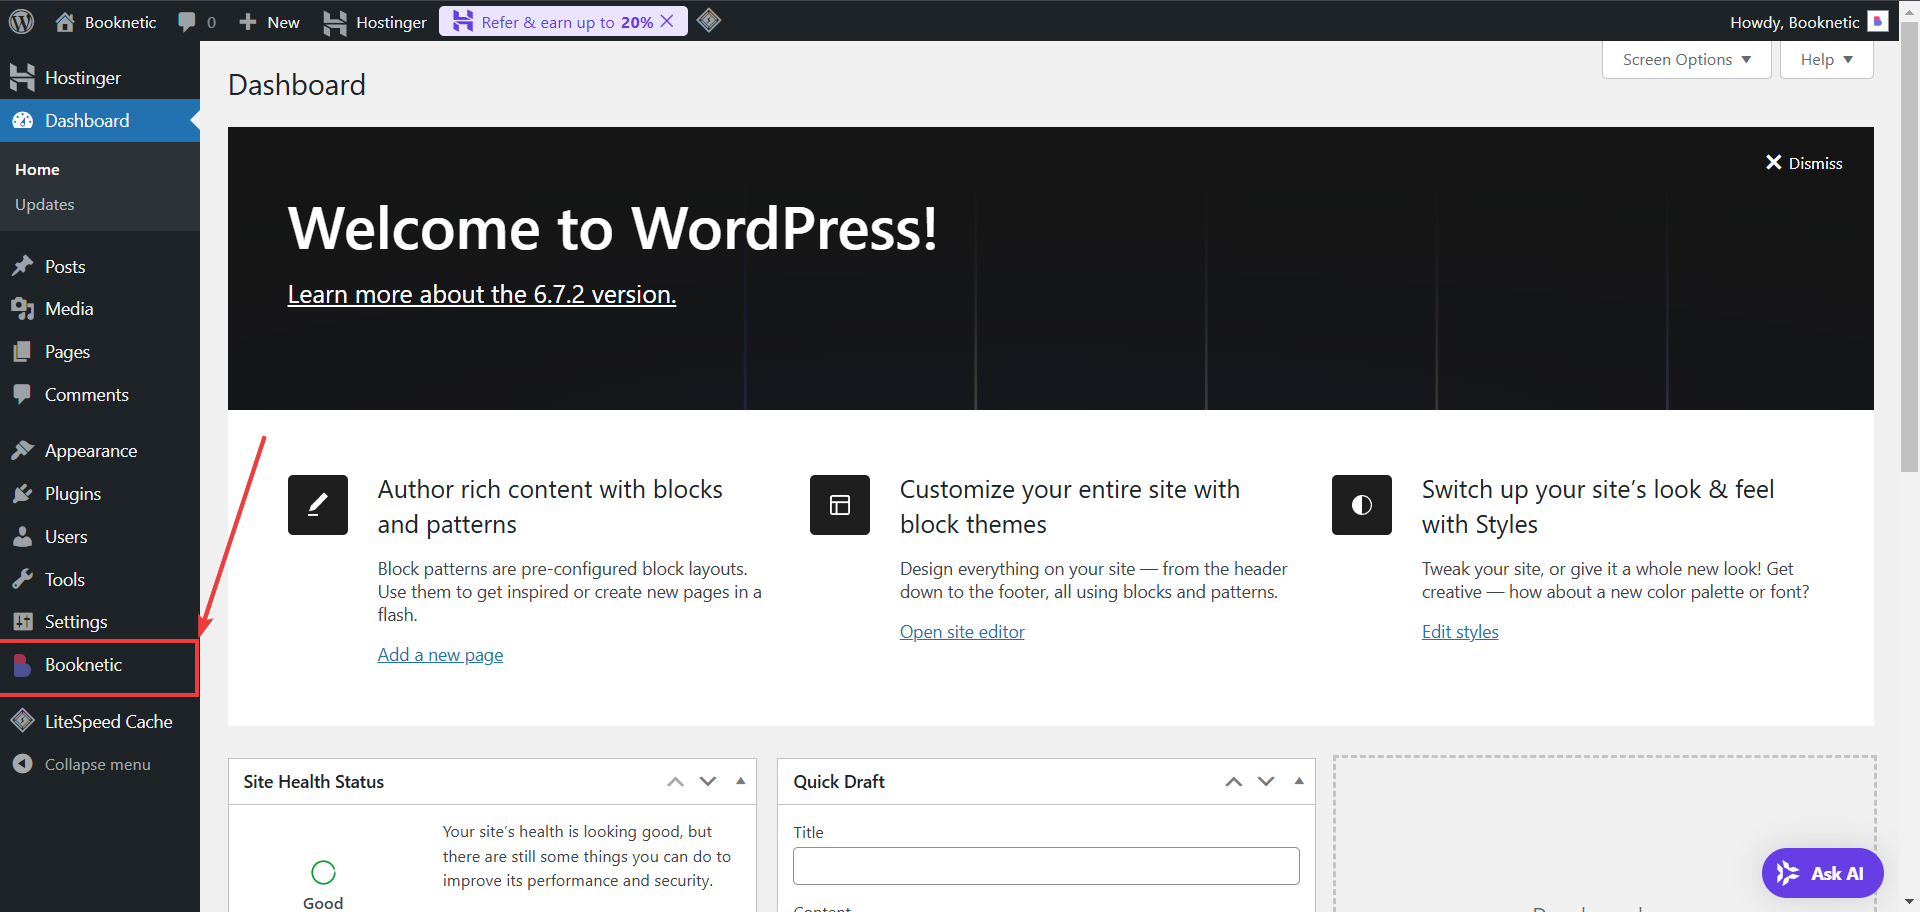
- Go to the BooStore
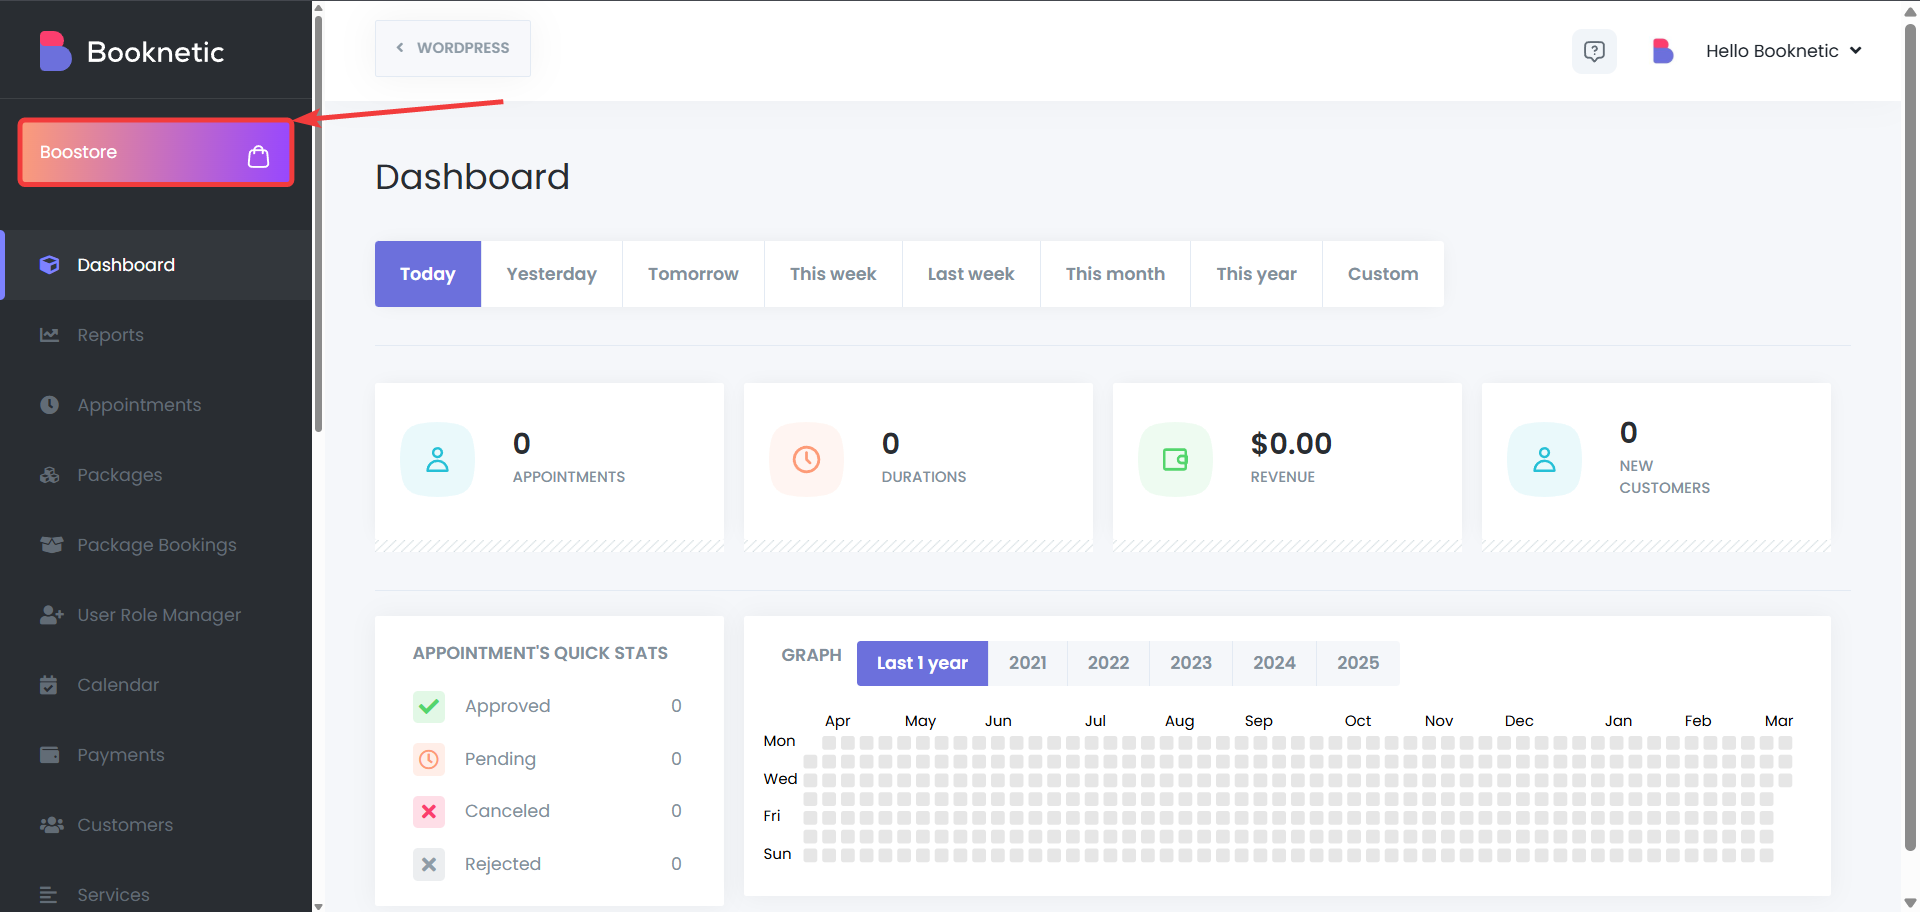
- Search for Booking Limit Manager

Location-Based Booking Limits
The Location Booking Limit feature allows you to set specific booking limits for each location within your business, offering detailed control over how many appointments can be made at a given time. This feature helps prevent overcrowding at any one location while ensuring a smooth flow of appointments.
Setting Location Booking Limits
-
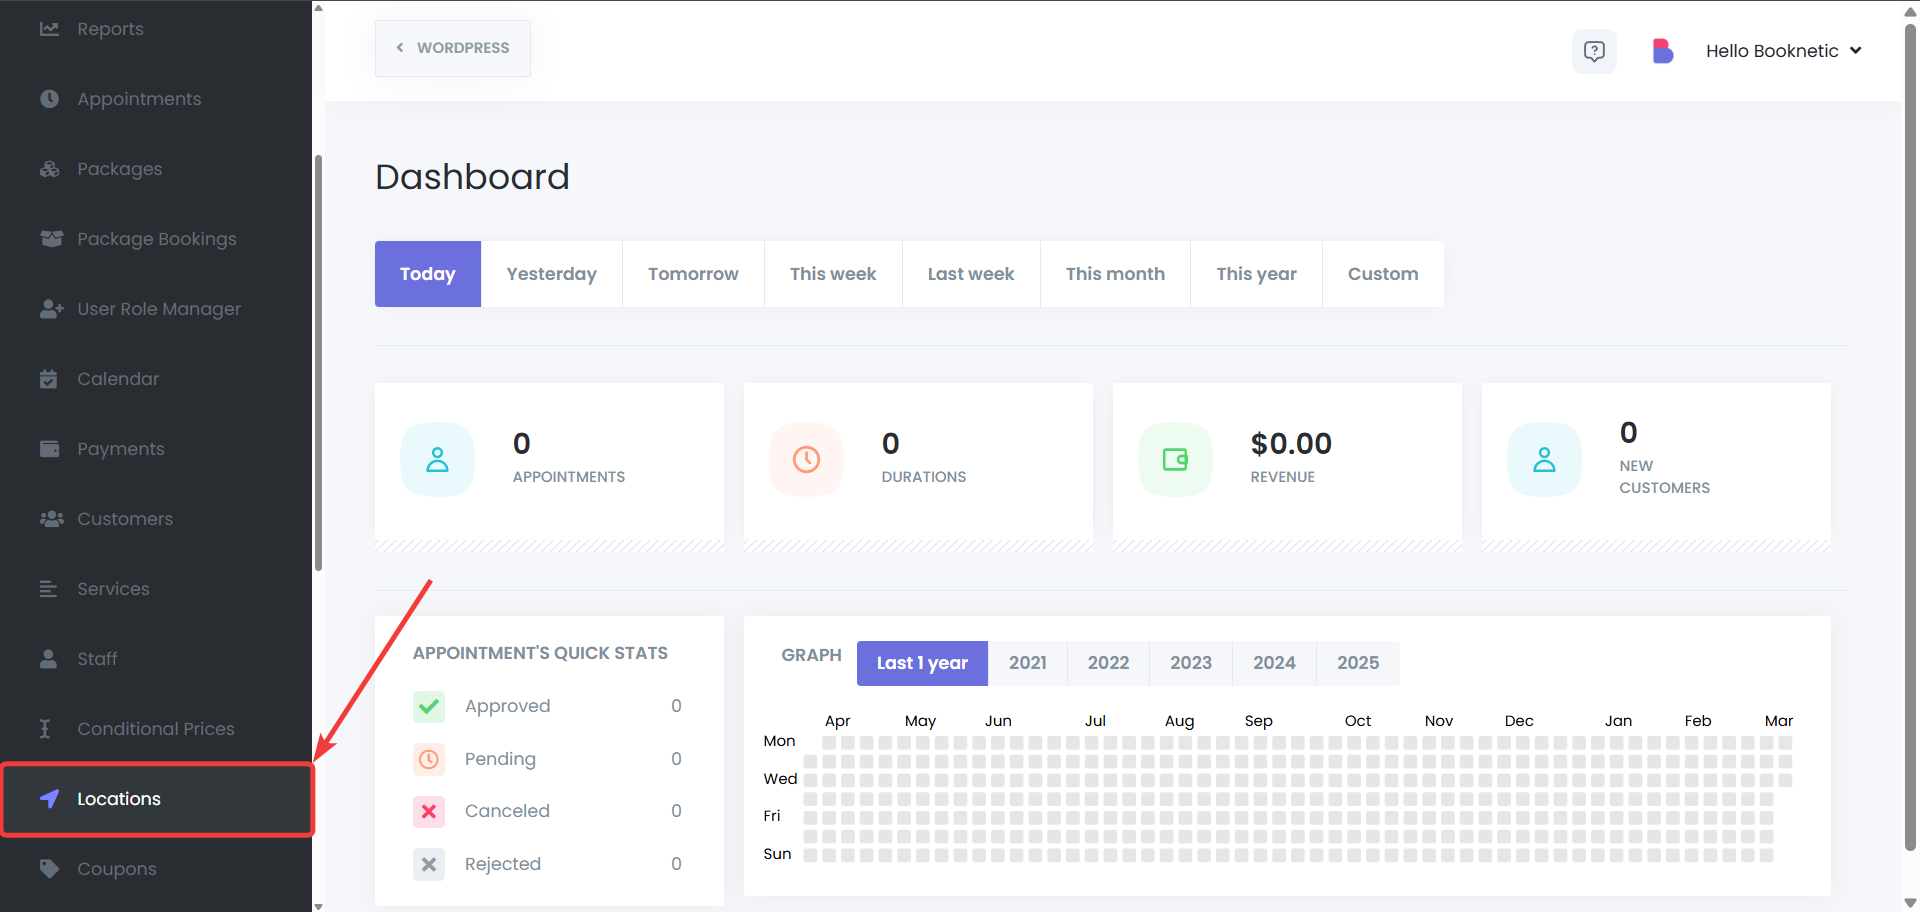
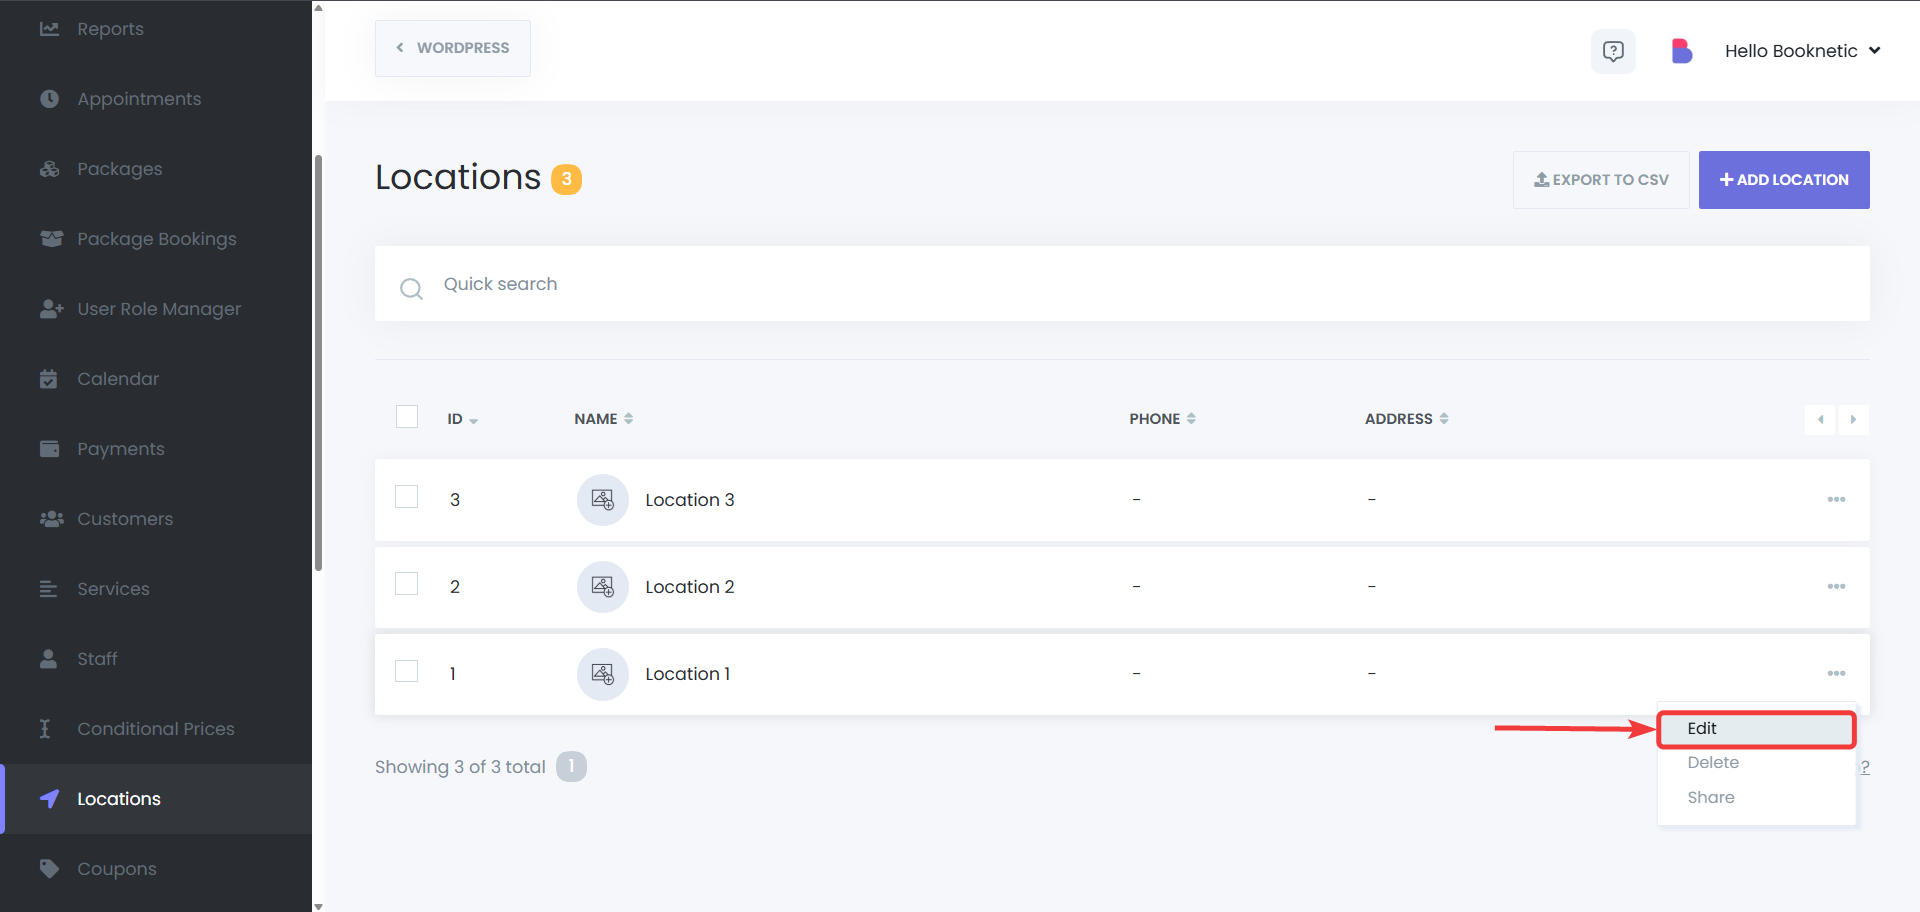
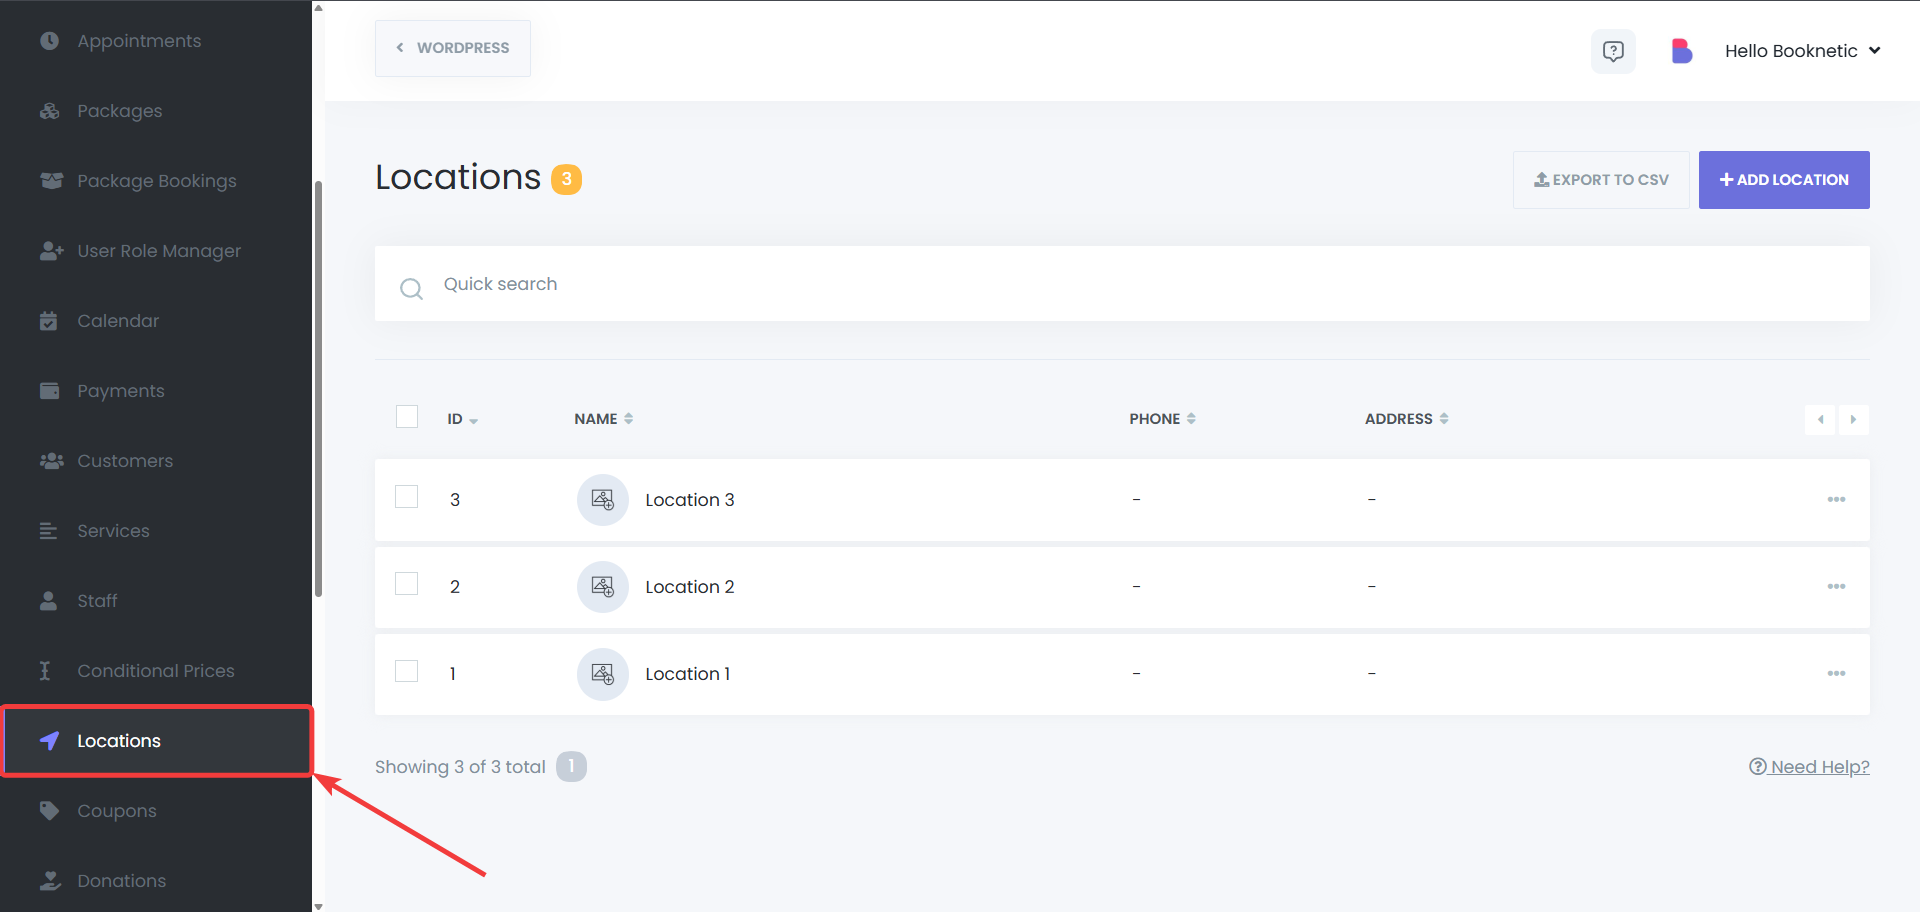
Accessing Locations
- Go to Locations on the left side of the dashboard.
-
Selecting a Location
- A list of all locations will be displayed.
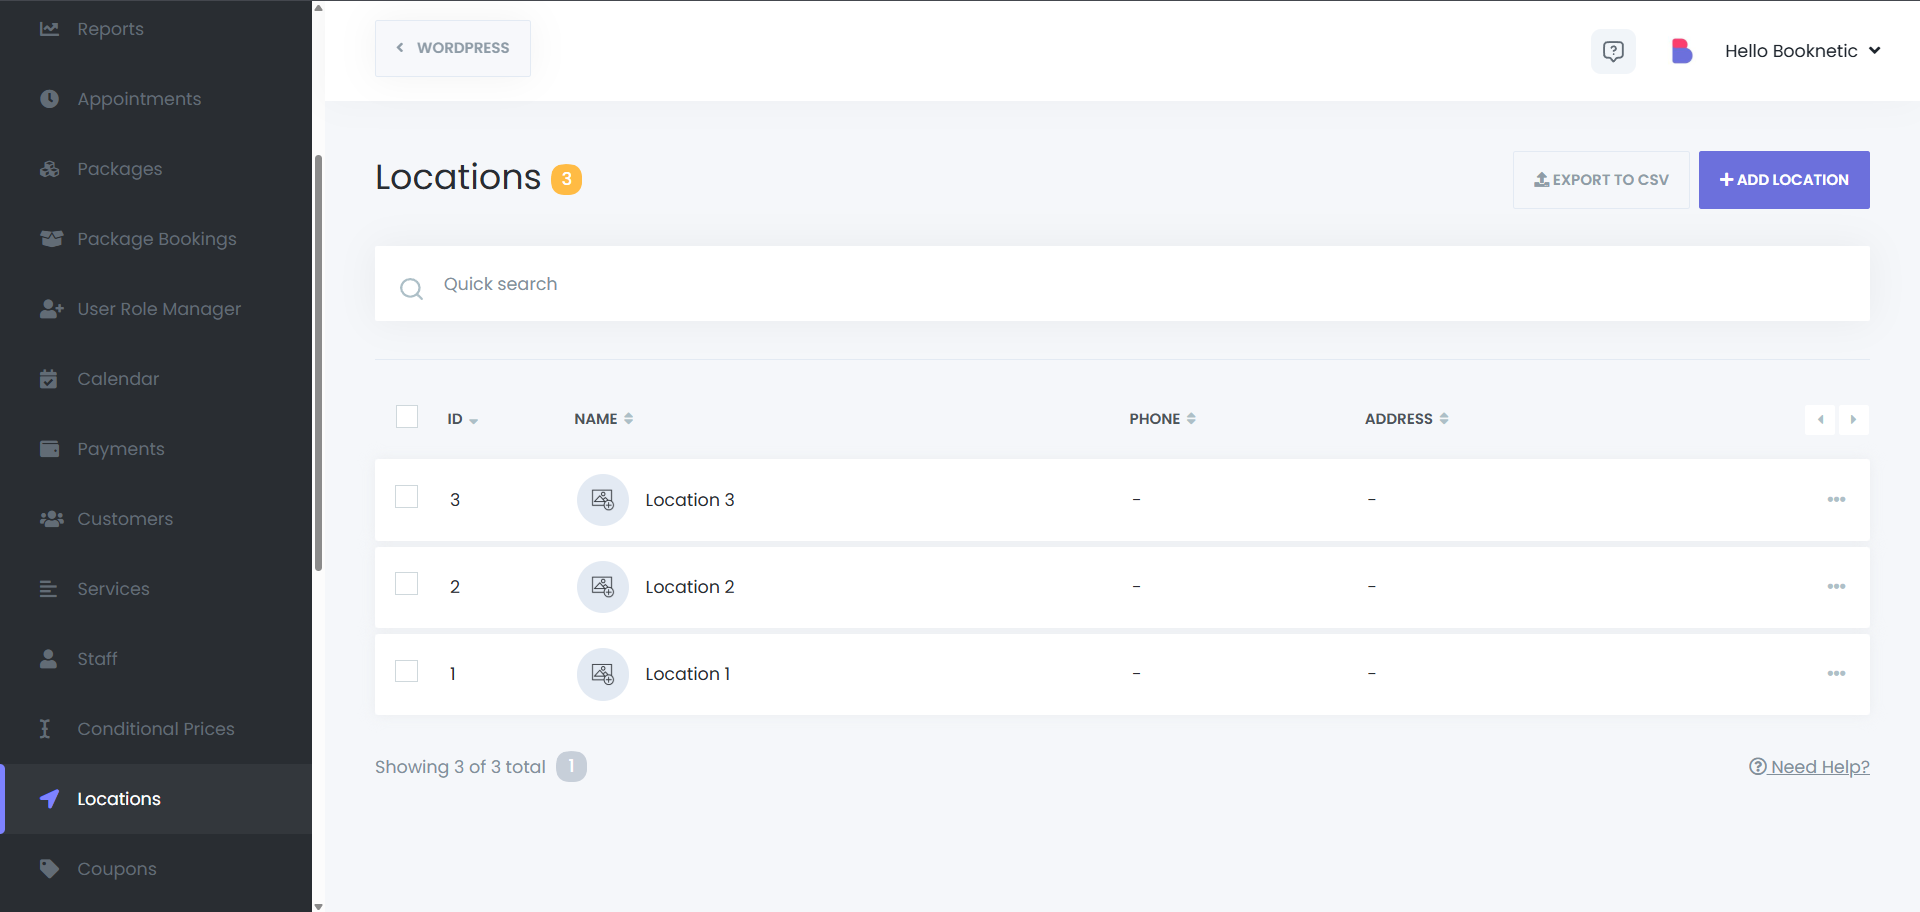
- Click the 3 dots next to the location for which you want to set booking limits, then click on “Edit”
-
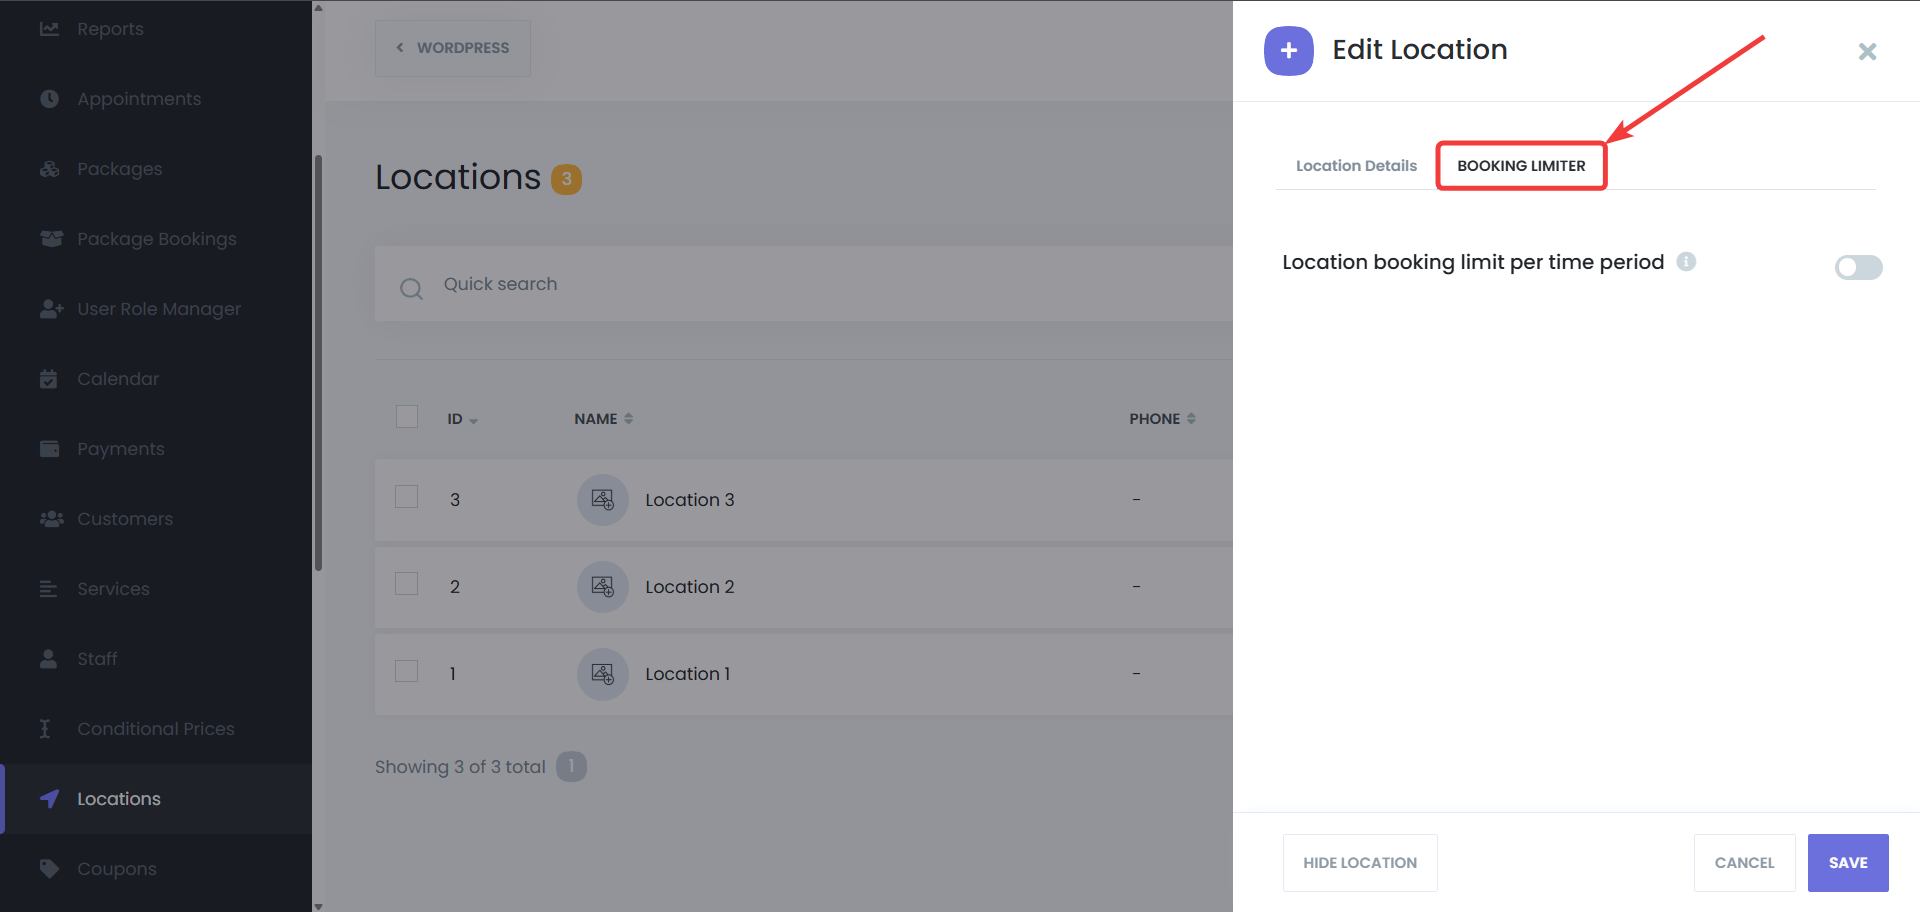
Configuring Booking Limits
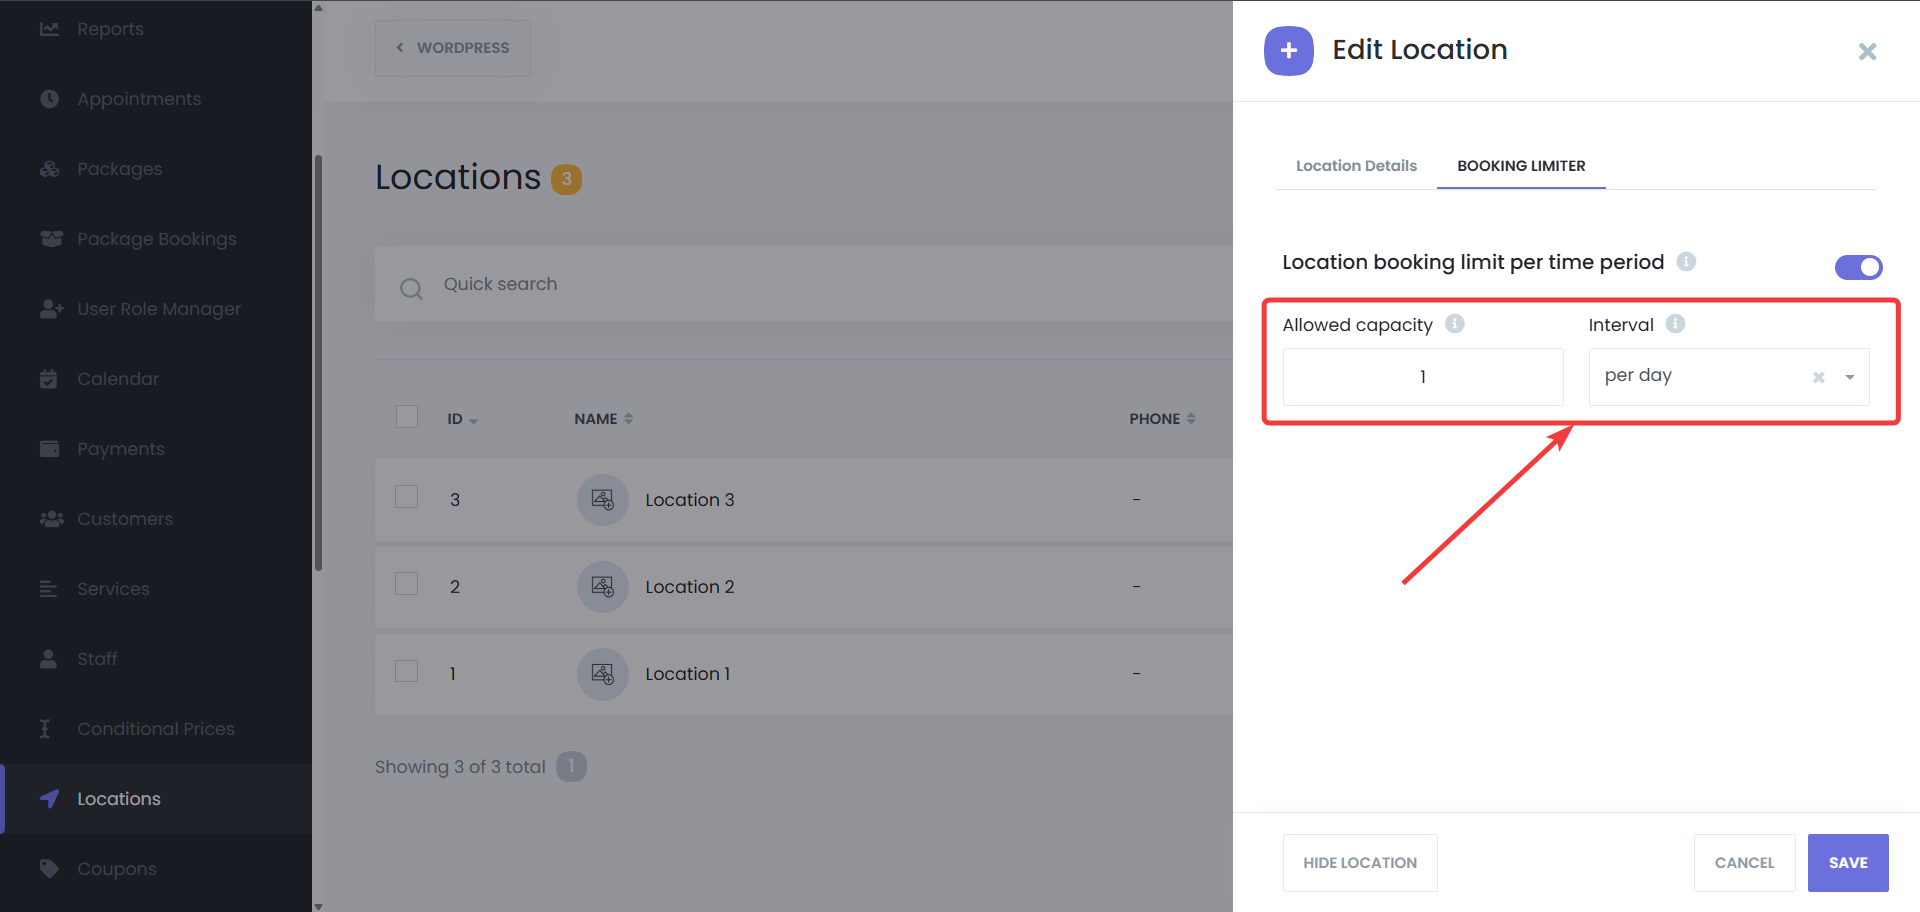
- Switch to the "Booking Limiter" tab.
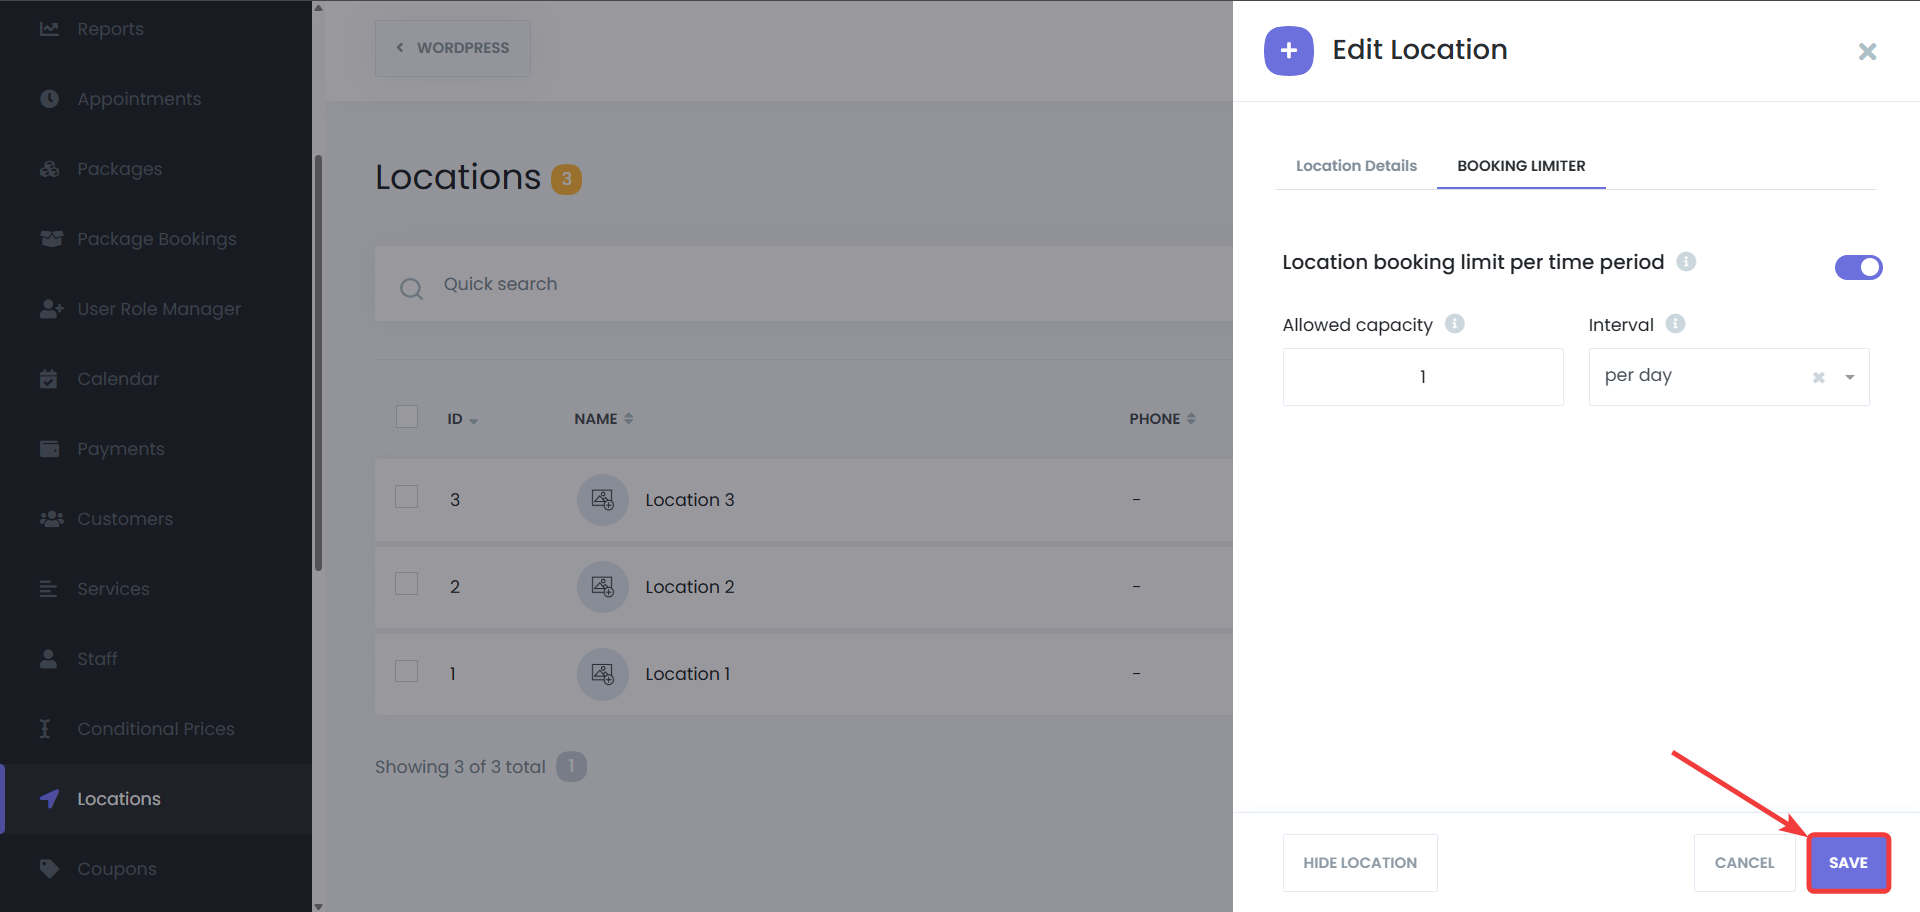
- Specify the maximum number of bookings allowed for that location within a defined time period (e.g., per day or week).
How It Works
- The Location Booking Limit Manager prevents overcrowding at each location by restricting the number of appointments within a specified period. This optimizes service quality and ensures that each location operates within its capacity.
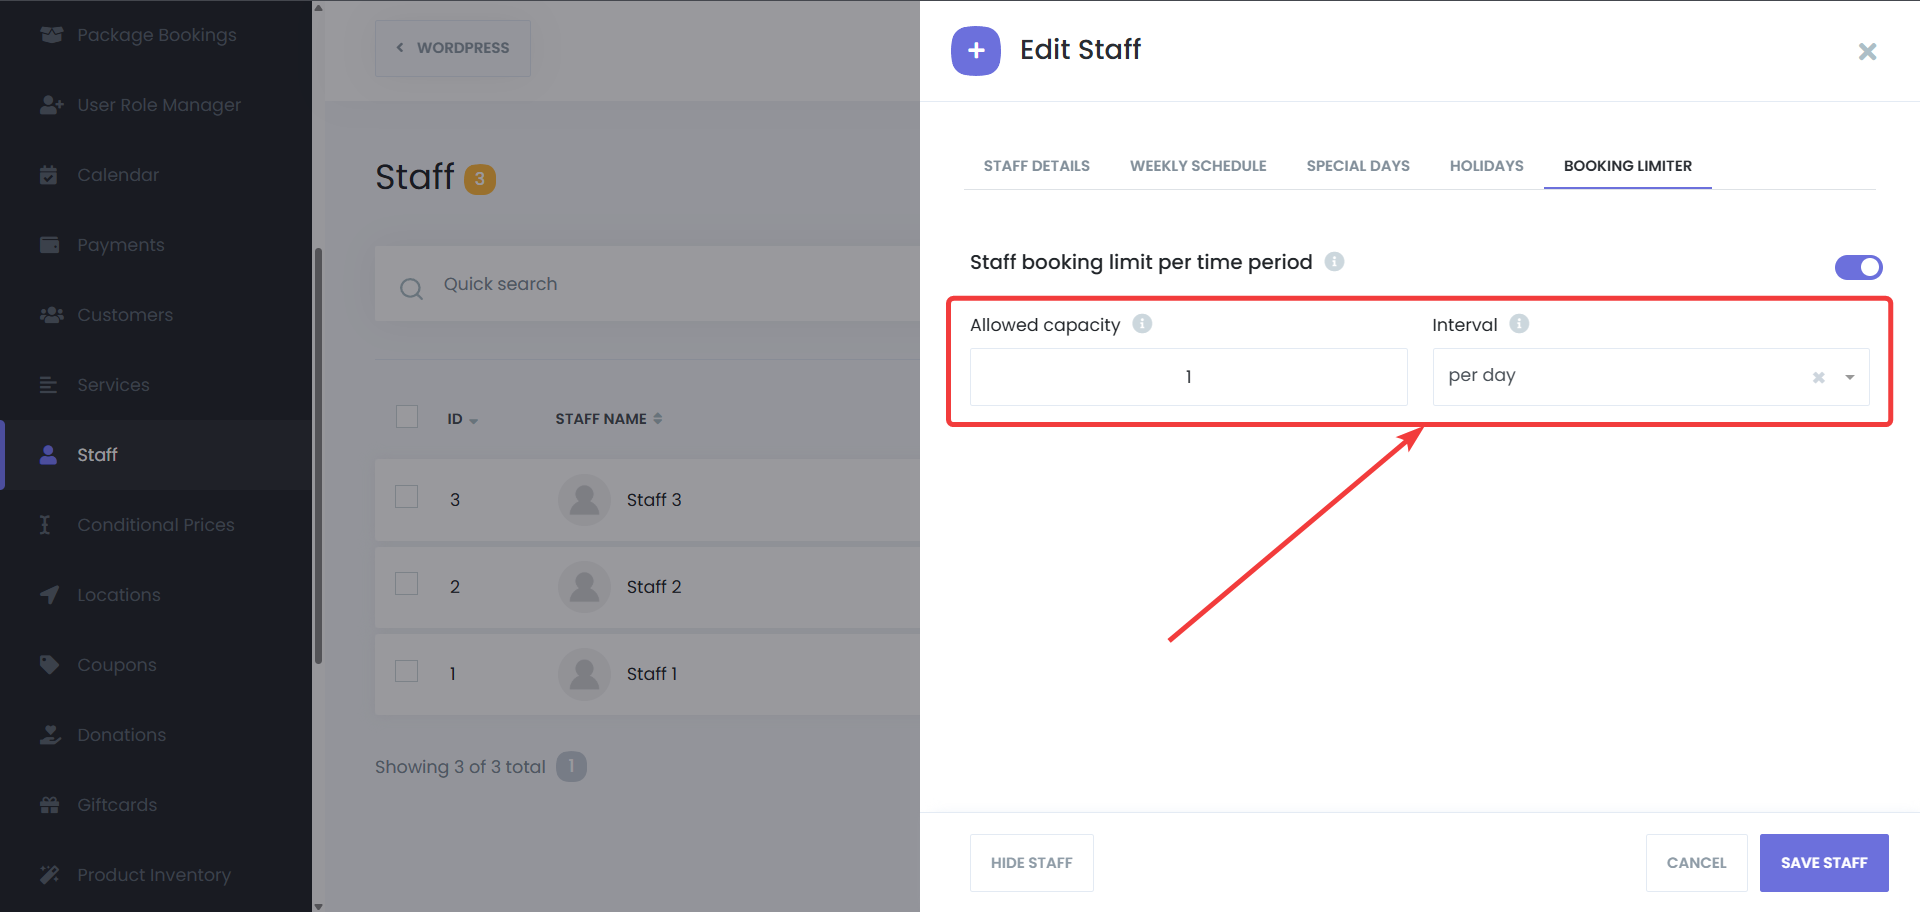
Staff-Specific Booking Limits
With the Staff Booking Limit feature, you can set limits for individual staff members, ensuring they are not overbooked and can provide high-quality service without being overwhelmed by too many appointments.
Setting Staff-Specific Booking Limits
-
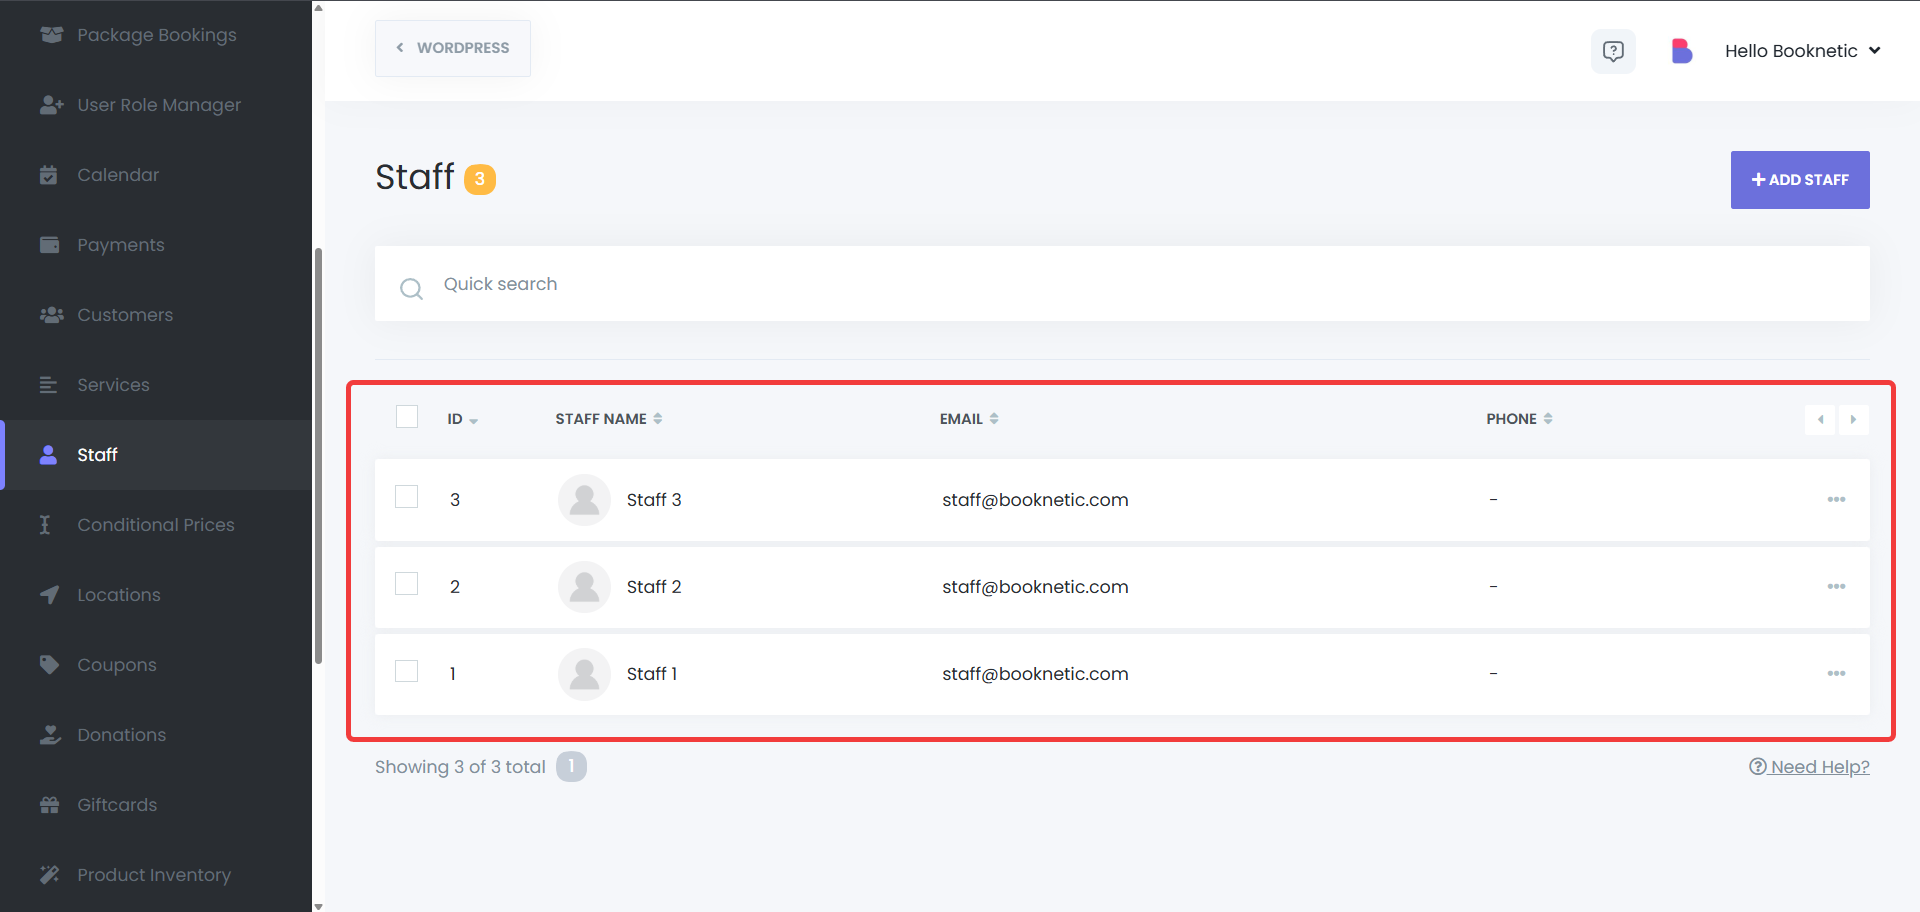
Accessing Staff Settings
- Go to Staff in the Booknetic Dashboard.
-
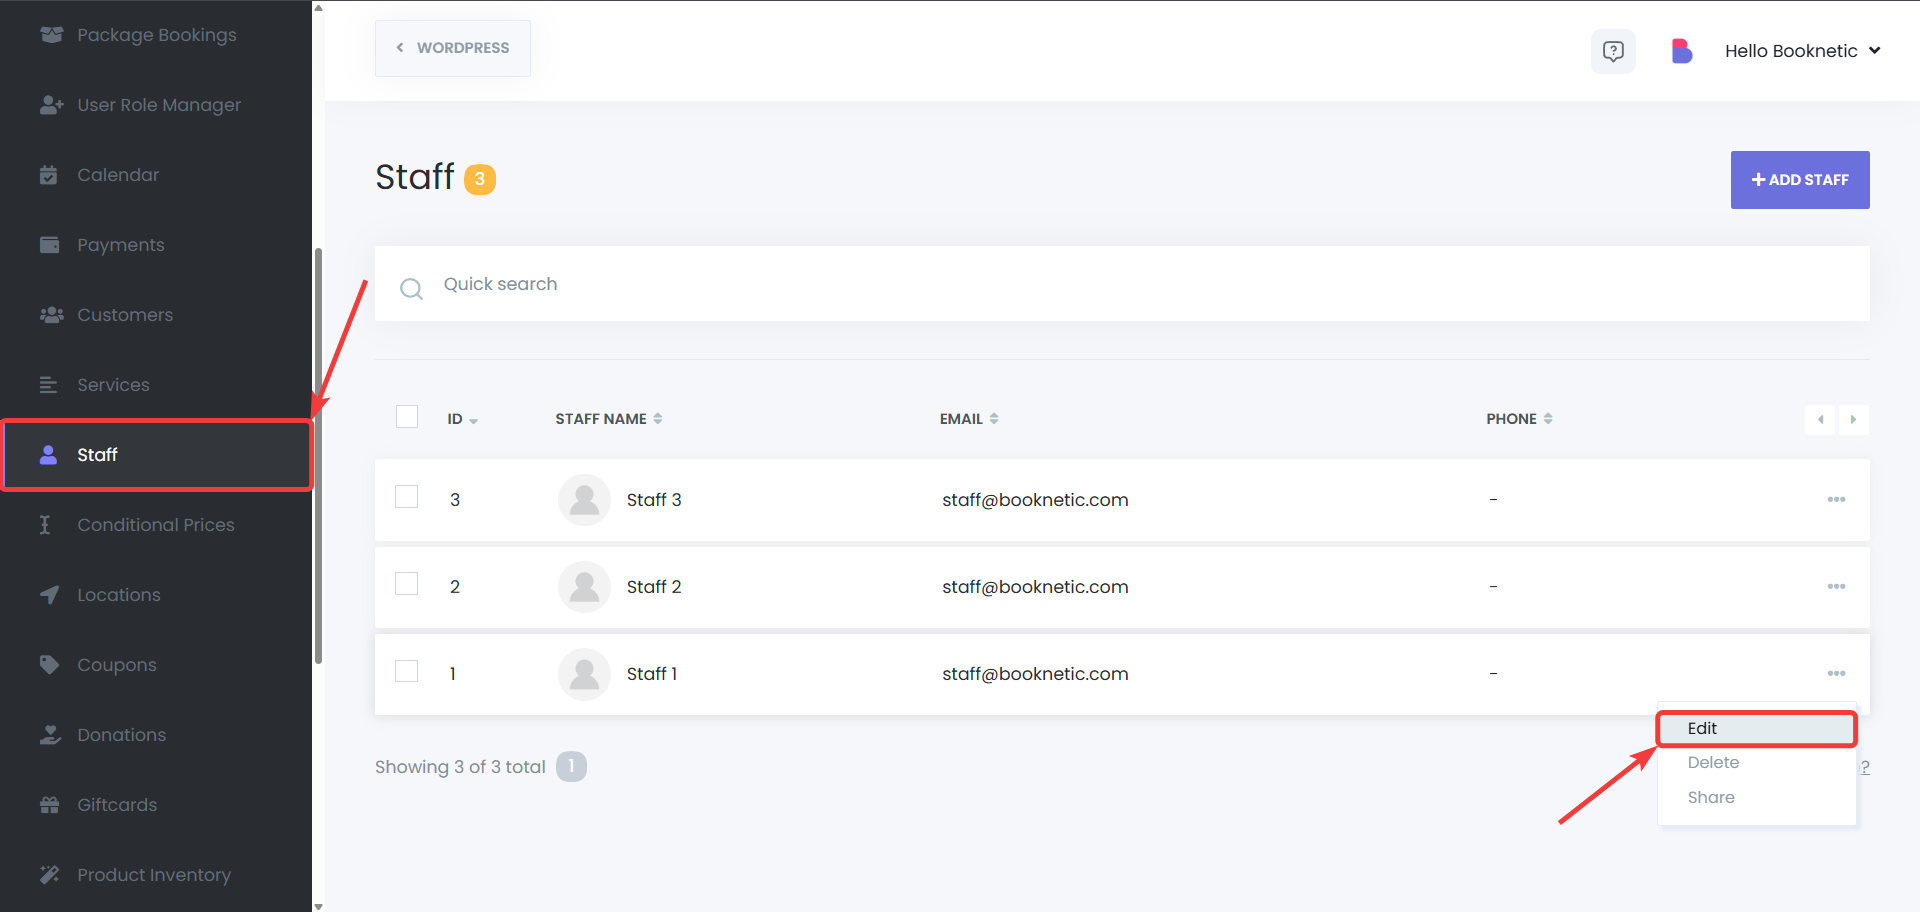
Selecting a Staff Member
- A list of all staff members will be displayed.
- Click the 3 dots next to the staff member for which you want to set booking limits, then click on “Edit”
-
Configuring Booking Limits
- Switch to the "Booking Limiter" tab.
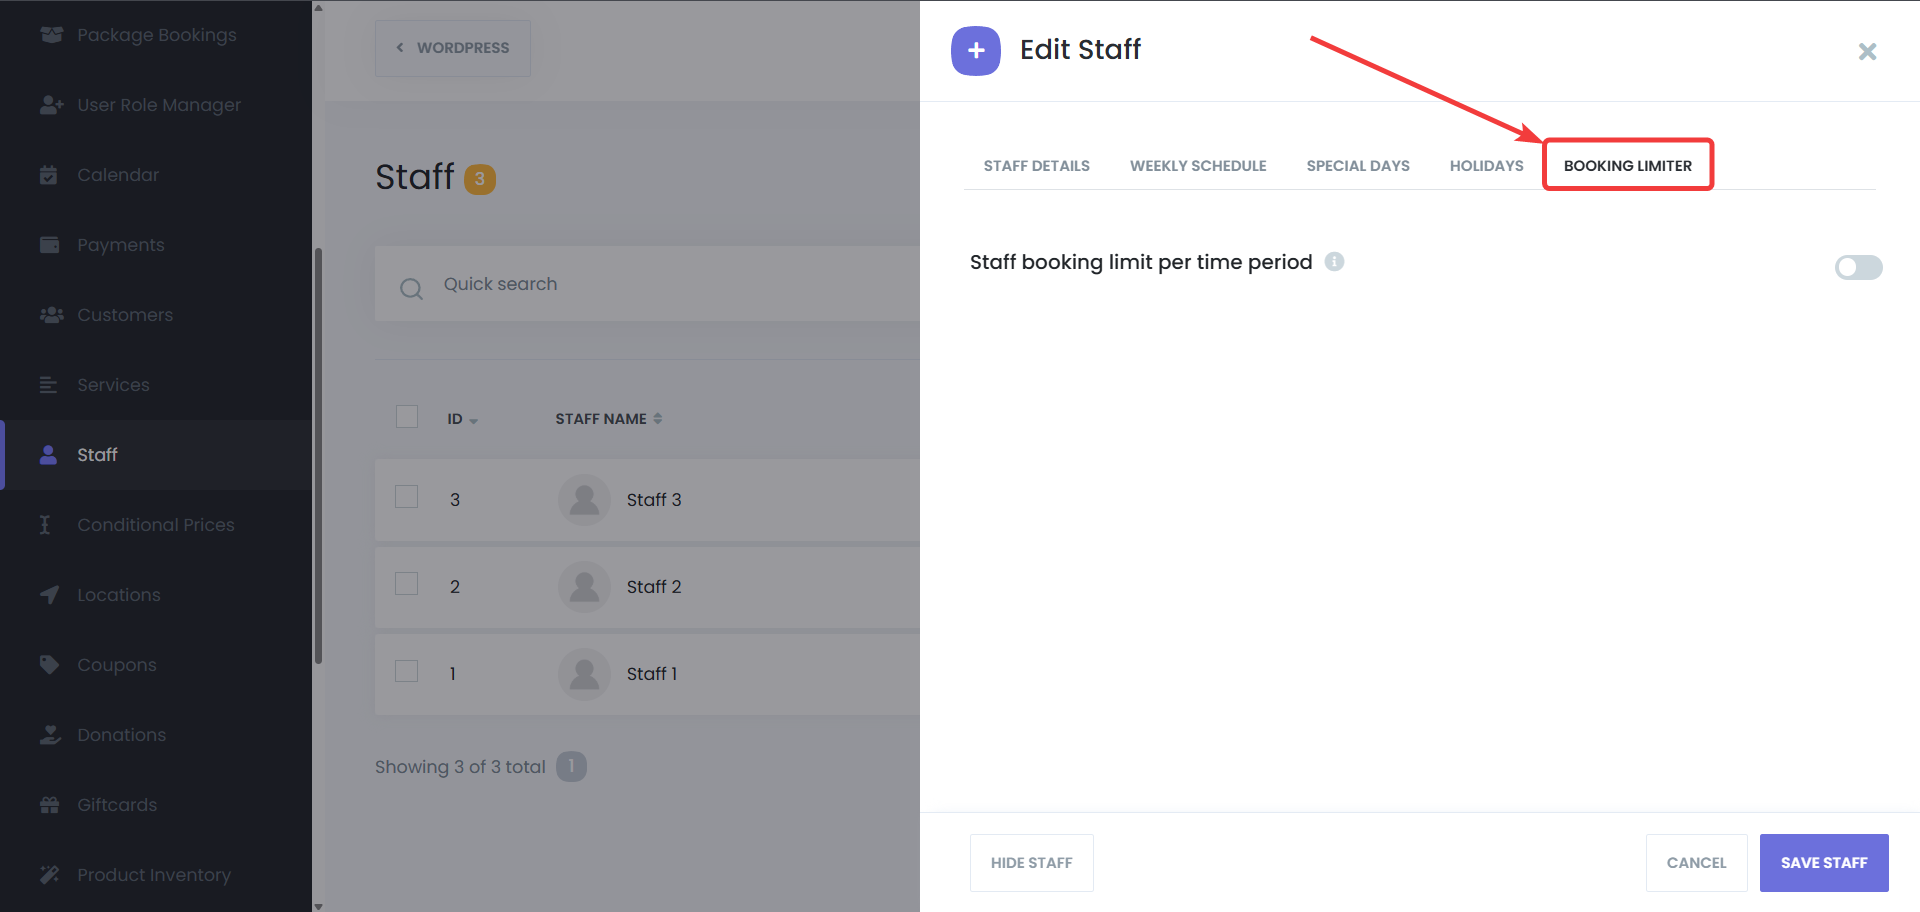
- Specify the maximum number of bookings allowed for that staff member within a defined time period (e.g., per day or per week).

How It Works
- The Staff Booking Limit helps ensure a balanced workload for each team member by customizing the number of appointments they can handle. This prevents staff burnout and maintains a productive work environment.
Service-Specific Booking Limits
The Service Booking Limit feature allows you to control the number of appointments for specific services, which is ideal for managing high-demand services and ensuring efficient use of your resources.
Setting Service-Specific Booking Limits
-
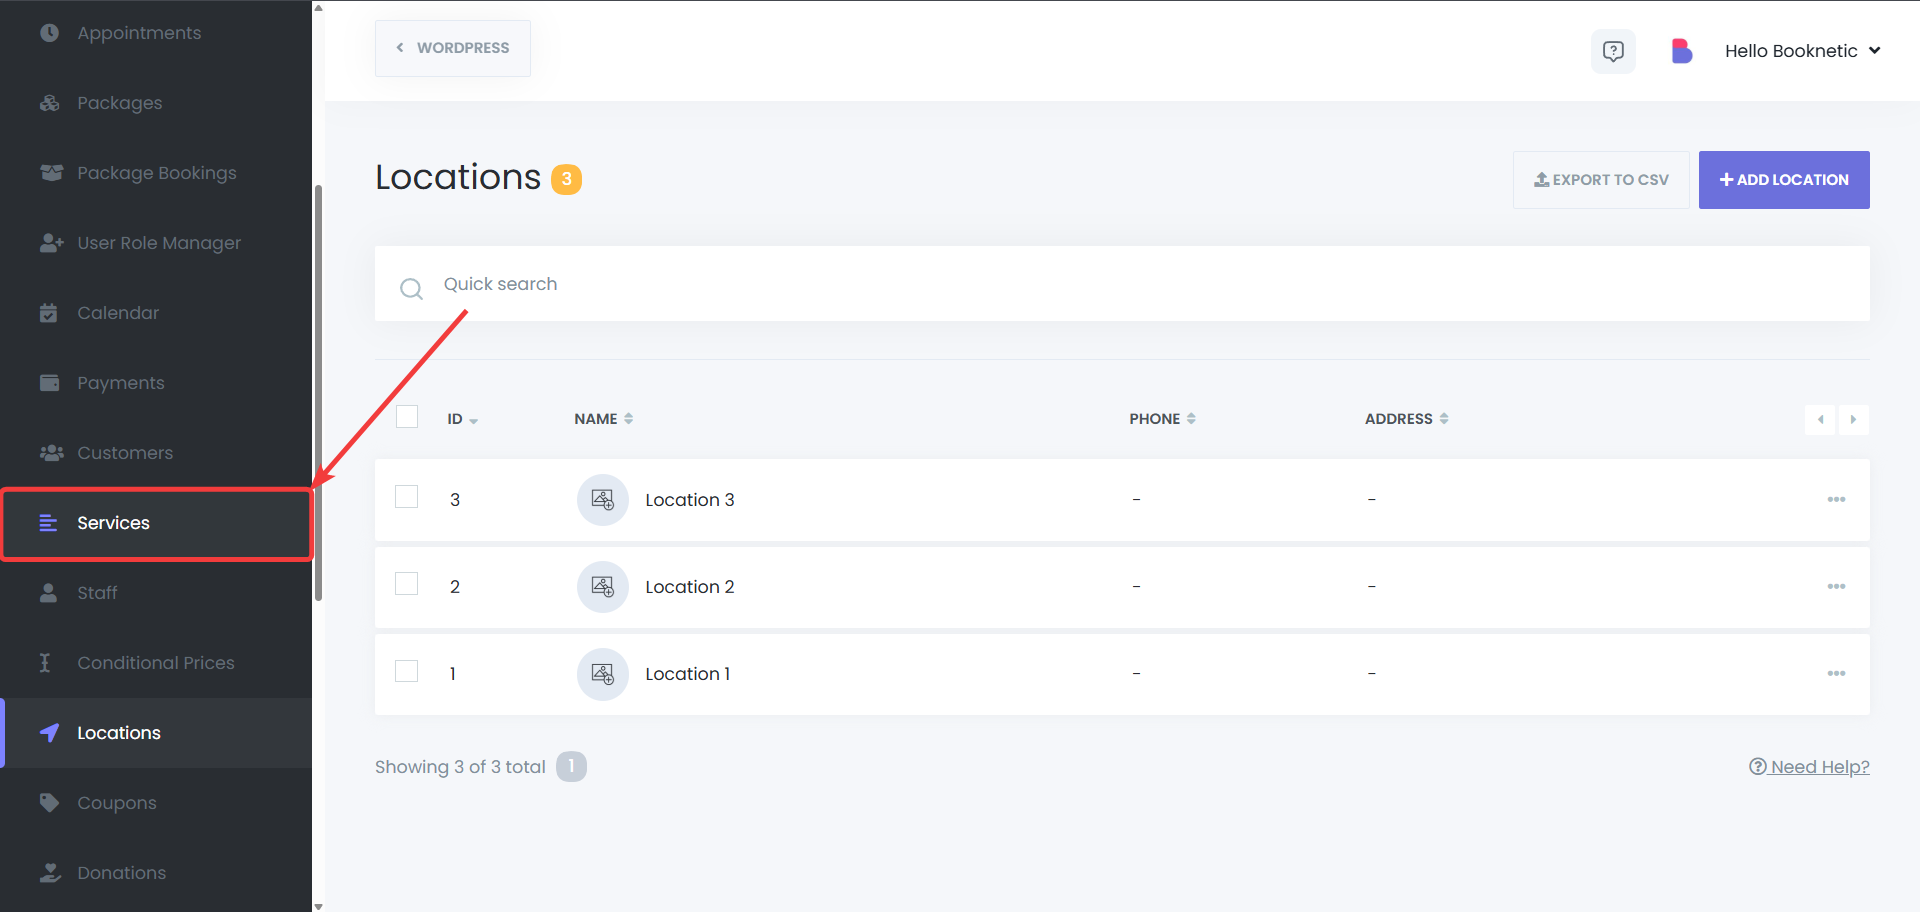
Accessing Services
- Go to Services on the left side of the dashboard.
-
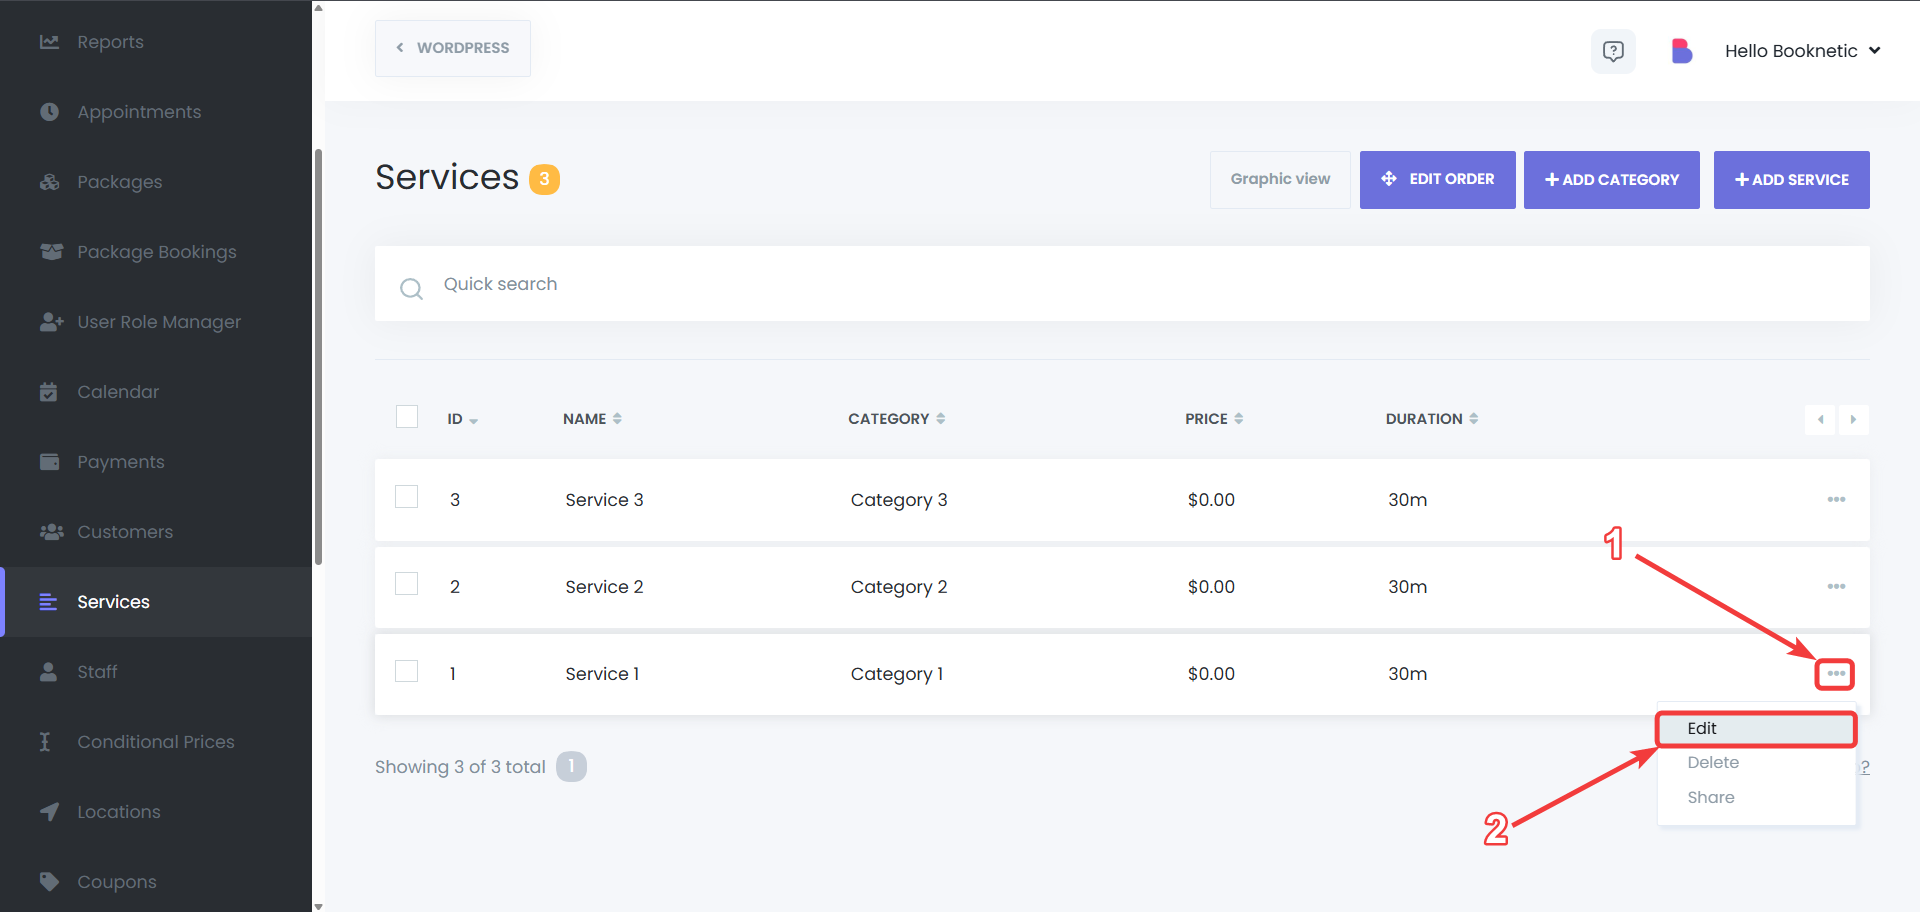
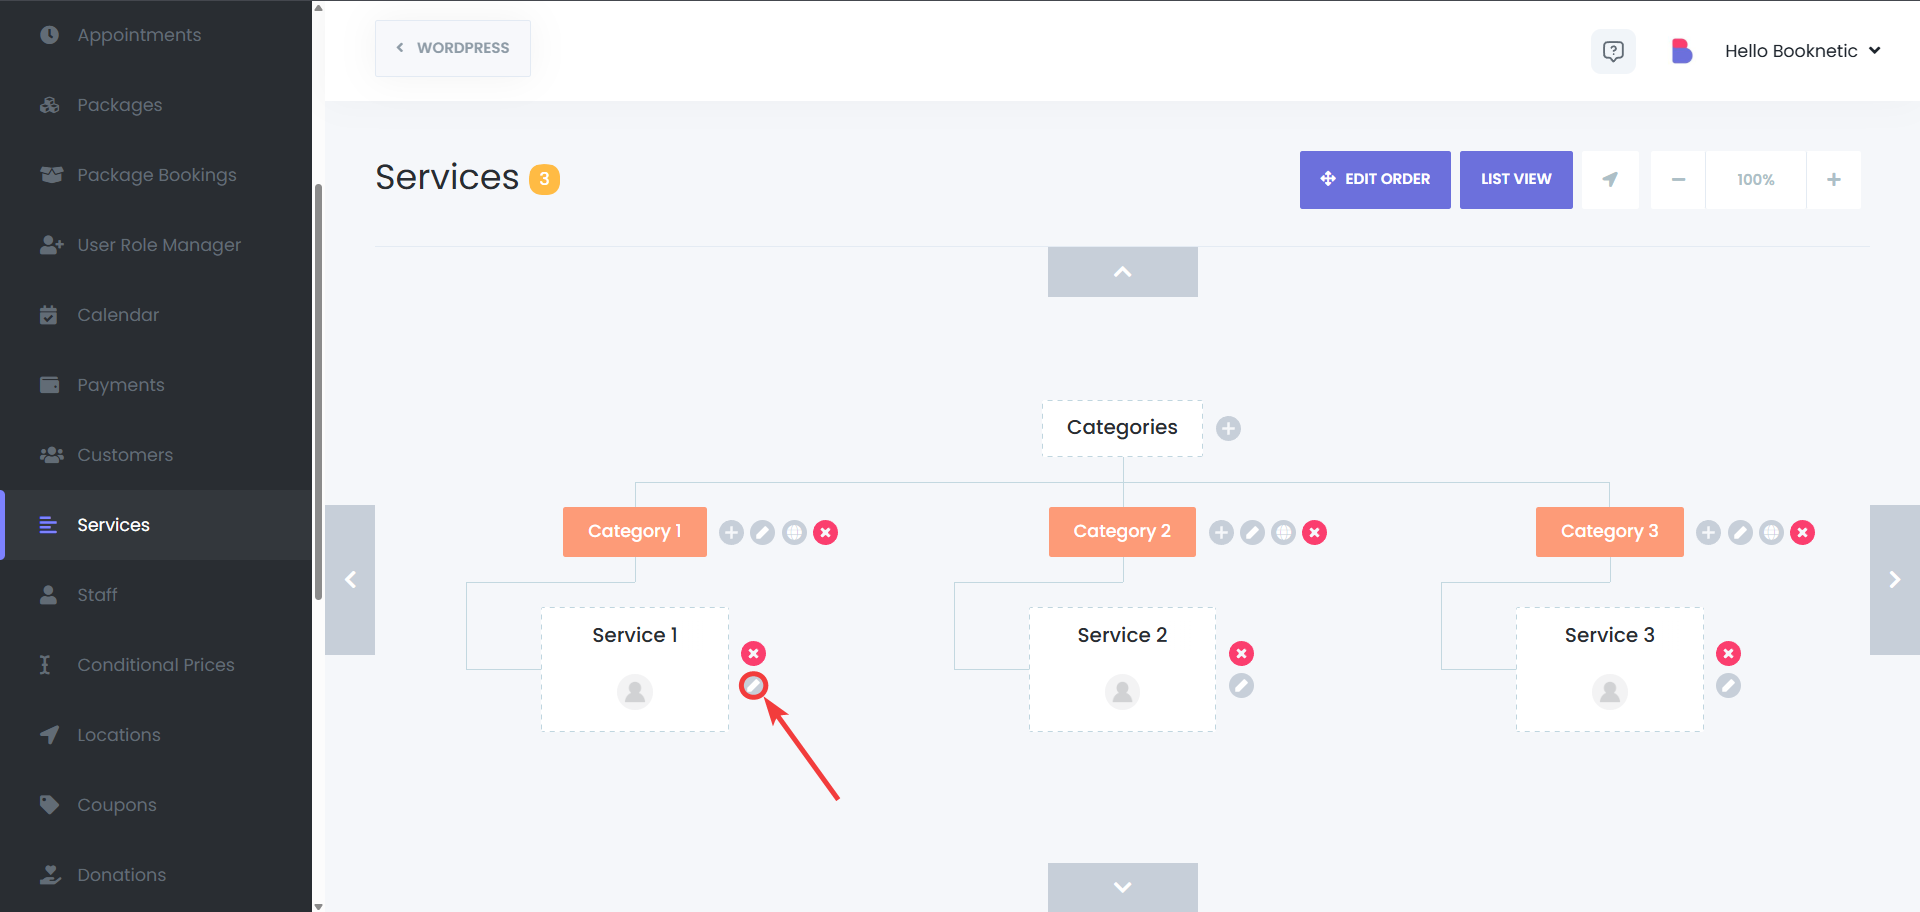
Selecting a Service
- Choose the service for which you want to set booking limits.

-
Configuring Booking Limits
- If you're using List view, click the three dots next to the service and select Edit.
- If you're using Graphic view, click the pen icon next to the service.
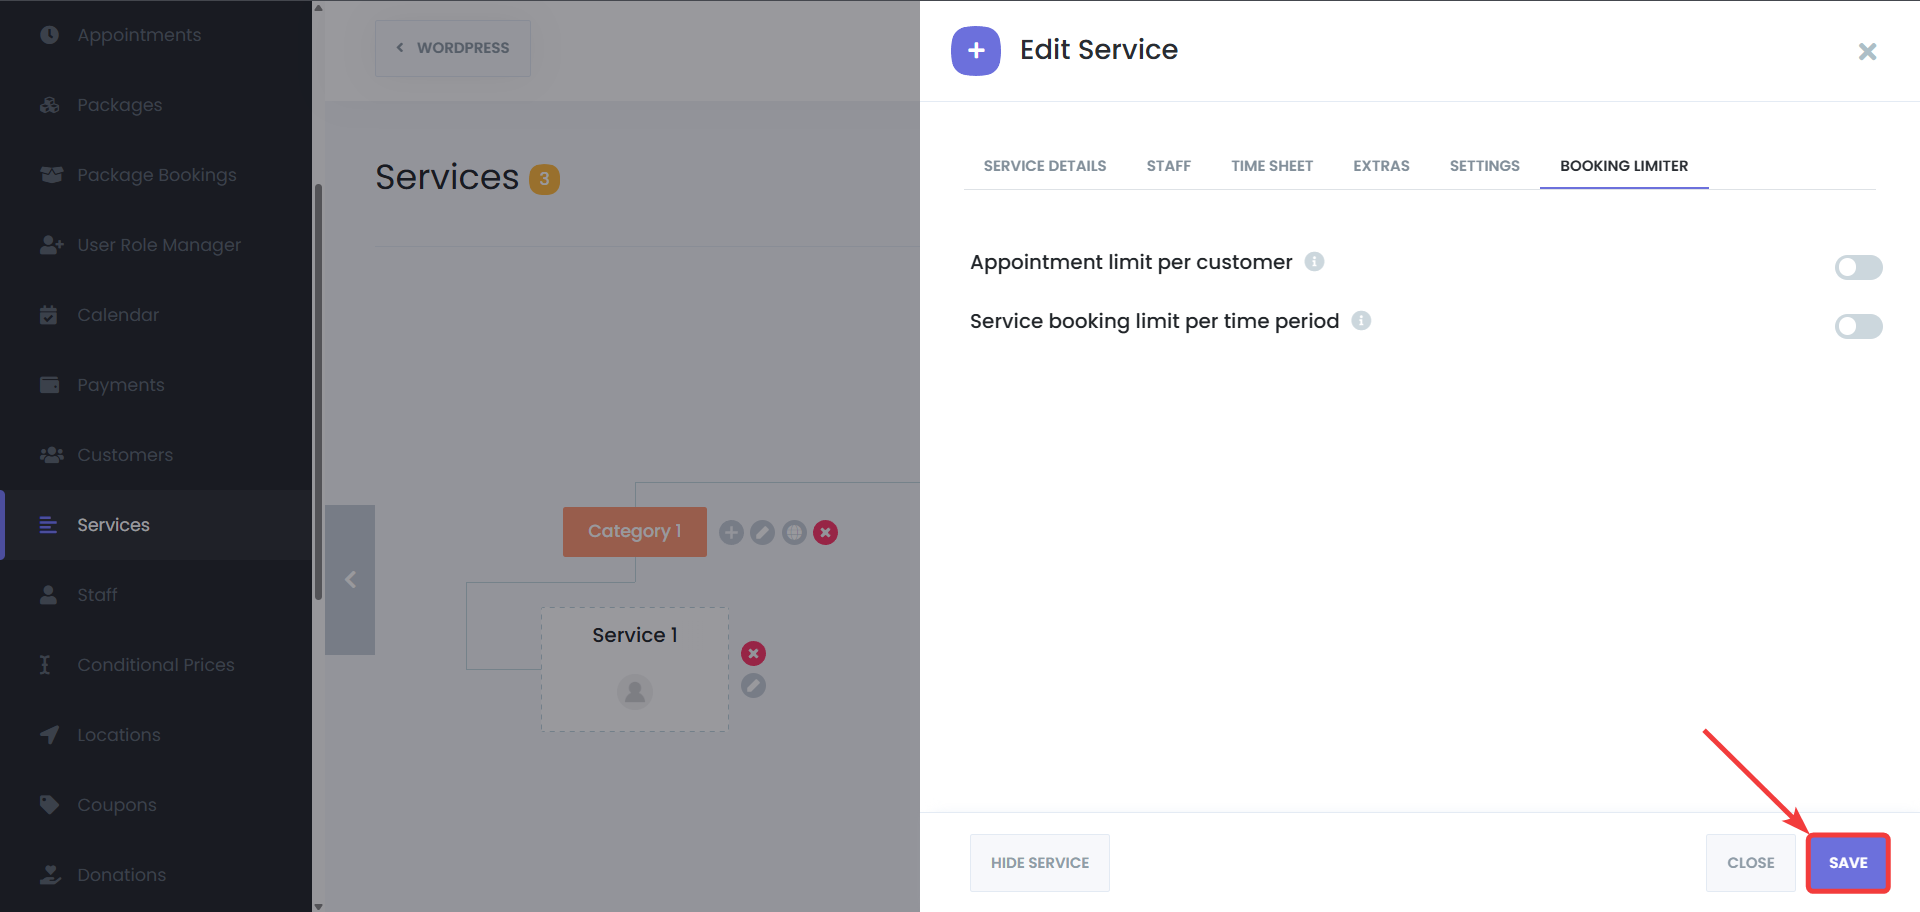
- Switch to the "Booking Limiter" tab.
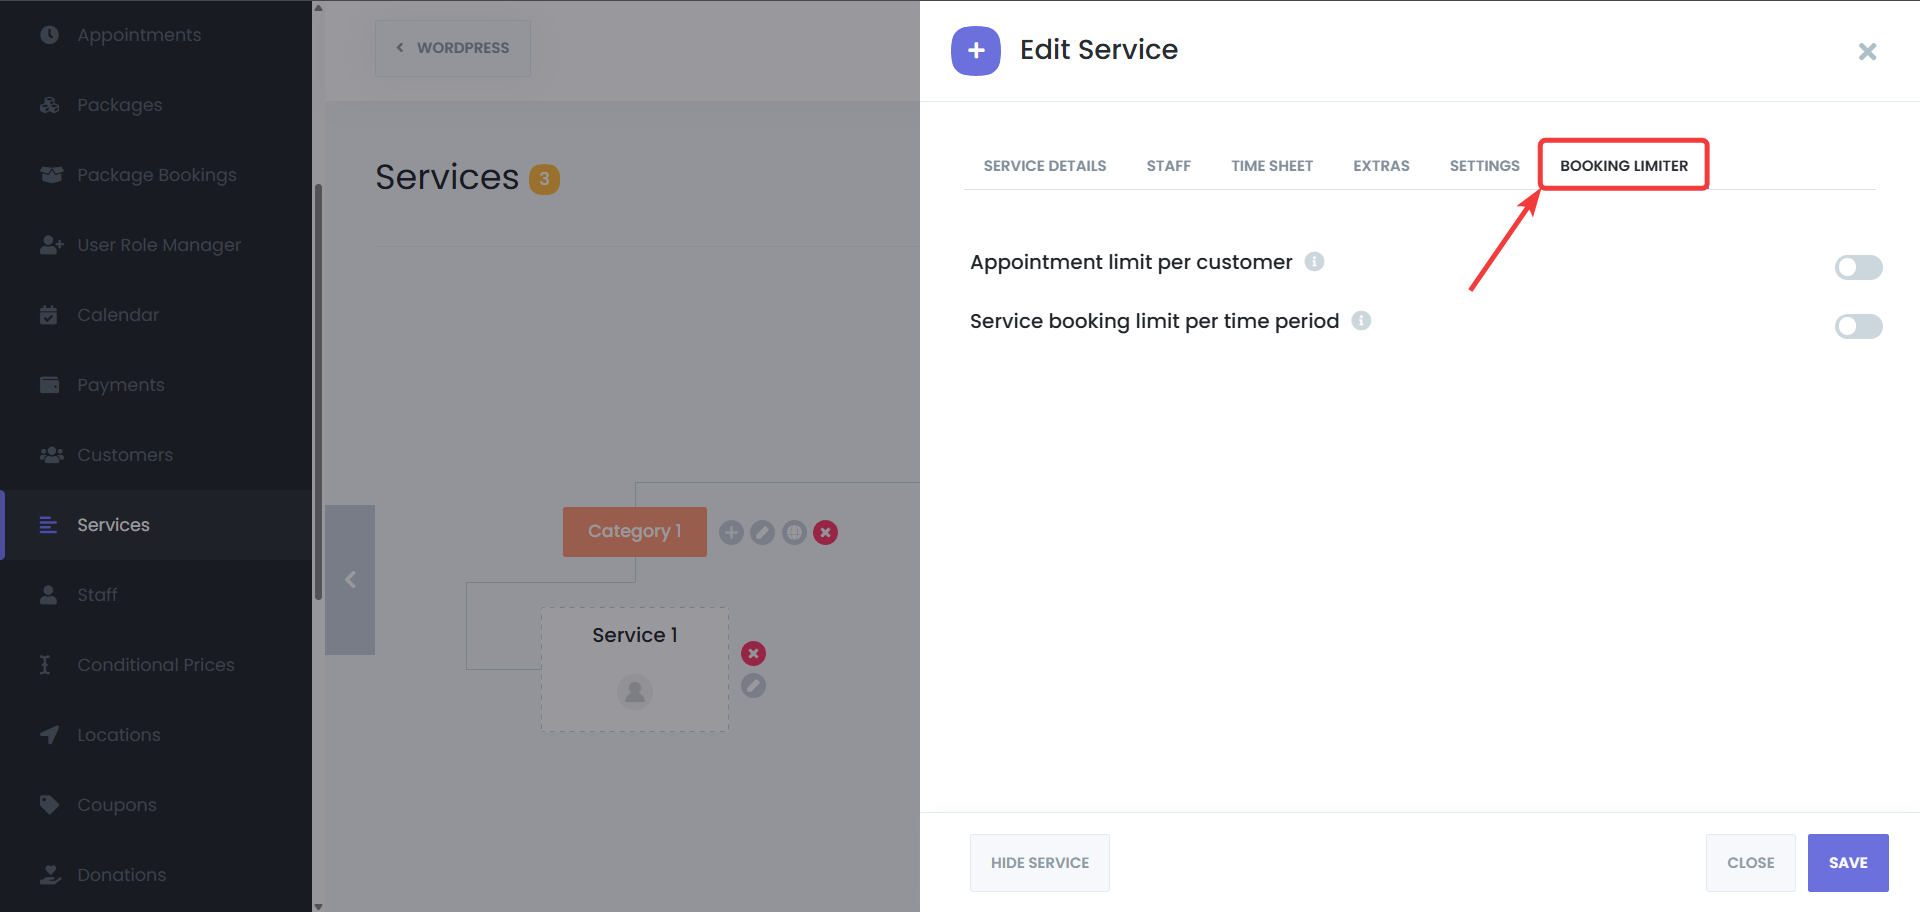
- Specify the maximum number of bookings allowed for that service in a given time period (e.g., per day or week).
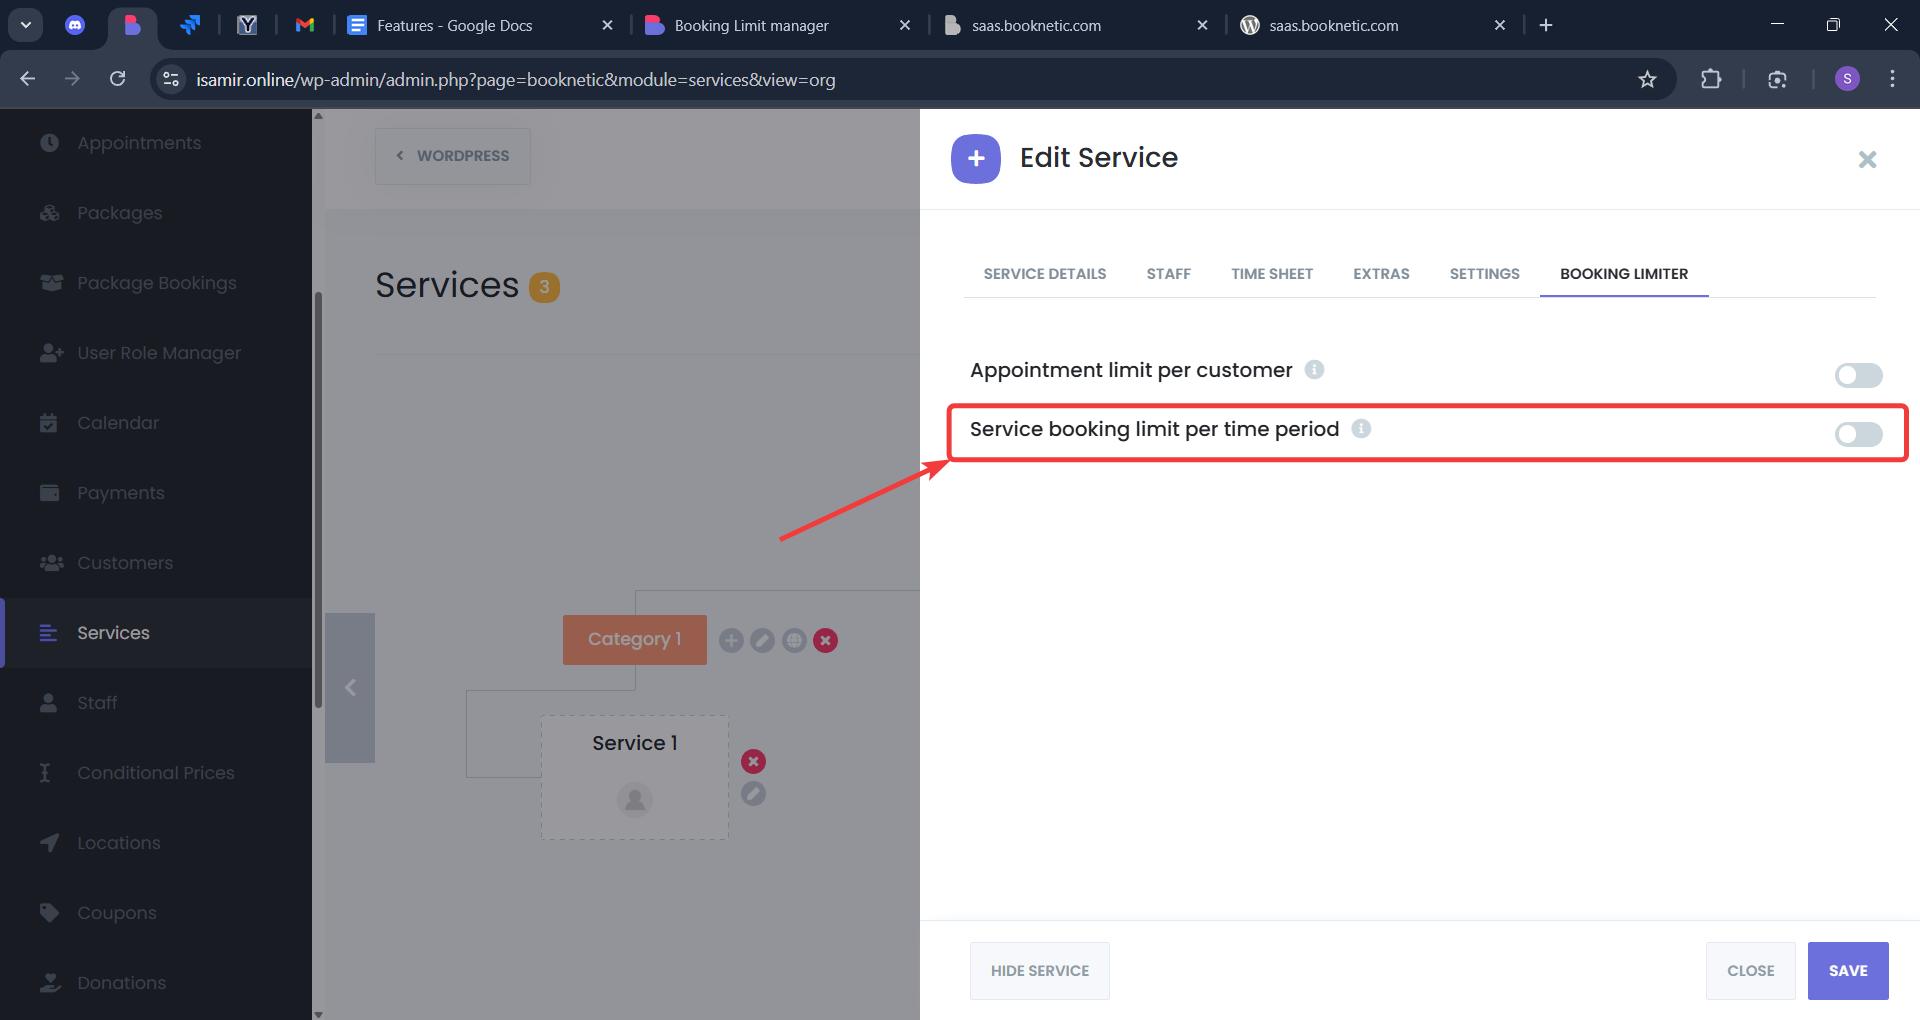
- You can also set a limit for each customer for a specific service, such as limiting them to 1 booking per hour for a service.
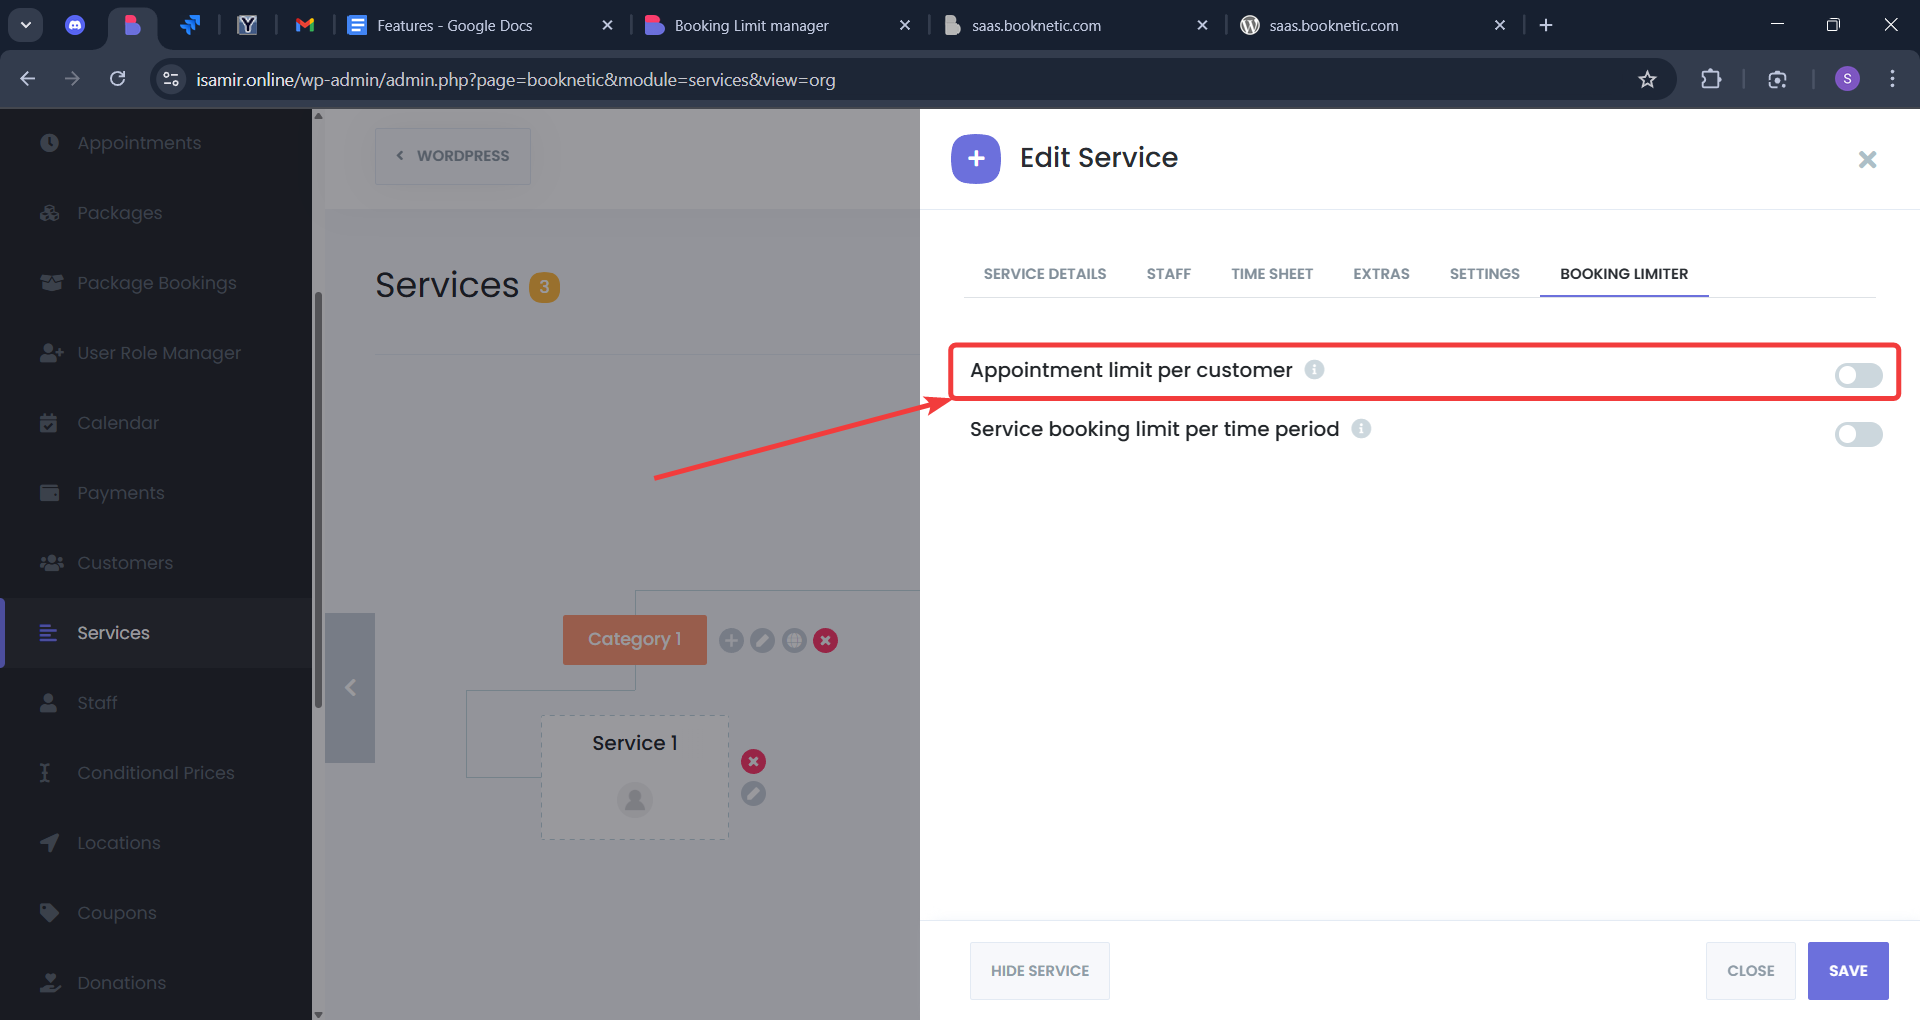
How It Works
- The Service Booking Limit feature helps optimize service utilization by limiting the number of bookings per service, preventing overbooking, and ensuring that resources are allocated effectively. It allows you to fine-tune your scheduling strategy, especially for high-demand services.
Customer Booking Limit
The Customer Booking Limit feature allows you to implement global limits on the number of bookings each customer can make, ensuring fairness and equal access to appointments.
Setting Global Customer Booking Limits
-
Accessing Settings
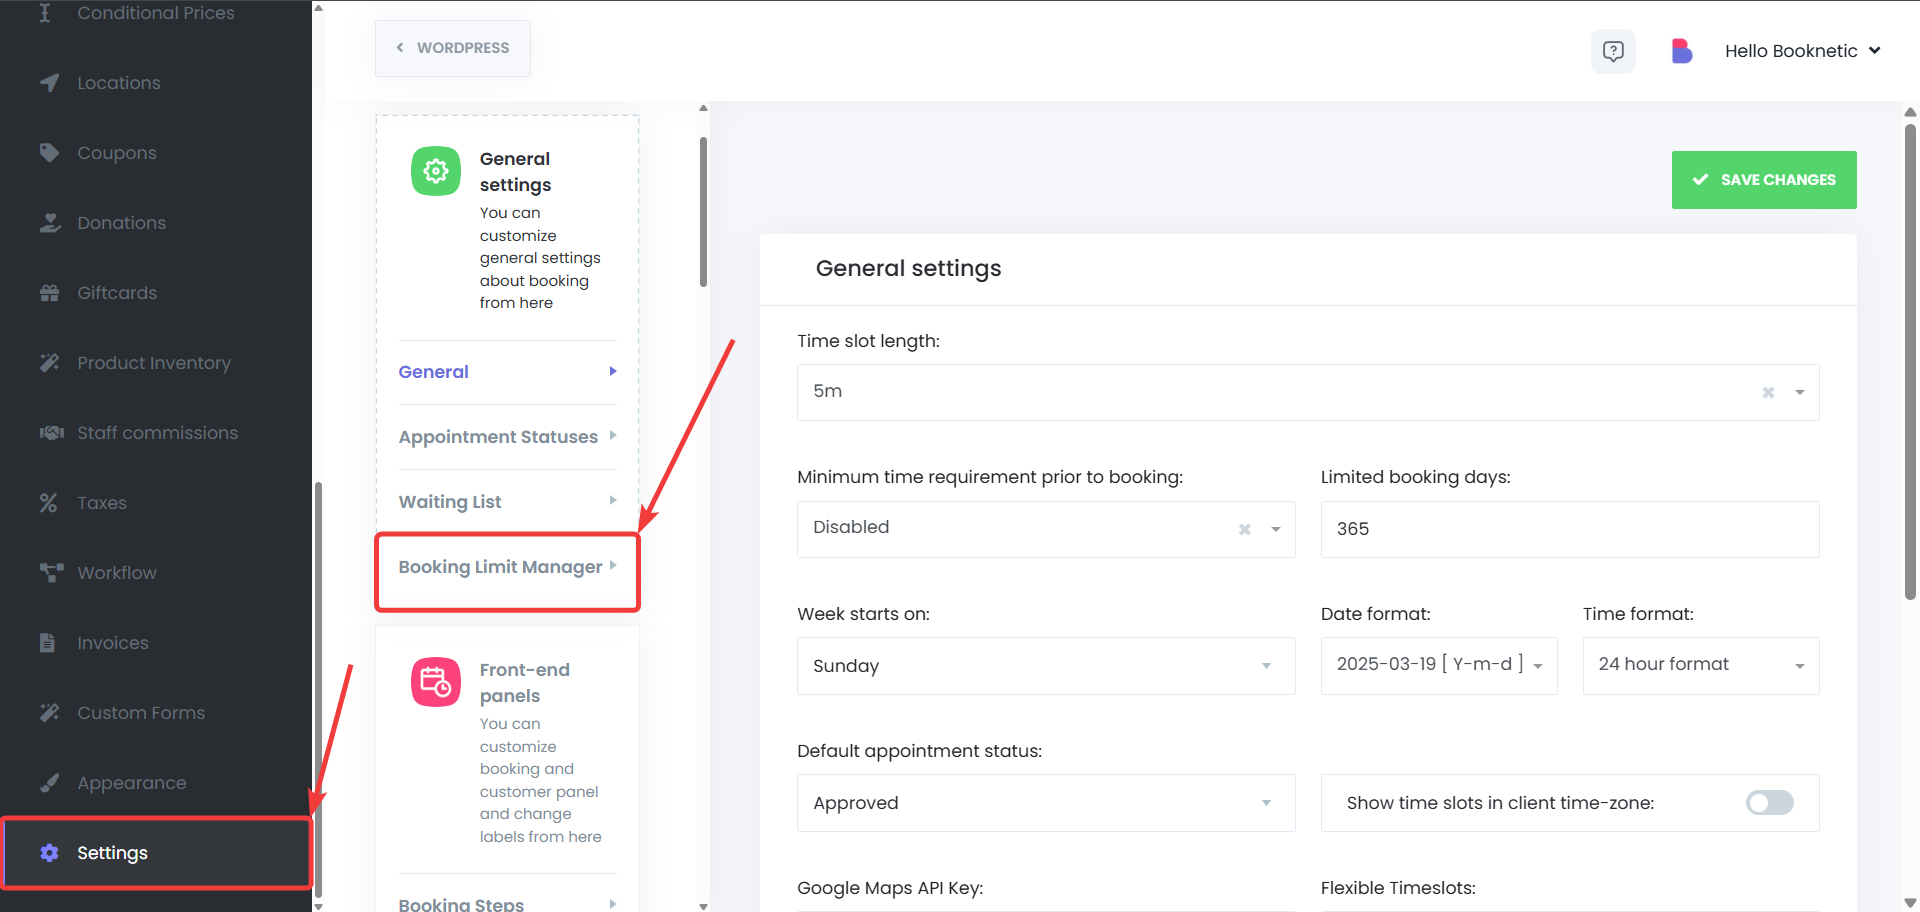
- Go to Settings > General Settings, and then select Booking Limit Manager.
-
Configuring Booking Limits
- In the settings, specify the maximum number of bookings a customer can make within a defined time period (e.g., per day or per week).
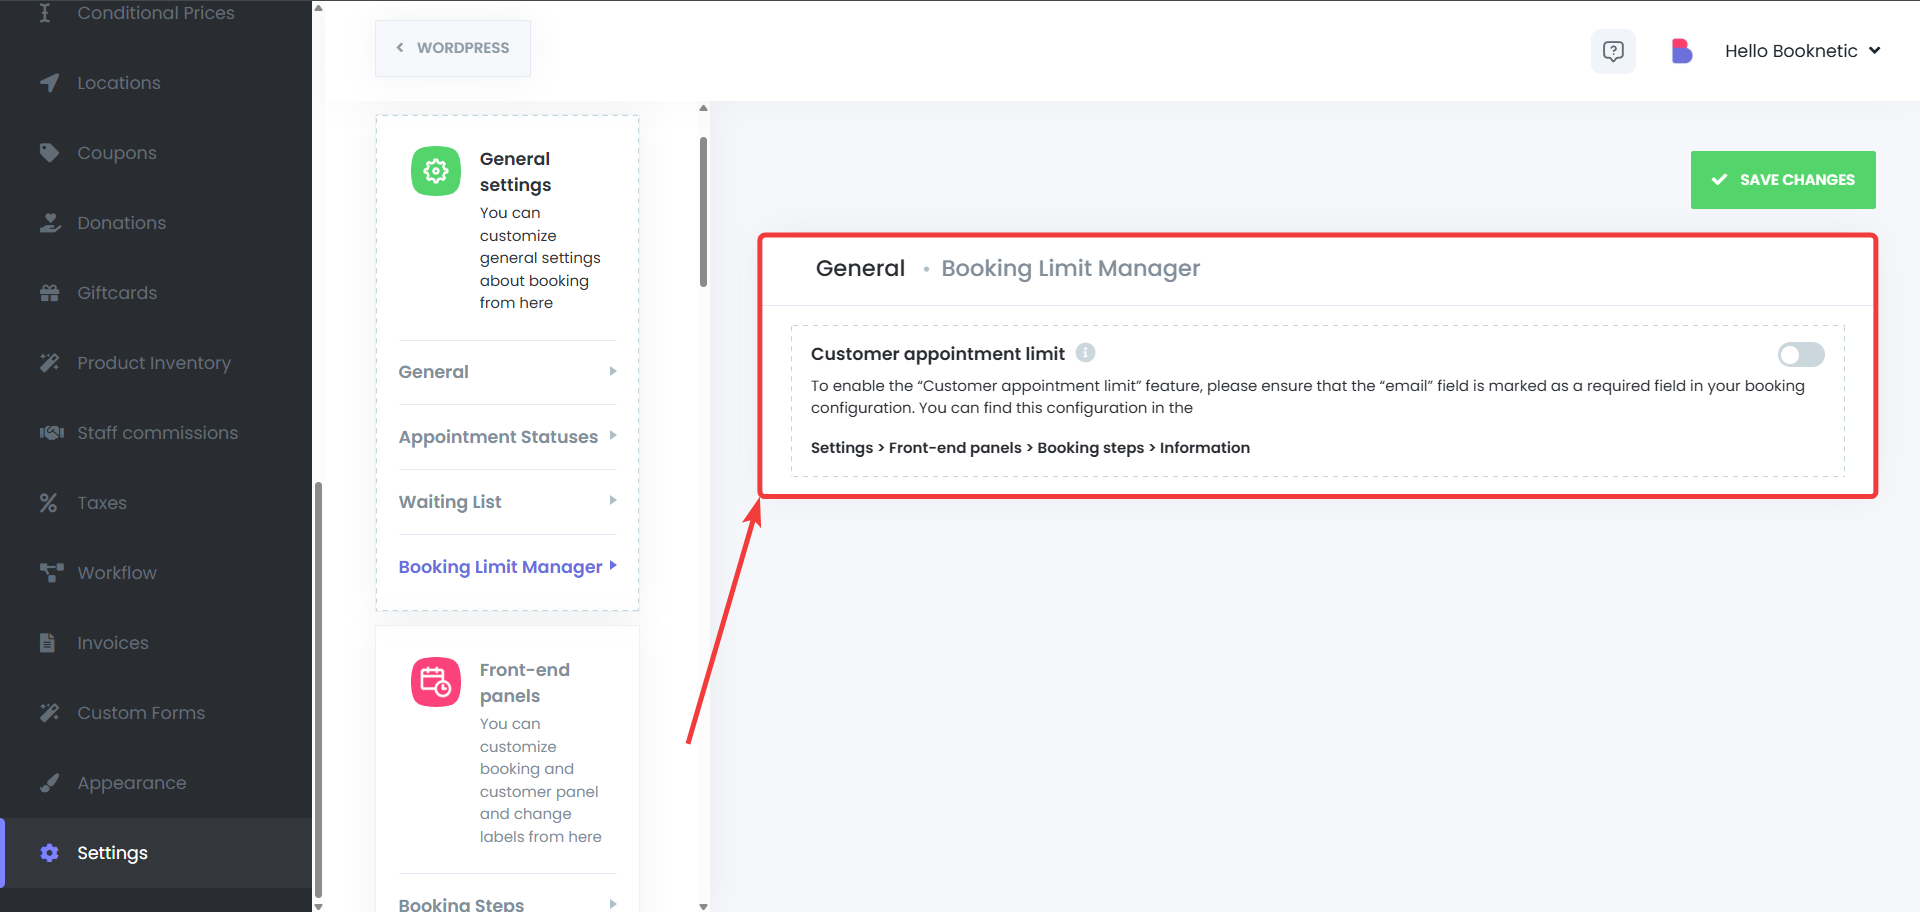
- Save your settings to apply the changes.

How It Works
- The Customer Booking Limit ensures that all customers have an equal opportunity to book appointments, preventing any individual customer from monopolizing time slots. This feature helps prevent bottlenecks in the booking system and enhances overall customer satisfaction.
Why Use the Booking Limit Manager?
- Prevent Overcrowding: Control the number of appointments for locations, staff, services, and customers to maintain a smooth workflow.
- Balance Workload: Ensure staff and services are properly managed without overloading them, leading to higher service quality.
- Fairness and Accessibility: Provide equal access to customers by setting global limits on bookings and prevent any one customer from dominating the system.
- Optimized Service Delivery: Manage high-demand services more effectively and prevent overbooked time slots to ensure each service runs smoothly.