Conditional Prices
Adjust prices based on specific conditions and maximize revenue with flexible pricing options.
Adjust prices based on specific conditions and maximize revenue with flexible pricing options.
The Conditional Prices add-on is a powerful tool designed to help you automatically tailor your rates by applying discounts or surcharges based on over 16 specific criteria. Whether you want to implement weekend surcharges, reward loyal customers, or manage rush-booking fees, this feature ensures a flexible and personalized booking experience that maximizes your revenue.
Log in to Your Booknetic Admin Dashboard: Open your WordPress dashboard and navigate to your Booknetic admin panel.
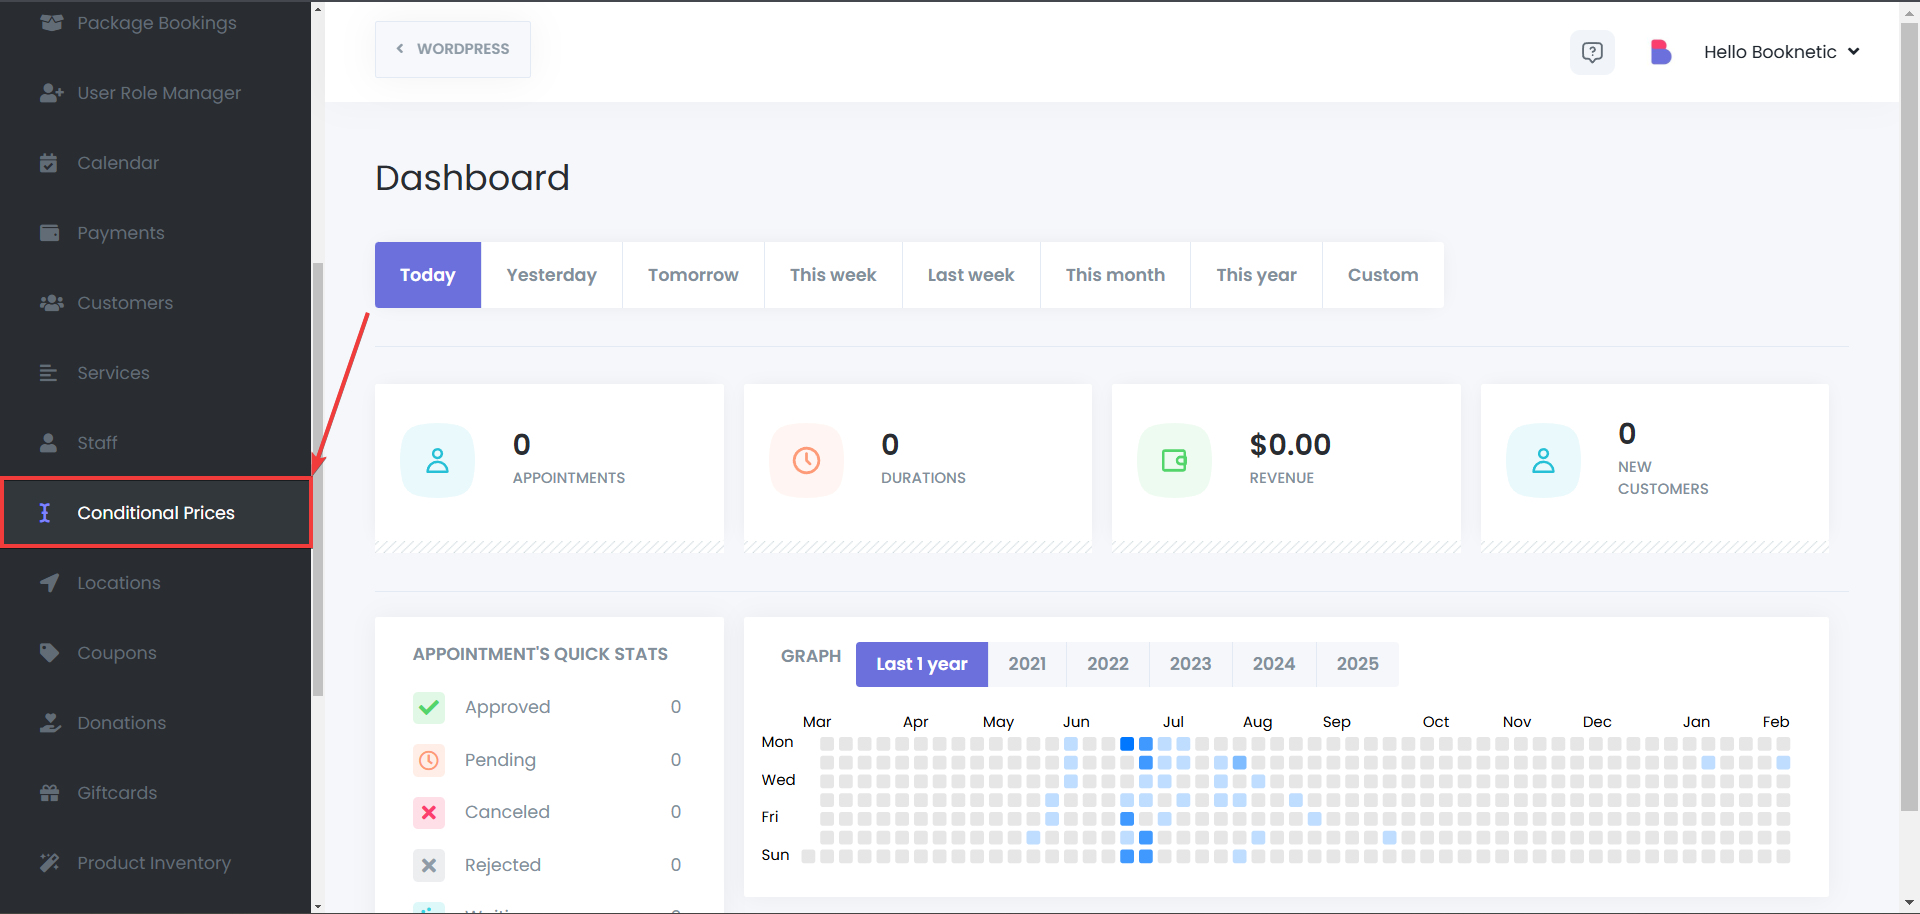
Navigate to Conditional Prices: Select the Conditional Prices tab from the left-hand sidebar menu.
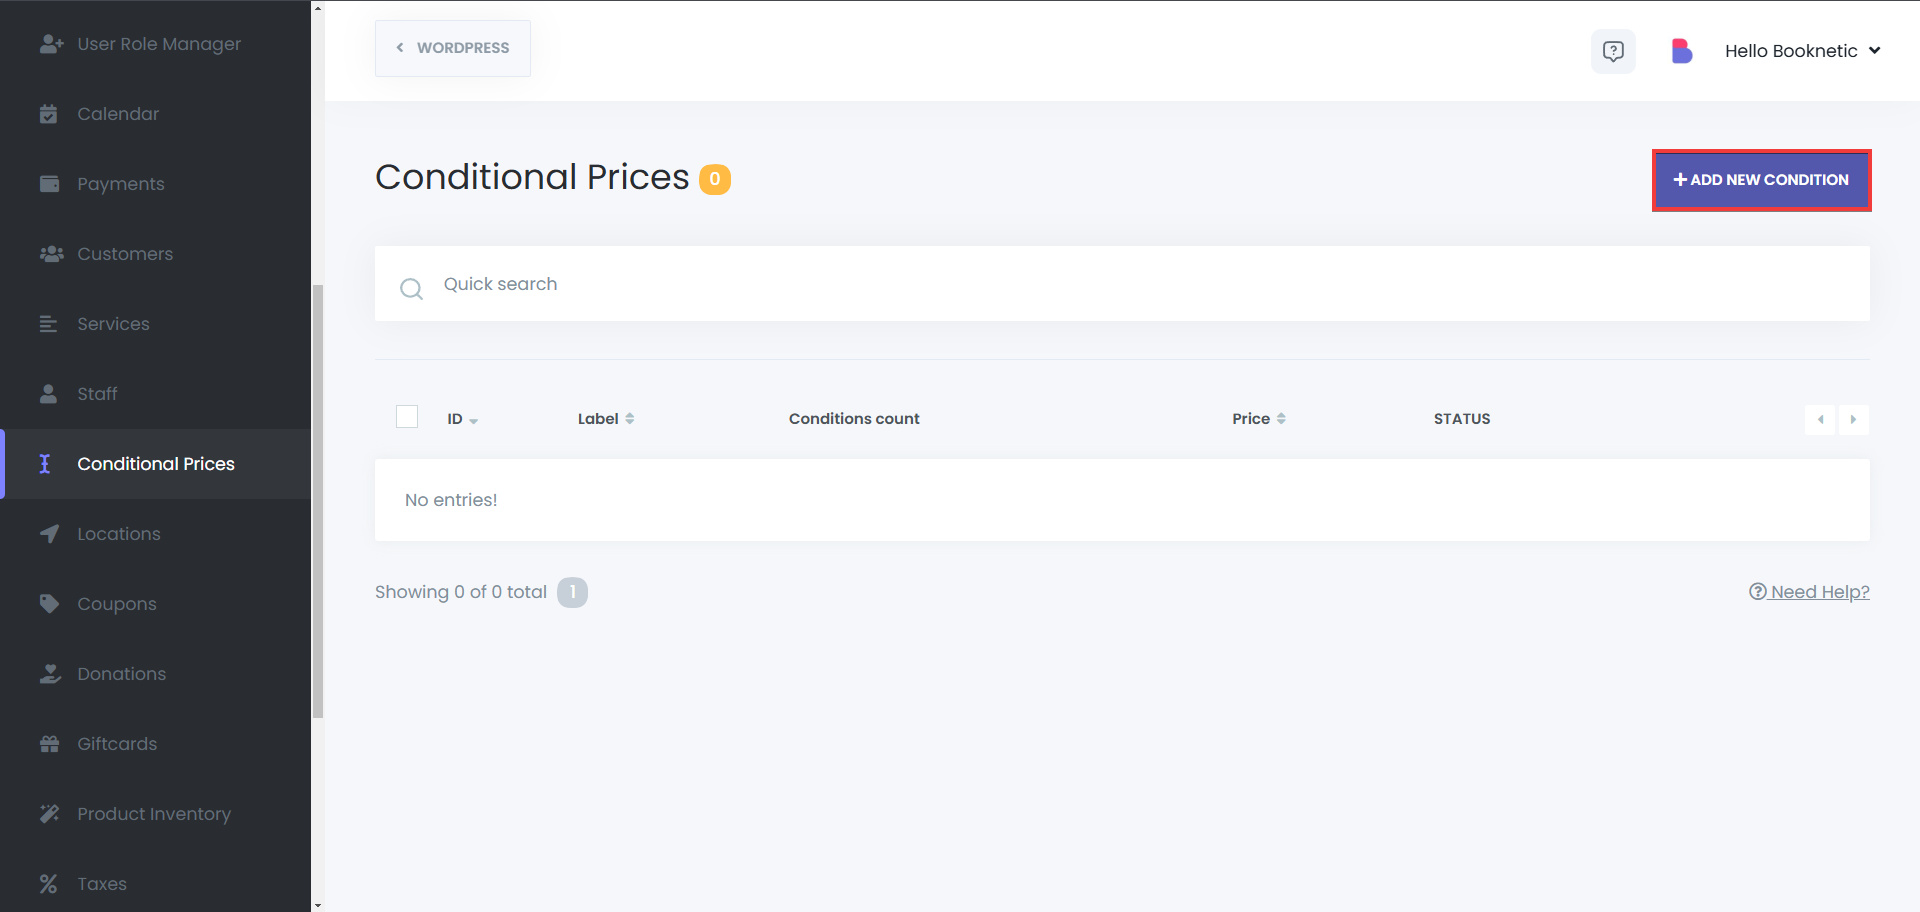
To start creating a rule, click the Add New Condition button. You will need to provide:
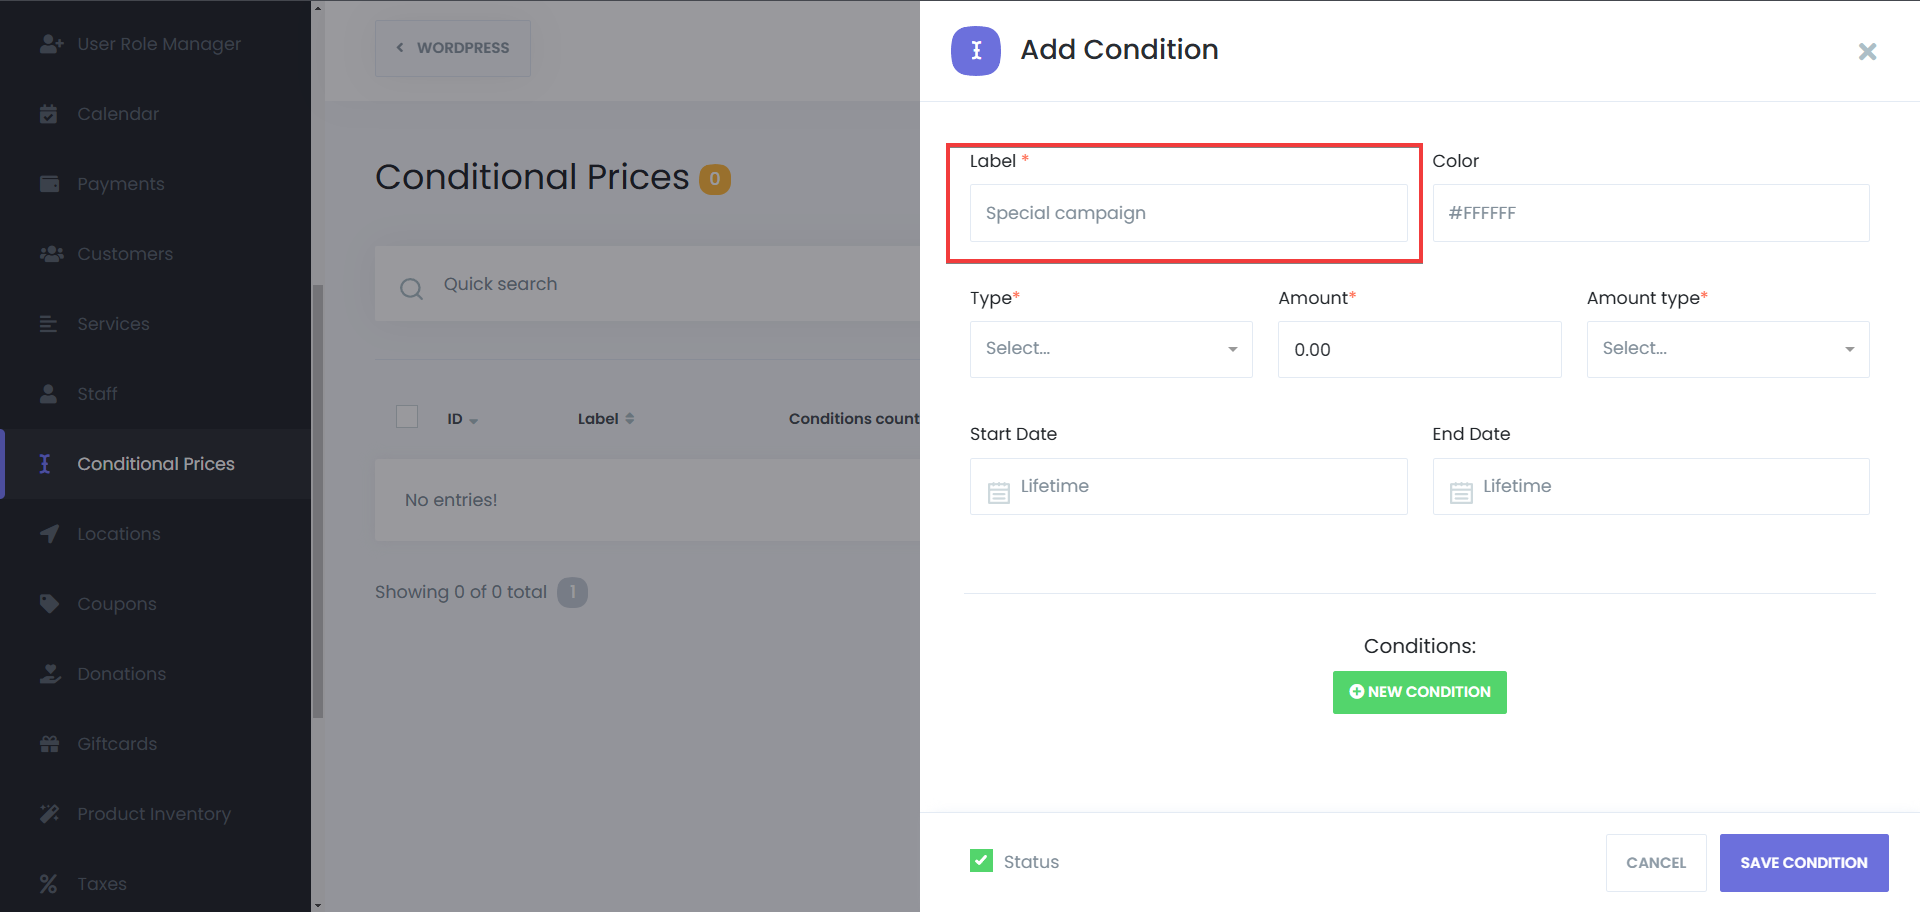
Name: A descriptive label (e.g., "Weekend Surcharge") to identify the rule.
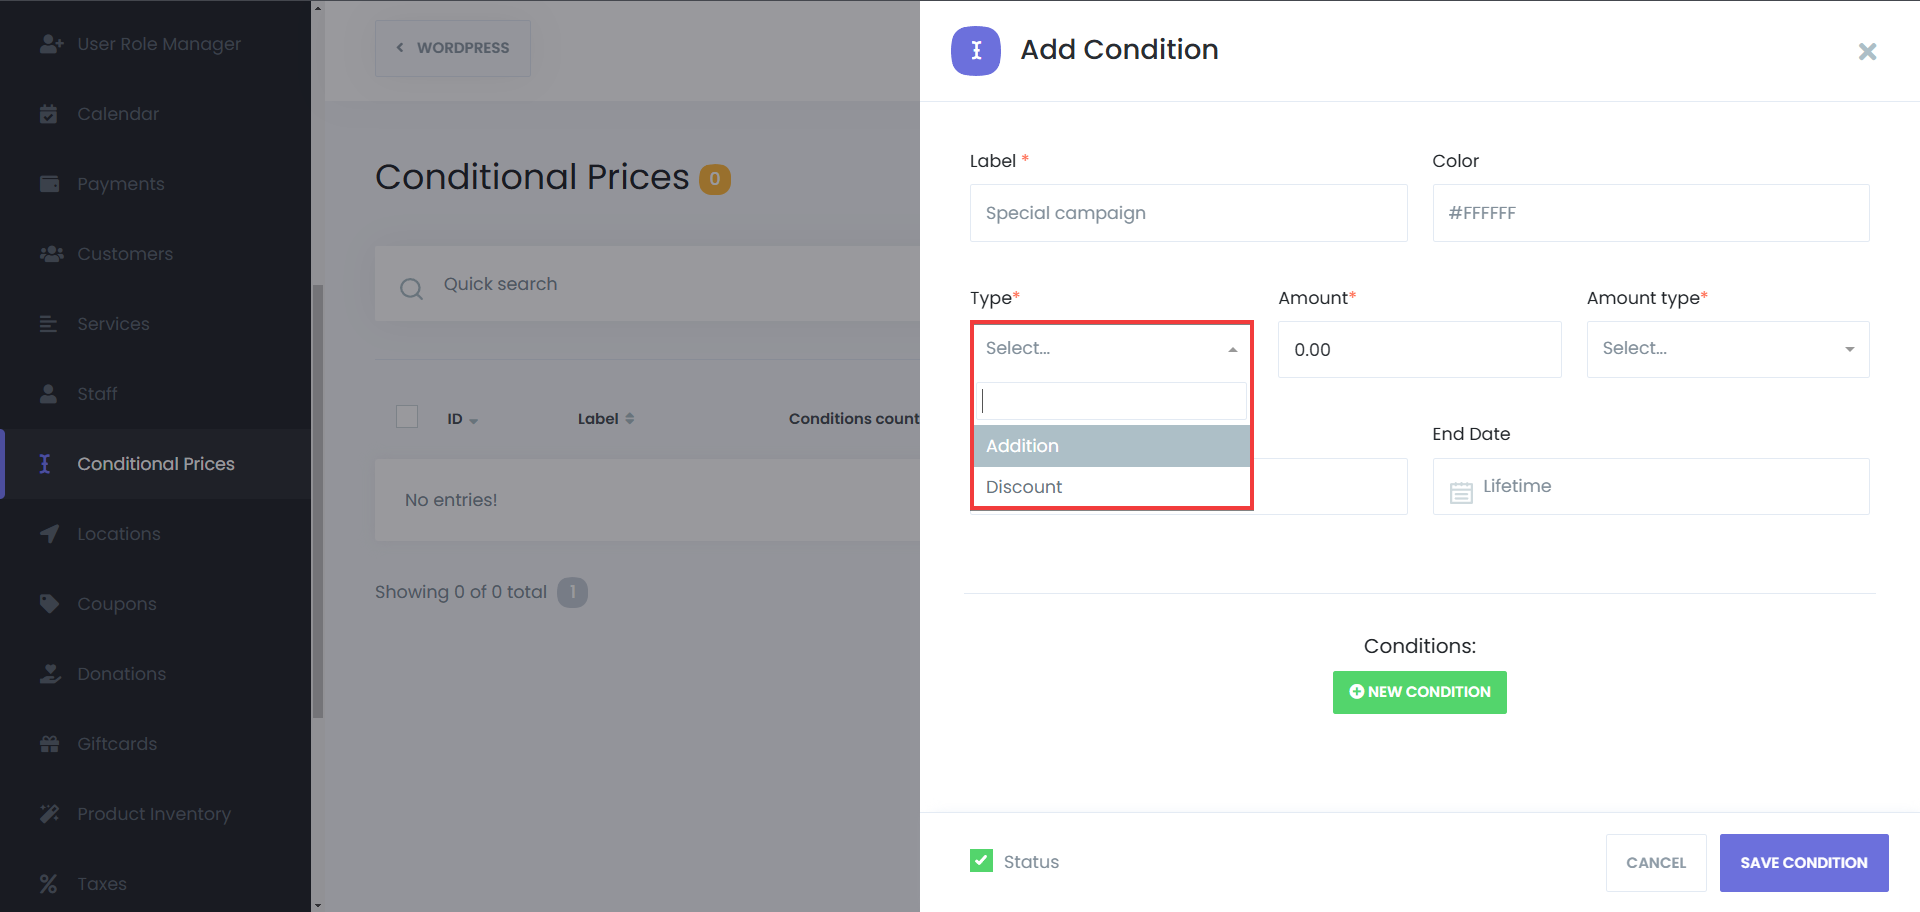
Rule Type: Choose Addition (surcharge) or Discount.
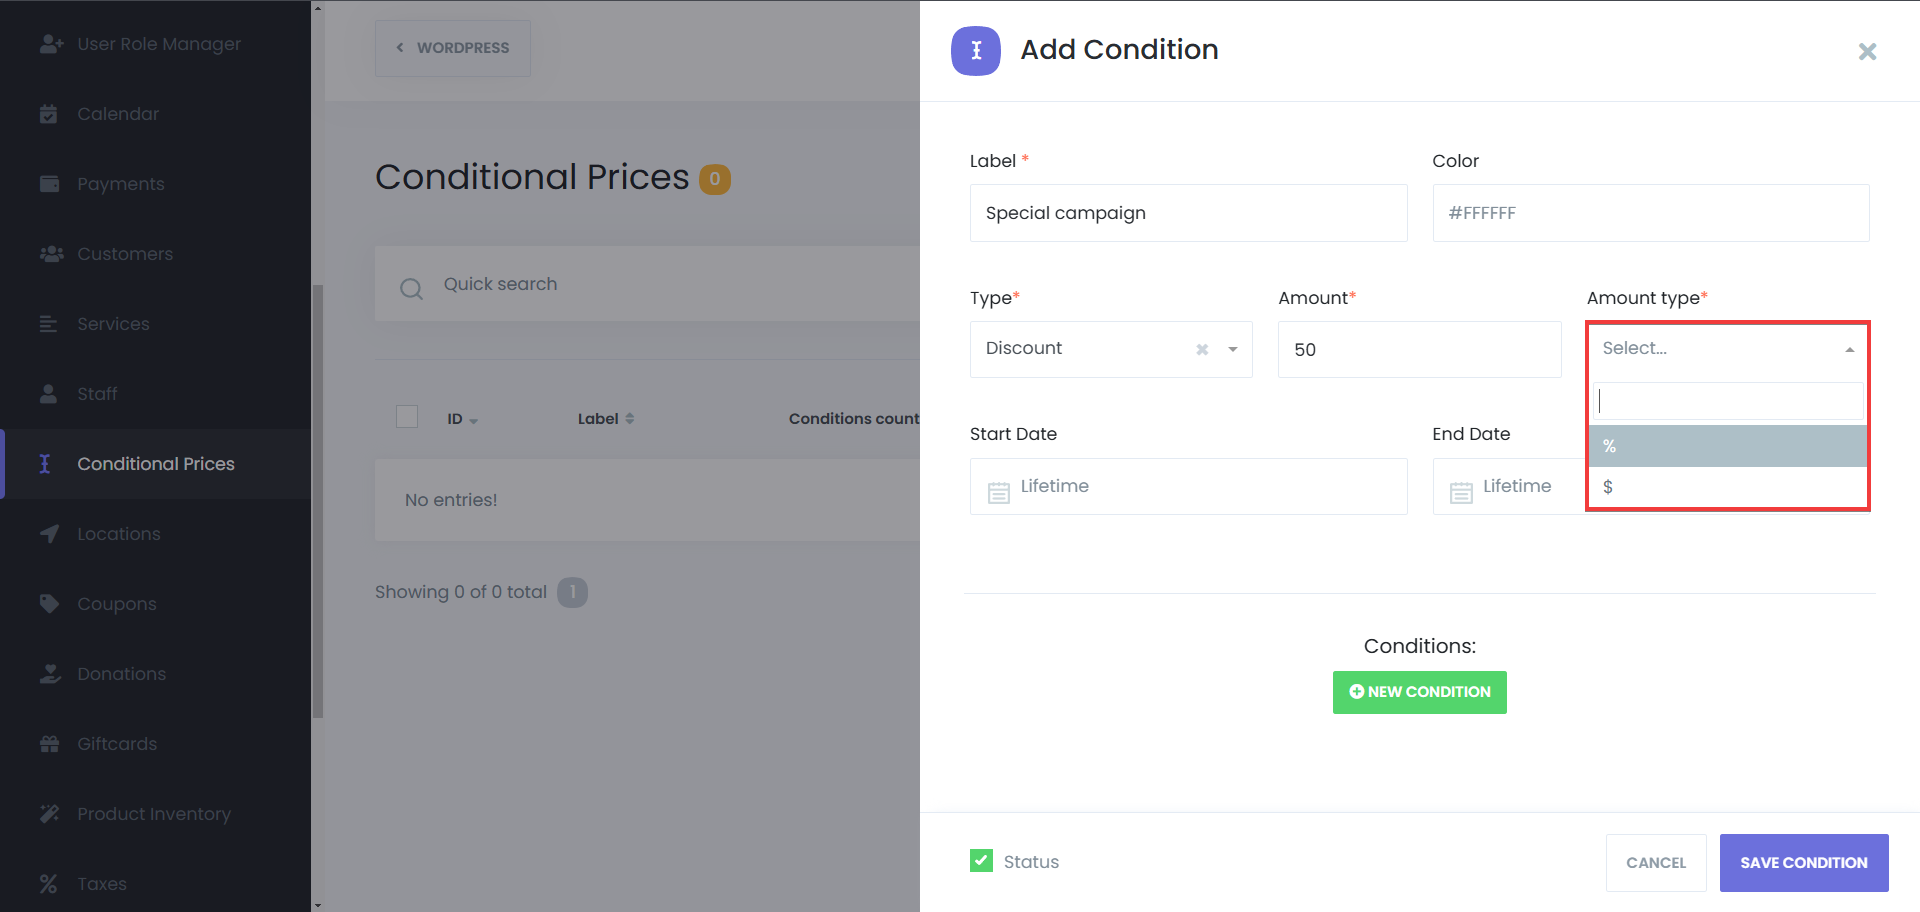
Amount Type: Select Percentage (%) or Fixed Value ($).
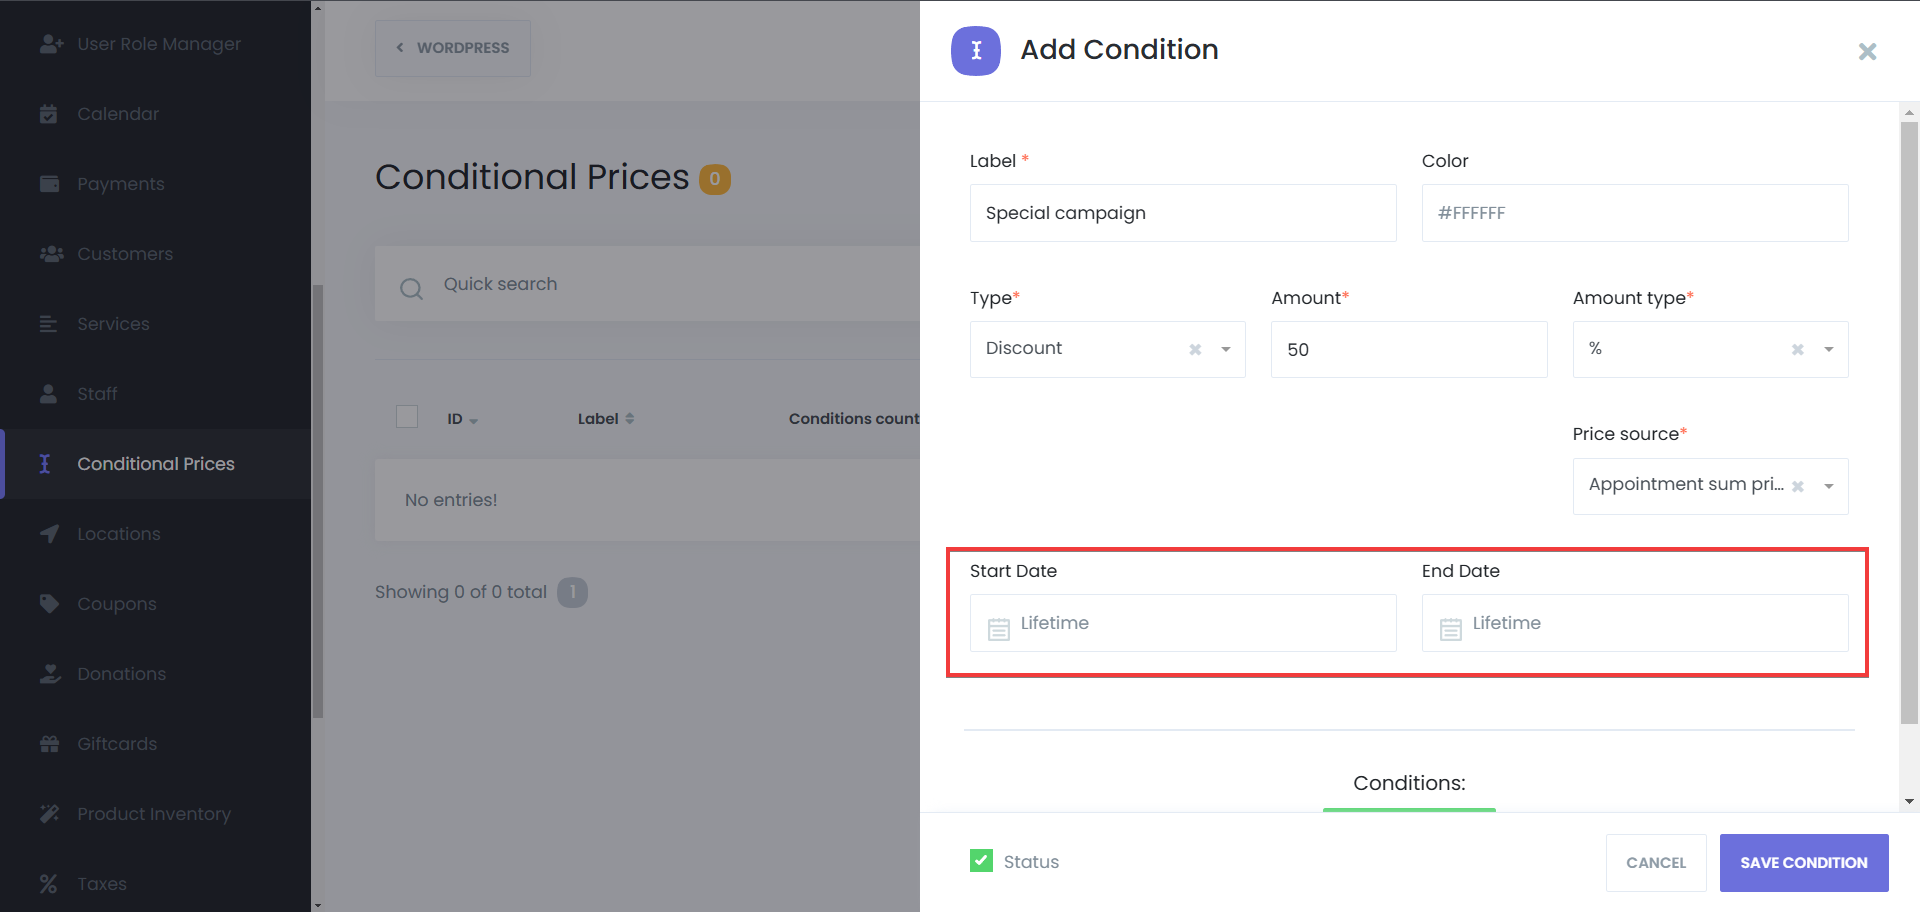
Campaign Duration (Optional): Set specific start and end dates for the rule to run.
When setting up your rule, it is important to understand how the calculation is applied:
Percentage (%): Applies as a proportional increase/decrease (e.g., 15 for 15%).
Fixed Amount ($): Adds or subtracts a flat fee (e.g., 25 for $25). Useful for administrative or location fees.

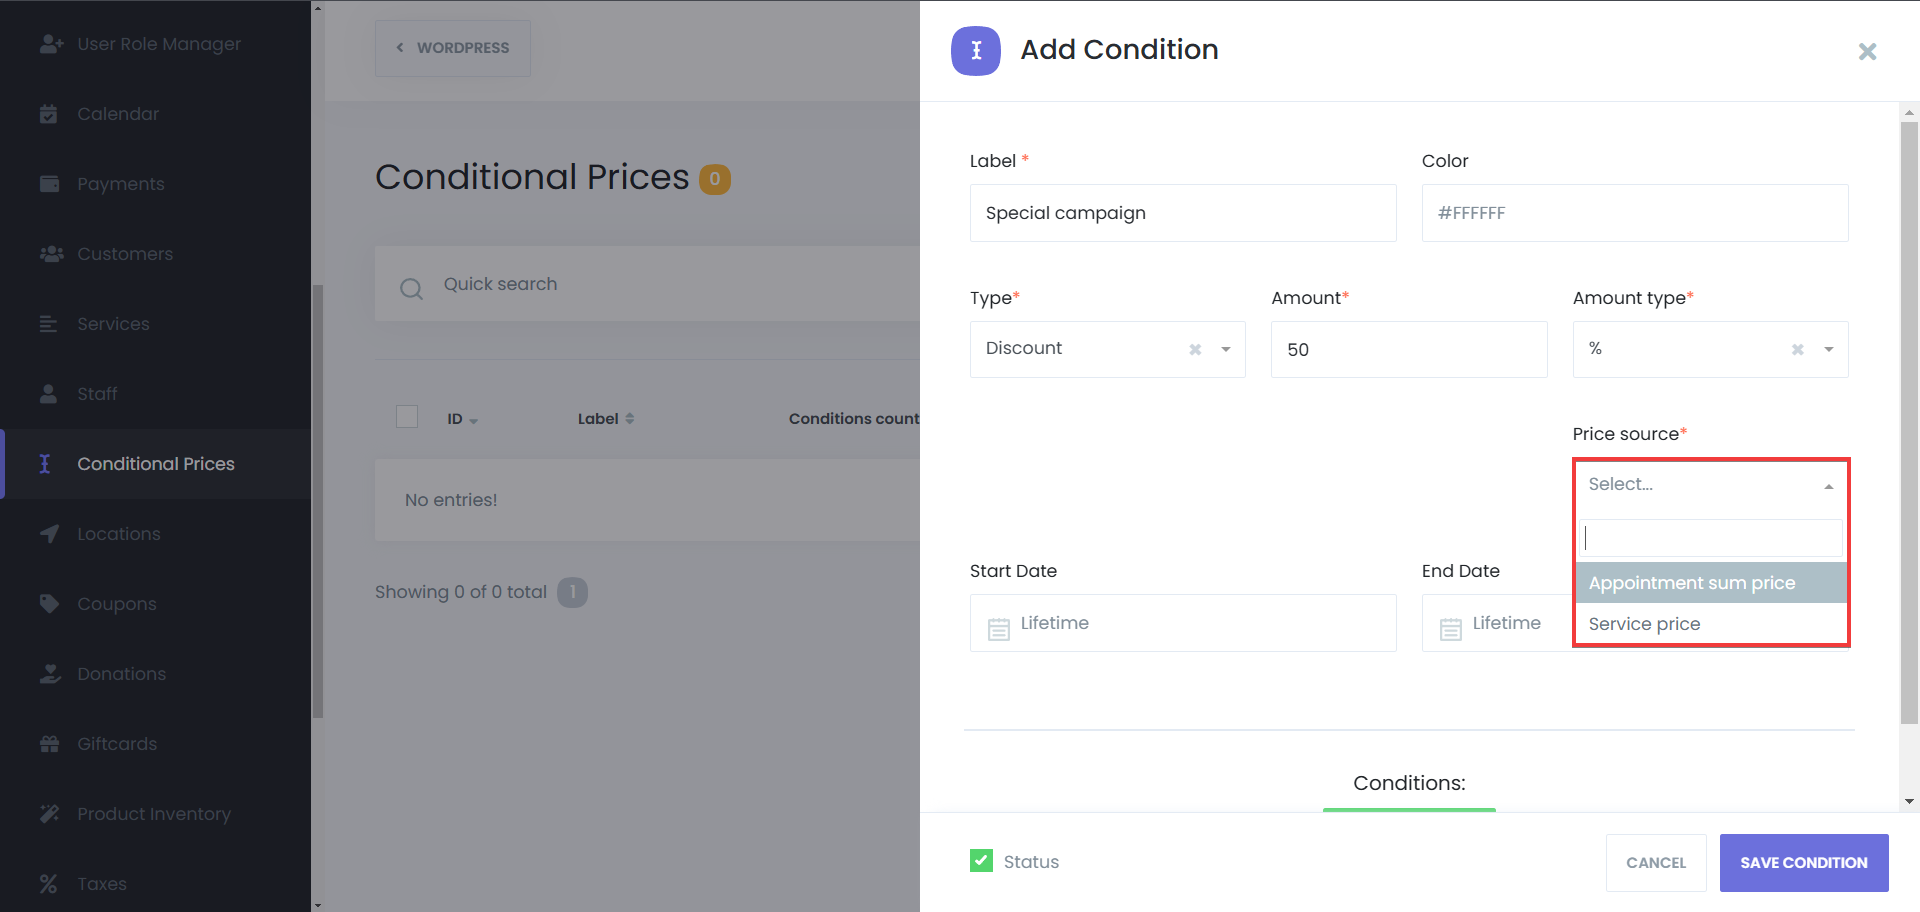
Price Source (For Percentage Rules):
If you choose "Percentage," you must select the calculation base:
Appointment Sum Price: Calculated on the total cost (Service + Extras + existing adjustments).
Example: $100 Service + $20 Extra = $120 total. A 10% addition adds $12.
Service Price: Calculated only on the base service price.
Example: $100 Service + $20 Extra = $120 total. A 10% addition adds $10.
In the Conditions section, you define the logic for when the price change triggers. You can mix and match the following available fields:
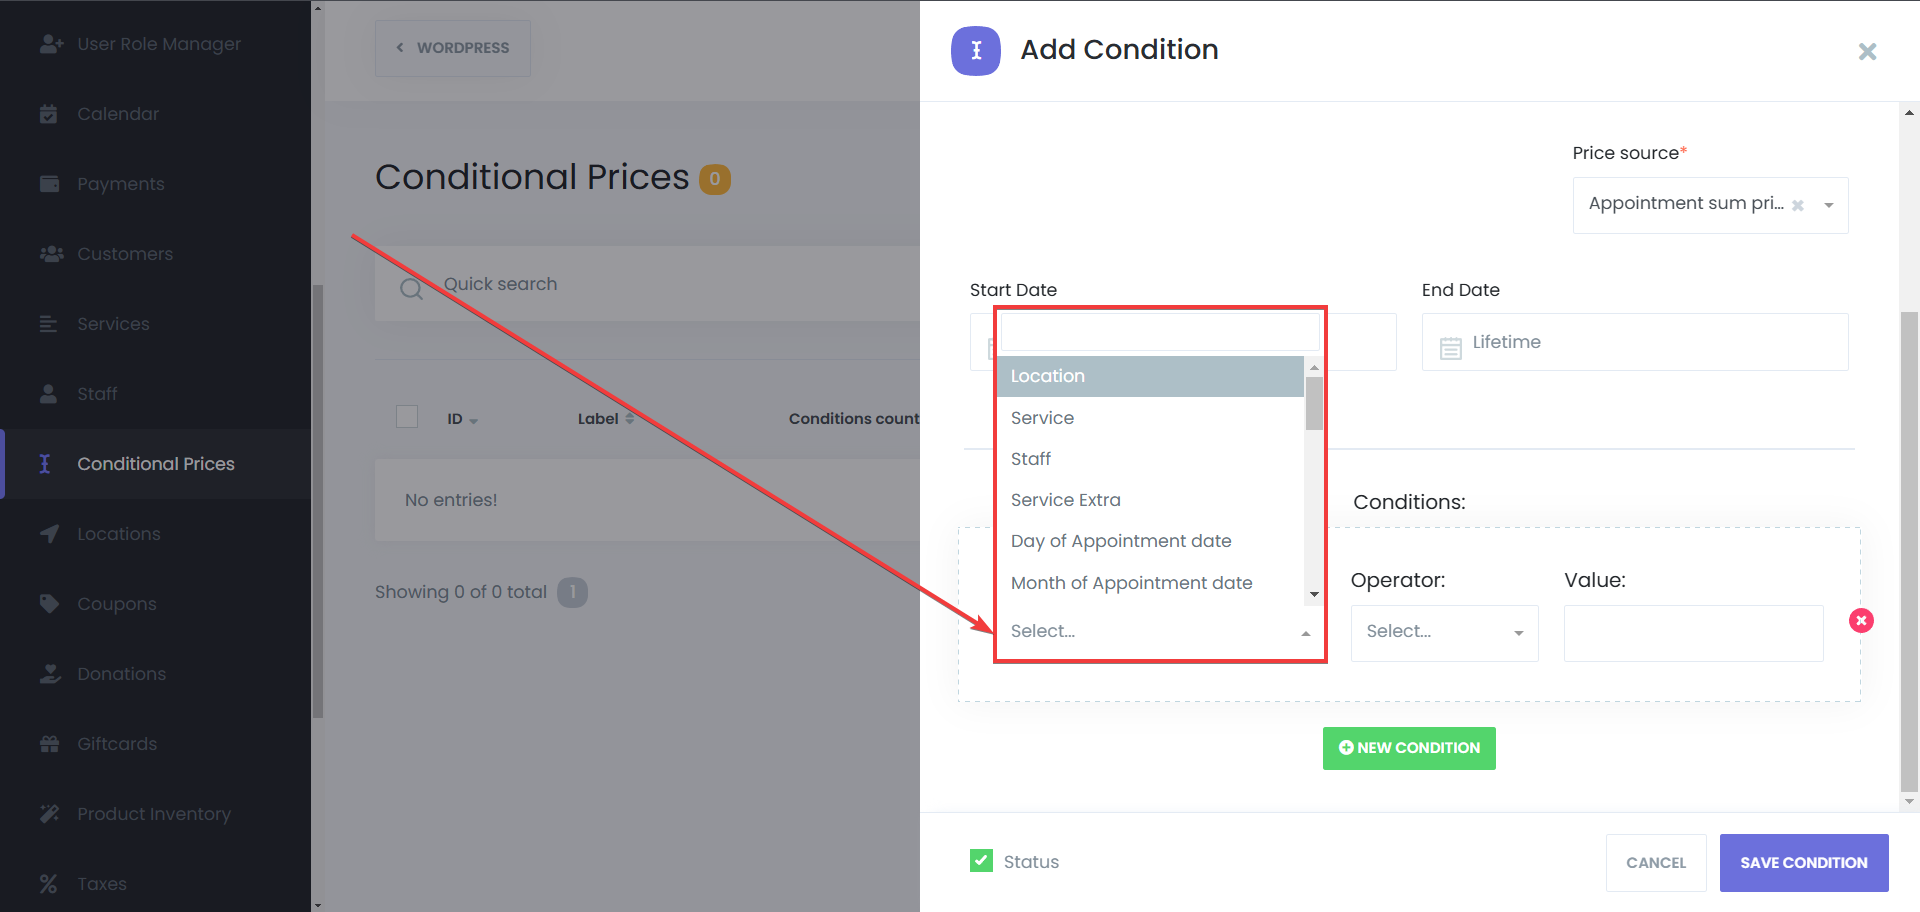
Service: Apply rules to specific services (e.g., Basic vs. Premium packages).
Staff: Adjust pricing based on the specialist (e.g., senior vs. junior staff).
Service Extra: Set conditions for specific add-ons.
Location: Apply rules specific to certain business branches.
Day of Appointment Date: Rules for specific calendar days (1-31).
Month of Appointment Date: Create seasonal pricing (January-December).
Week Day of Appointment Date: Apply weekday-based pricing (e.g., Saturday/Sunday).
Appointment Duration (Min): Differentiate prices based on length.
Remaining Hour(s) to Appointment: Apply rush fees (e.g., within 24 hours of booking).
Remaining Minute(s) to Appointment: Fine-grained last-minute pricing adjustments.
Payment Method: Offer incentives for specific gateways (e.g., Bank Transfer).
Is Deposit Payment: Adjust prices based on payment type.
Brought People Count: Modify prices based on the number of guests.
Cart Appointments Count: Discounts for multiple appointments in one booking.
Total Customer Appointments Count: Reward lifetime loyalty.
Customer Category: Pricing for specific segments (e.g., VIP, Student).
Custom Form/Field Inputs: Apply pricing based on dropdowns, radio buttons, or numeric inputs from your custom booking forms.
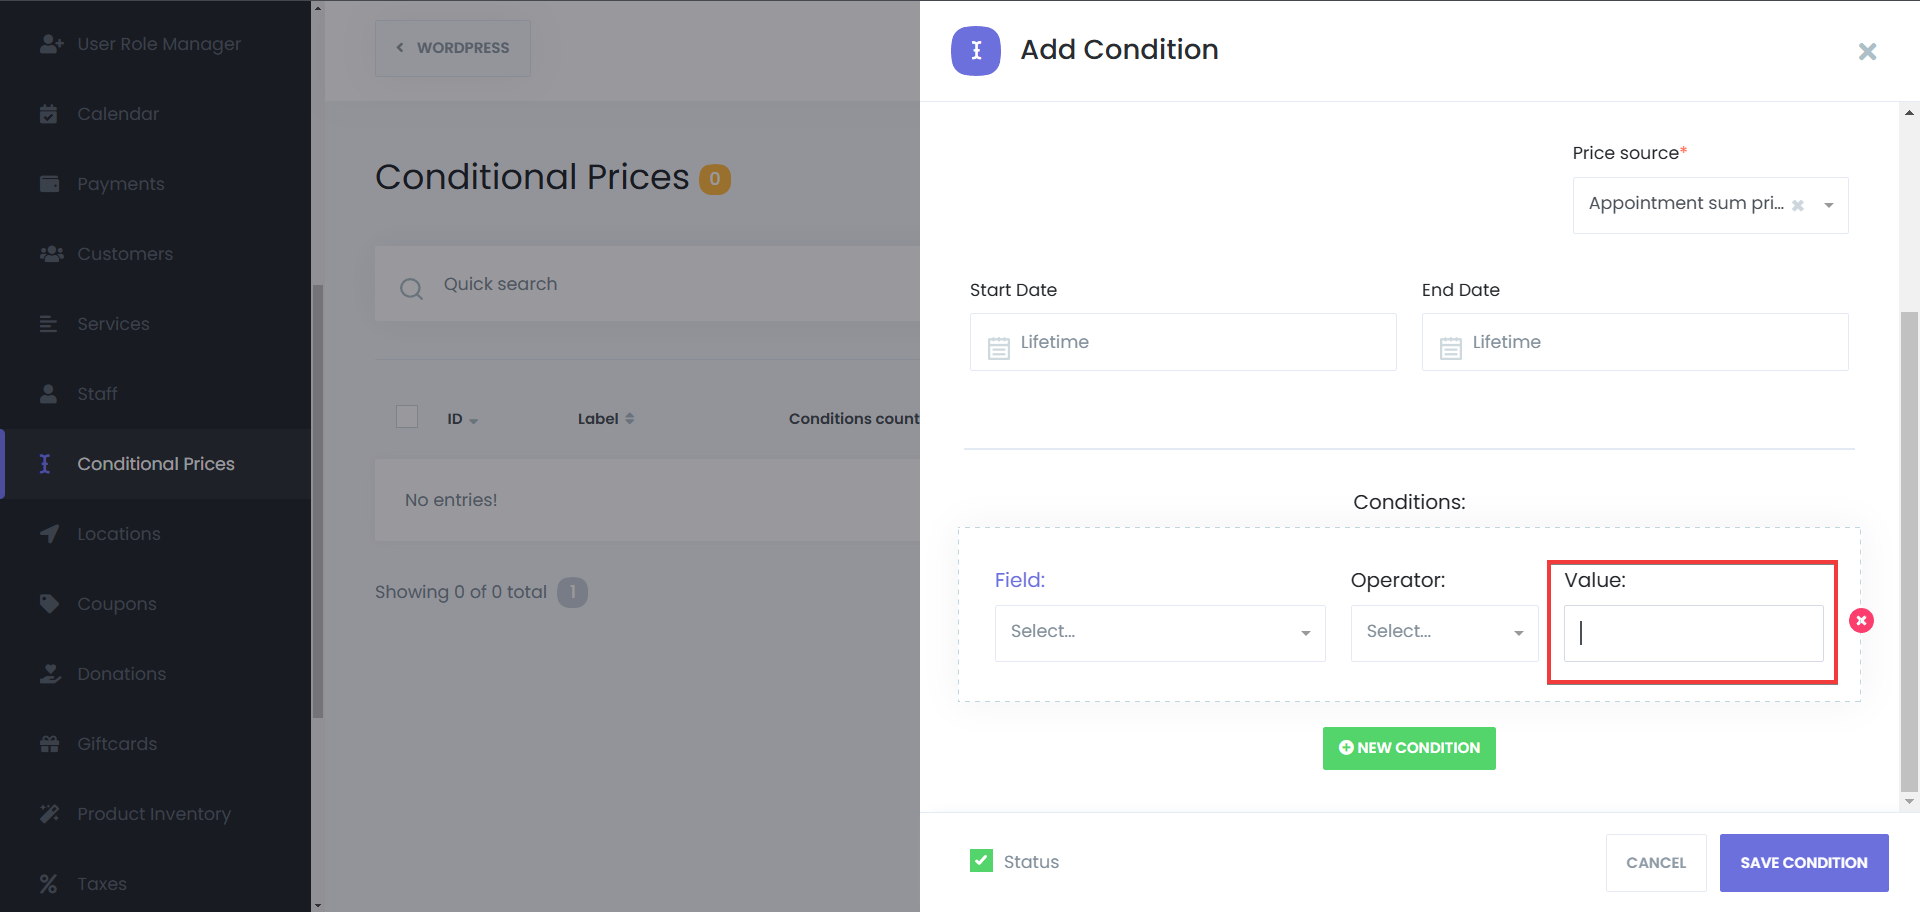
Each condition requires three specific components to function:
Field: Select the aspect to condition on (e.g., "Week Day").
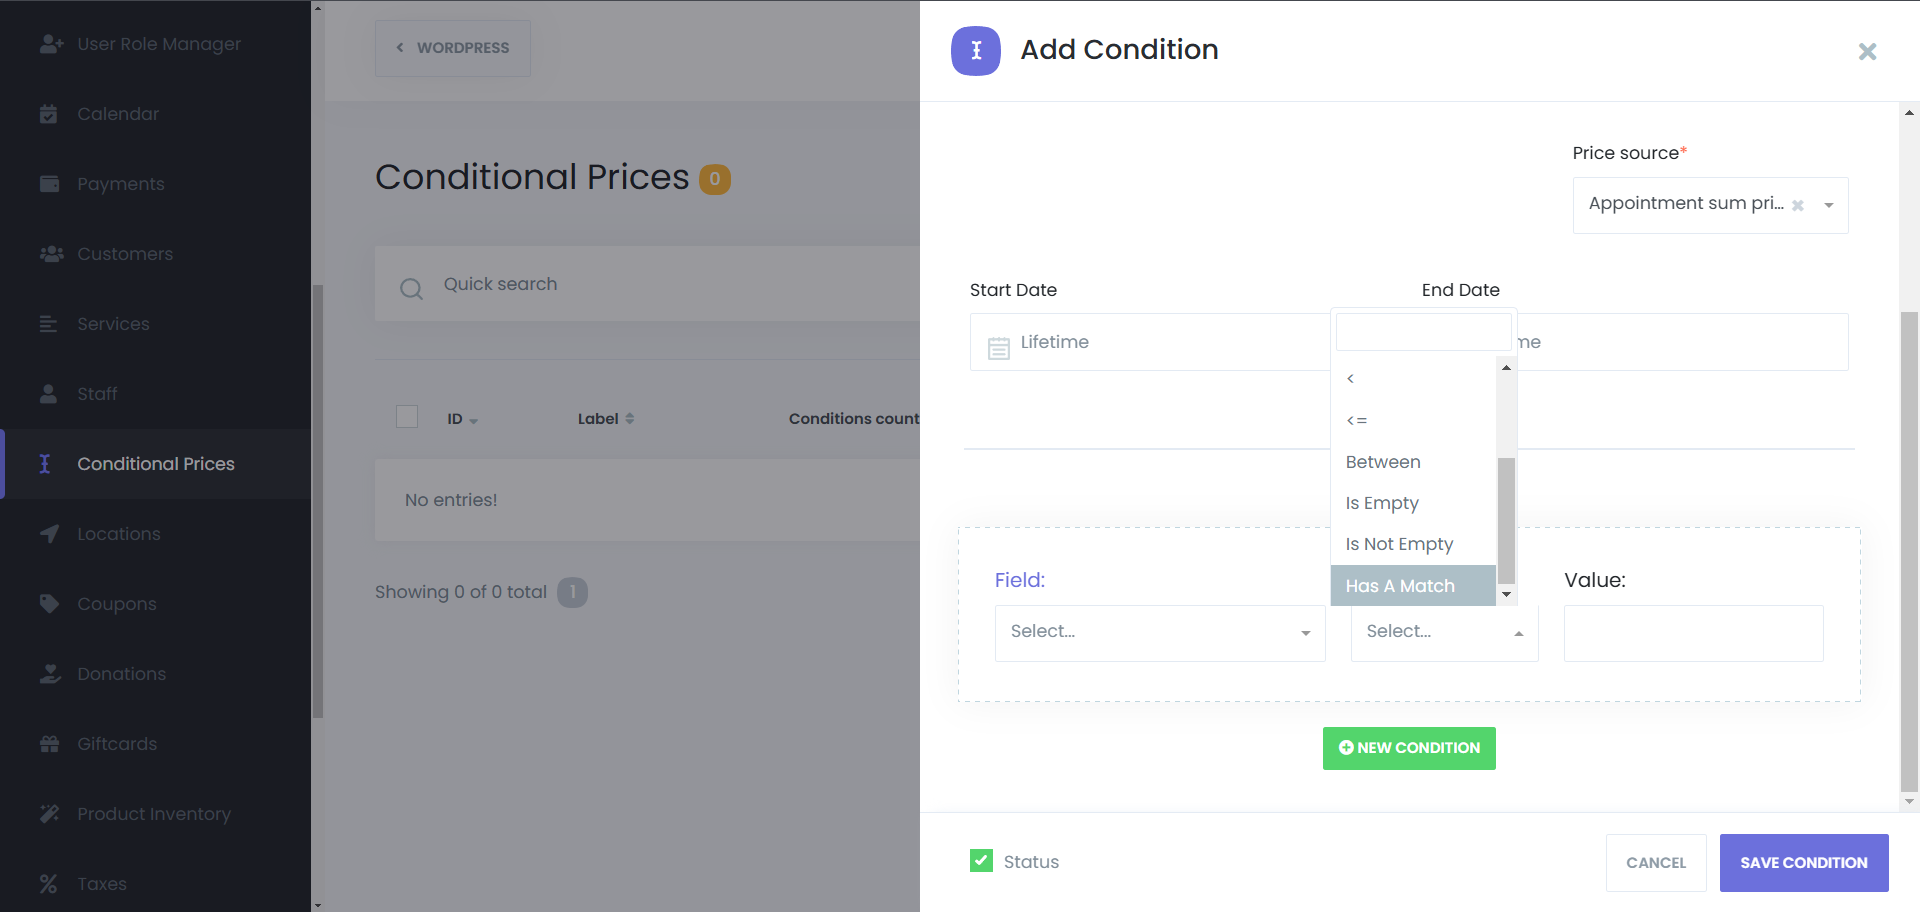
Operator: Choose how to compare the value. Common operators include:
Equals (=): Exact match.
Greater than (>) / Less than (<): For numeric thresholds.
In list: Condition applies to any selected option from a group.
Contains: Used for text-based fields.
Value: Enter the specific trigger (e.g., "Saturday").
Test the Rule
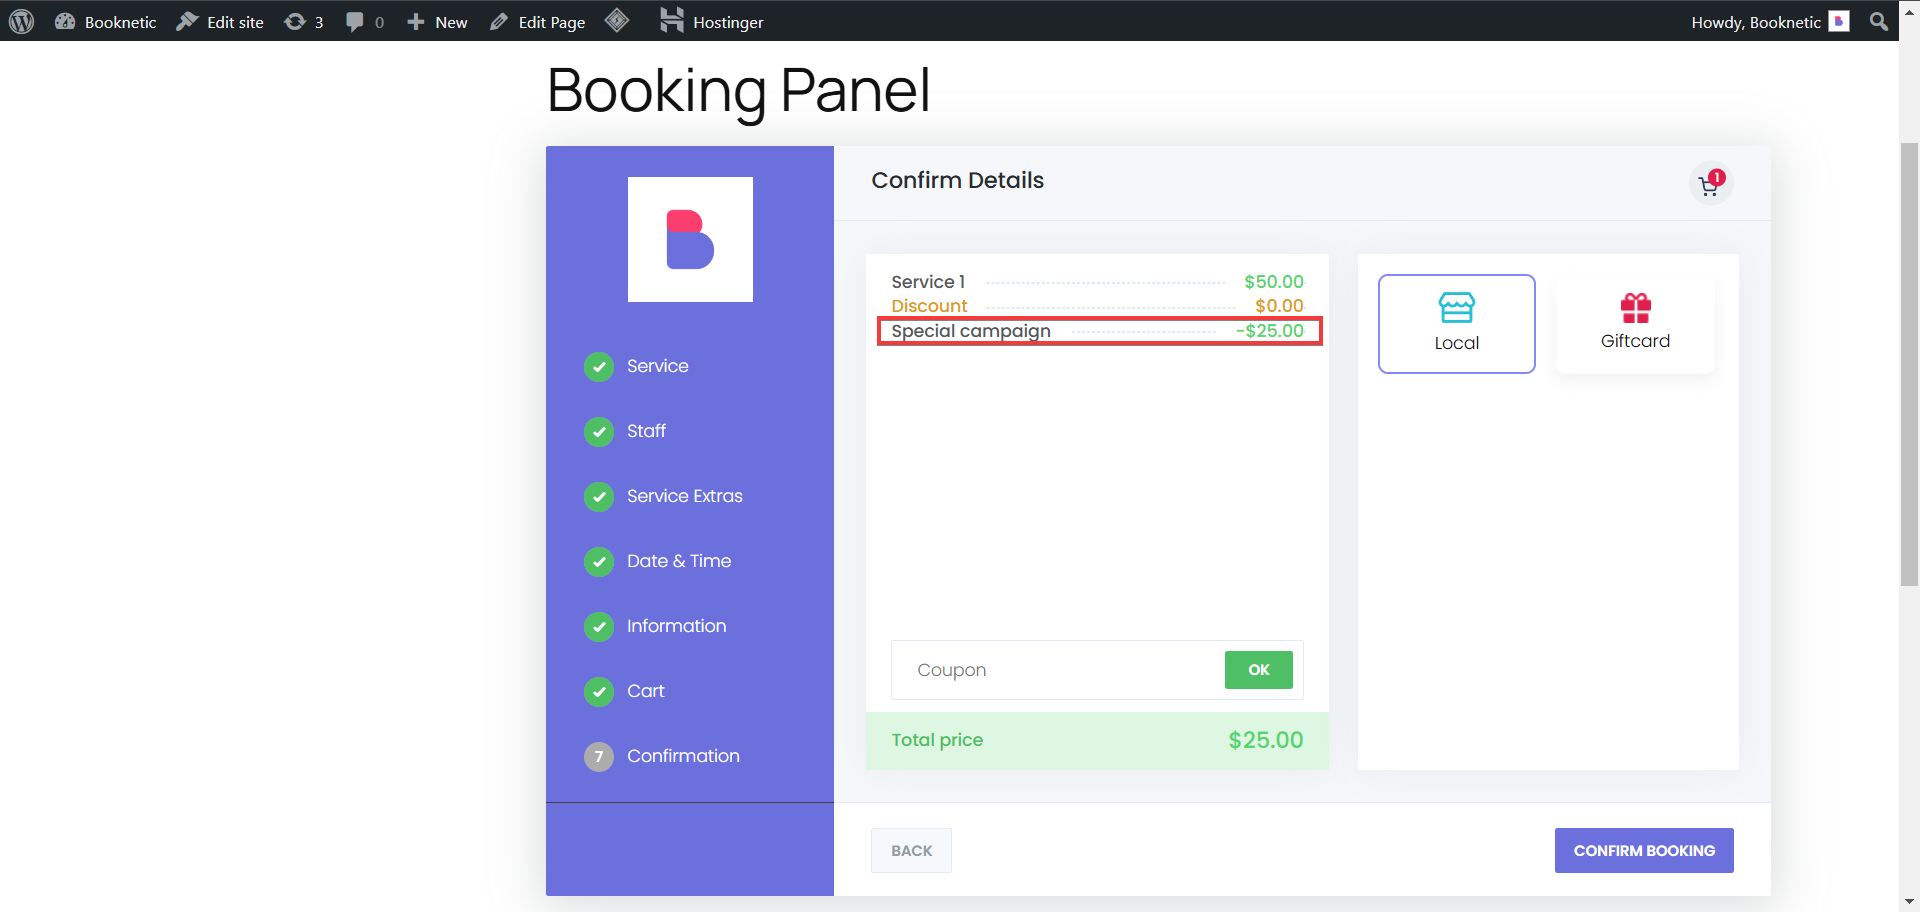
Activate the pricing rule and simulate appointments that meet the defined conditions to verify that the pricing adjustments are applied correctly.
Monitor and Adjust
Regularly review the booking process to ensure that the conditional pricing works as intended. Make any necessary changes to the conditions or adjustment values if required.
Use Case | Rule Type | Condition | Result |
Weekend Surcharge | Addition (15%) | Week Day = Saturday OR Sunday | 15% increase on weekends |
Rush Booking Fee | Addition ($25) | Remaining Hours < 24 | $25 fee for same-day bookings |
Loyalty Discount | Discount (10%) | Total Appointments > 10 | 10% off for frequent clients |
Staff-Level Pricing | Addition (30%) | Staff = "Senior Therapist" | Higher rate for senior staff |
Group Discount | Discount (5%) | Brought People Count > 3 | 5% off for groups of 4 or more |
Seasonal Pricing | Addition (20%) | Month = "July" | Summer month price increase |
Use Descriptive Labels: Name rules clearly (e.g., "Black Friday 2024") for easier management.
AND Logic: Remember that within a single rule, all enabled conditions must be true for the adjustment to apply.
Stacking Rules: Multiple different rules can apply to the same appointment. If both a "Weekend" and "Loyalty" rule are met, both will be calculated.
Test Before Deployment: Always simulate a booking on your front-end to ensure the pricing logic behaves as expected.