Front-end Customer Panel
Front-end Customer Panel in the Booknetic - WordPress Appointment Booking and Scheduling system
By using this site, you agree to our Cookie Policy
Front-end Customer Panel in the Booknetic - WordPress Appointment Booking and Scheduling system
The Front-End Customer Panel add-on allows customers to manage their profiles, view appointment details, reschedule or cancel bookings, and update account information—all without needing admin assistance. This feature enhances the user experience by providing a self-service option directly from your website.
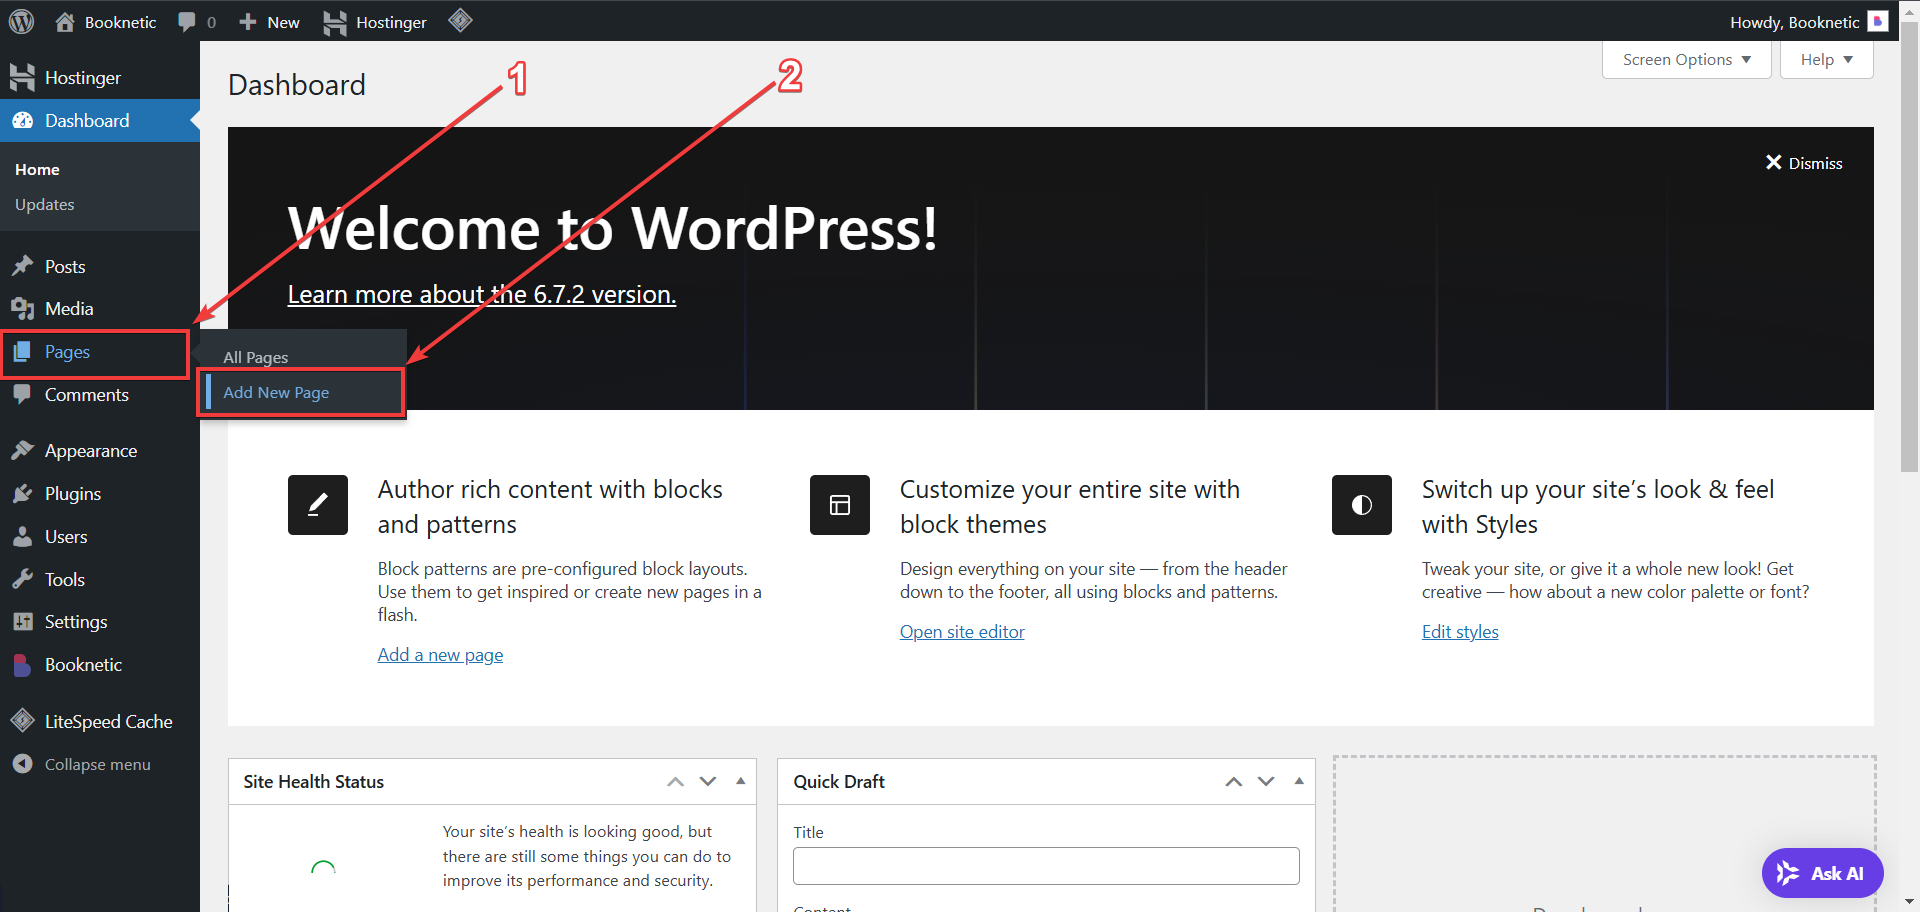
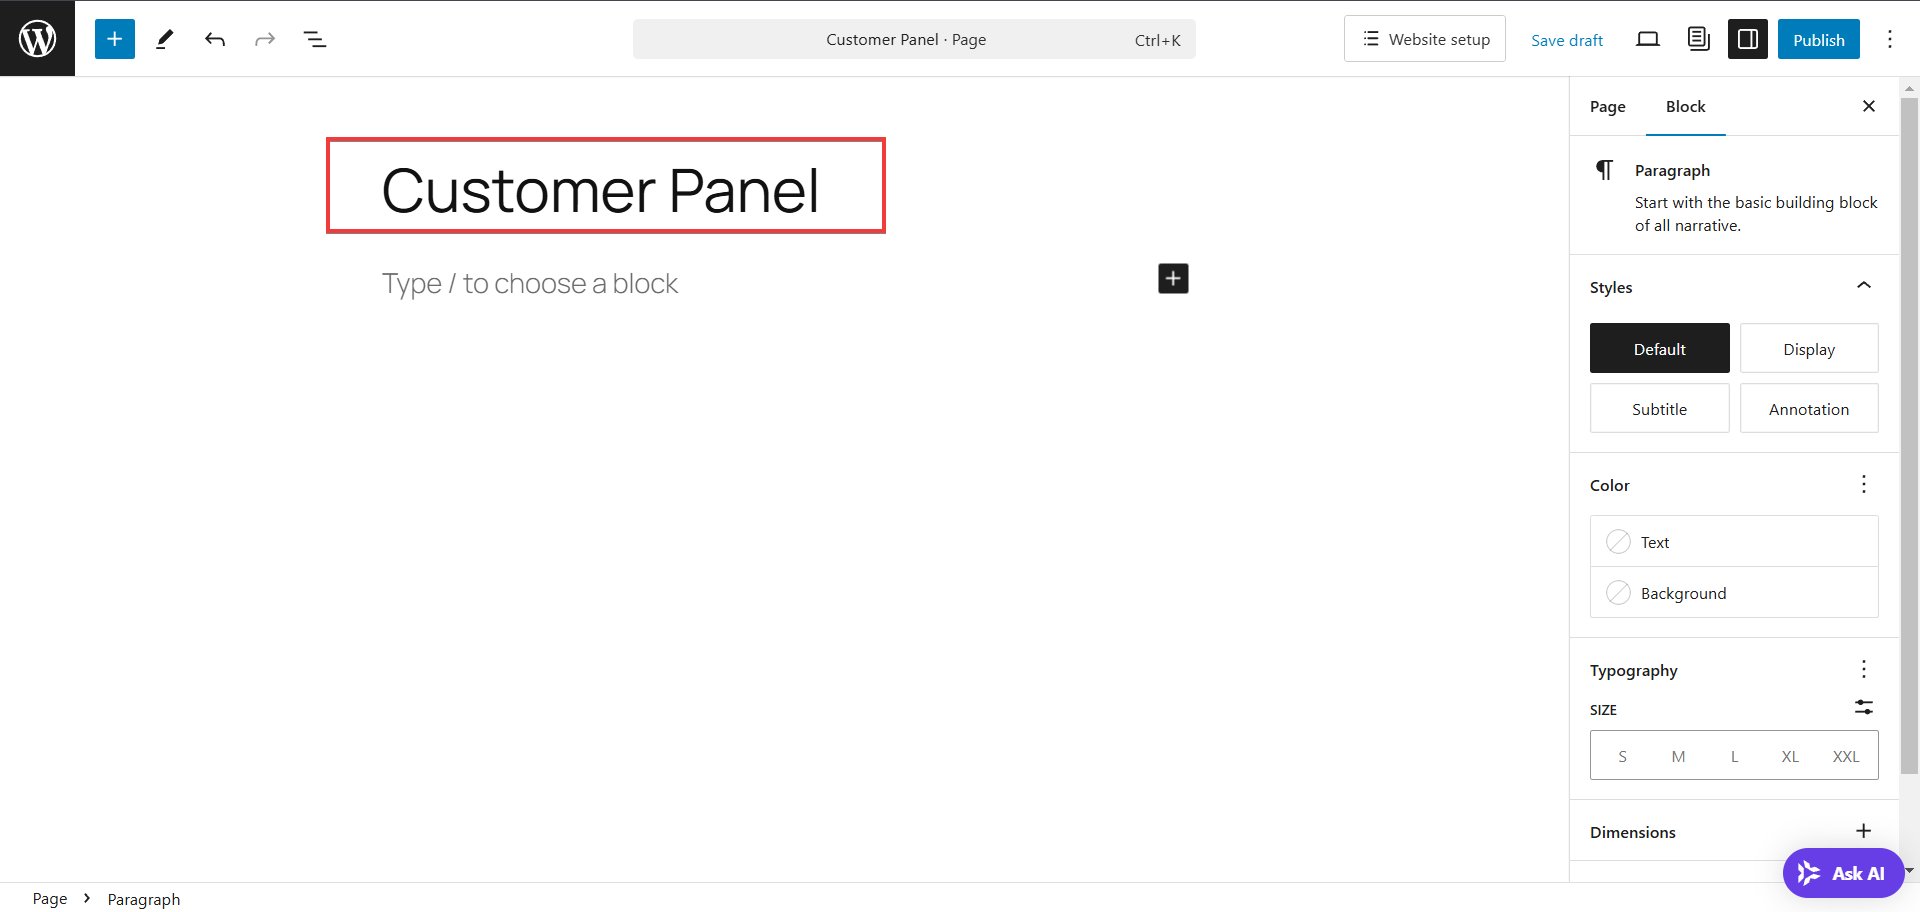
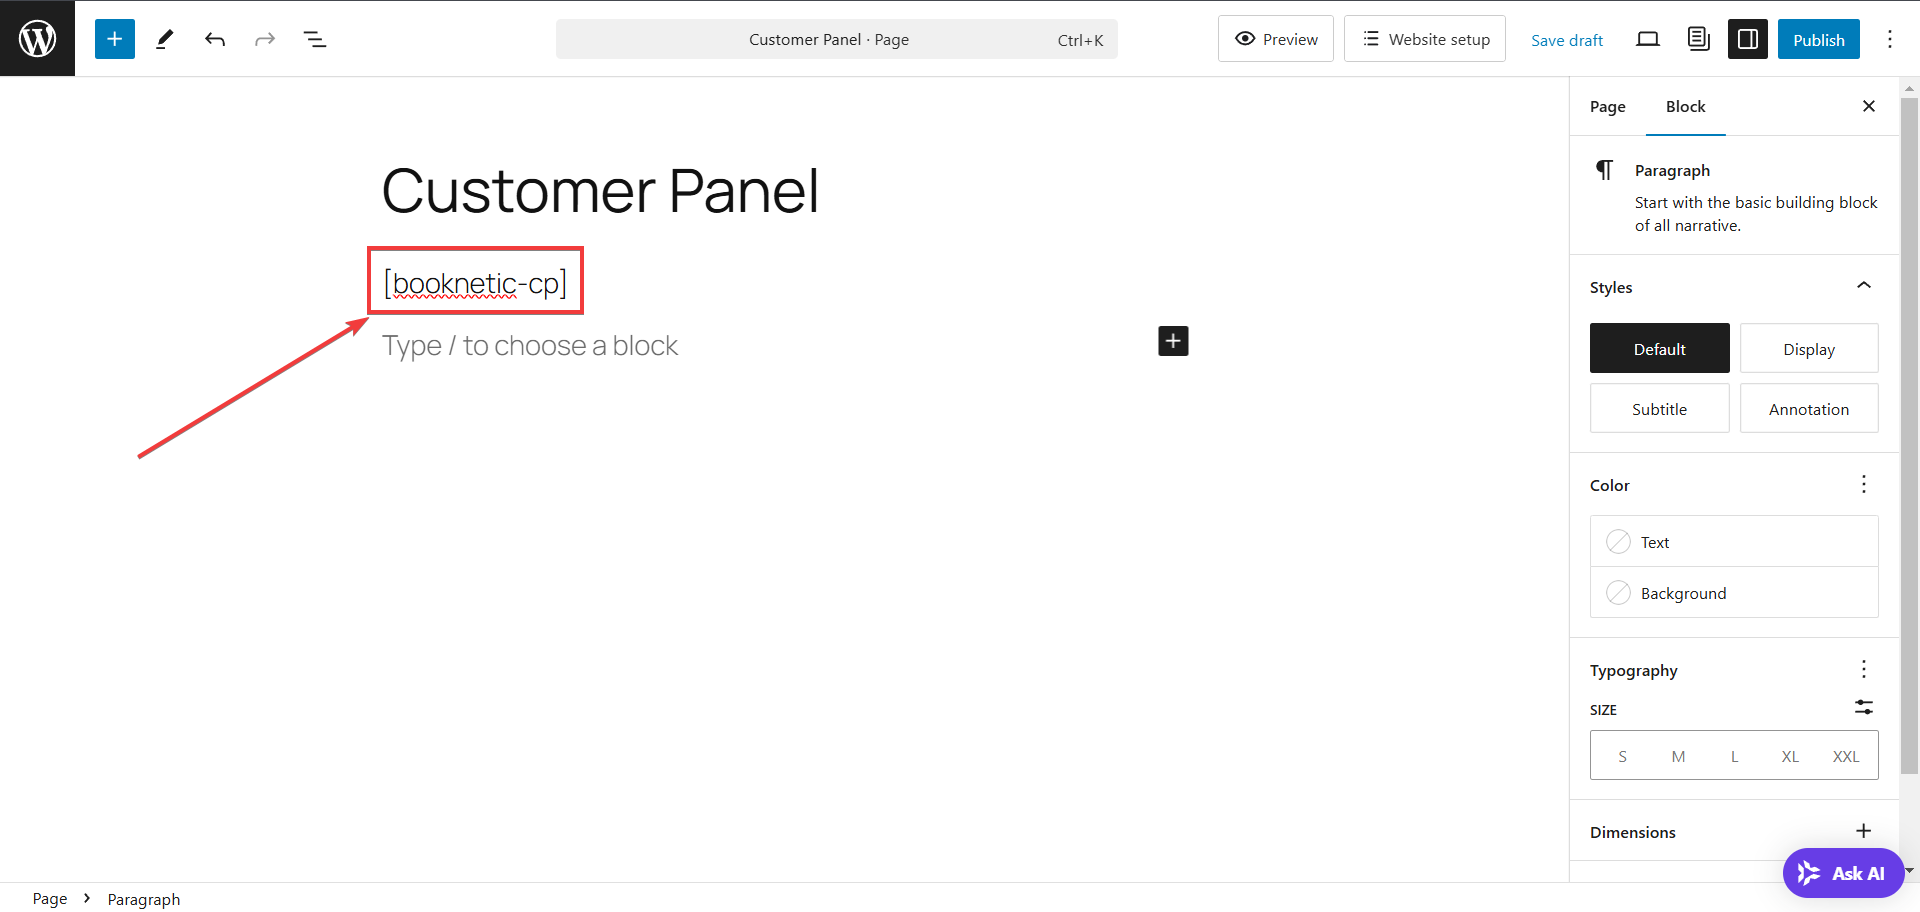
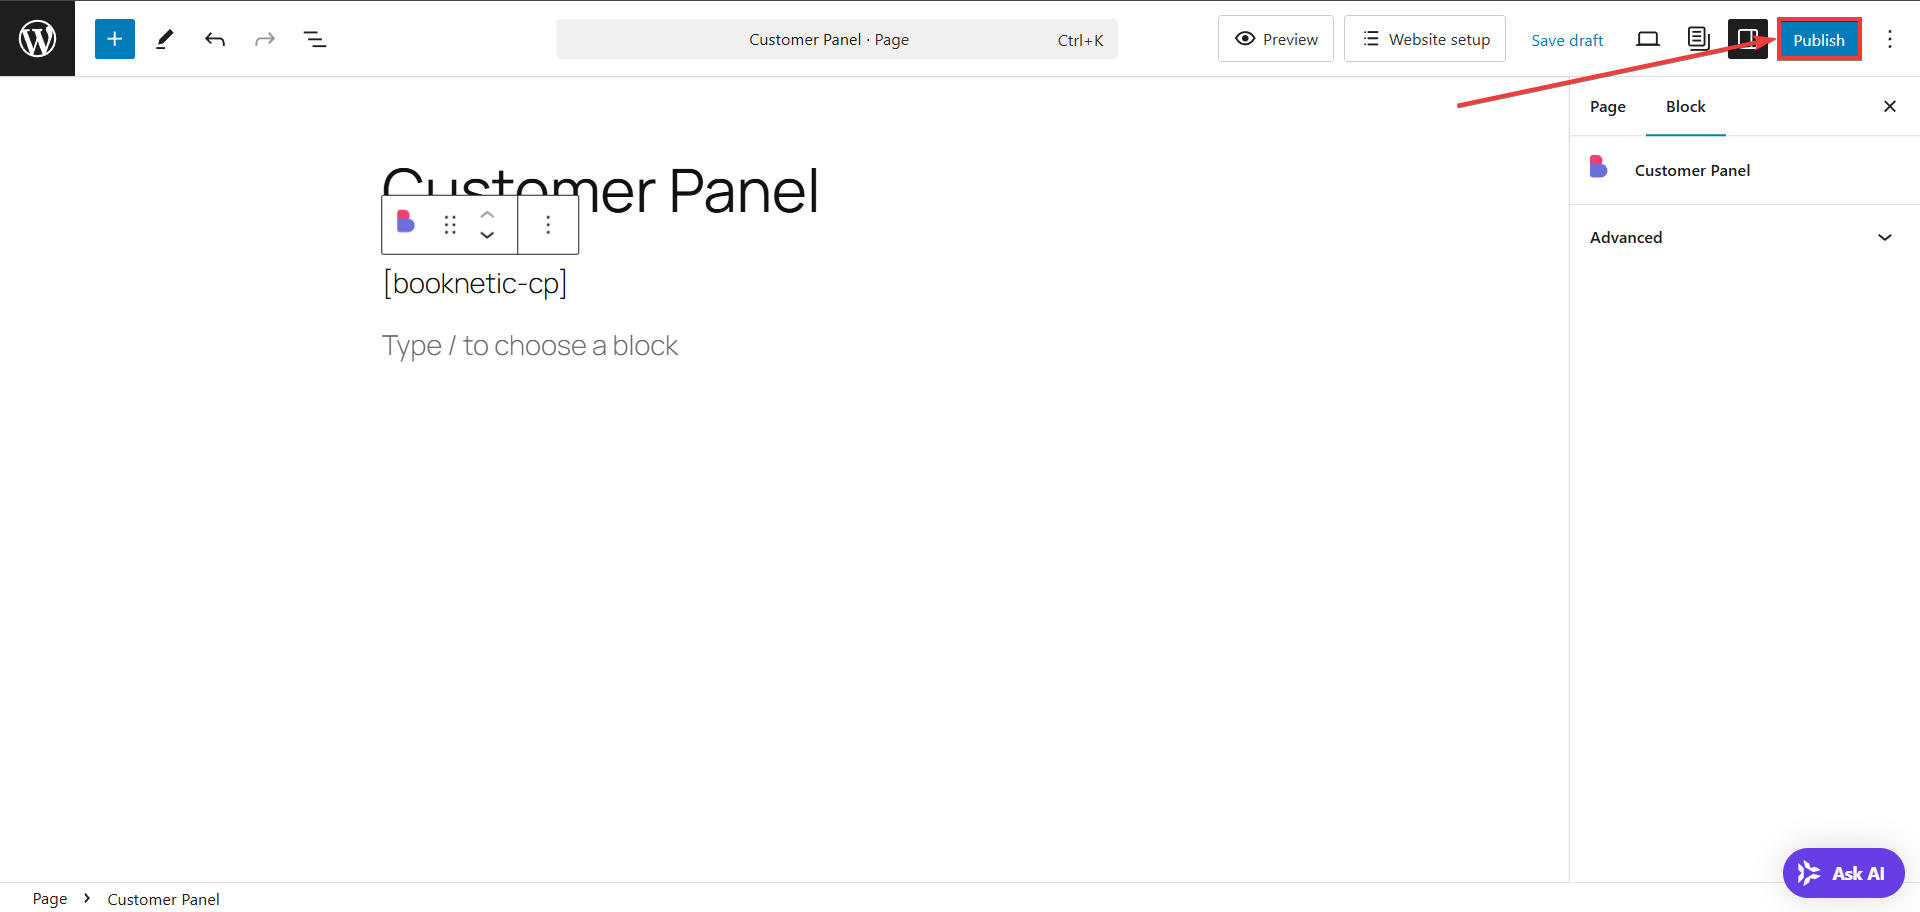
Create a New Page for the Customer Panel


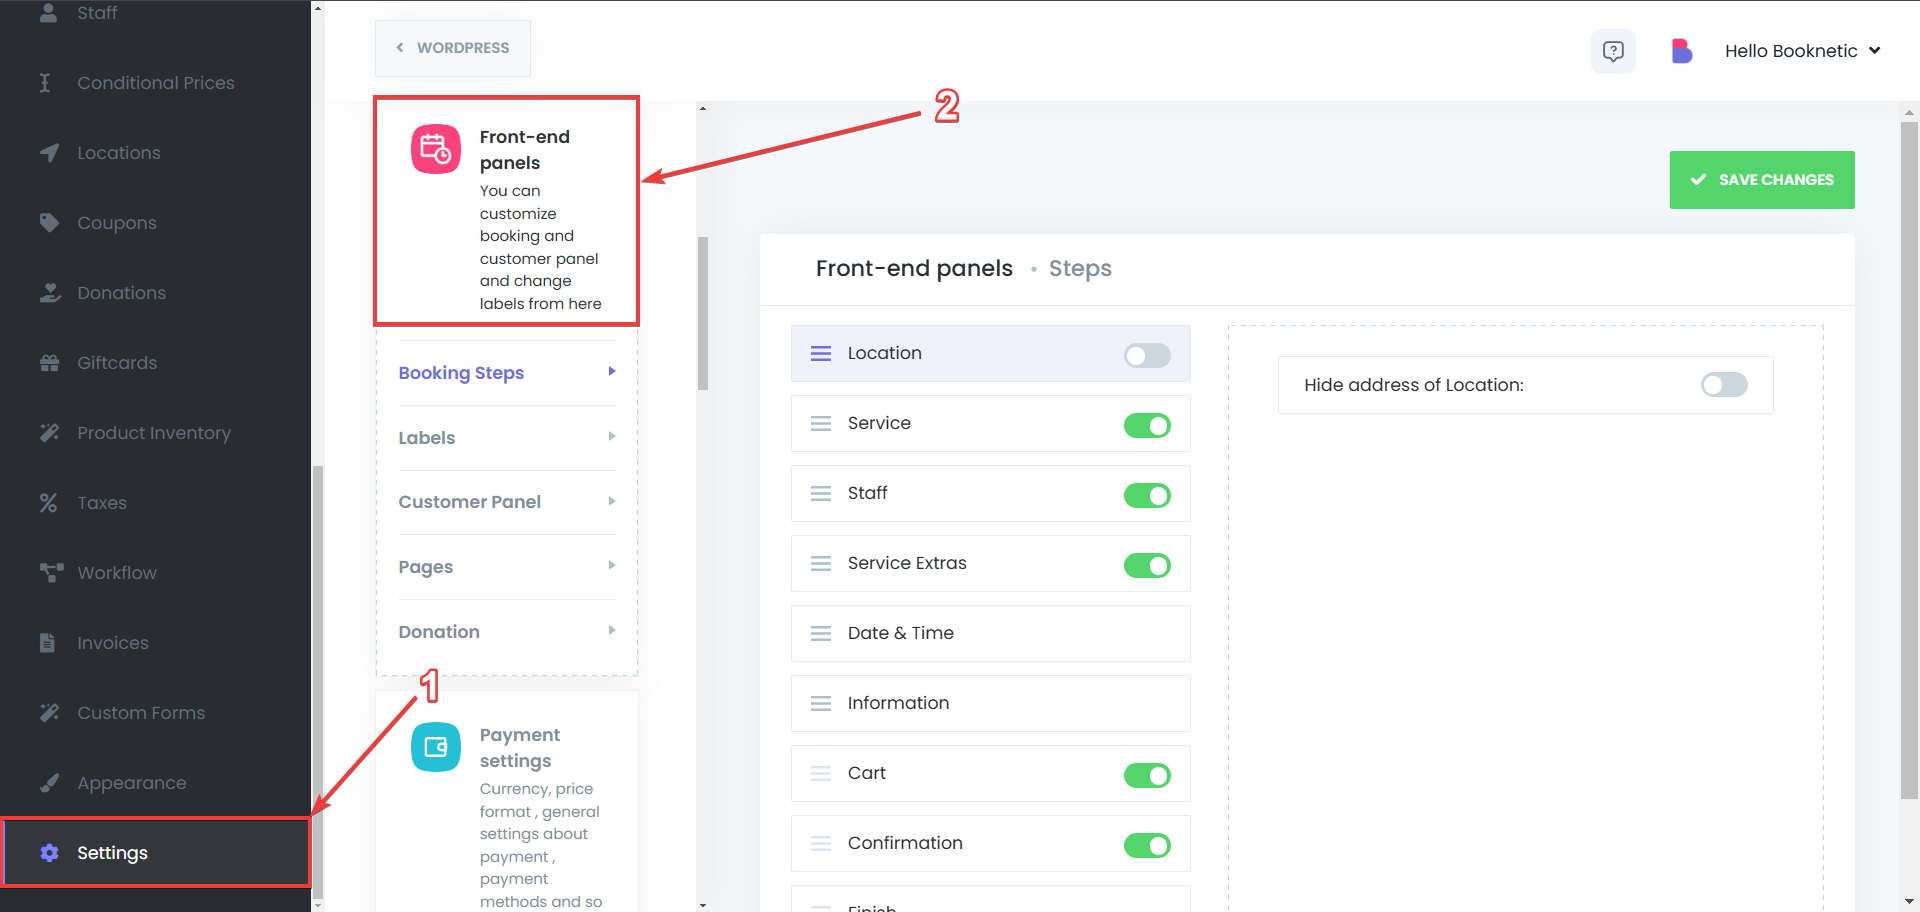
Enable the Customer Panel in Booknetic
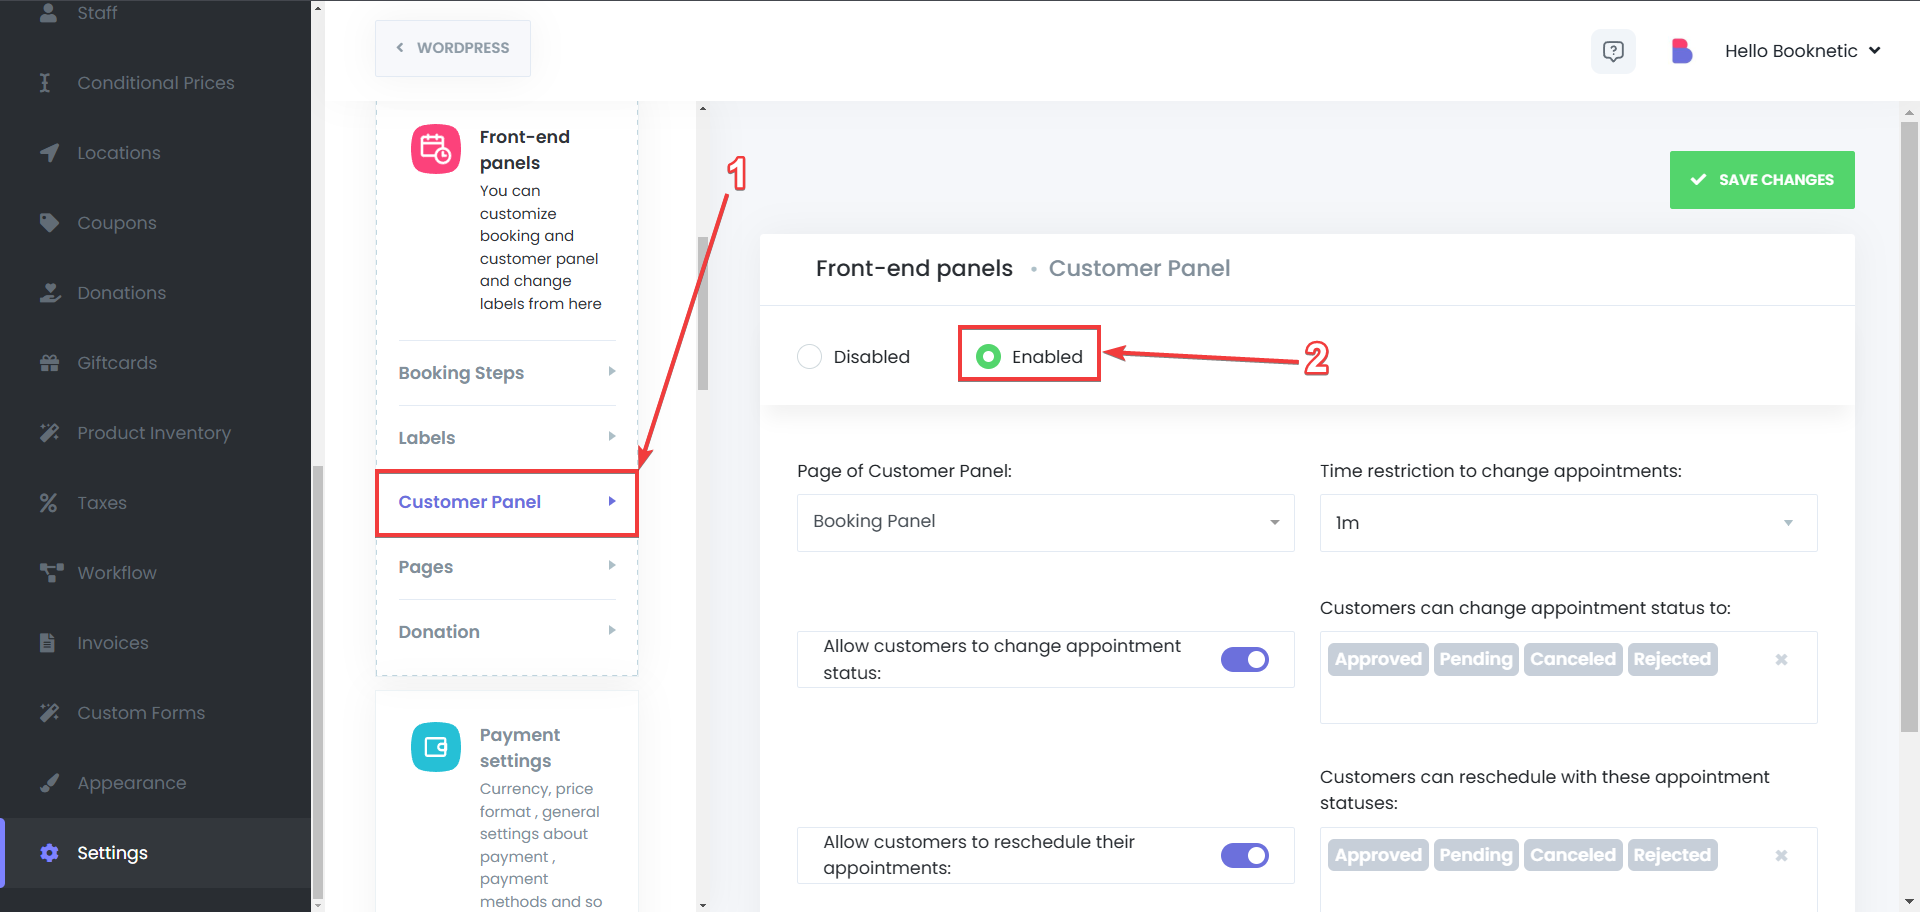
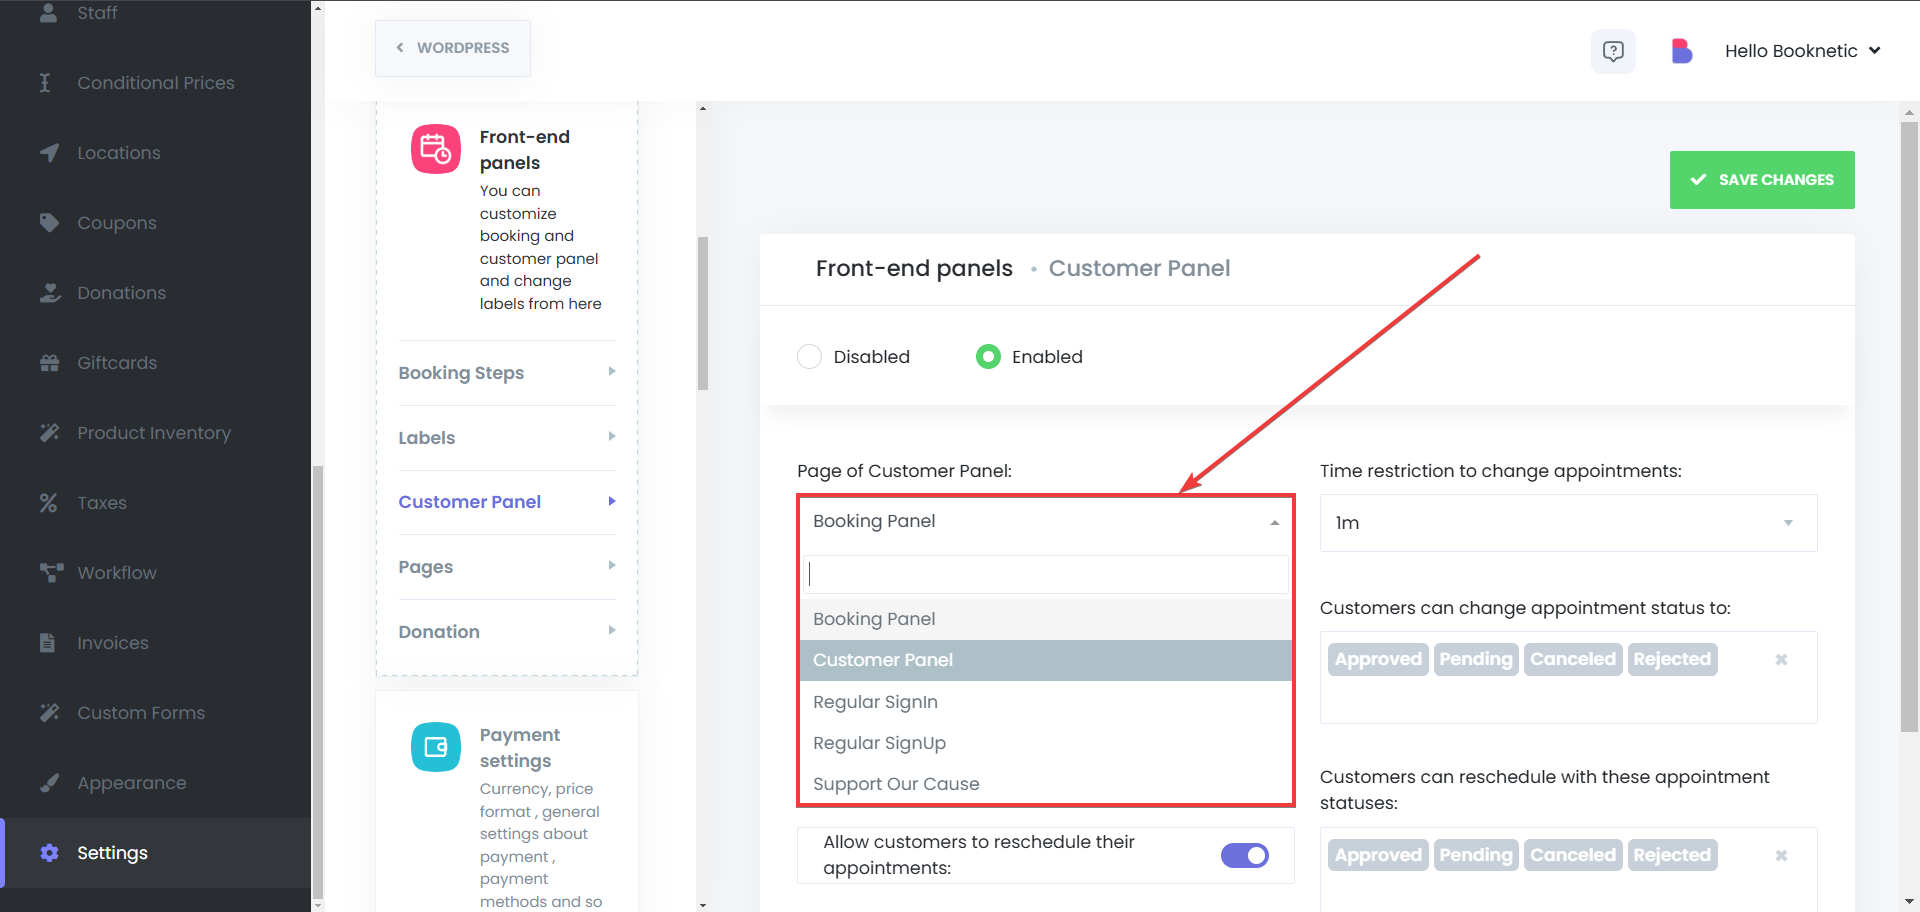
Assign the Customer Panel Page
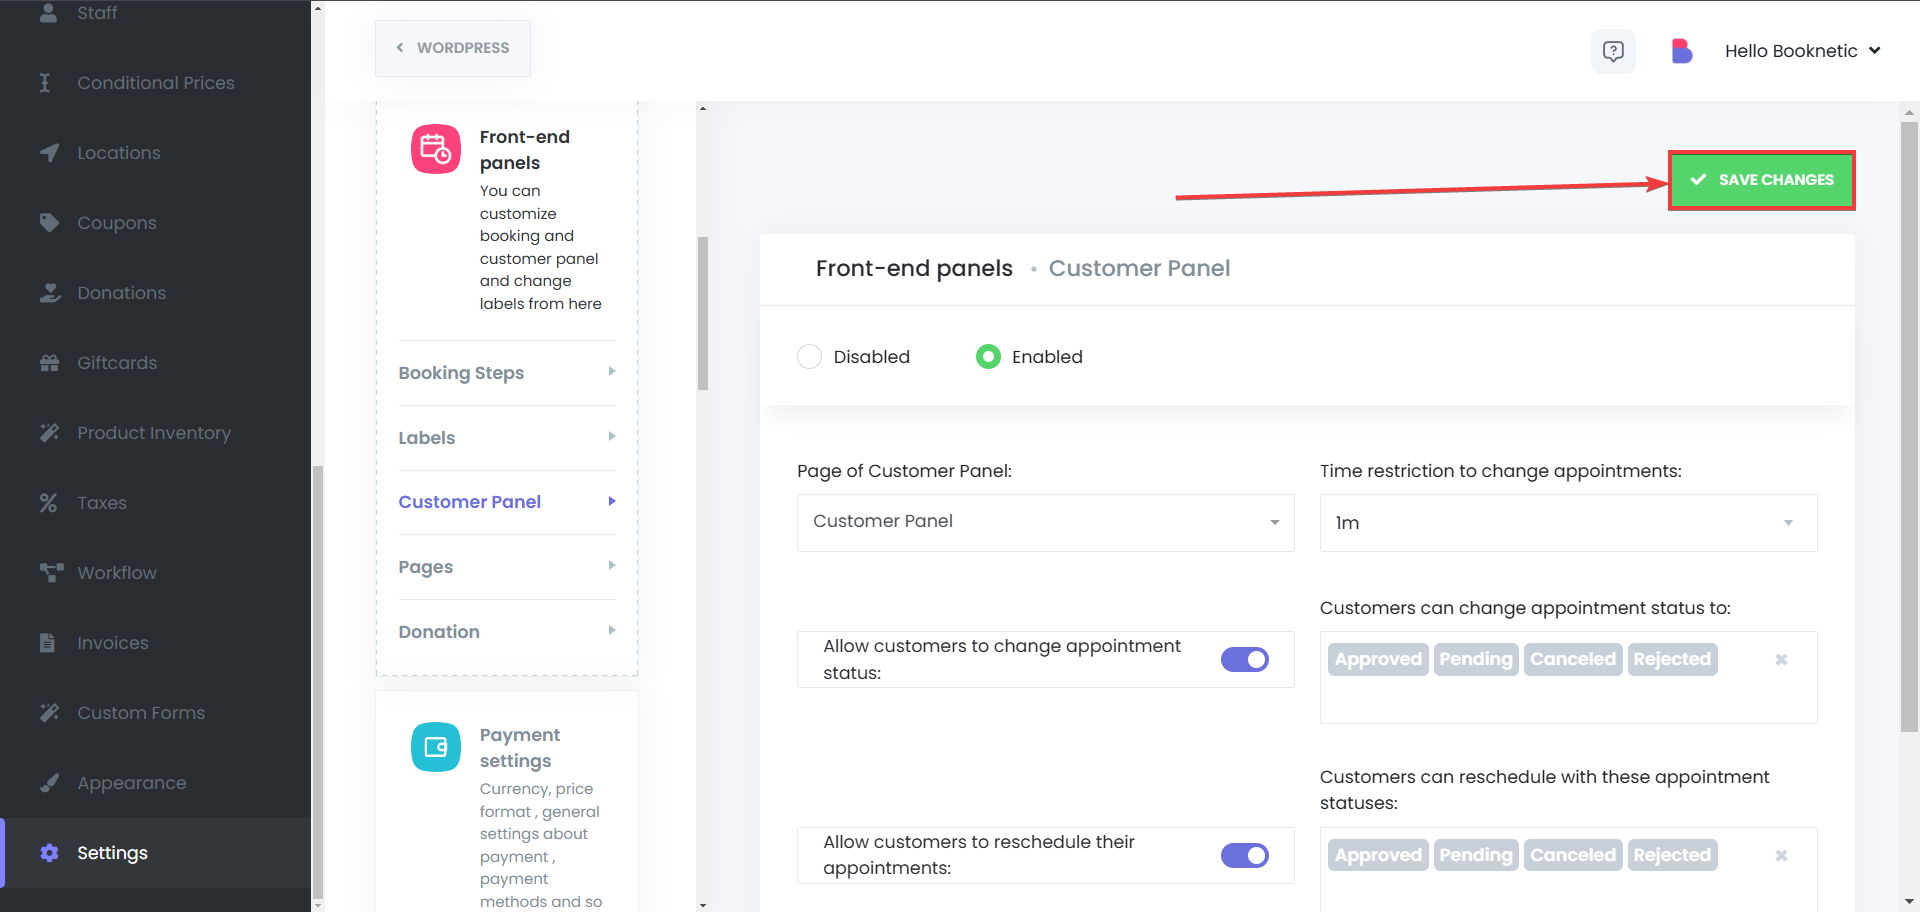
Once the Front-End Customer Panel is enabled, you can customize the permissions customers have over their accounts:
Time restriction to change appointments: Determine the time limit for your customers to change the appointment details from the customer panel until the appointment is started. For example, if you choose 10 minutes, your customers will be able to change their appointment details from the customer panel, until there’s 10 minutes left for the appointment to start
Allow customers to change appointment status: This option determines under which conditions customers can reschedule their appointments by allowing you to specify which appointment statuses are eligible for rescheduling. Customers will only be able to reschedule their appointments if their current appointment status matches one of the selected statuses. Example: If you enable rescheduling only for appointments with the "Pending" status, customers will only be able to reschedule when their appointment is currently Pending. If the status is "Confirmed" or any other status, rescheduling will not be allowed.
Allow customers to reschedule their appointments: This setting allows you to define a time limit for customers to modify their appointment details before the appointment starts. When enabled, customers can only reschedule their appointments up to a specified time before the appointment begins. If you set the time limit to 10 minutes, customers will be able to reschedule their appointments until there are 10 minutes left before the scheduled start time. Once this window has passed, rescheduling will no longer be possible.
Allow customers to delete their account: This option allows your customers to be able to delete their customer account through the customer panel. If a customer deletes their account, you will not be able to book any more sessions with that account, but their previous appointments will be kept in the system, untouched. After the customer deletes their account, they can also register using the same email again.
Hide the "Pay now" button on the Customer Panel: This option enables or disables your customers to pay the remaining due amount of their deposit appointment. If disabled, customers will see the "Pay Now" button for unpaid appointments and can complete their payments online. If enabled, customers will not have the option to pay via the customer panel and must complete payments through other provided methods.

To ensure customers can access their panel, they can either have an account created upon booking, or register themselves.
Enable Auto-Creation of WordPress Users
1.1 Automate Login Credentials via Workflow


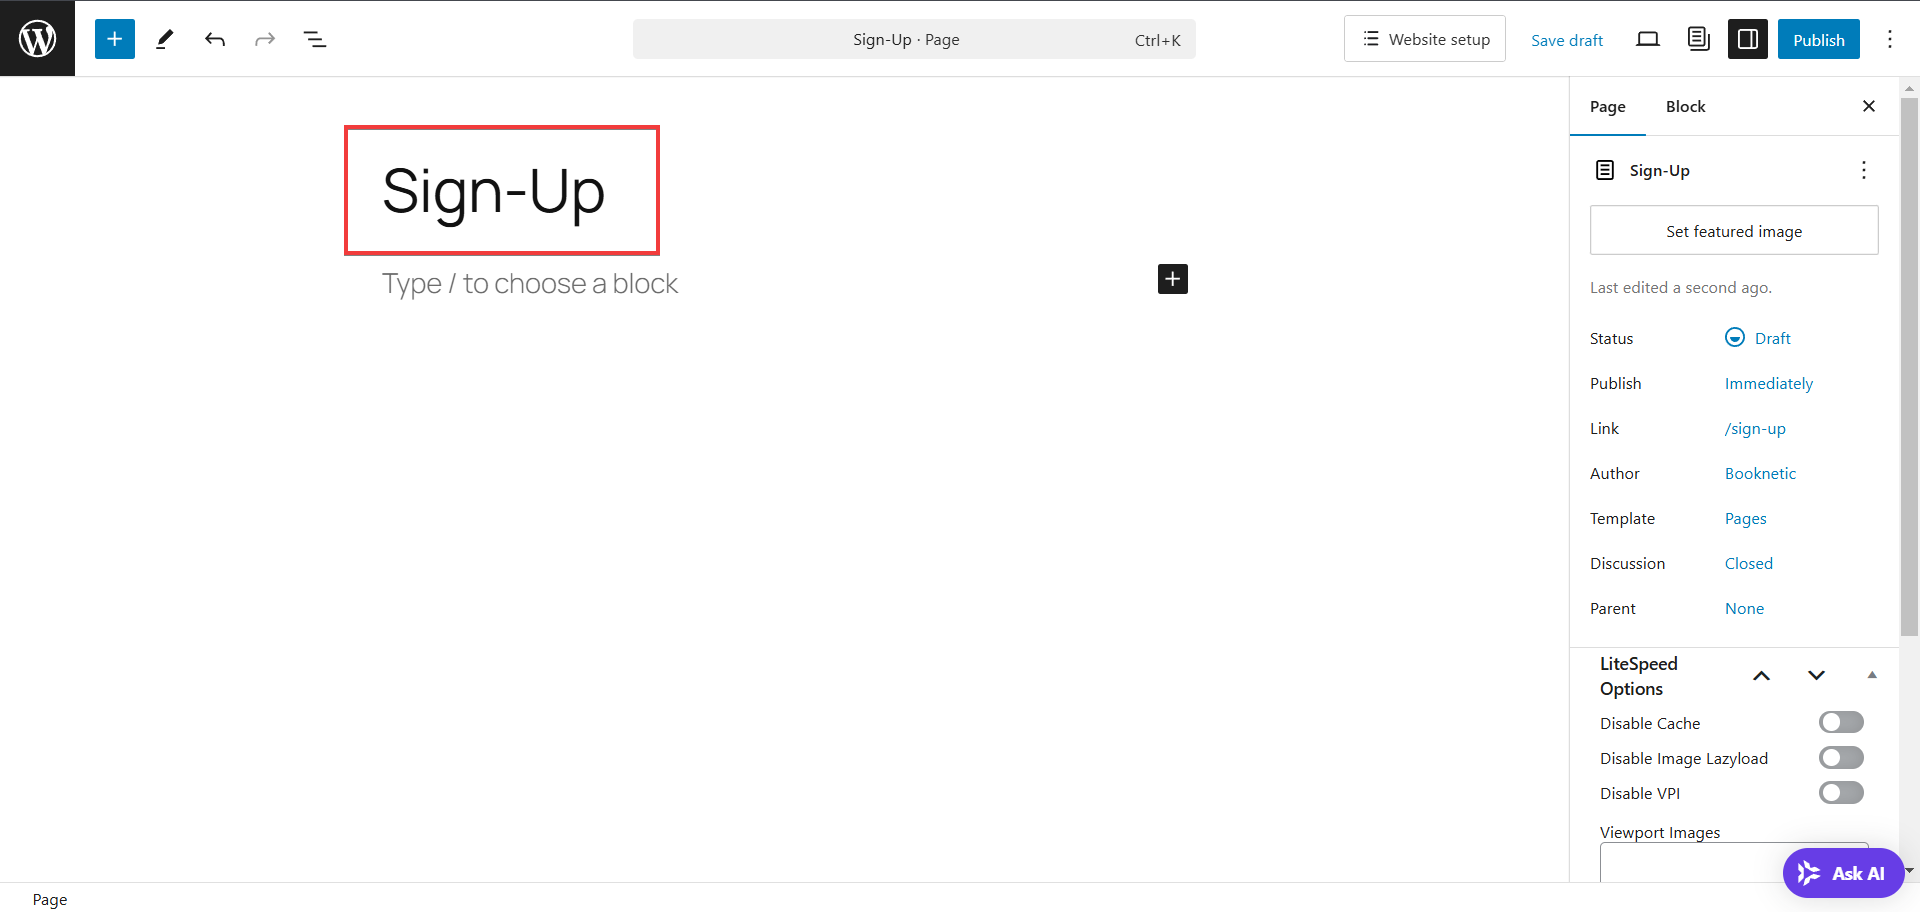
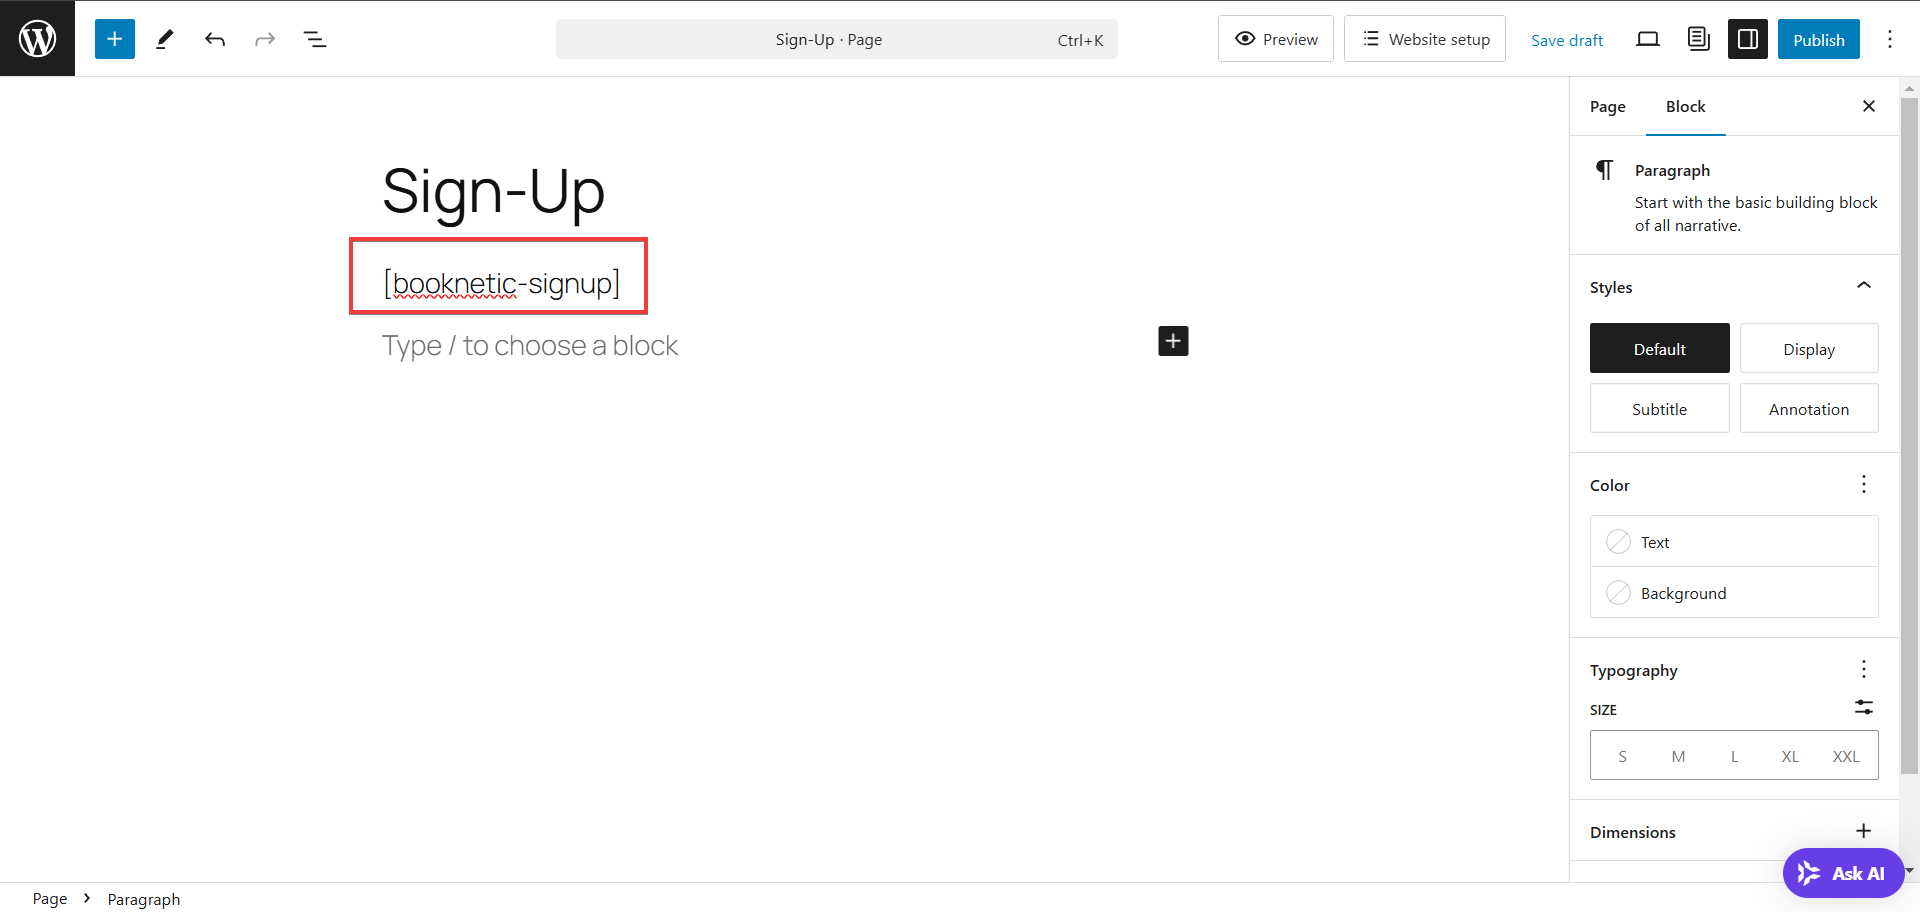
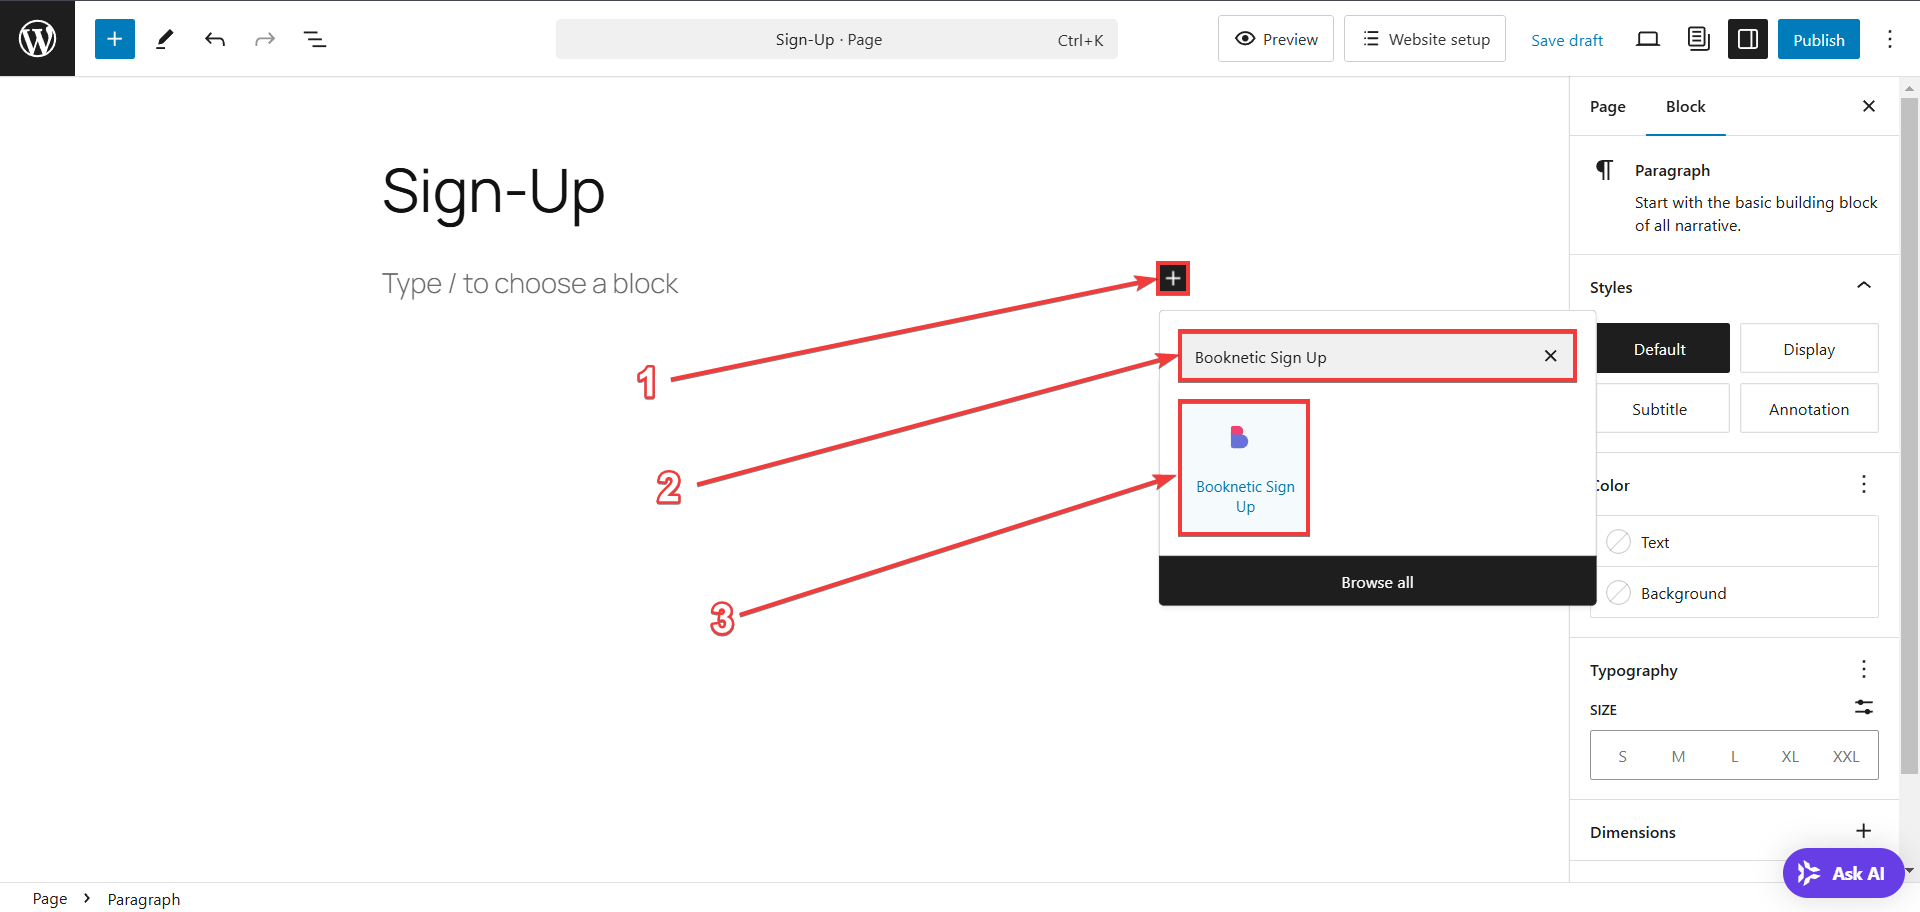
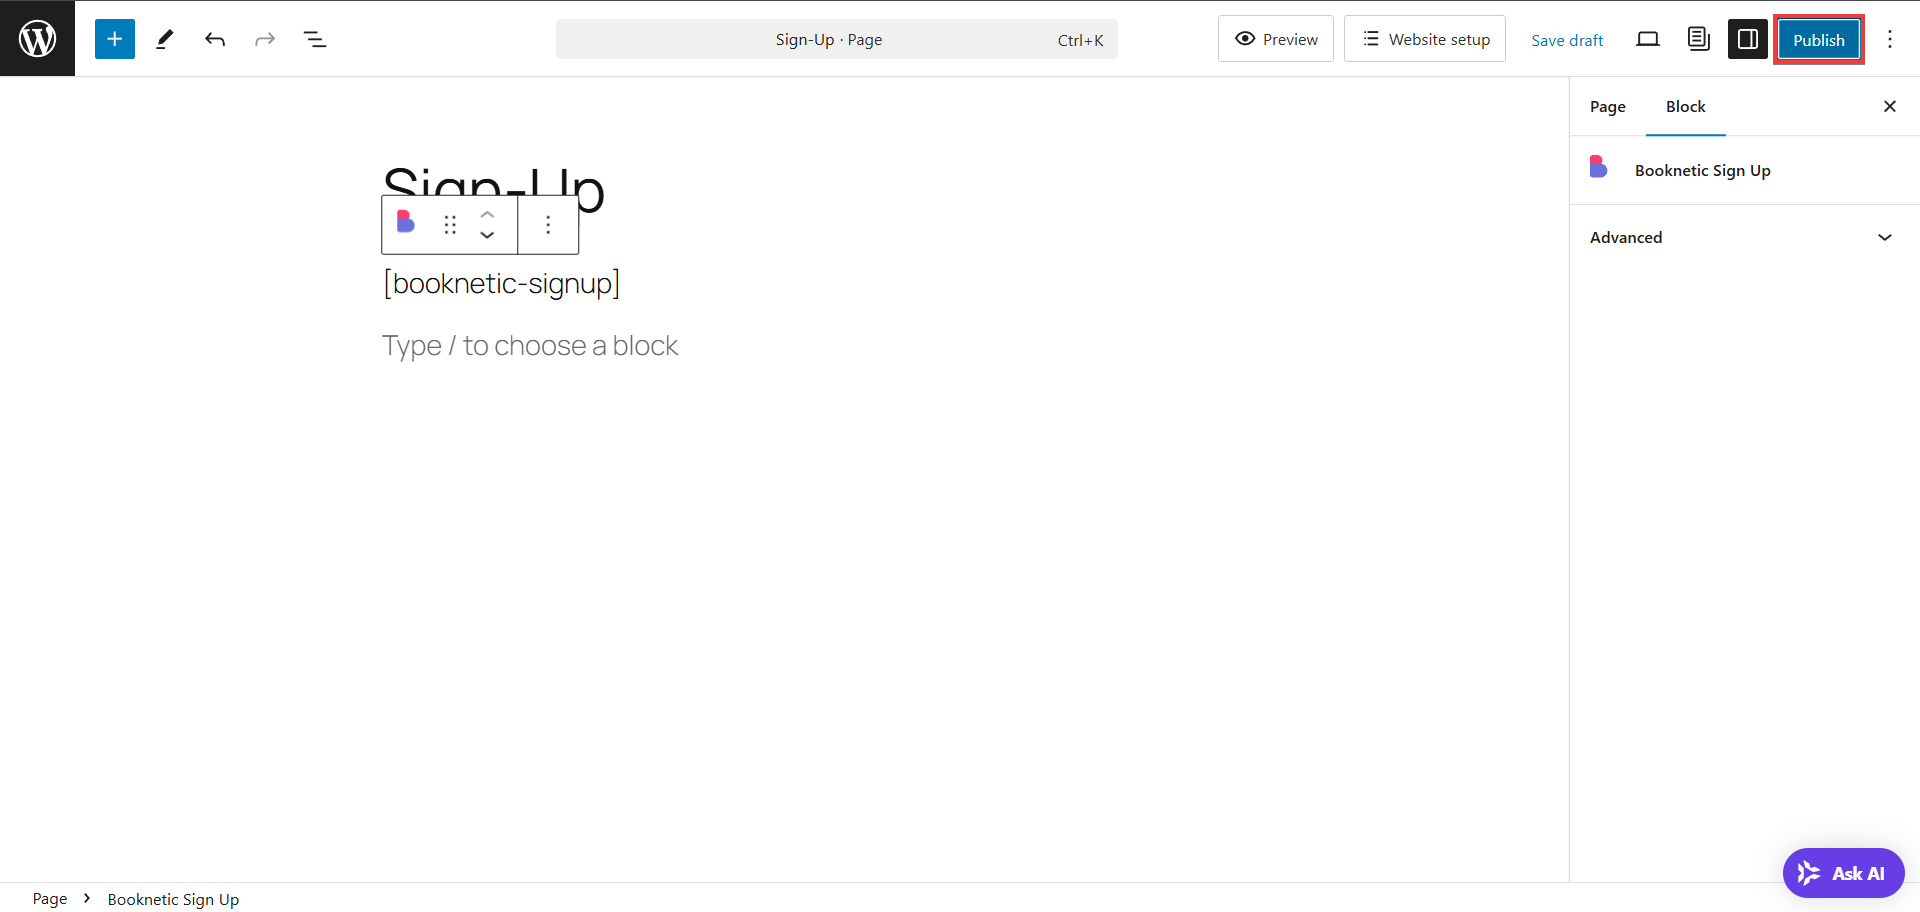
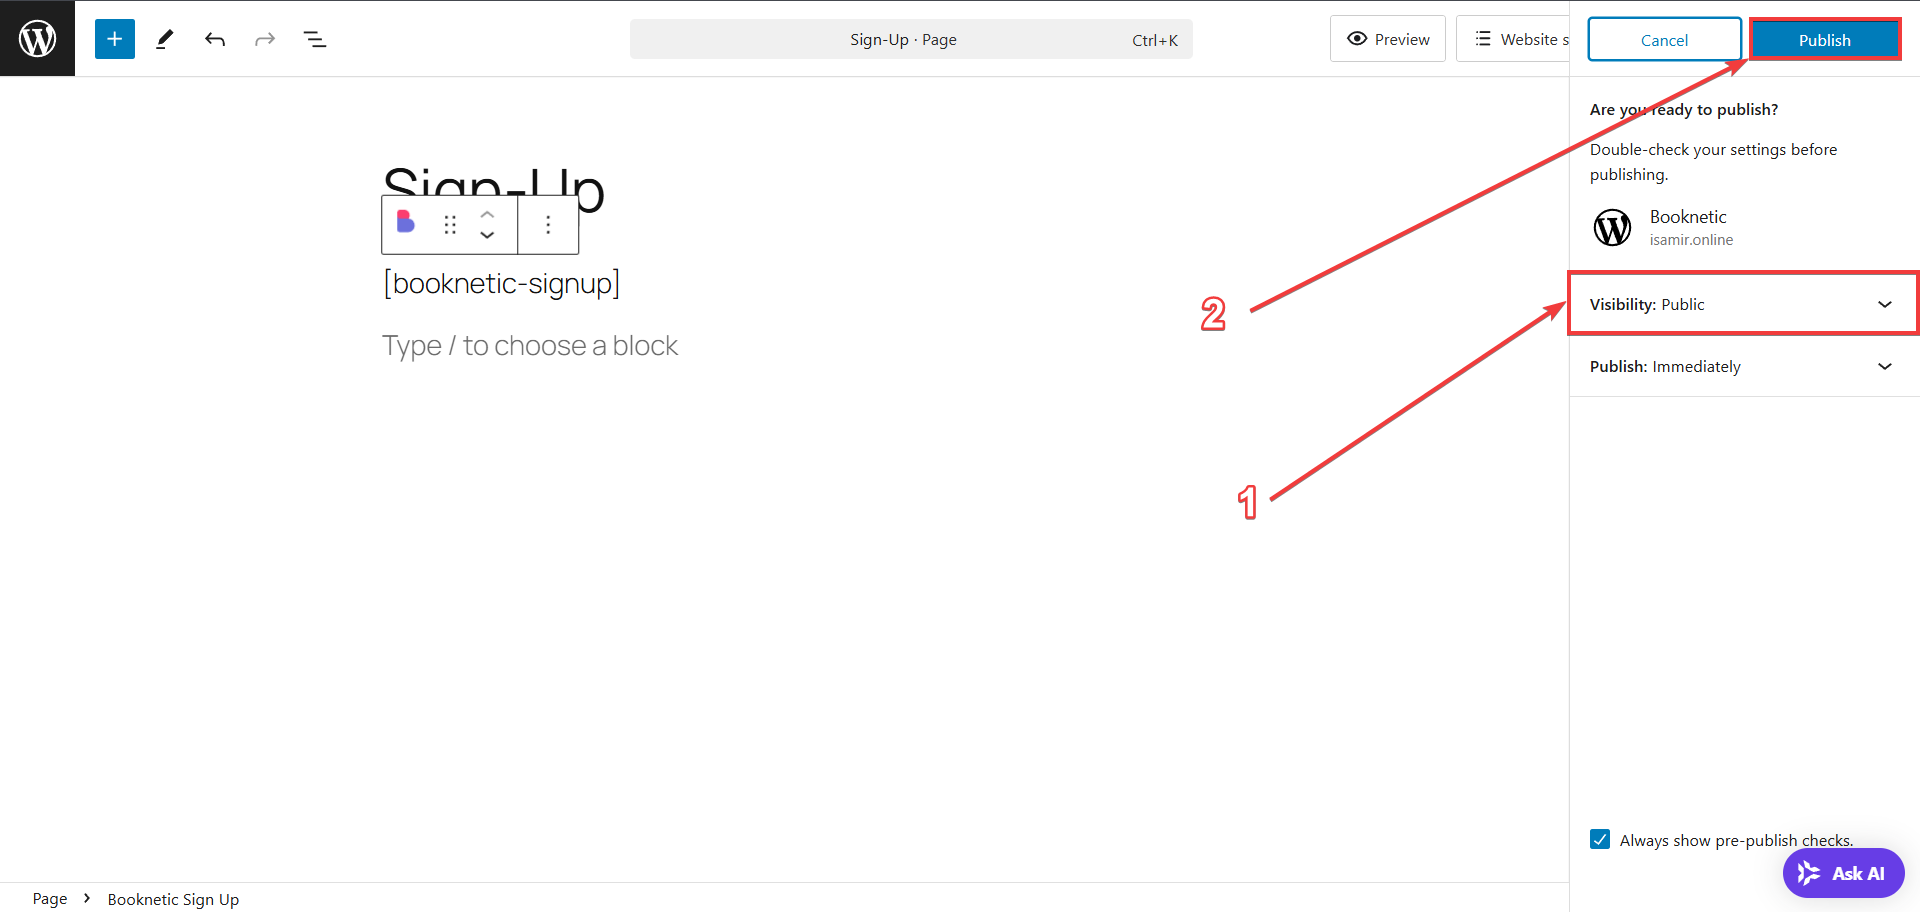
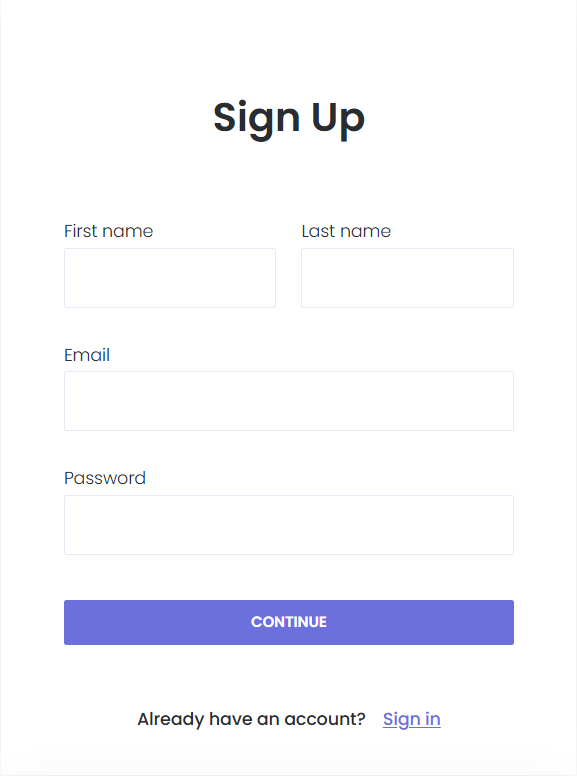
2.1 Share the sign-up page with your customers
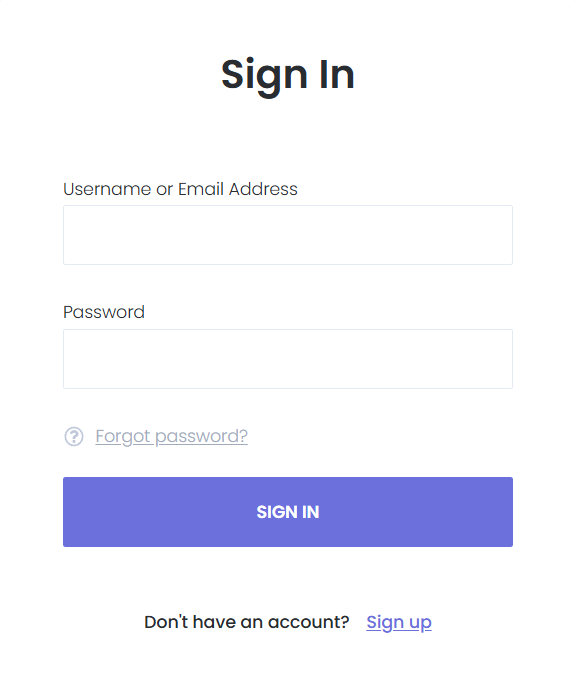
After your customers use the panel to sign-up, then they will be able to log in using the account they have created, by using the sign-in panel.
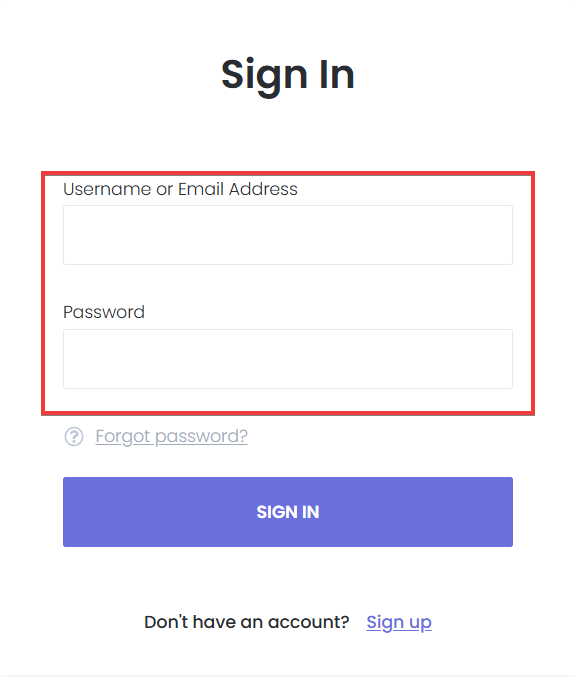
Logging In

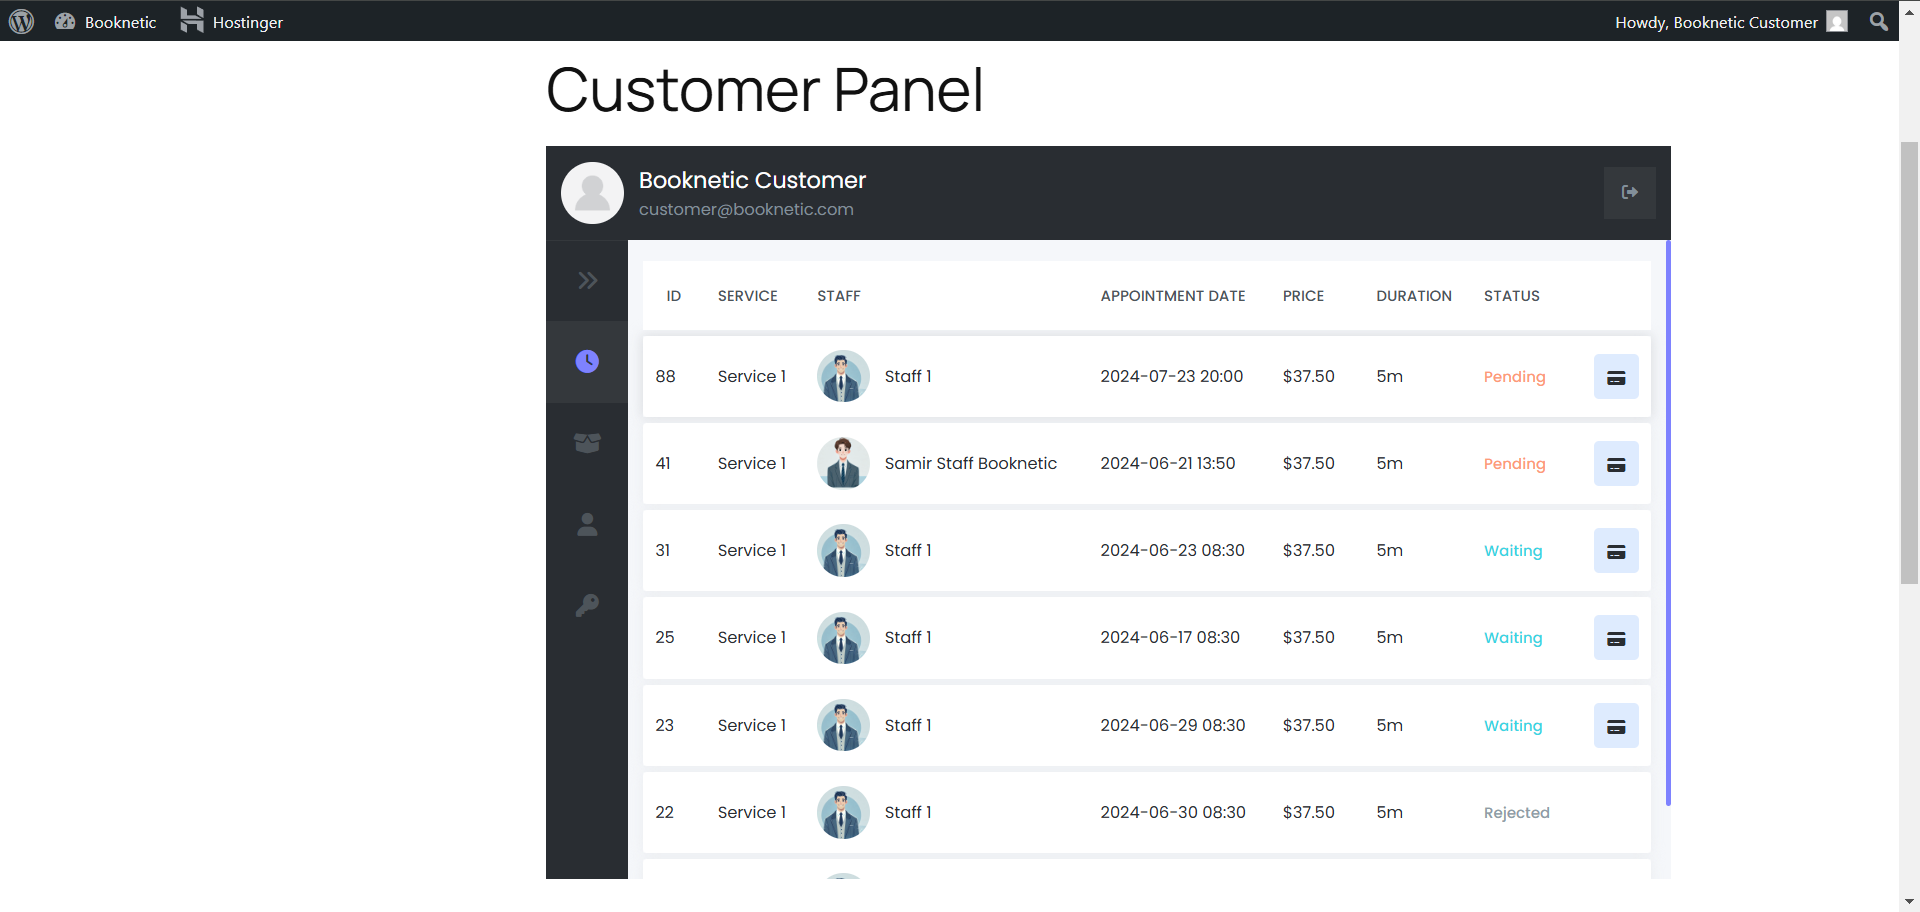
Managing Appointments
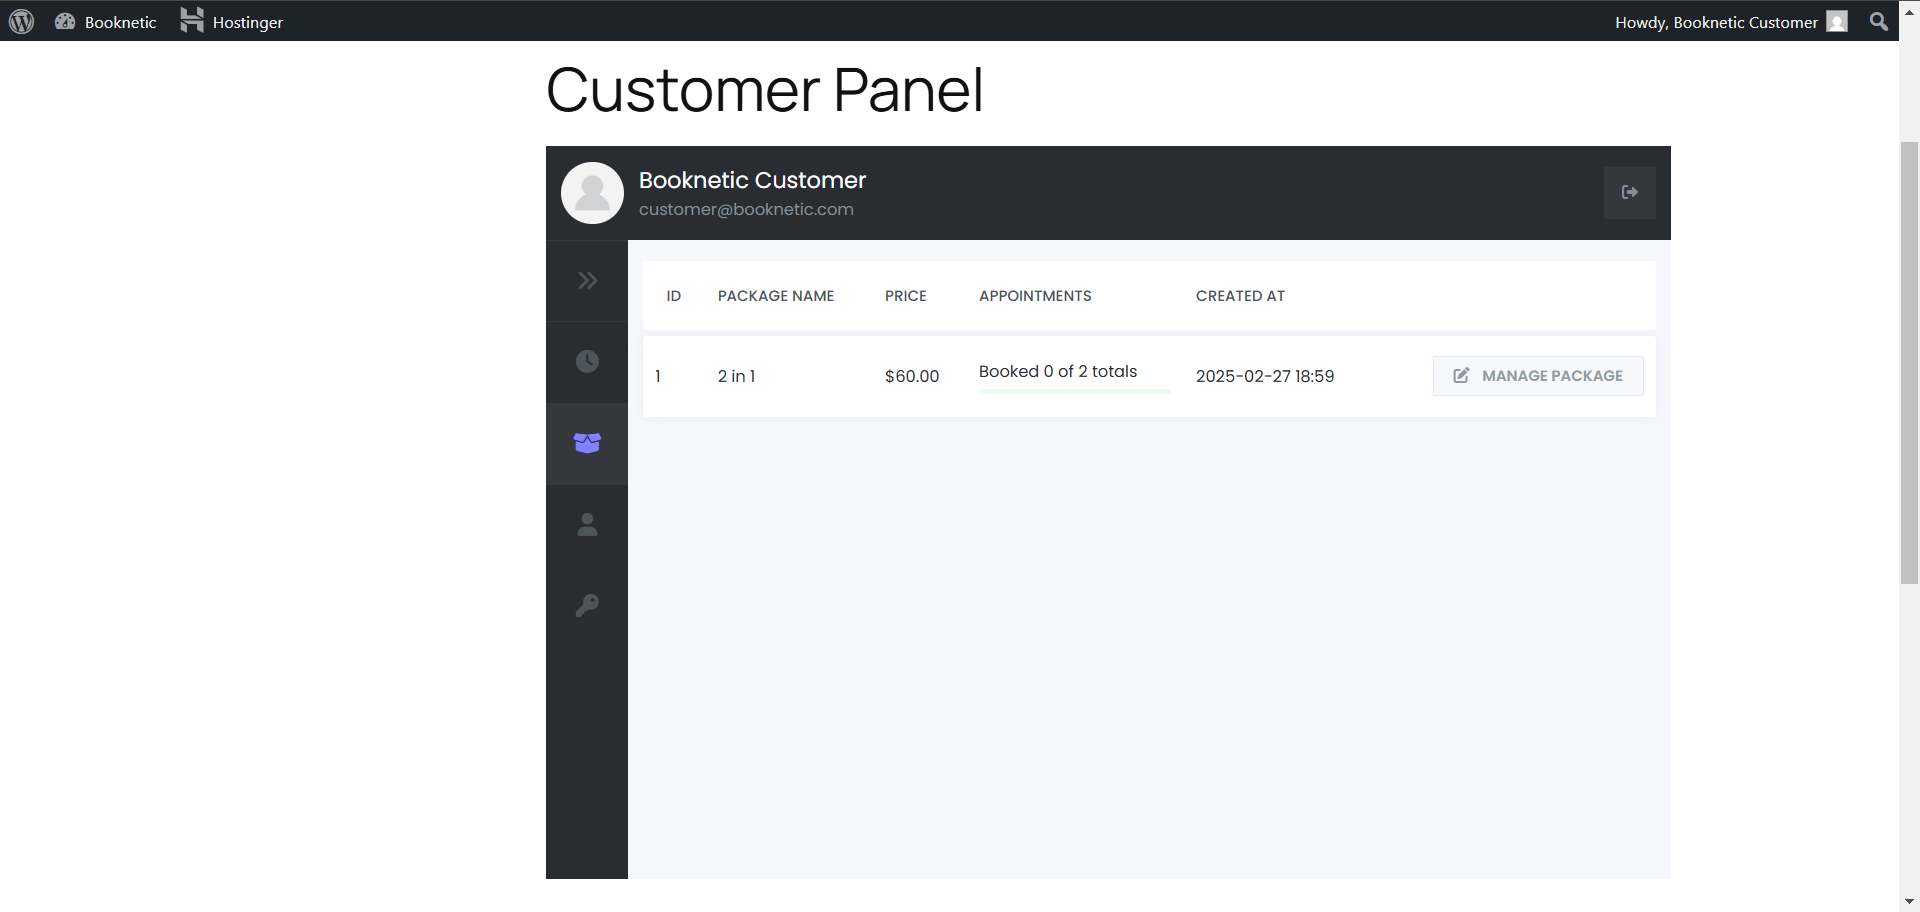
Managing Packages
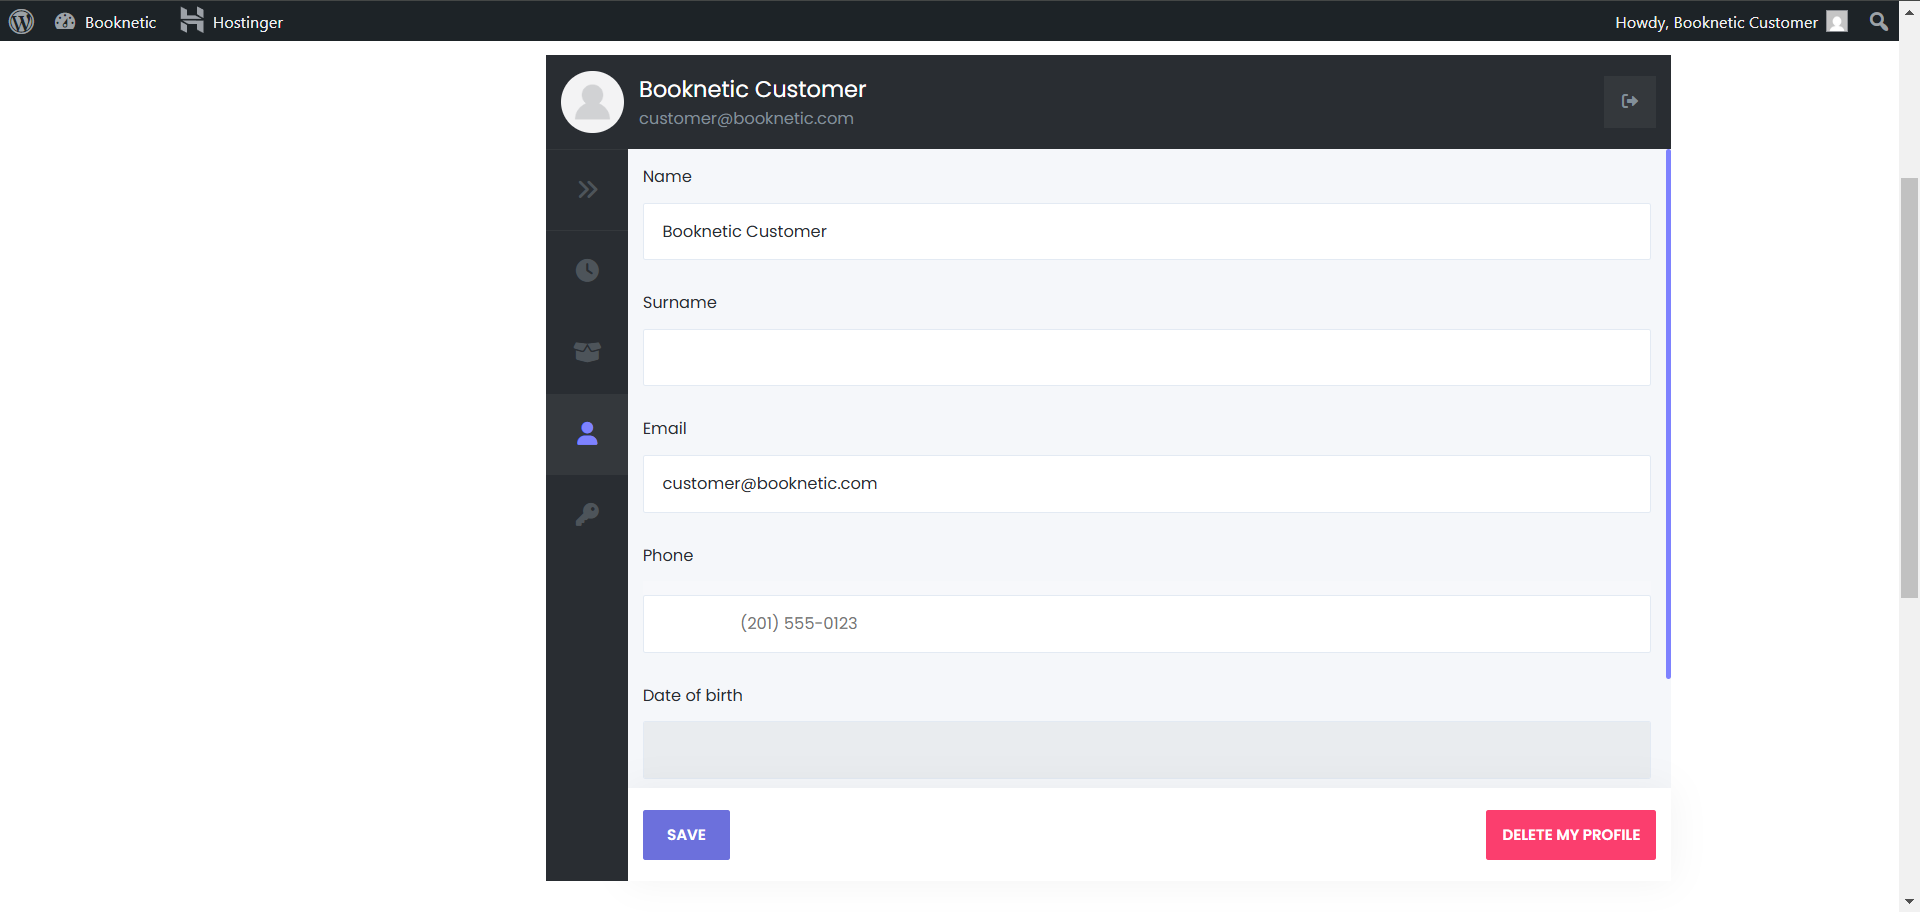
Updating Profiles
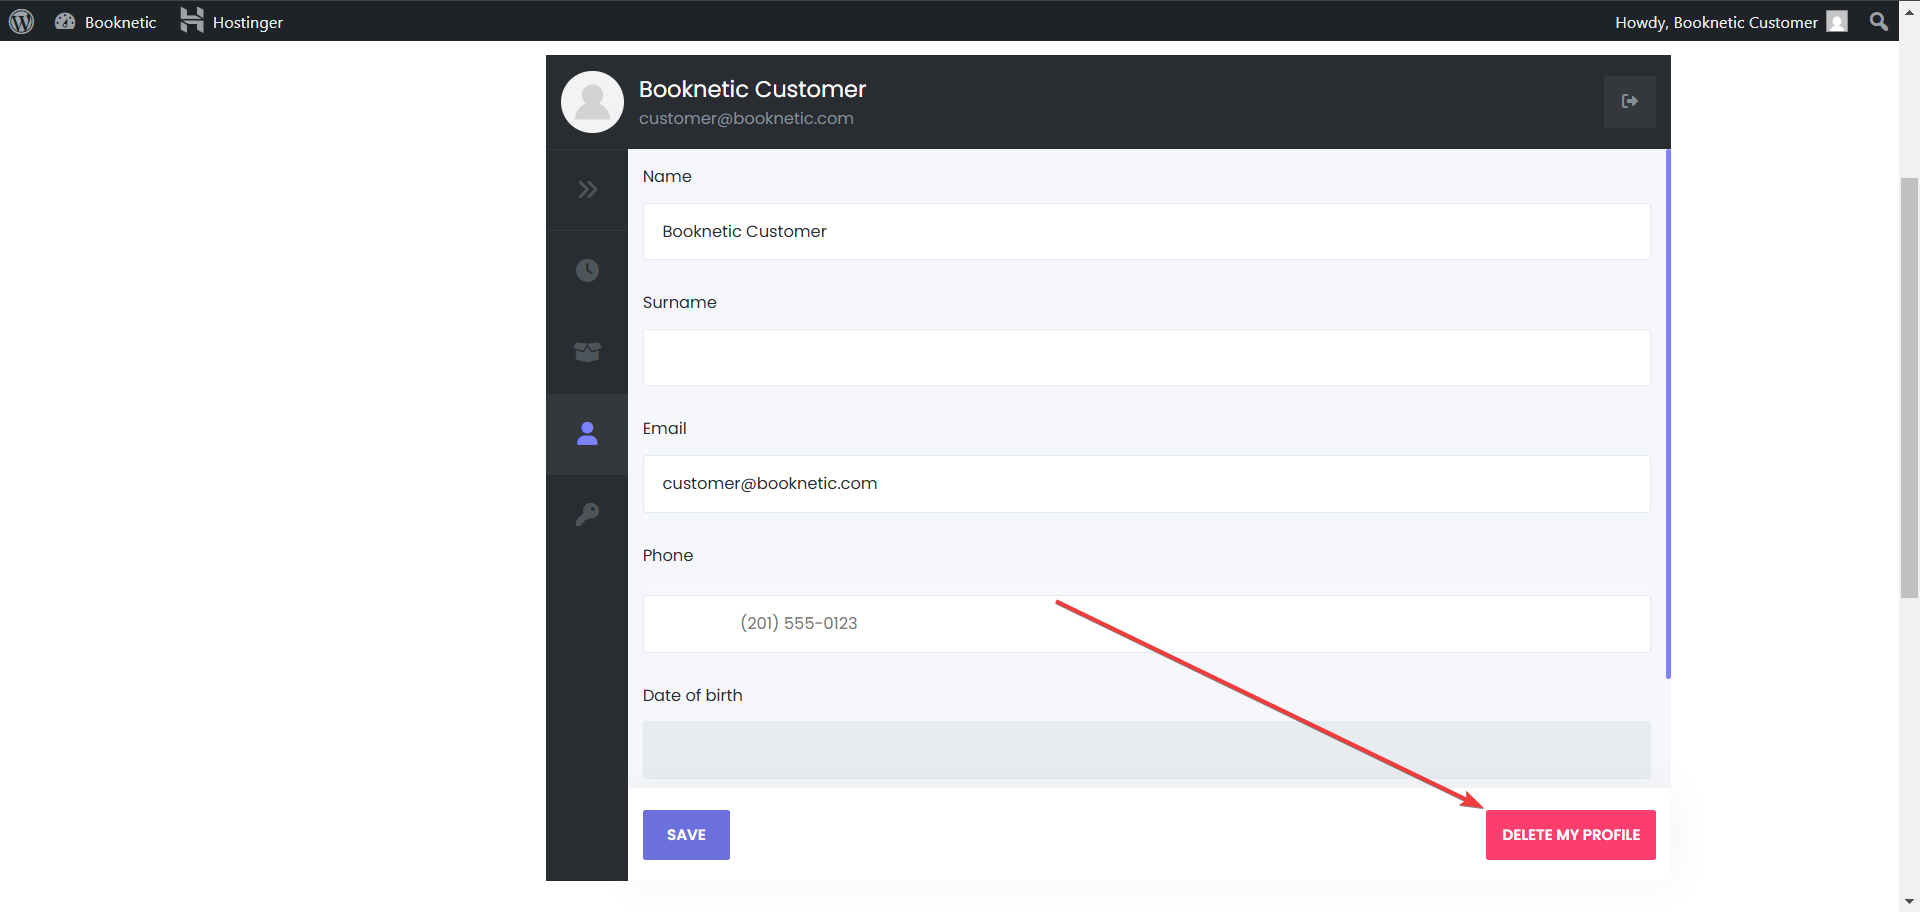
Deleting an Account
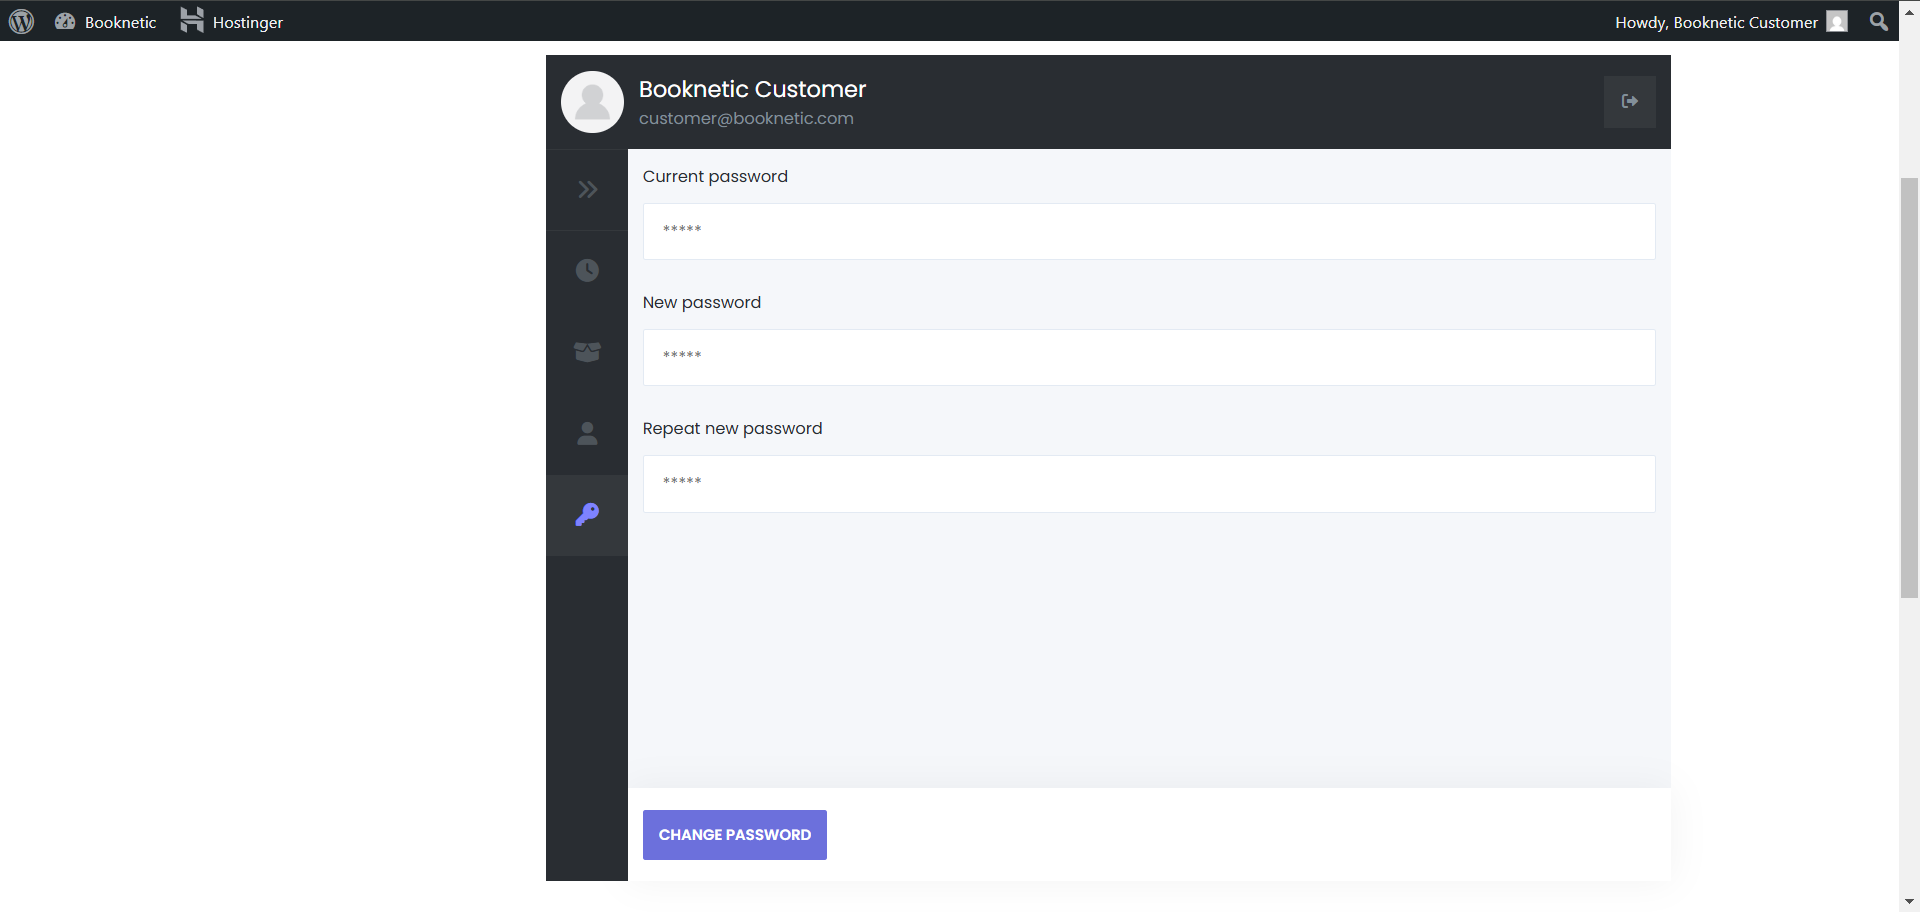
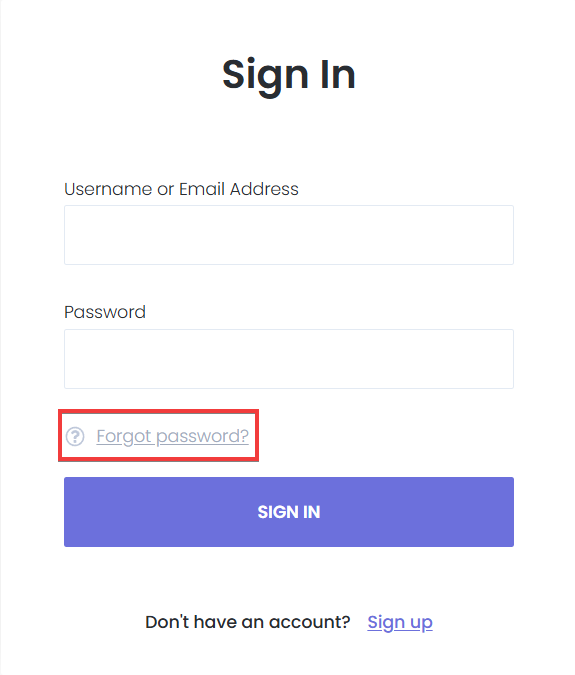
Resetting password