The Zapier Integration add-on for Booknetic enables seamless connectivity between Booknetic and over 3,000 applications supported by Zapier. Using Zapier’s automation capabilities, you can effortlessly automate routine tasks triggered by booking events, improving productivity and workflow efficiency.
This documentation will guide you through setting up Zapier Integration with Booknetic and using Webhooks effectively.
Overview
Zapier connects Booknetic with thousands of third-party applications (e.g., Google Sheets, Mailchimp, Slack) using triggers and actions. With Booknetic’s integration, you can send booking information to other apps automatically whenever certain events occur (e.g., new booking, booking rescheduled, booking status changed, etc.).
Step-by-Step Integration Guide
Step 1: Log into Zapier
-
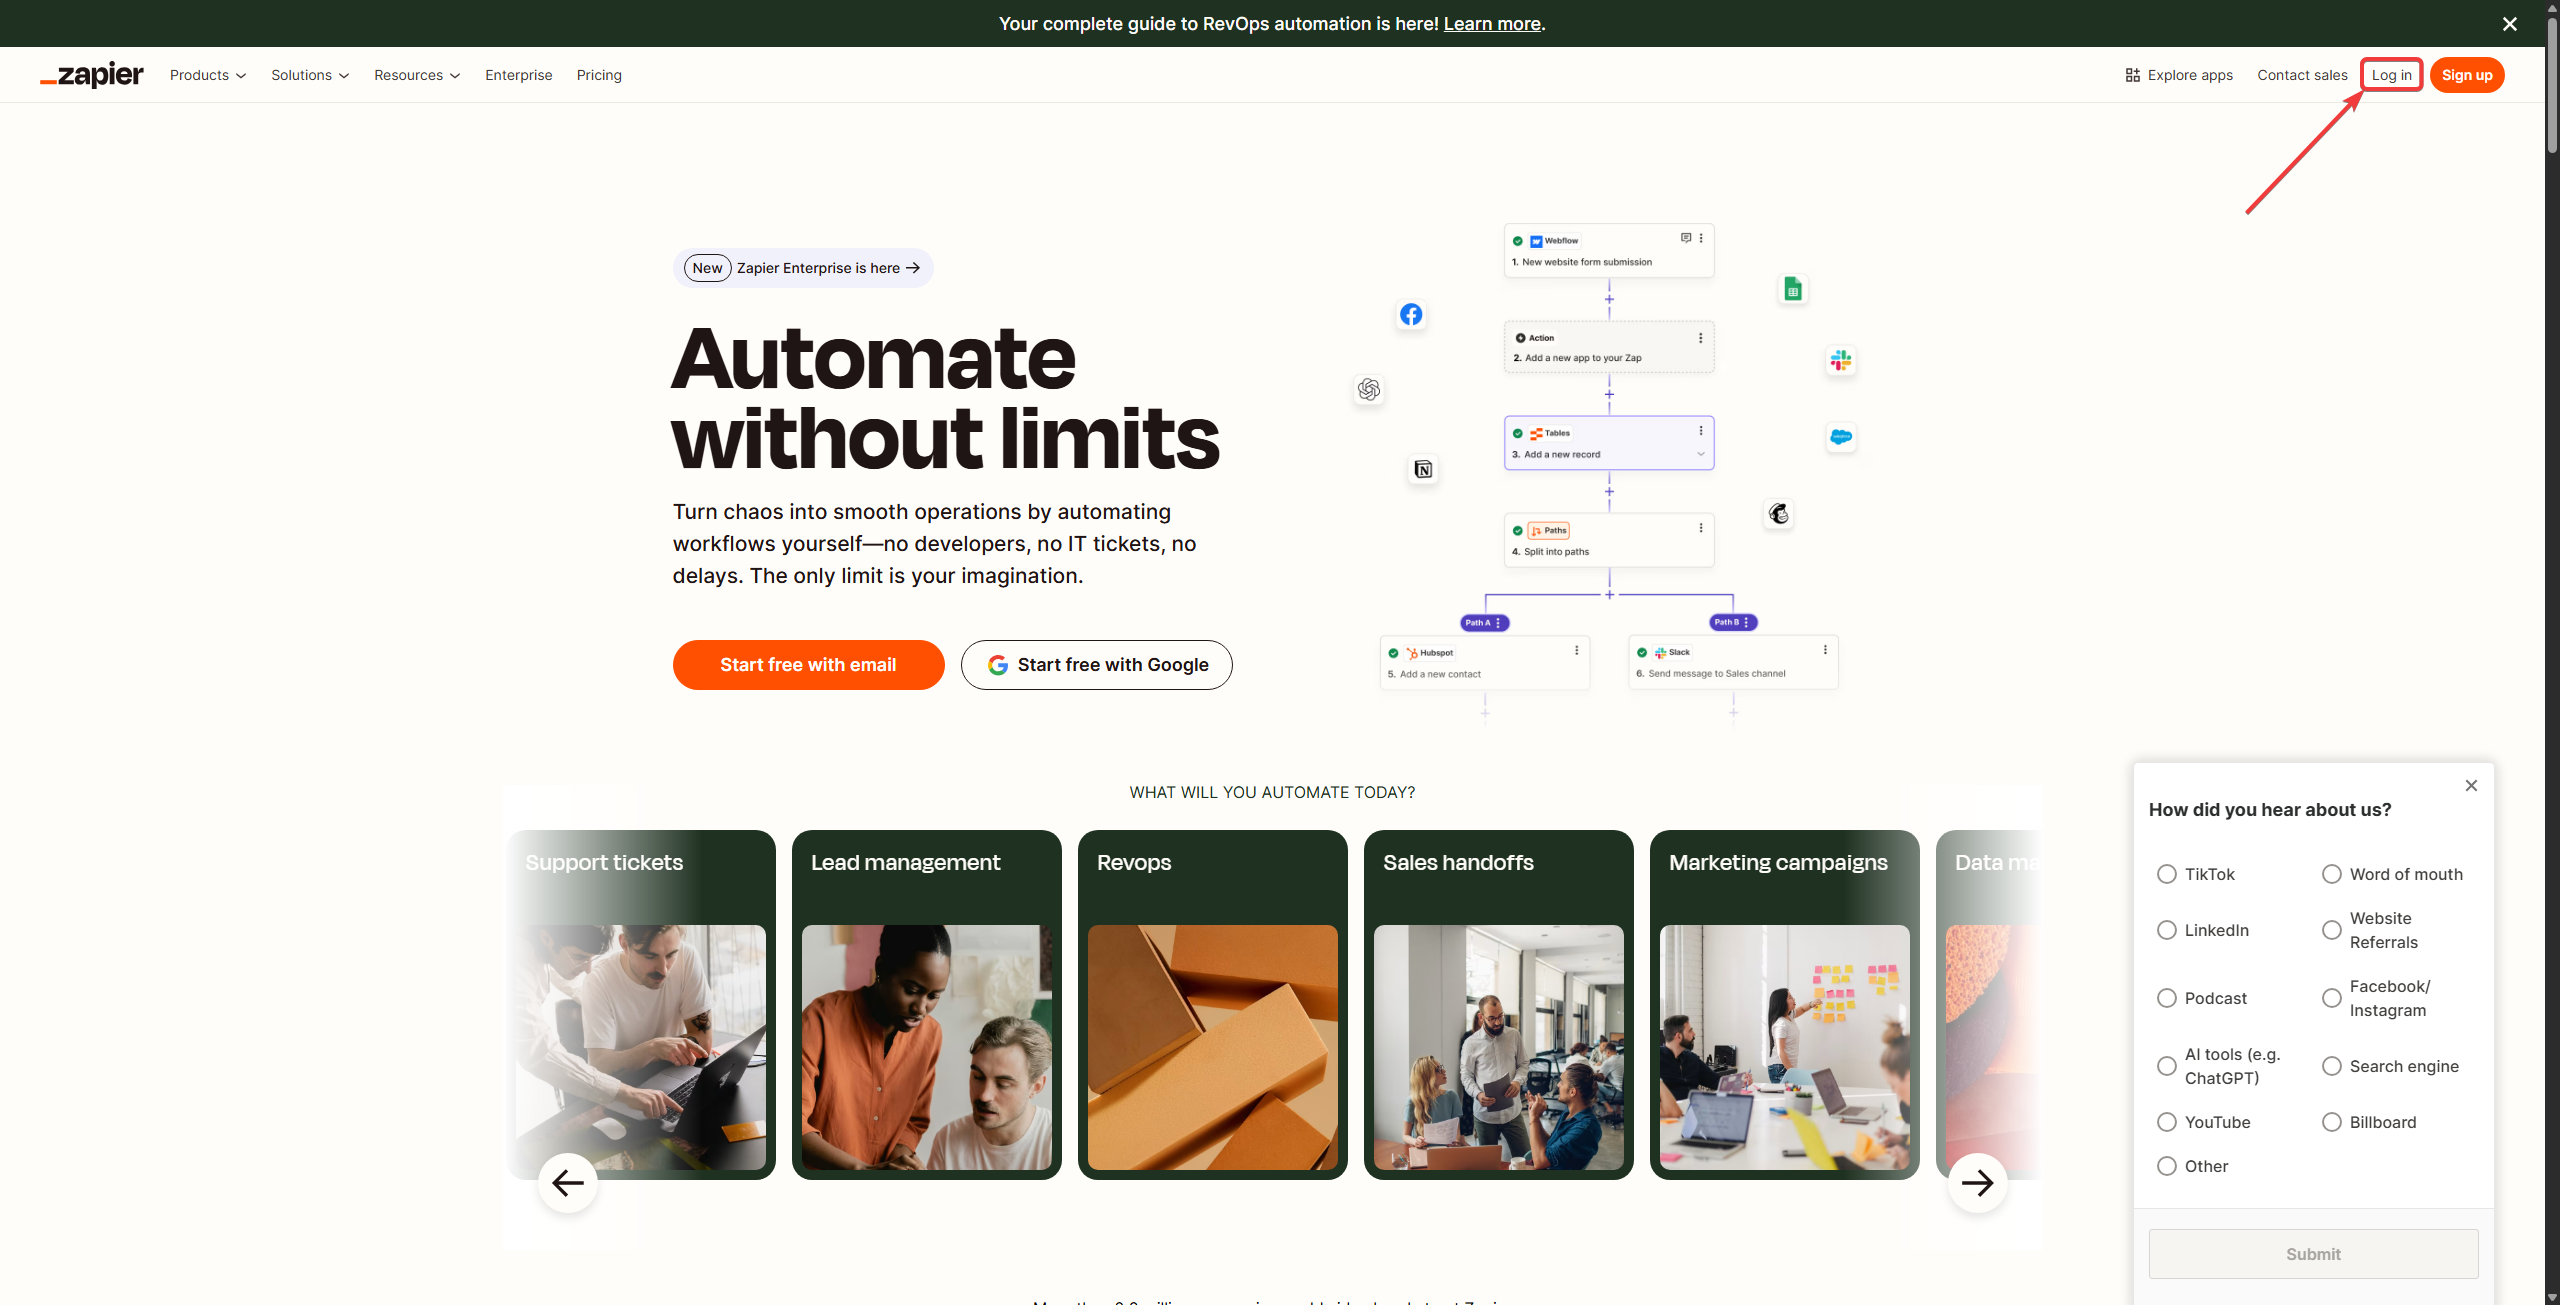
Sign in to Zapier:
- Go to Zapier and log into your account.
-
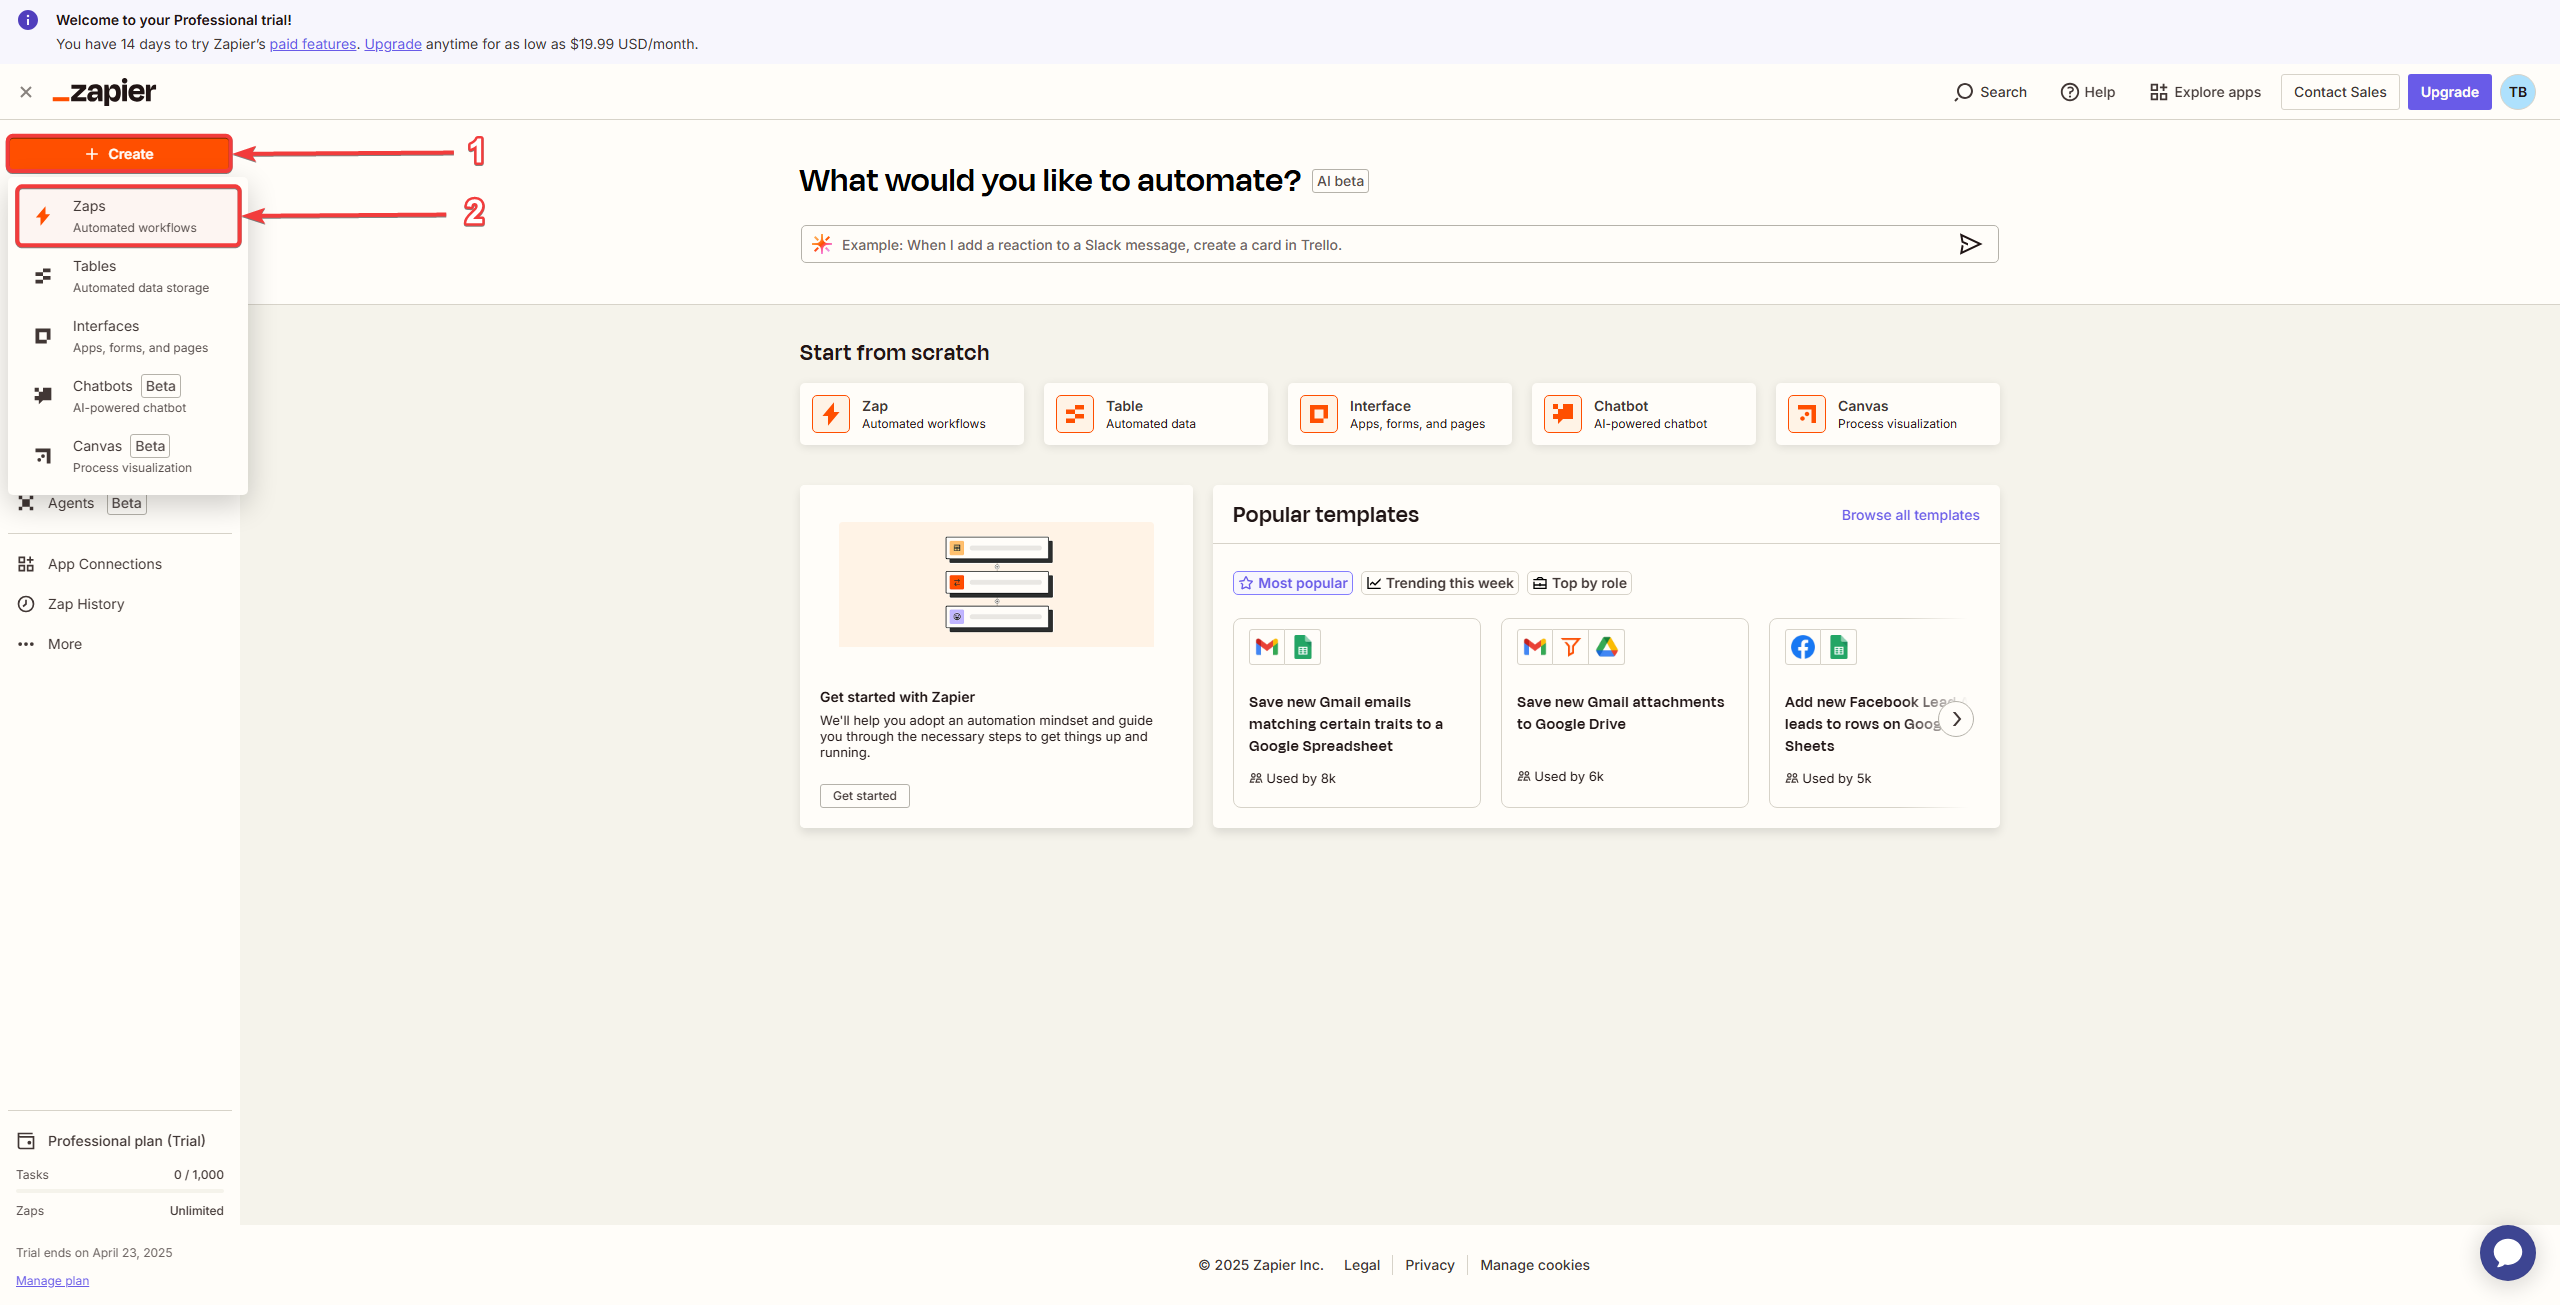
Create a New Zap:
- From your dashboard, click “Create”, and then click on the ”Zap” button.
Step 2: Setting Up the Trigger in Zapier
-
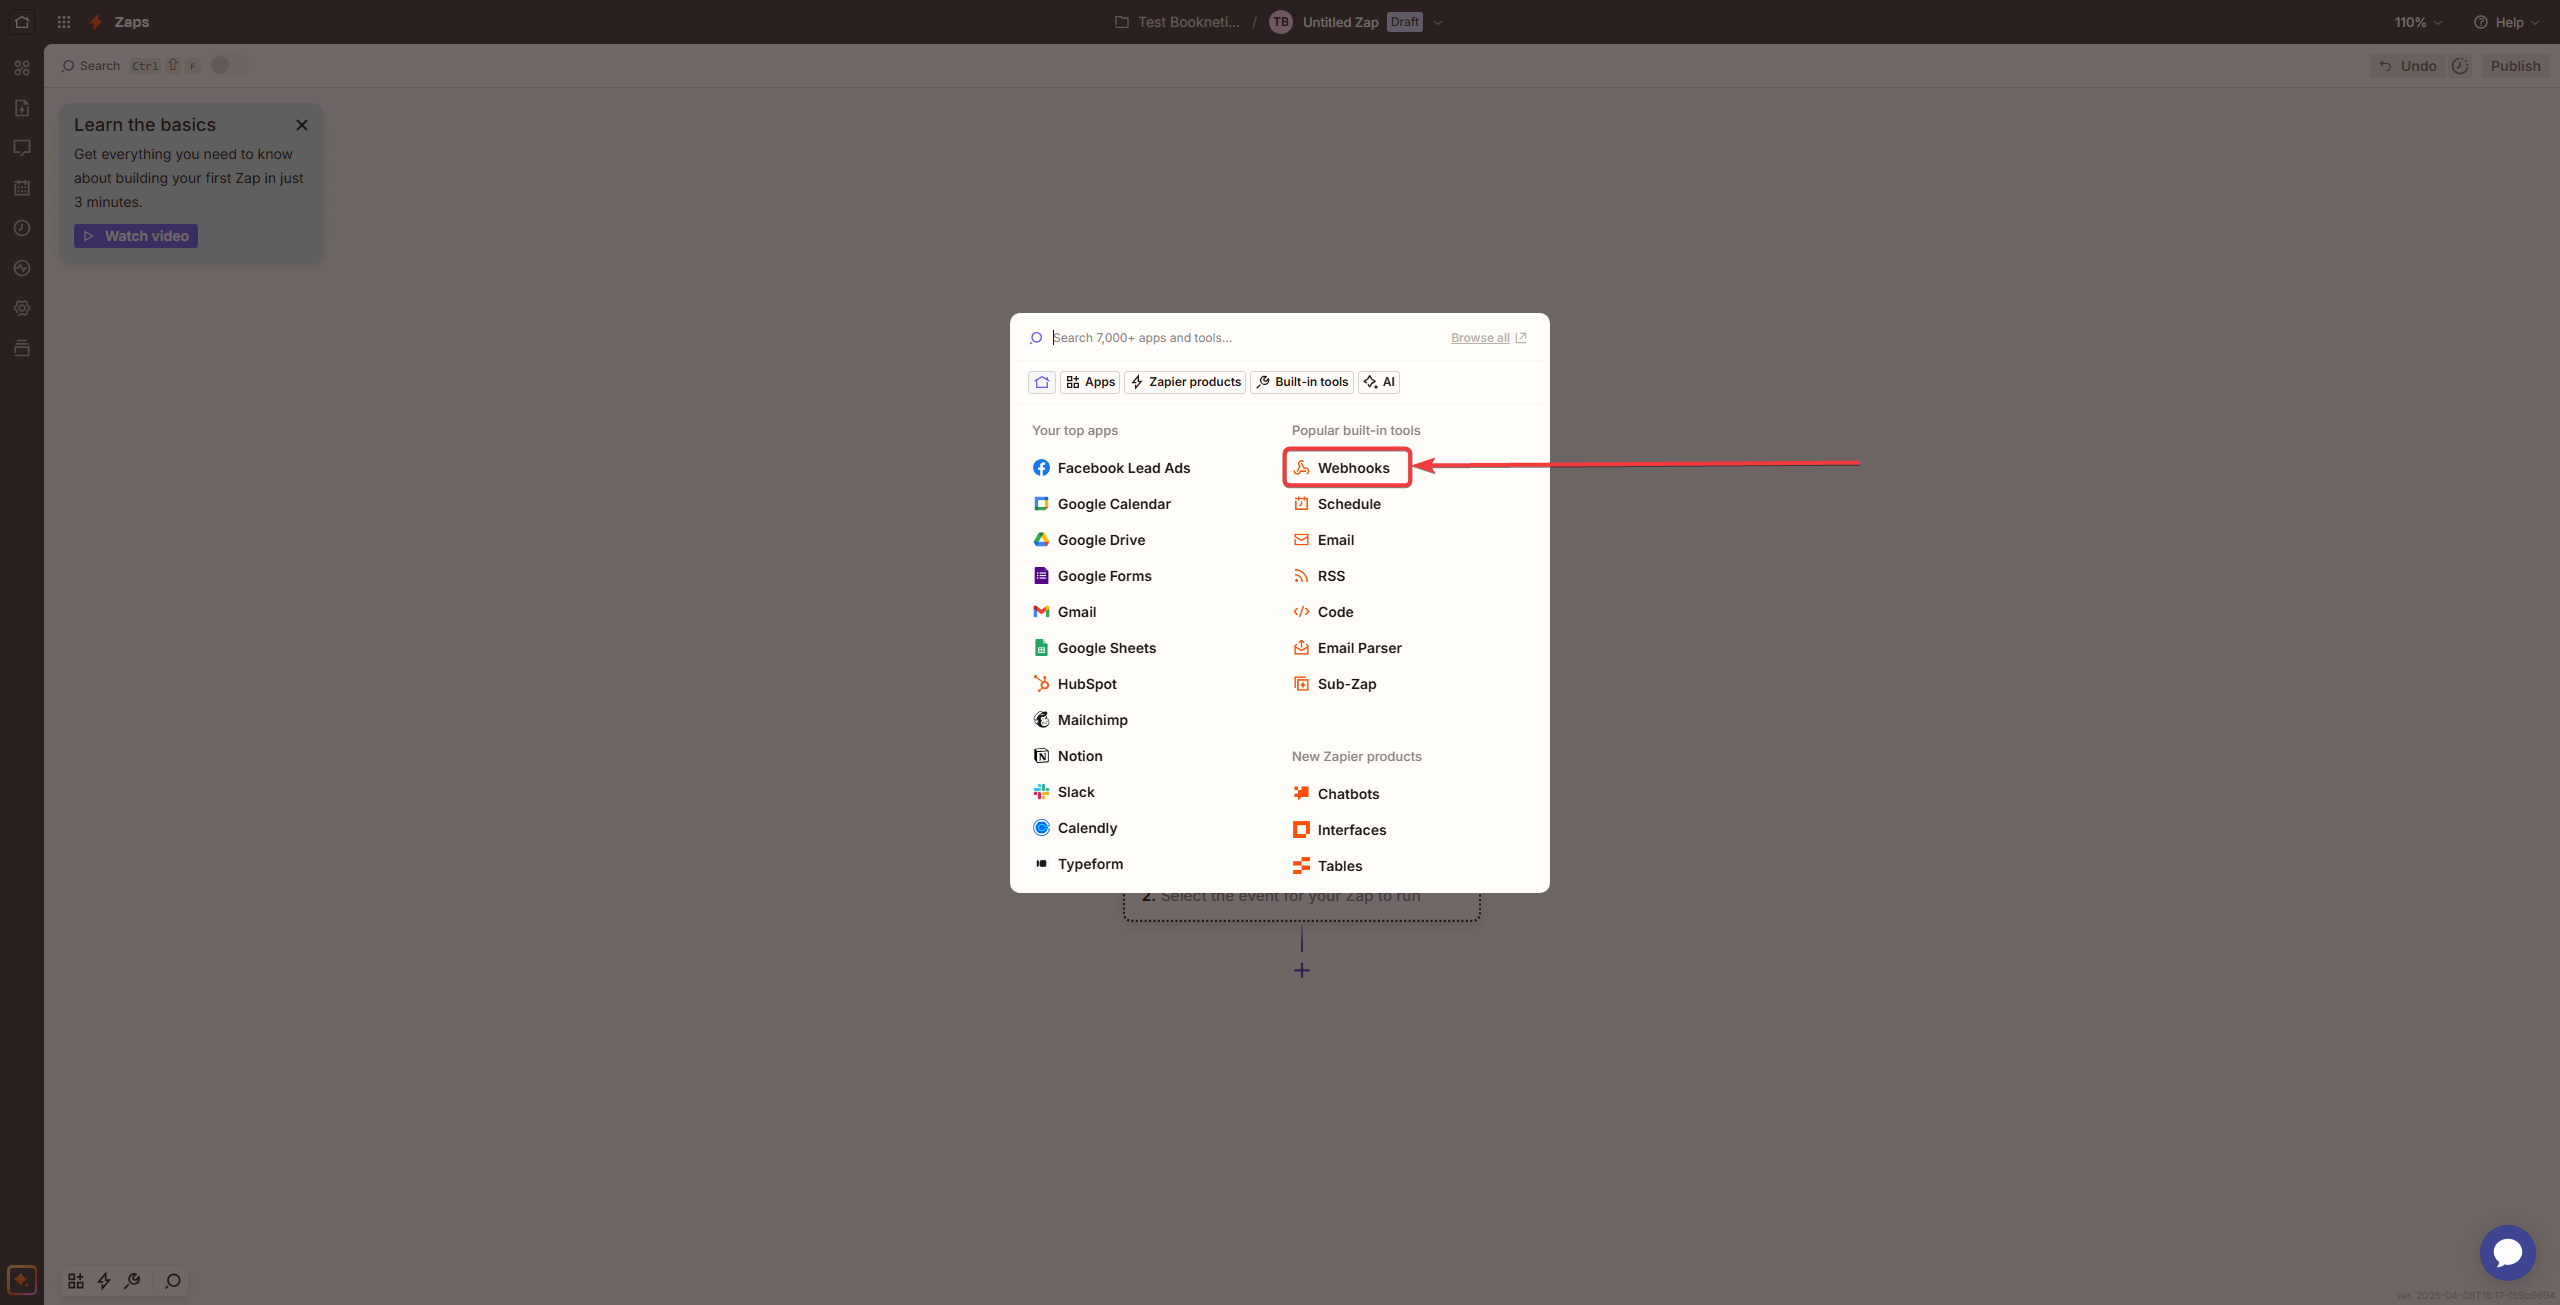
Select Webhooks:
- Click on the Trigger button
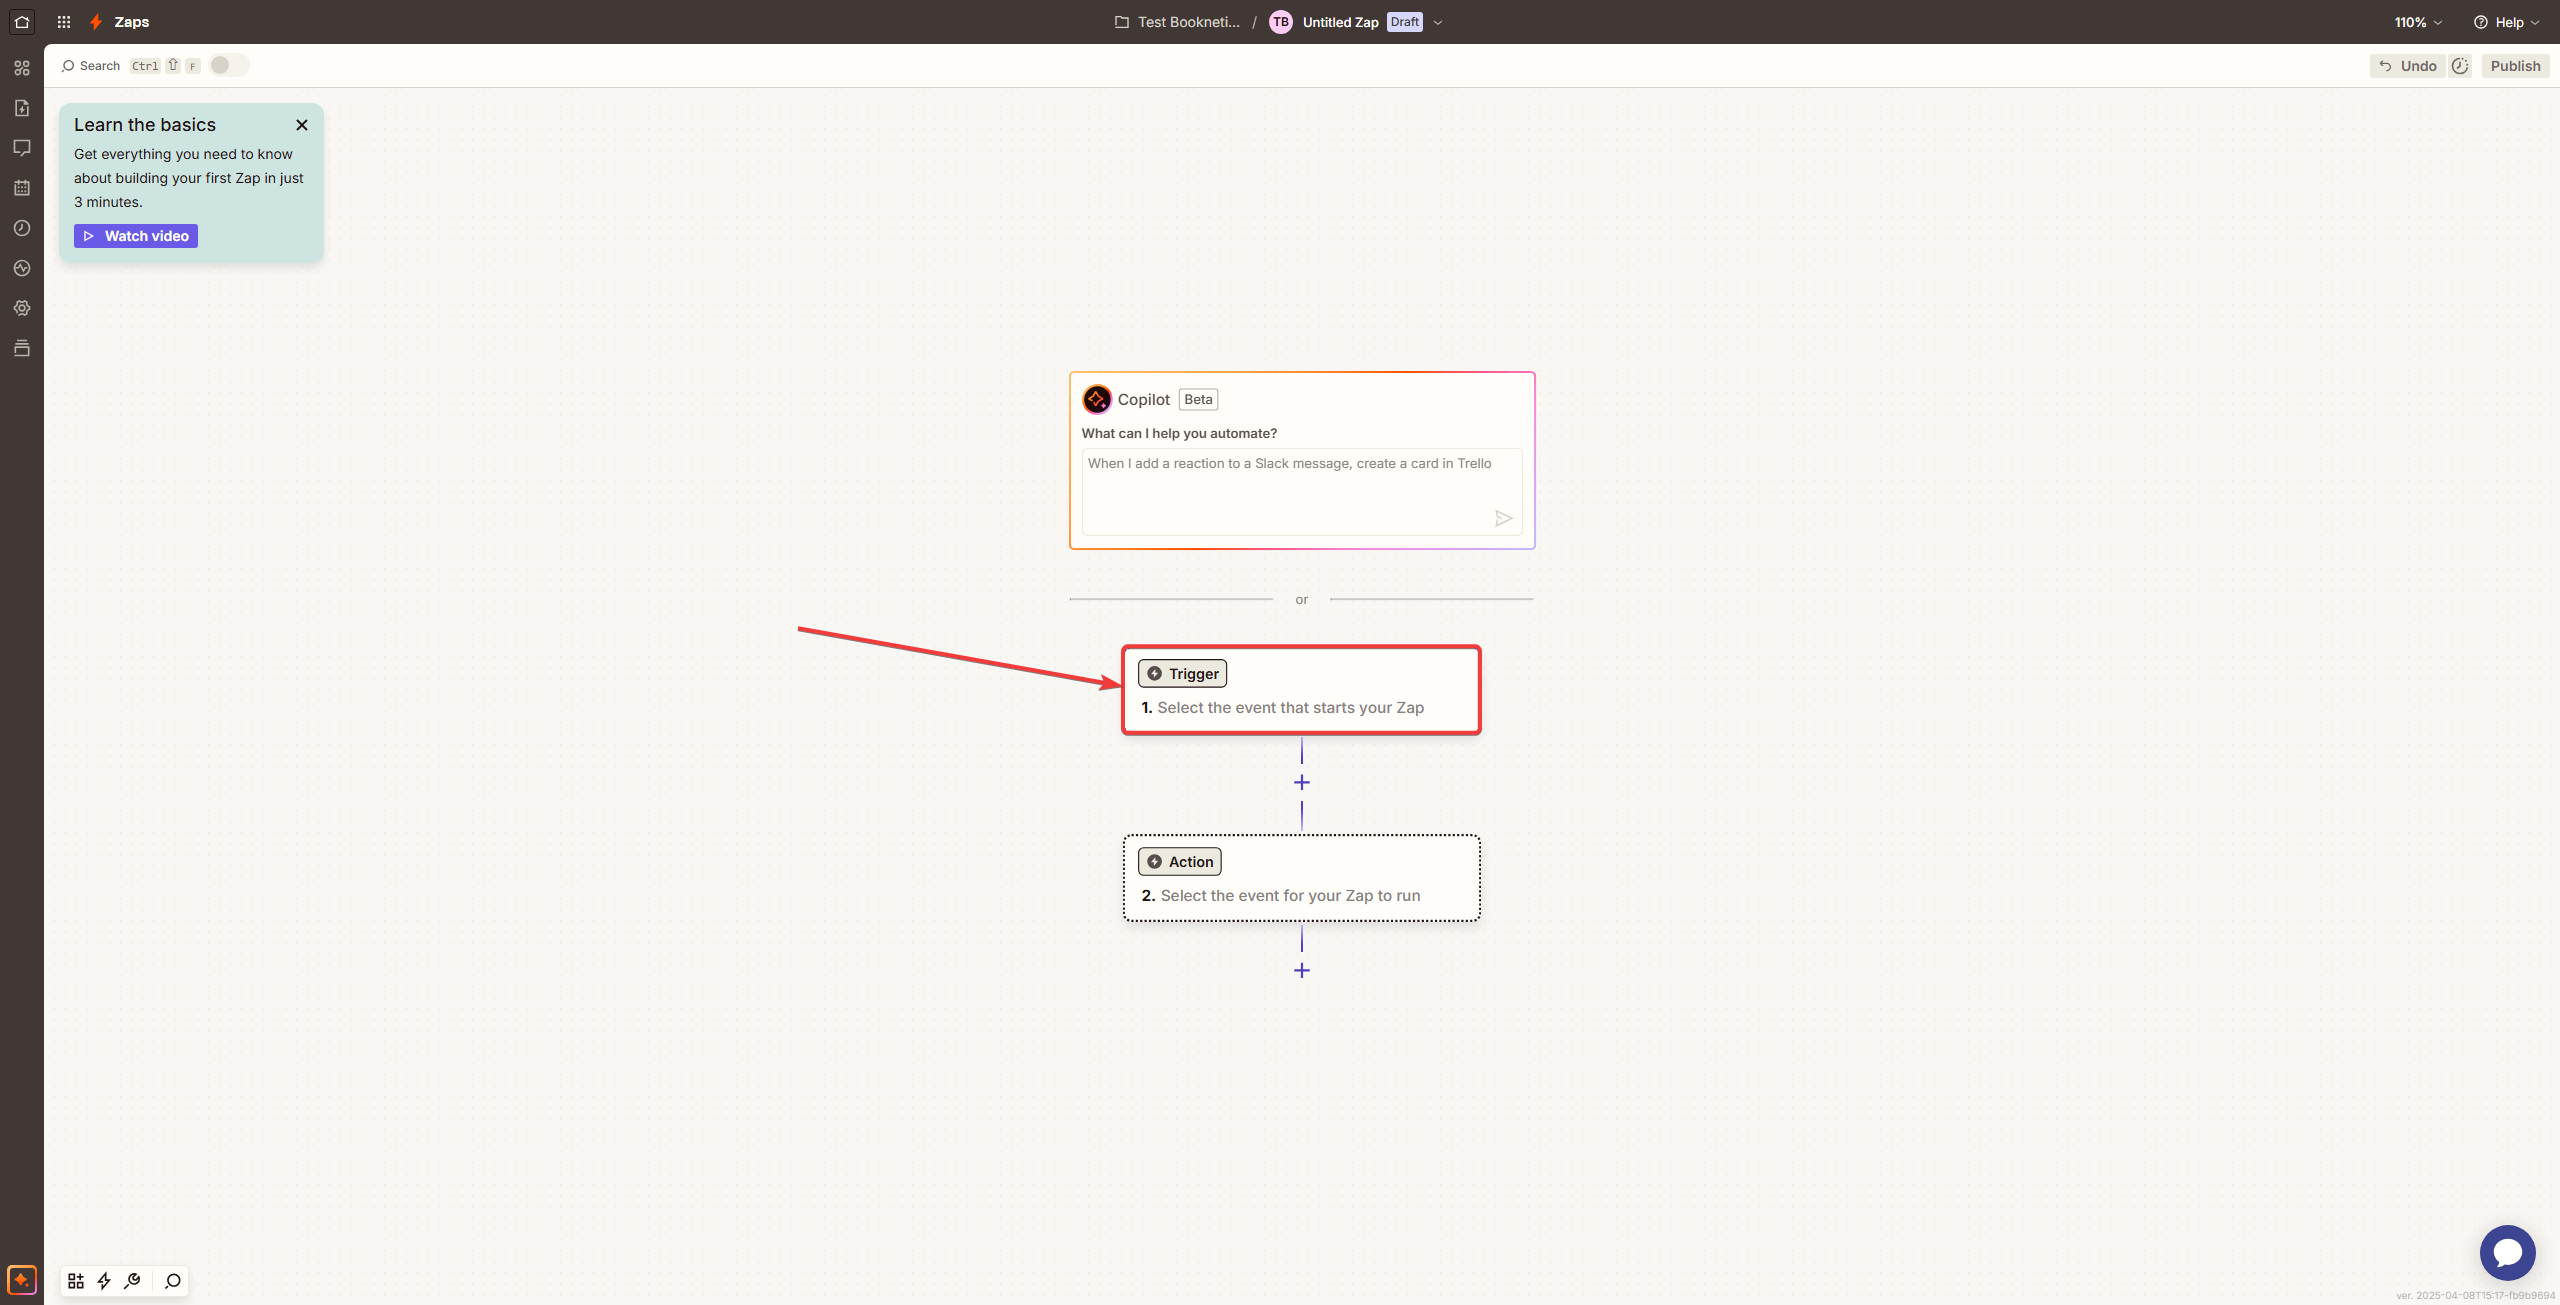
- Choose “Webhooks by Zapier”.
-
Trigger Event Selection:
- Choose “Catch Hook” from the available options and click Continue.
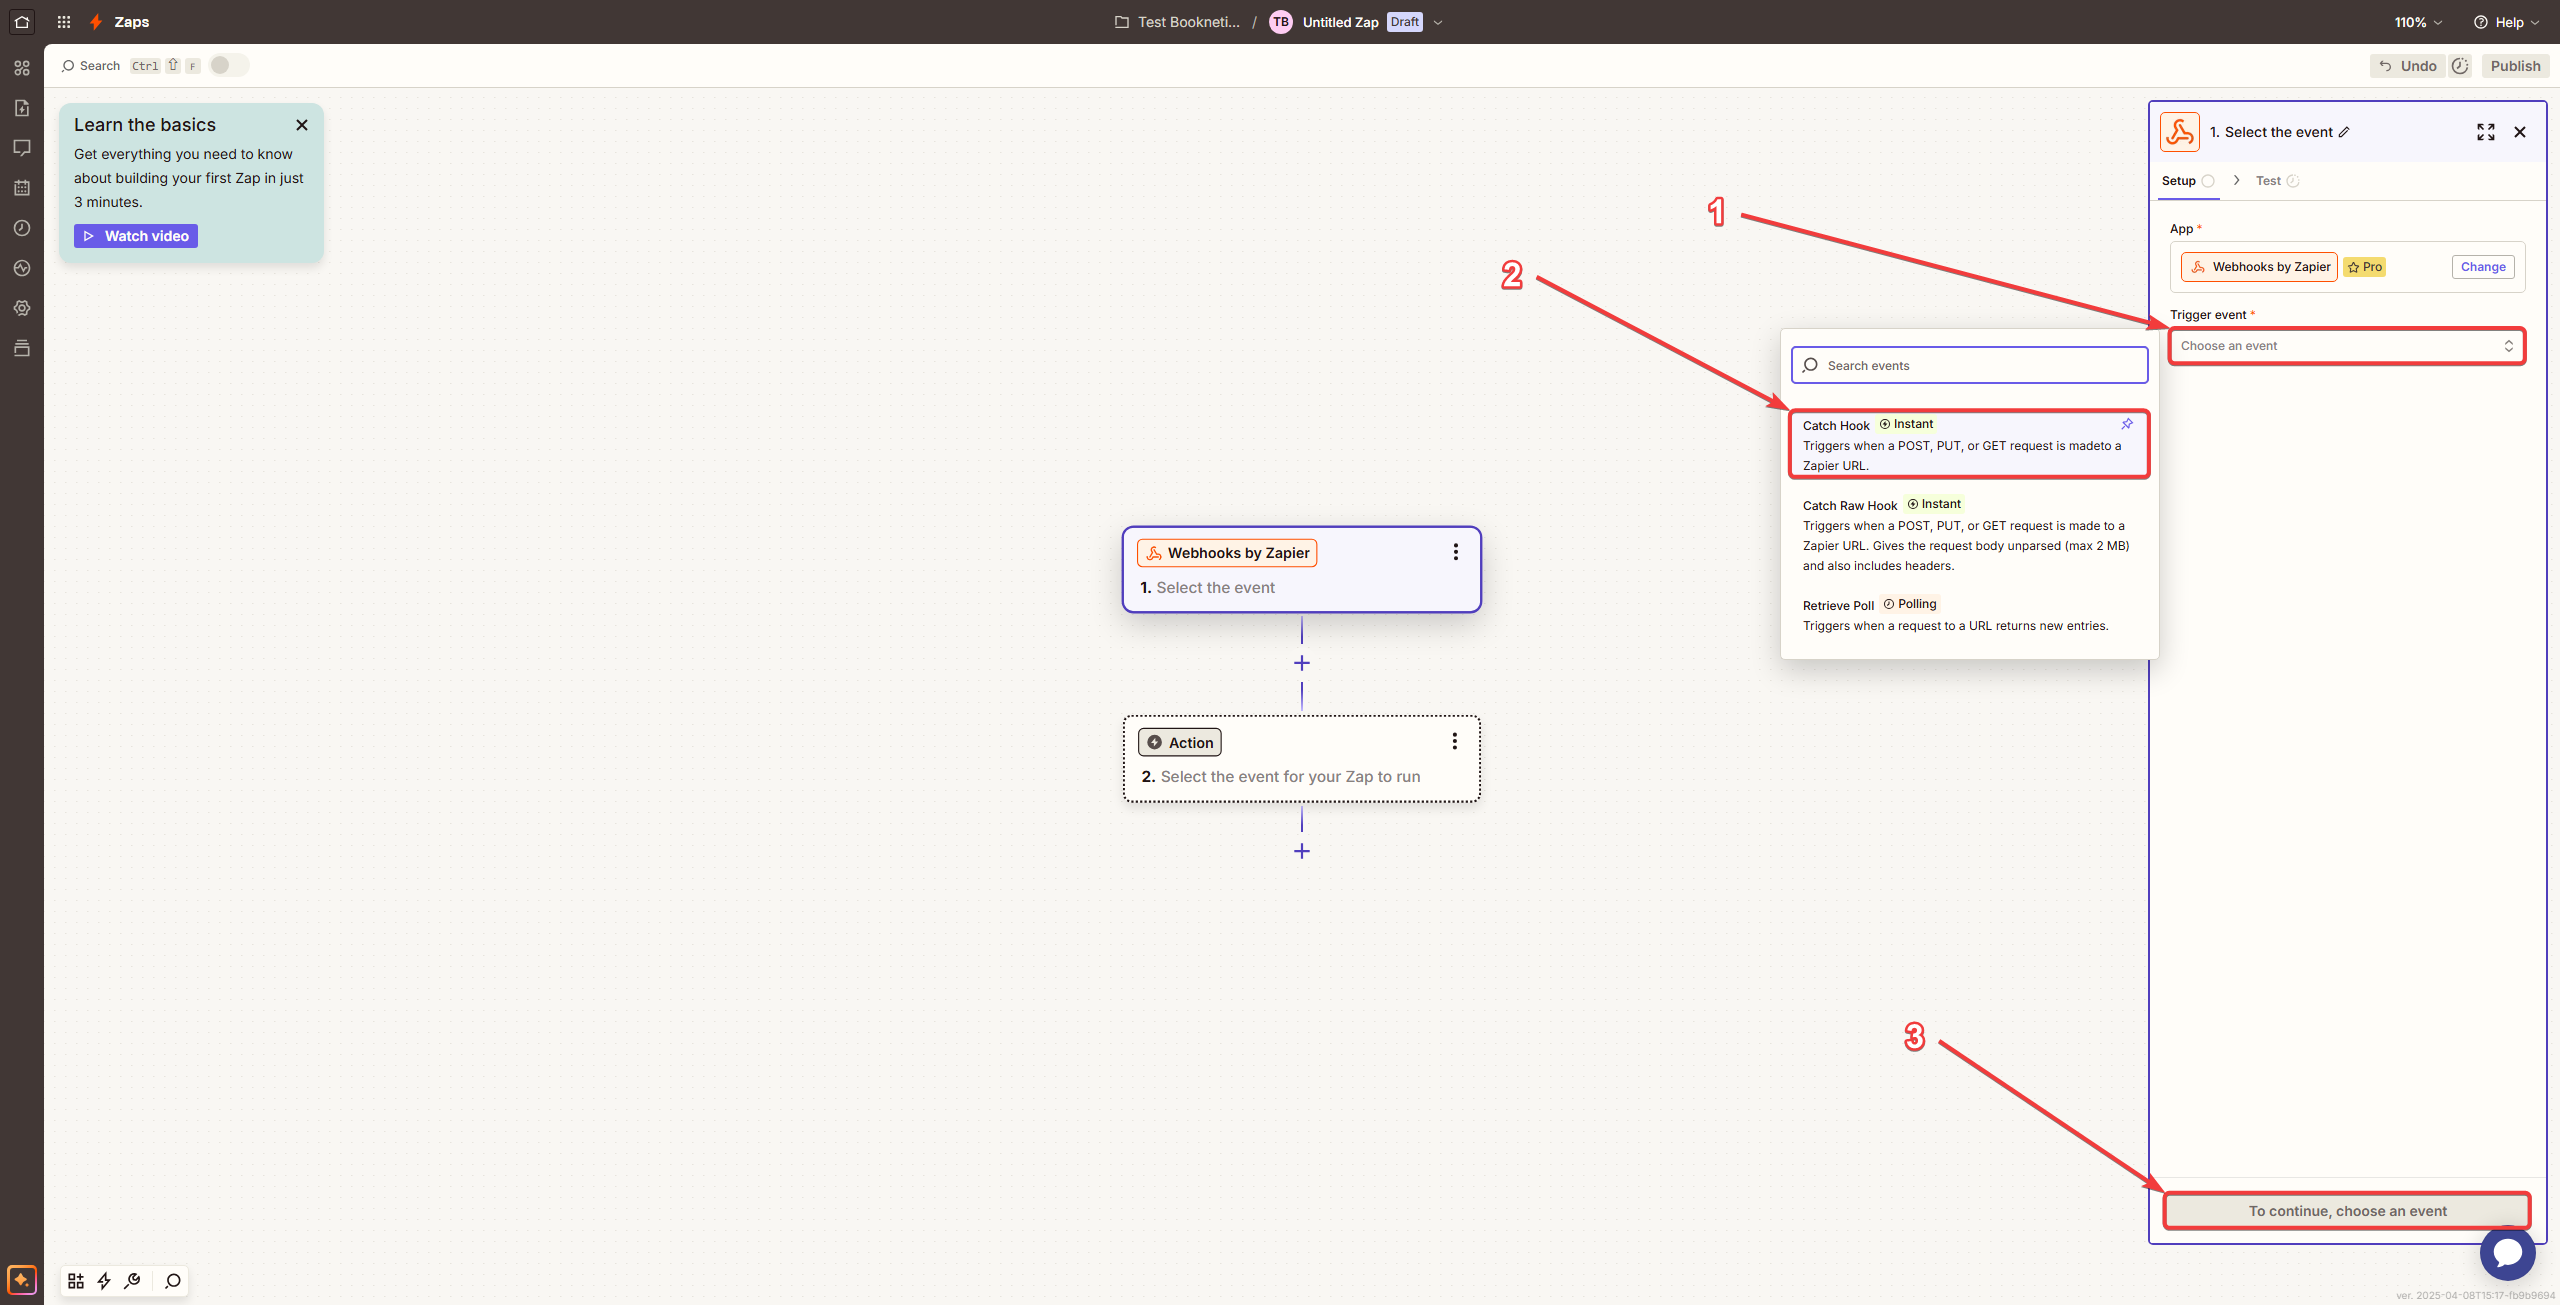
- Click “Continue” in the Configure tab.

-
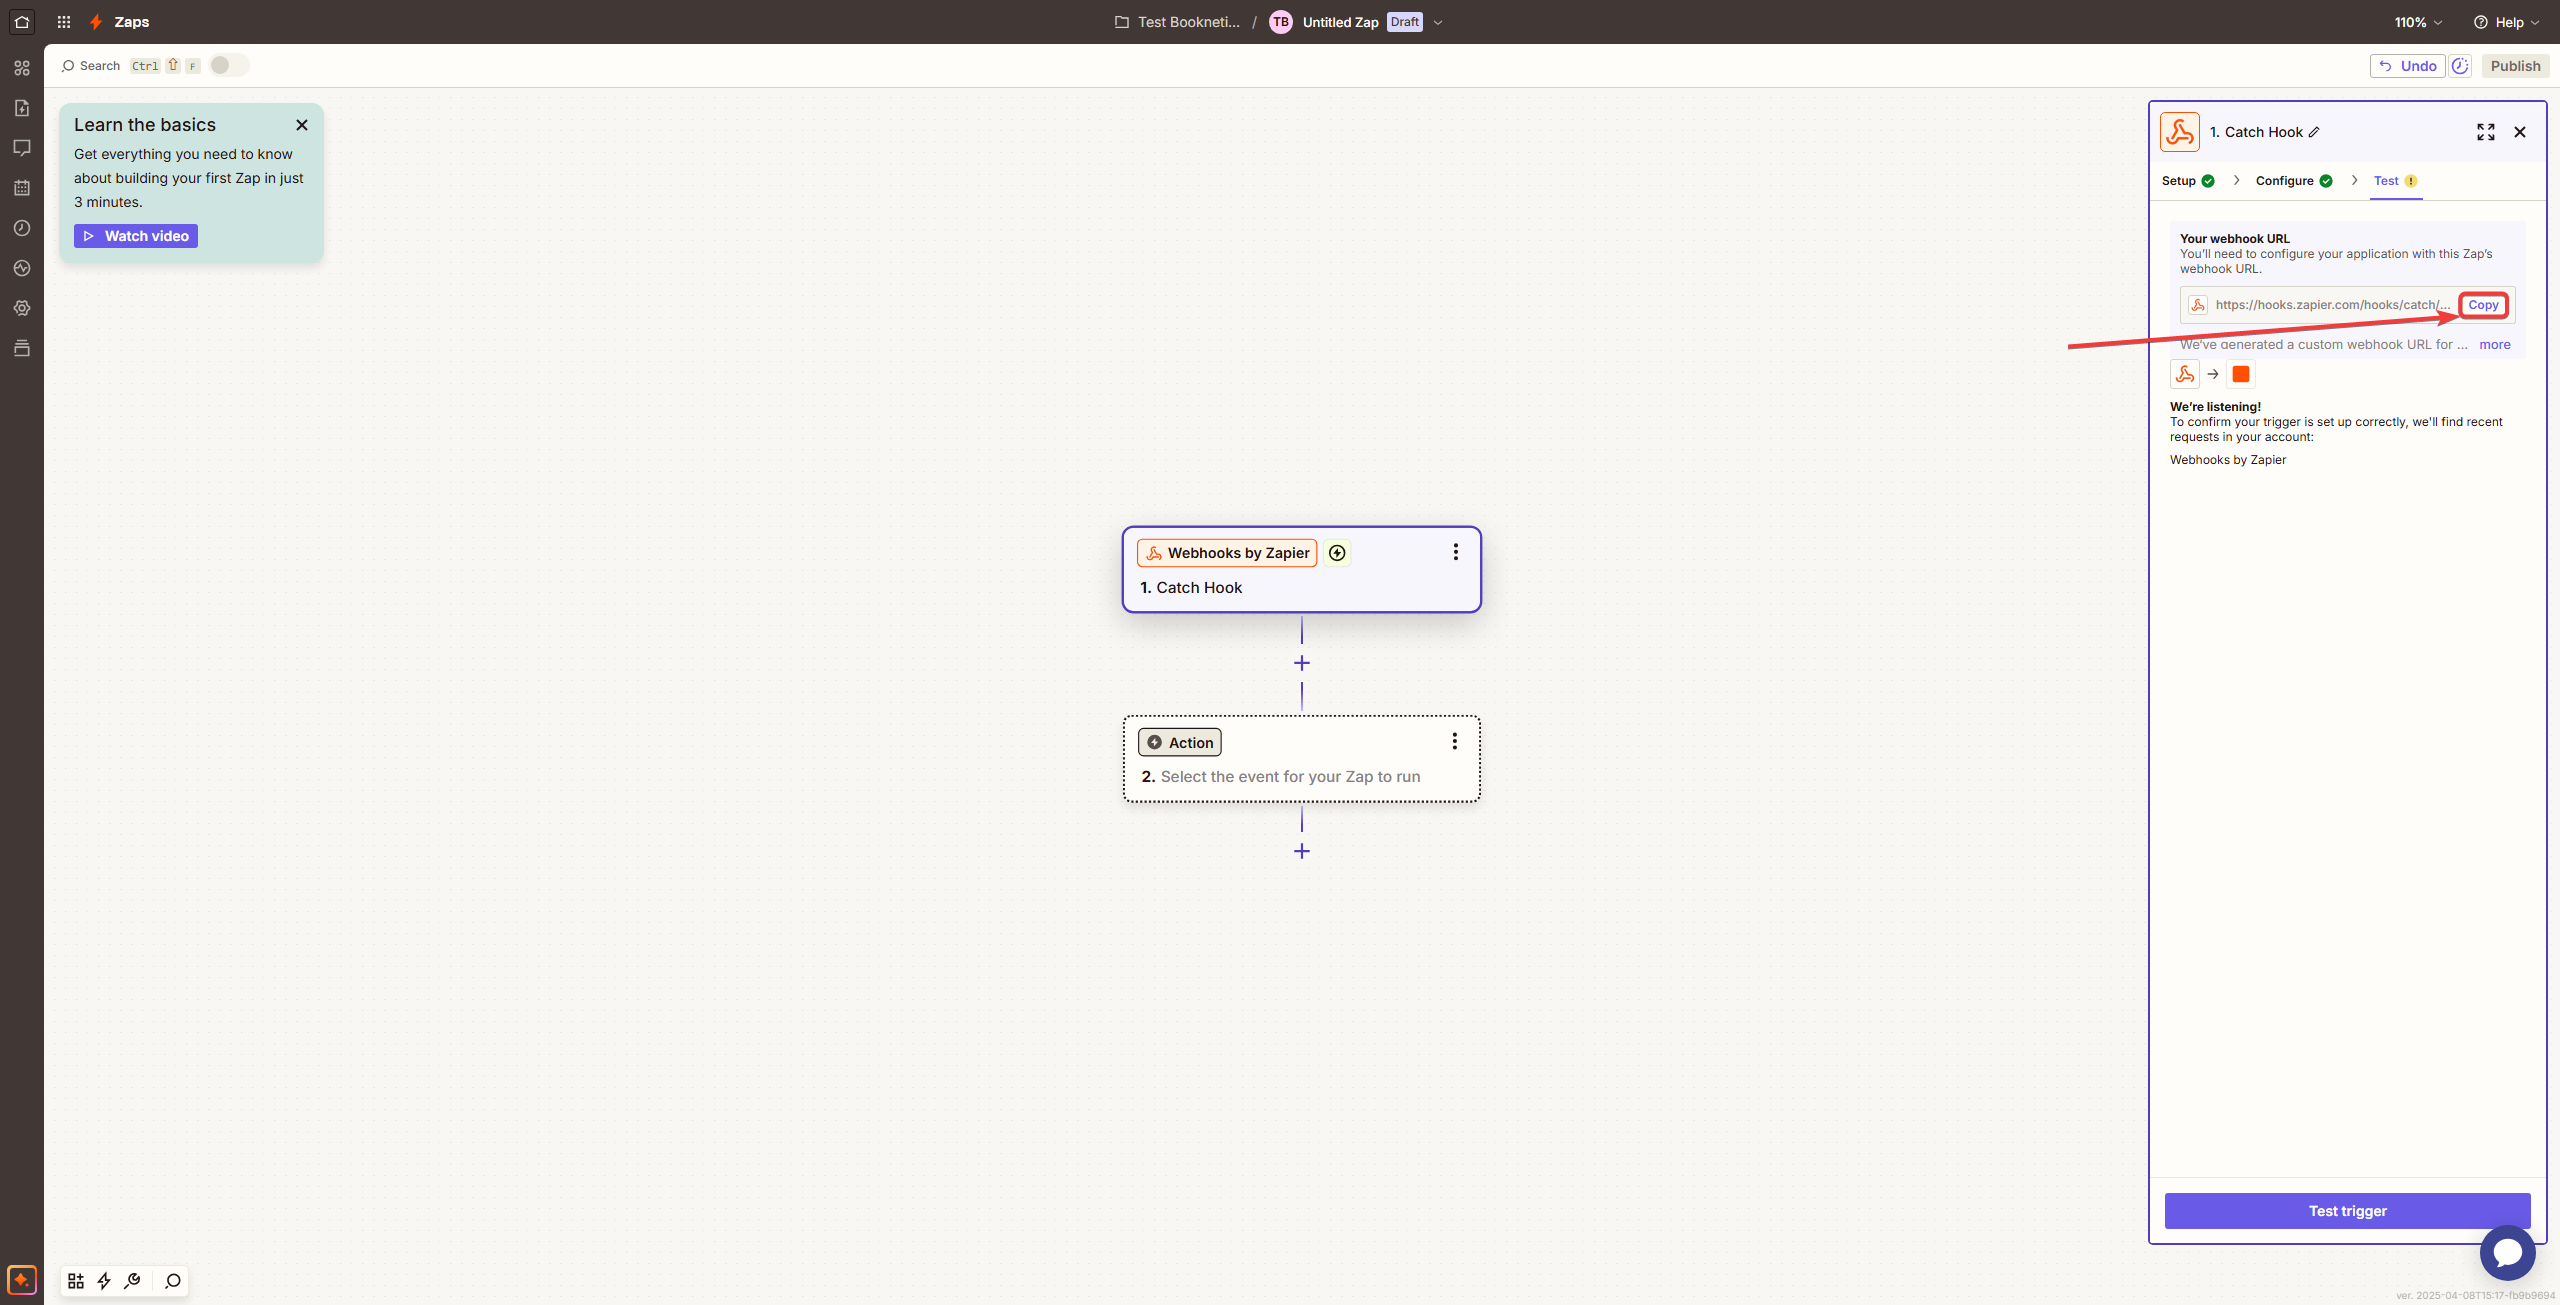
Webhook URL Generation:
- Zapier will generate a unique Webhook URL. Copy this URL; you'll need it shortly in Booknetic.
Step 3: Configuring the Trigger in Booknetic
-
Log into Booknetic:
- Open your Booknetic Admin Panel.
-
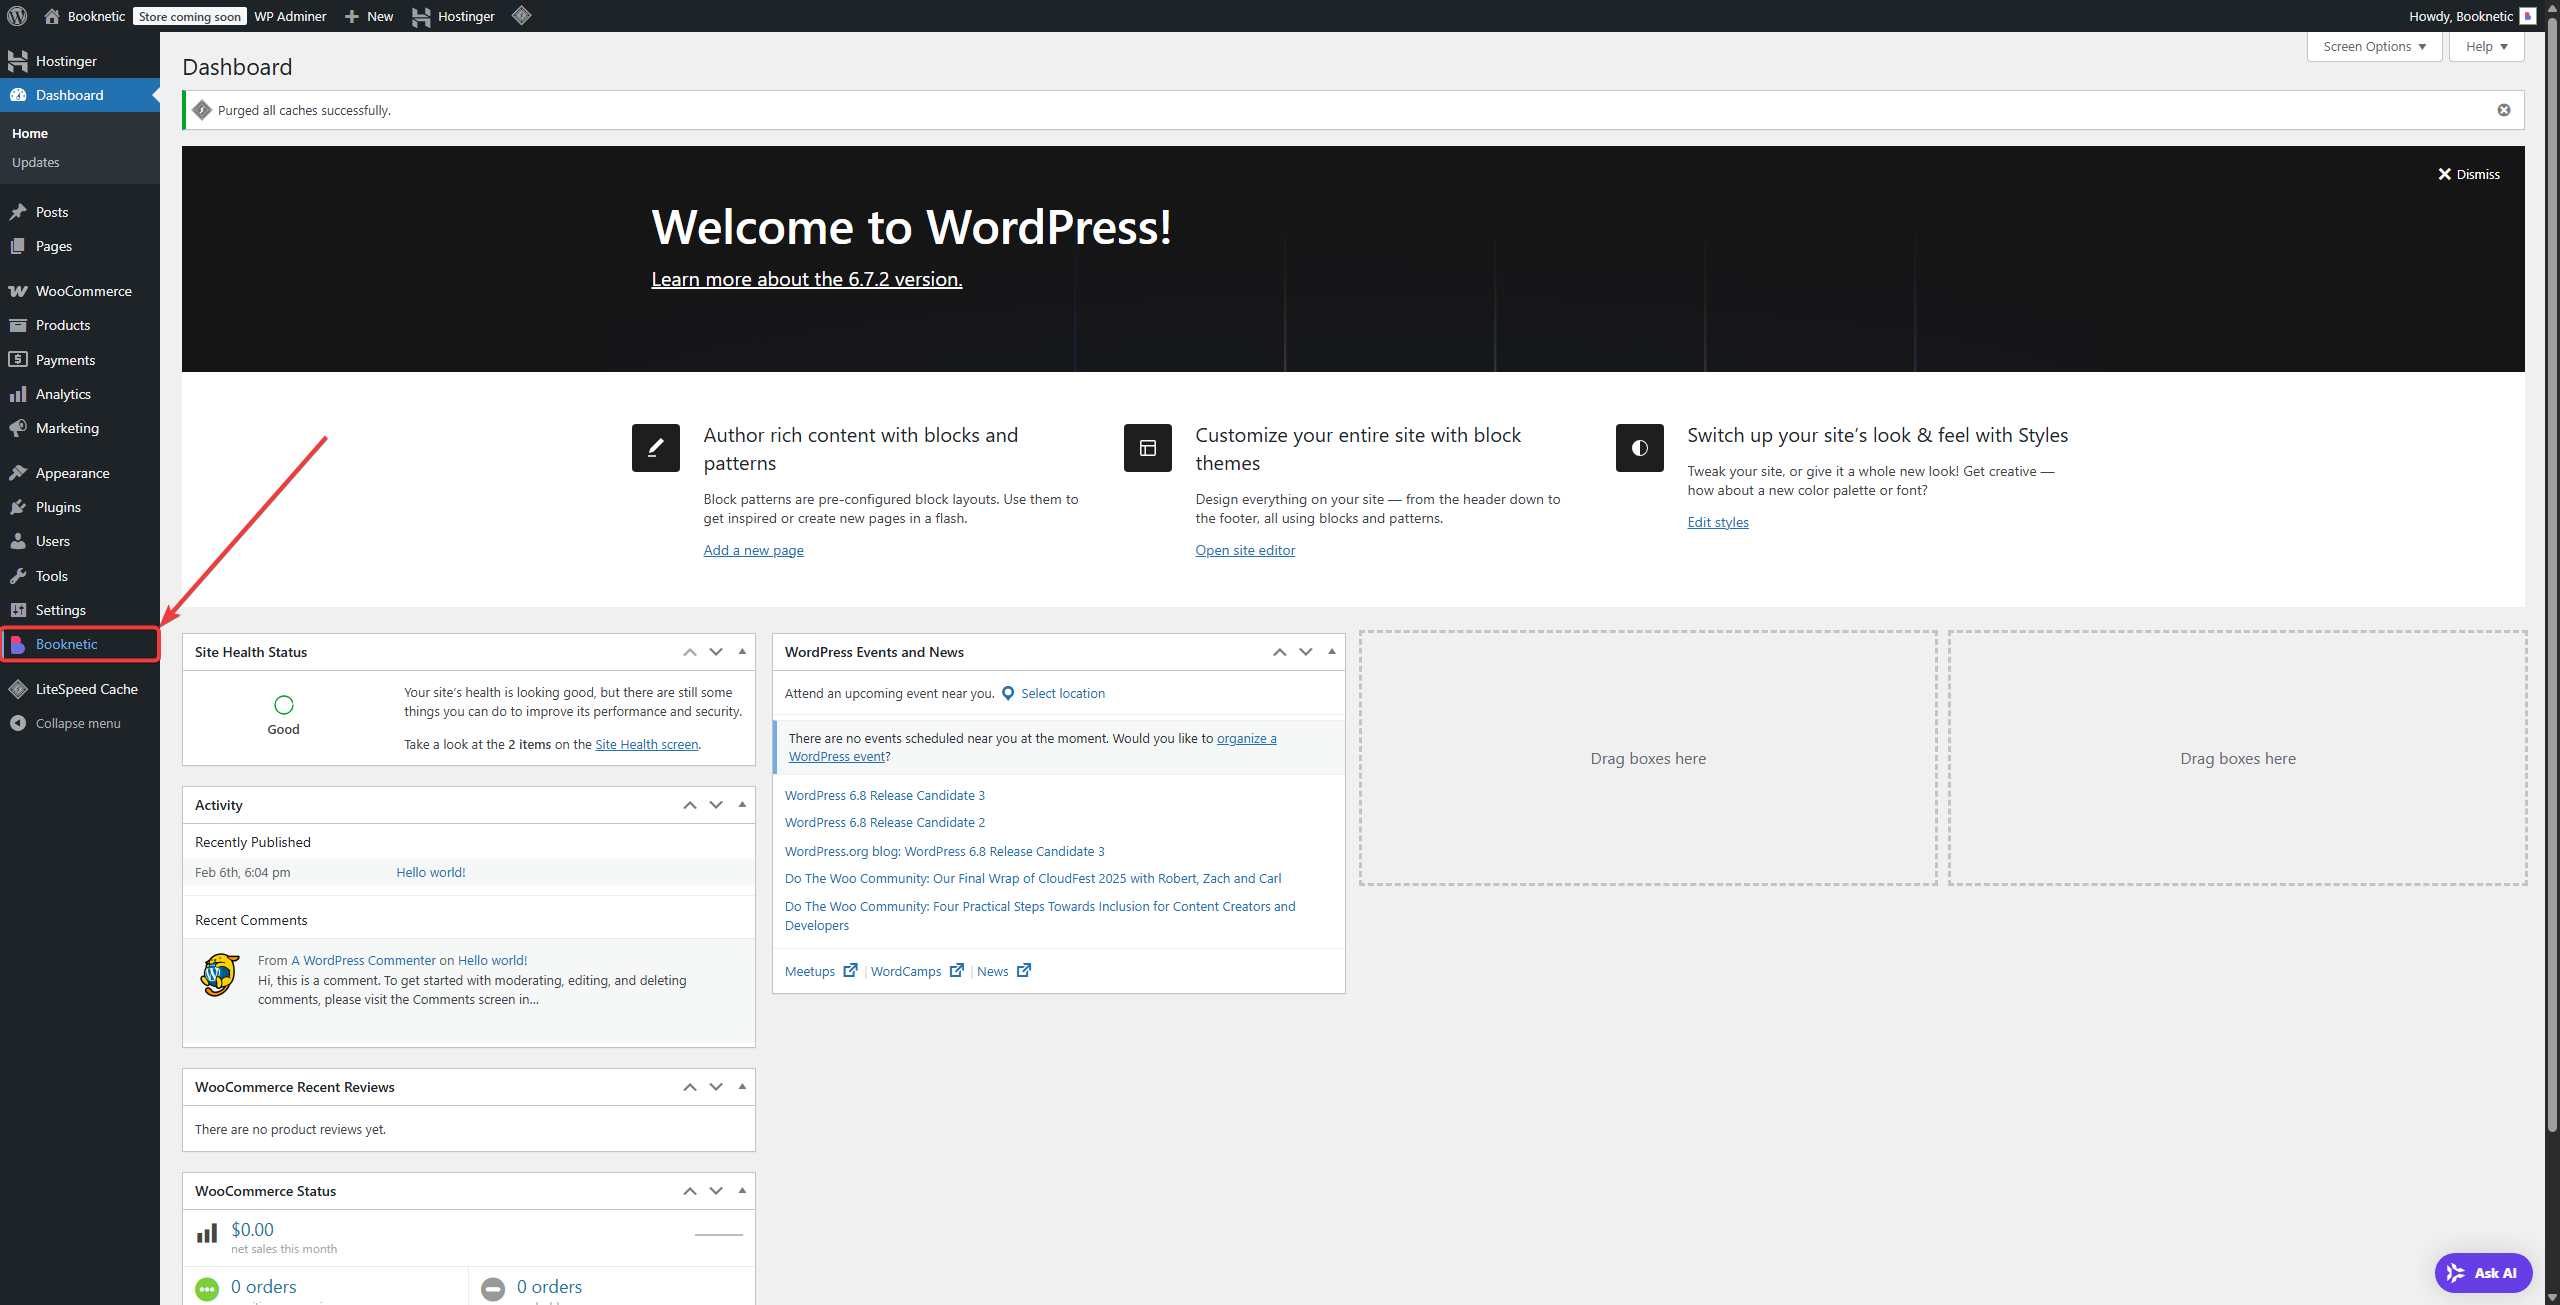
Access the Workflows Module:
- Go to Workflows in the Booknetic sidebar.
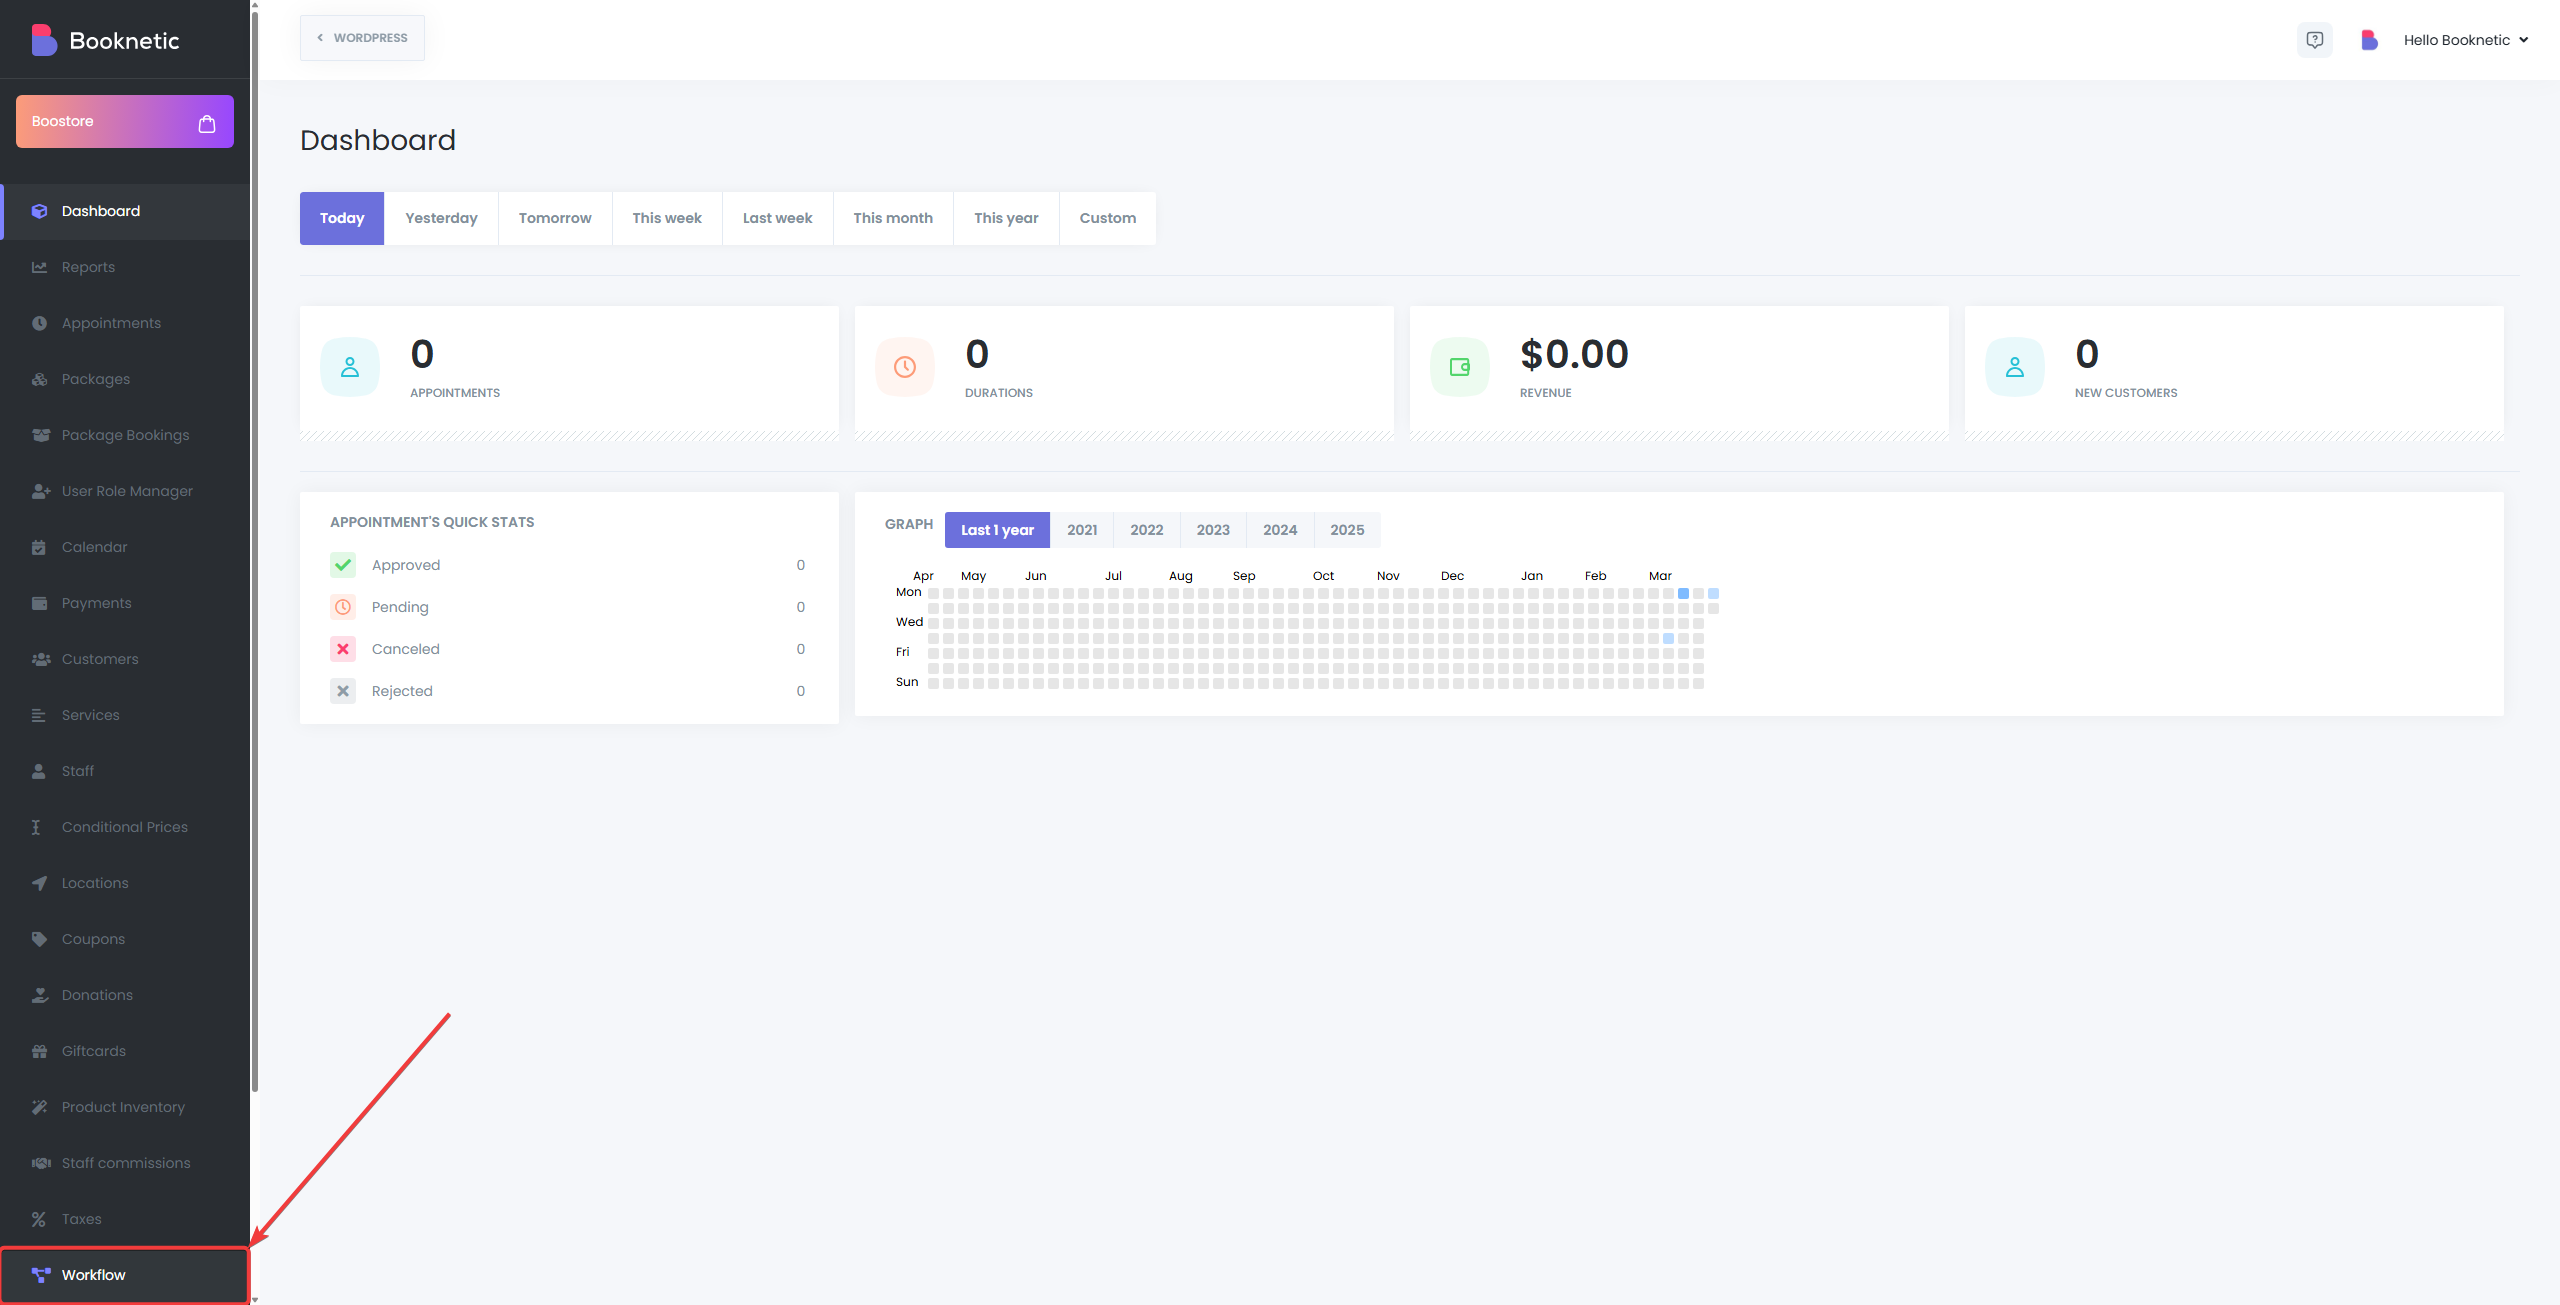
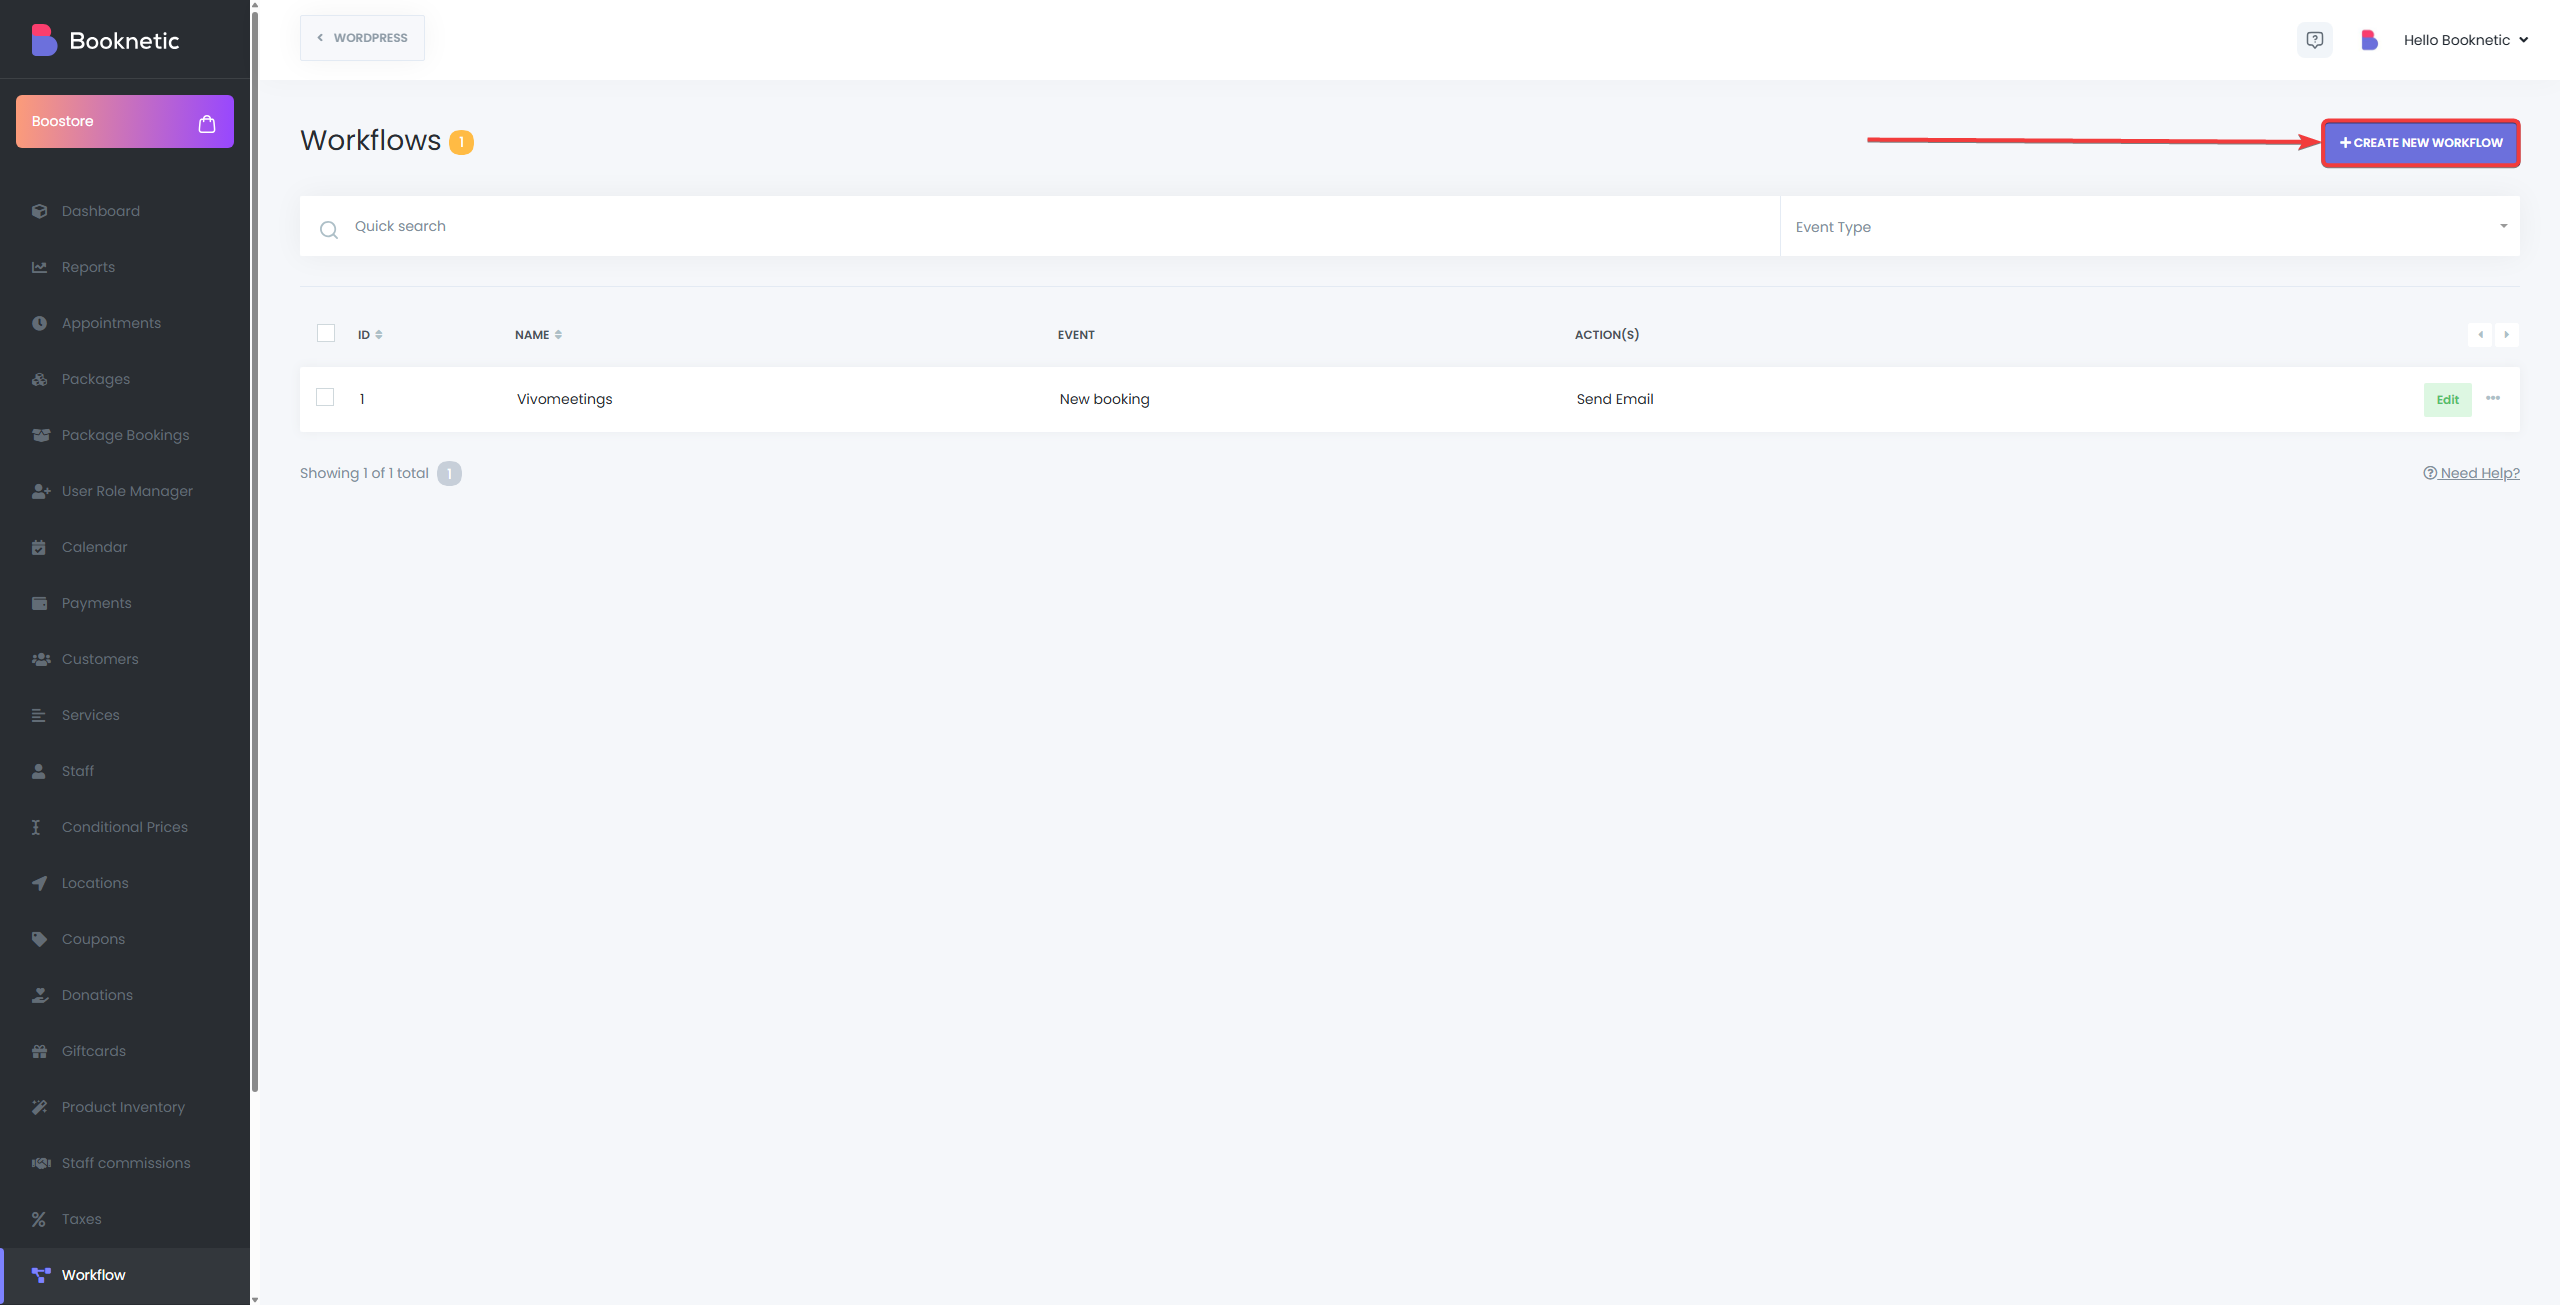
-
Create a New Workflow:
- Click the “+ Create new Workflow” button.
-
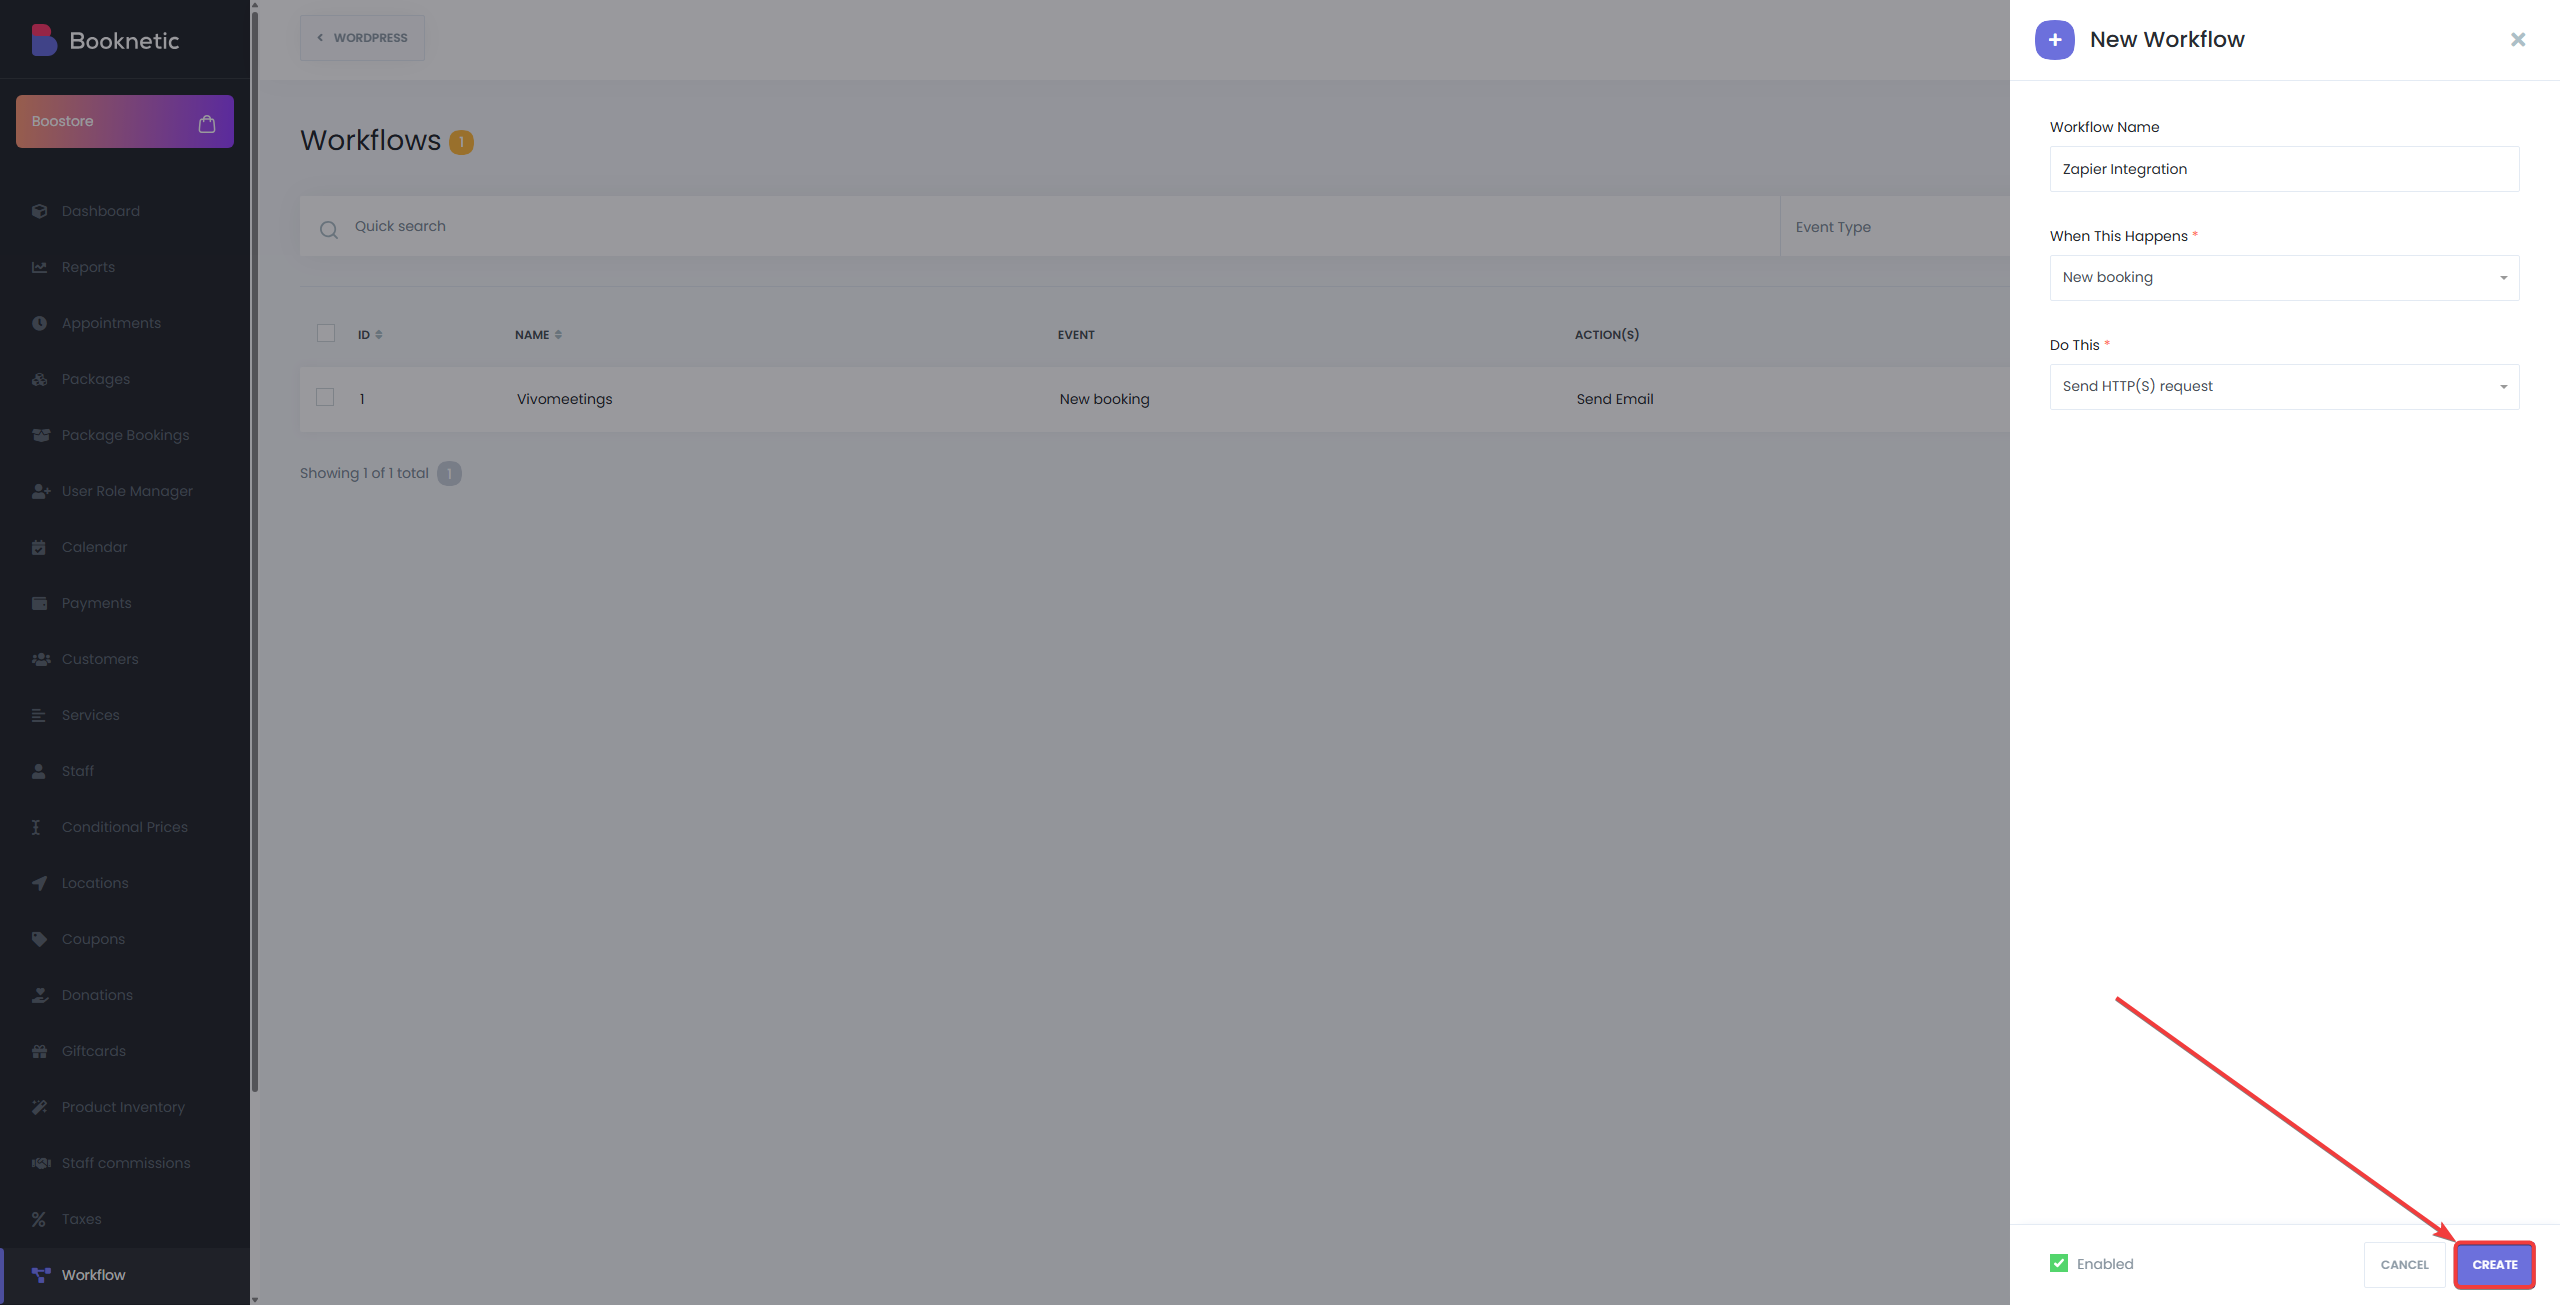
Configure Workflow Settings:
- Enter a descriptive Name for your workflow.
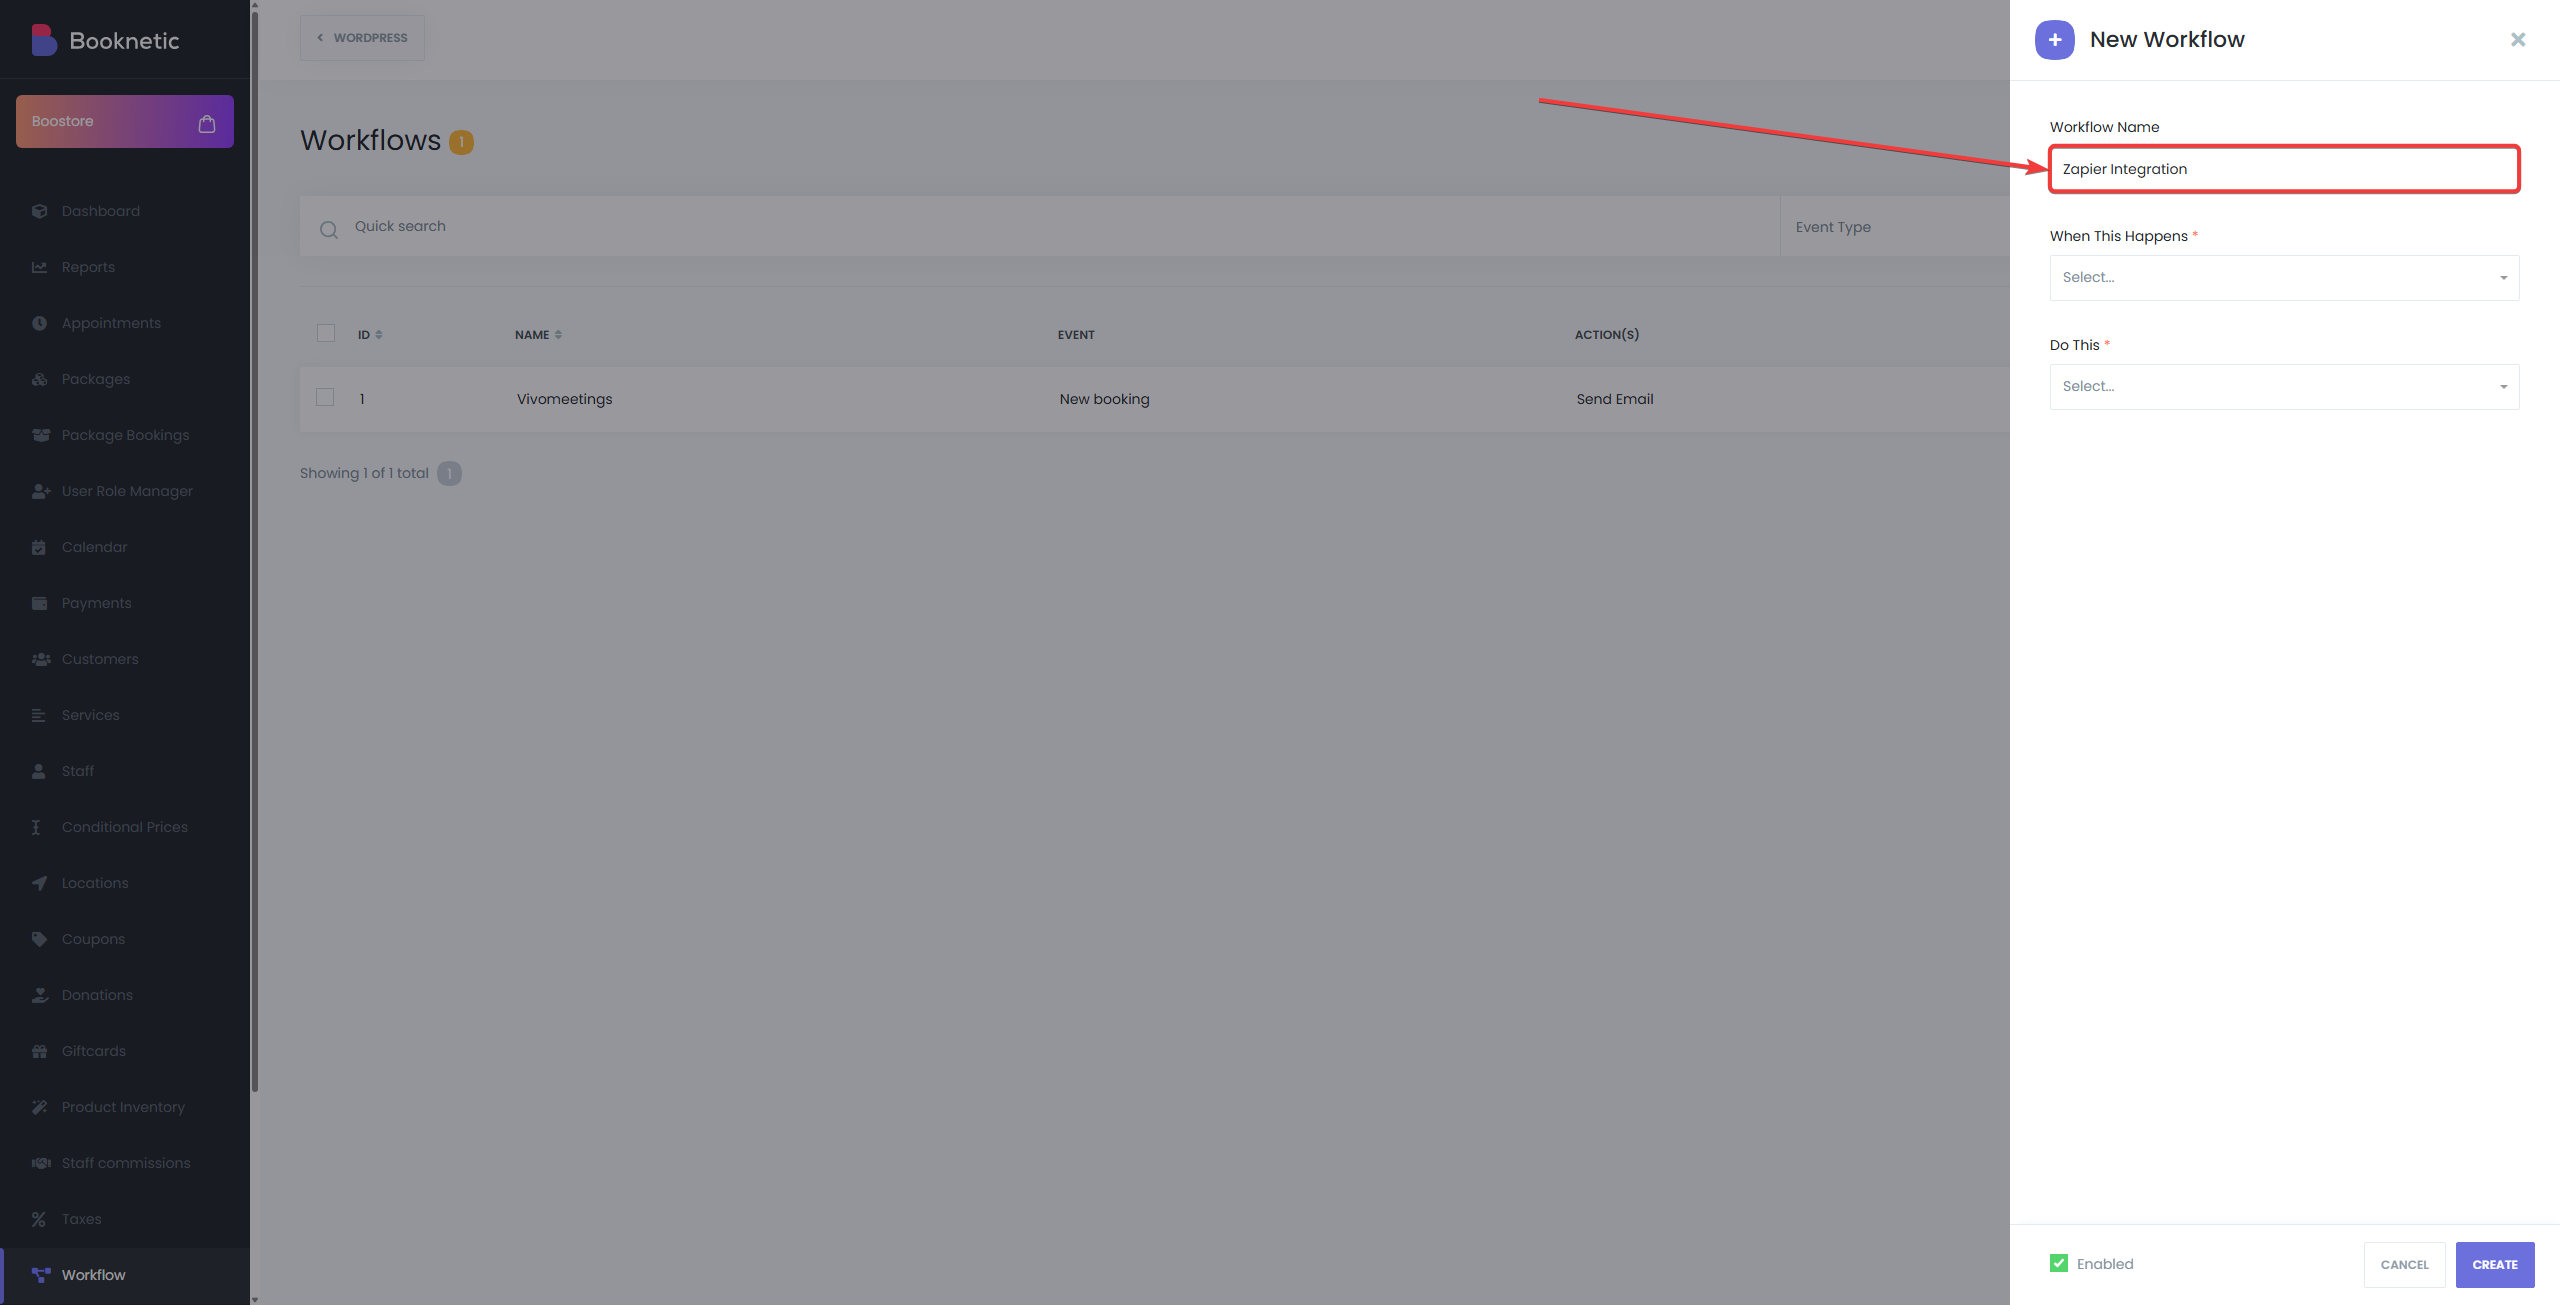
- In the “When This Happens” section, select your desired event trigger from the available options:
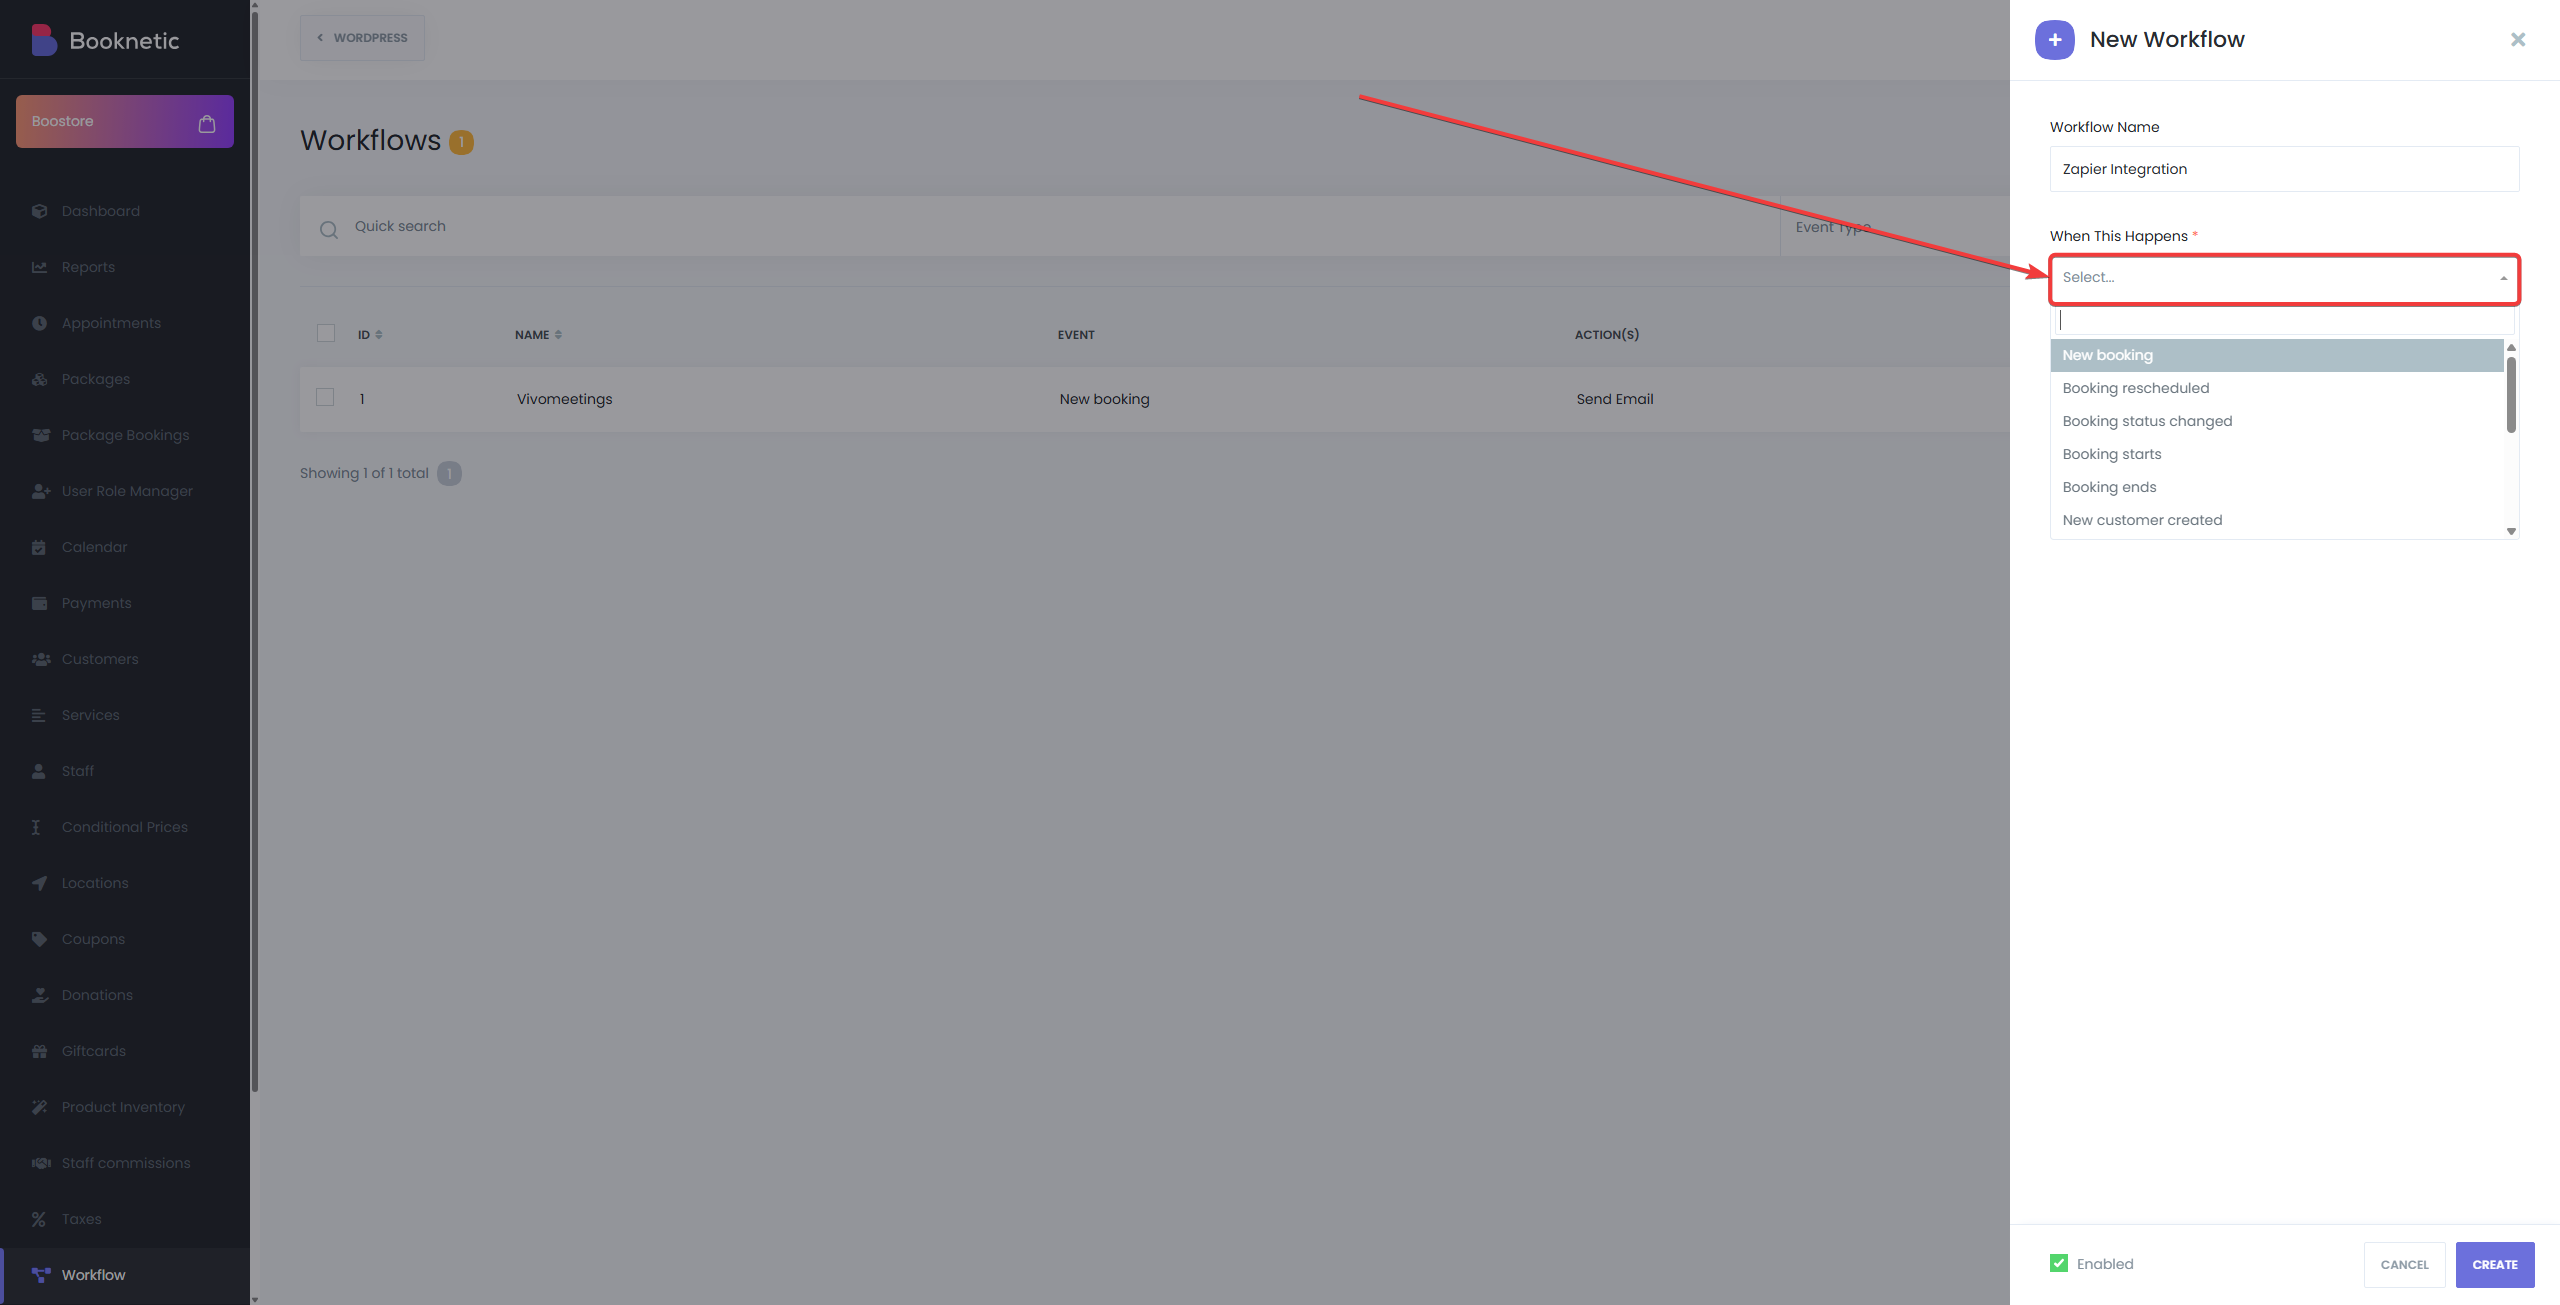
-
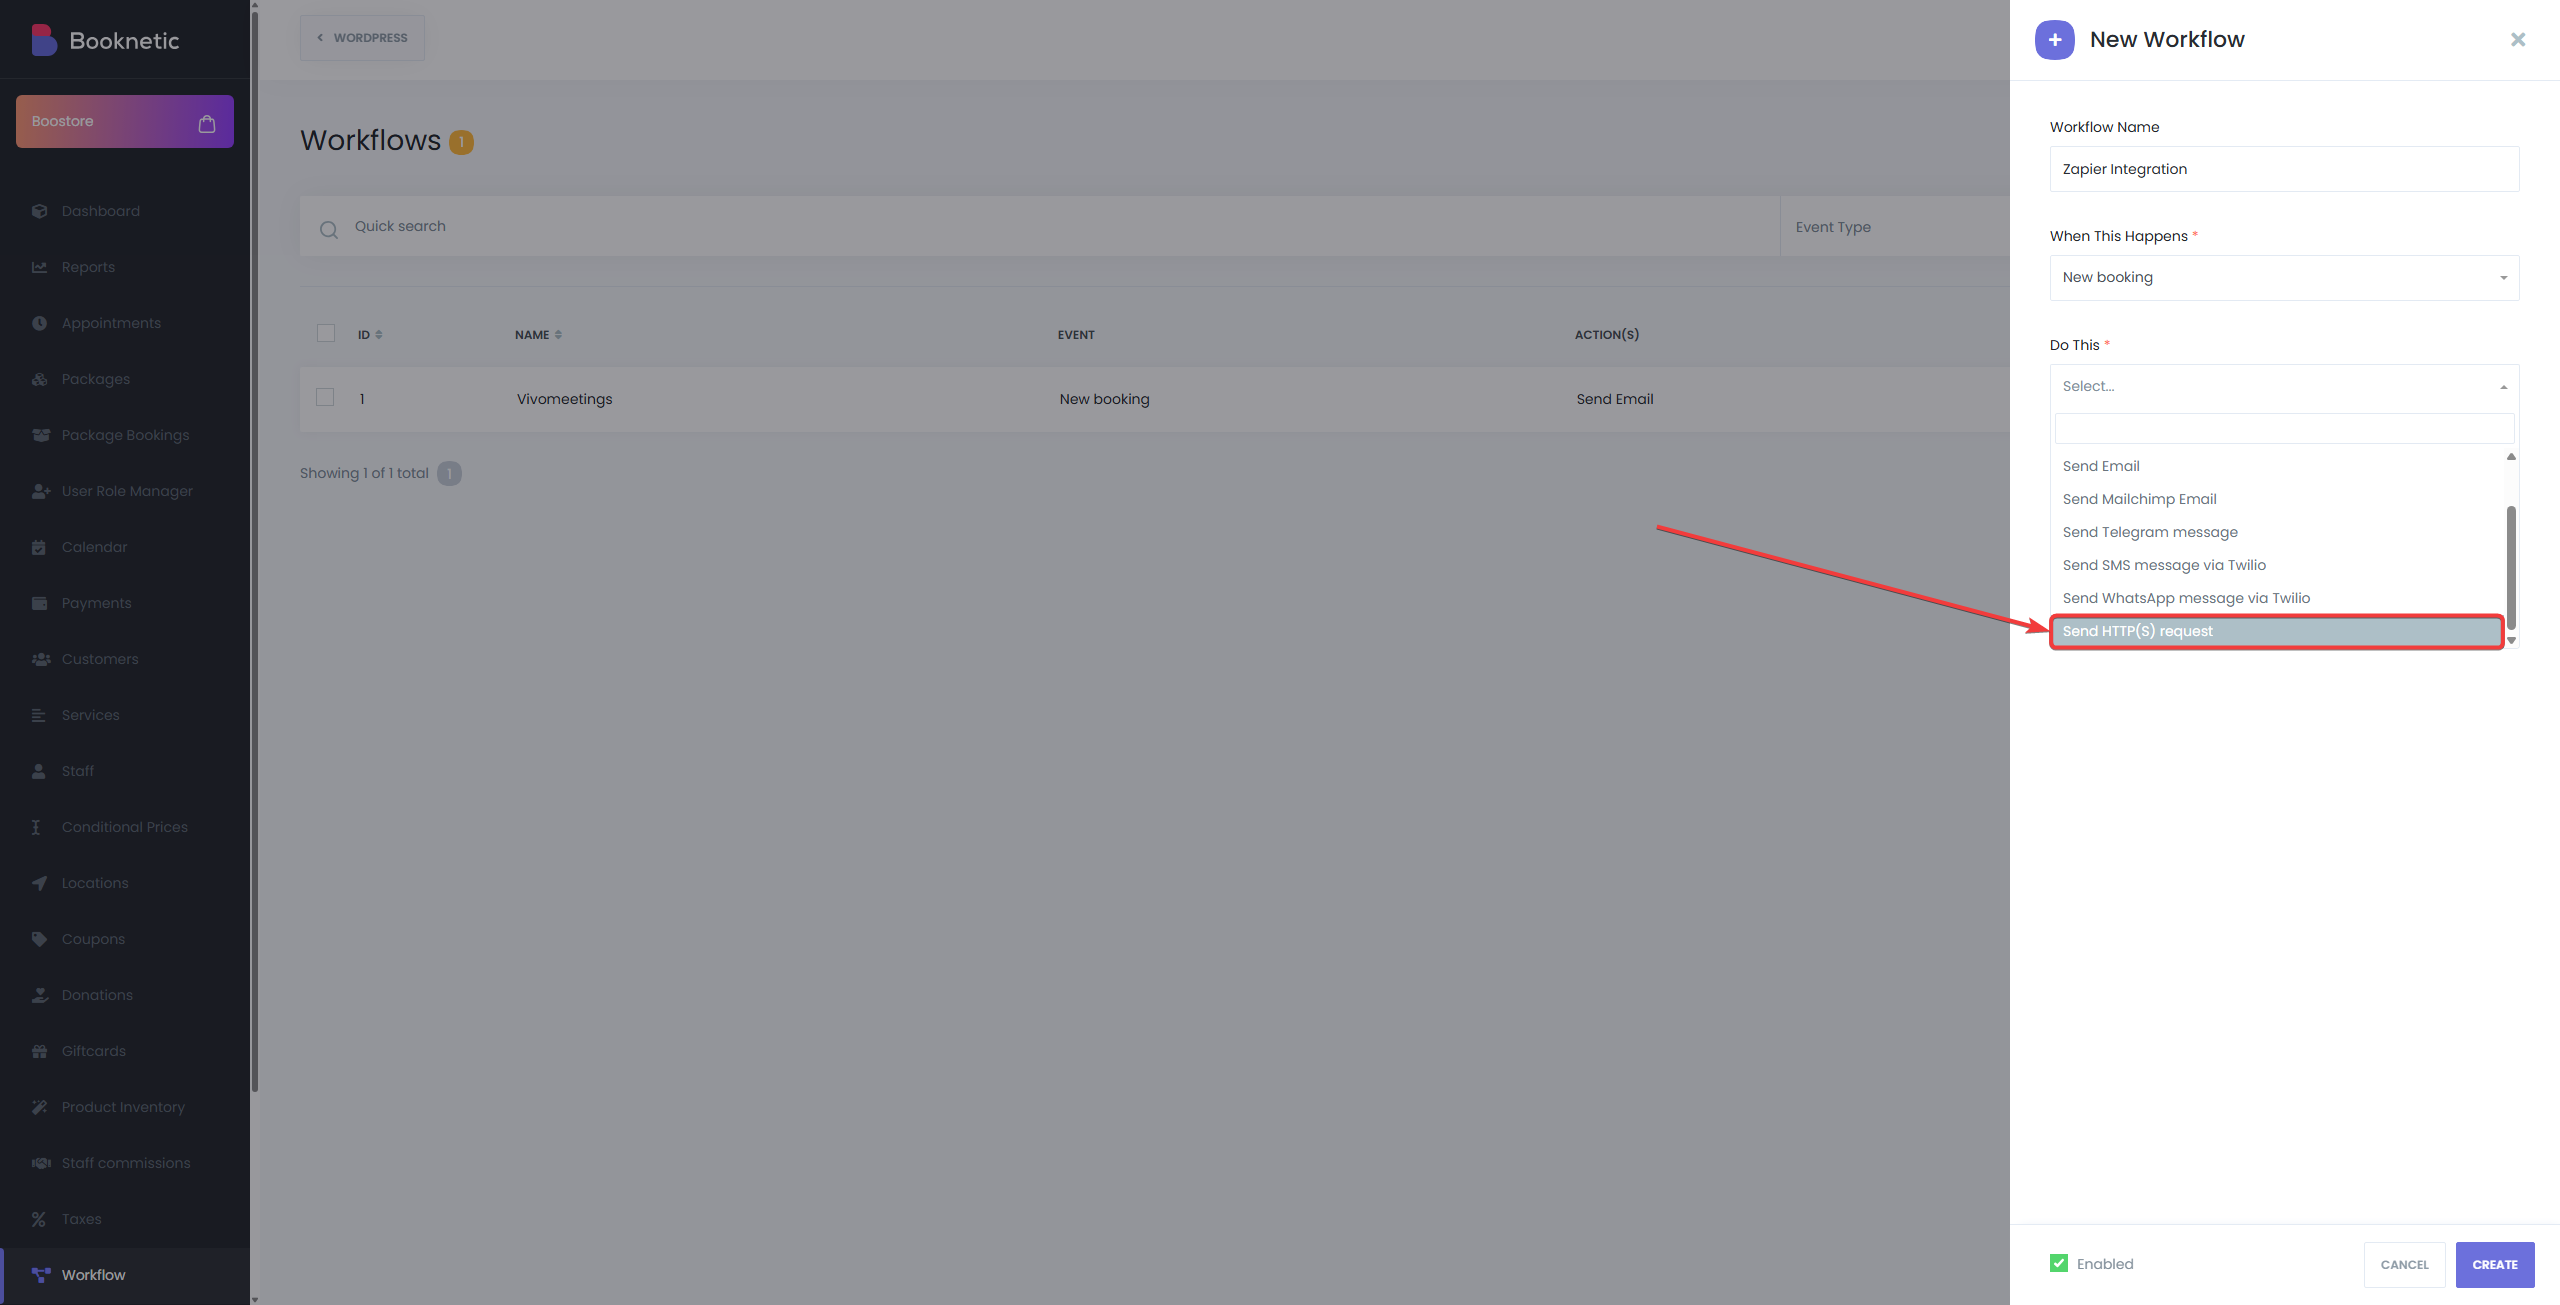
In the “Do this” section, select “Send HTTP(s) request”.
(Note: Ensure the Webhook add-on is installed in Booknetic for this action.)
-
Click “Create” to save the workflow.
-
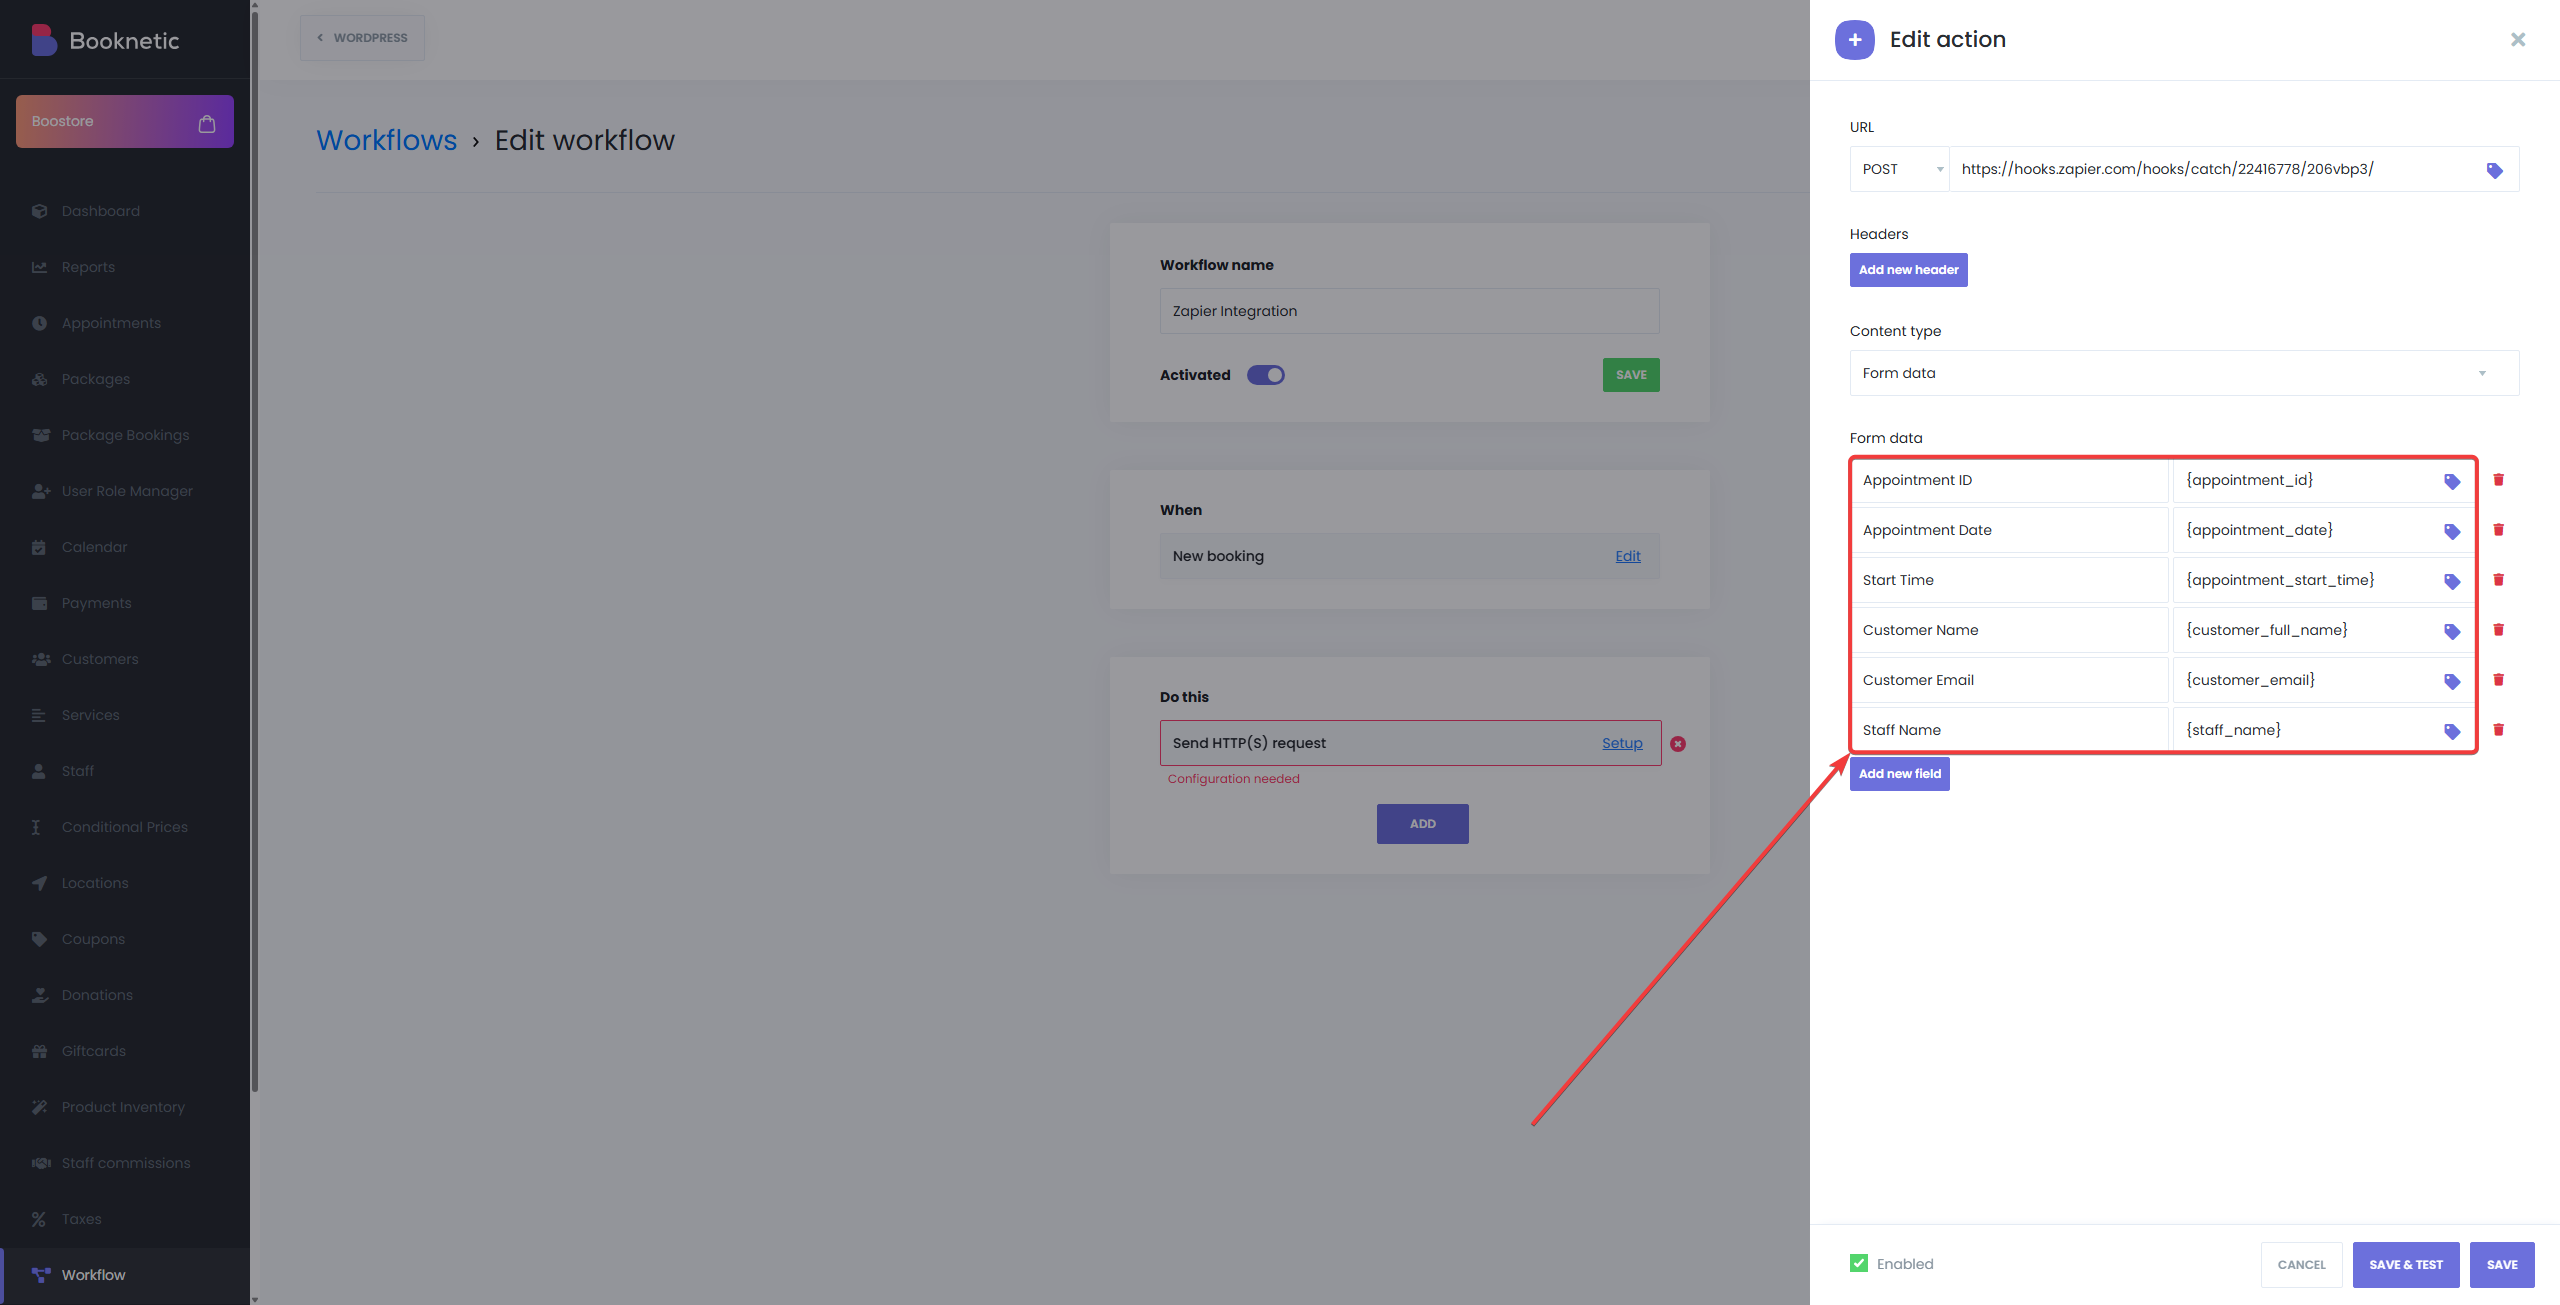
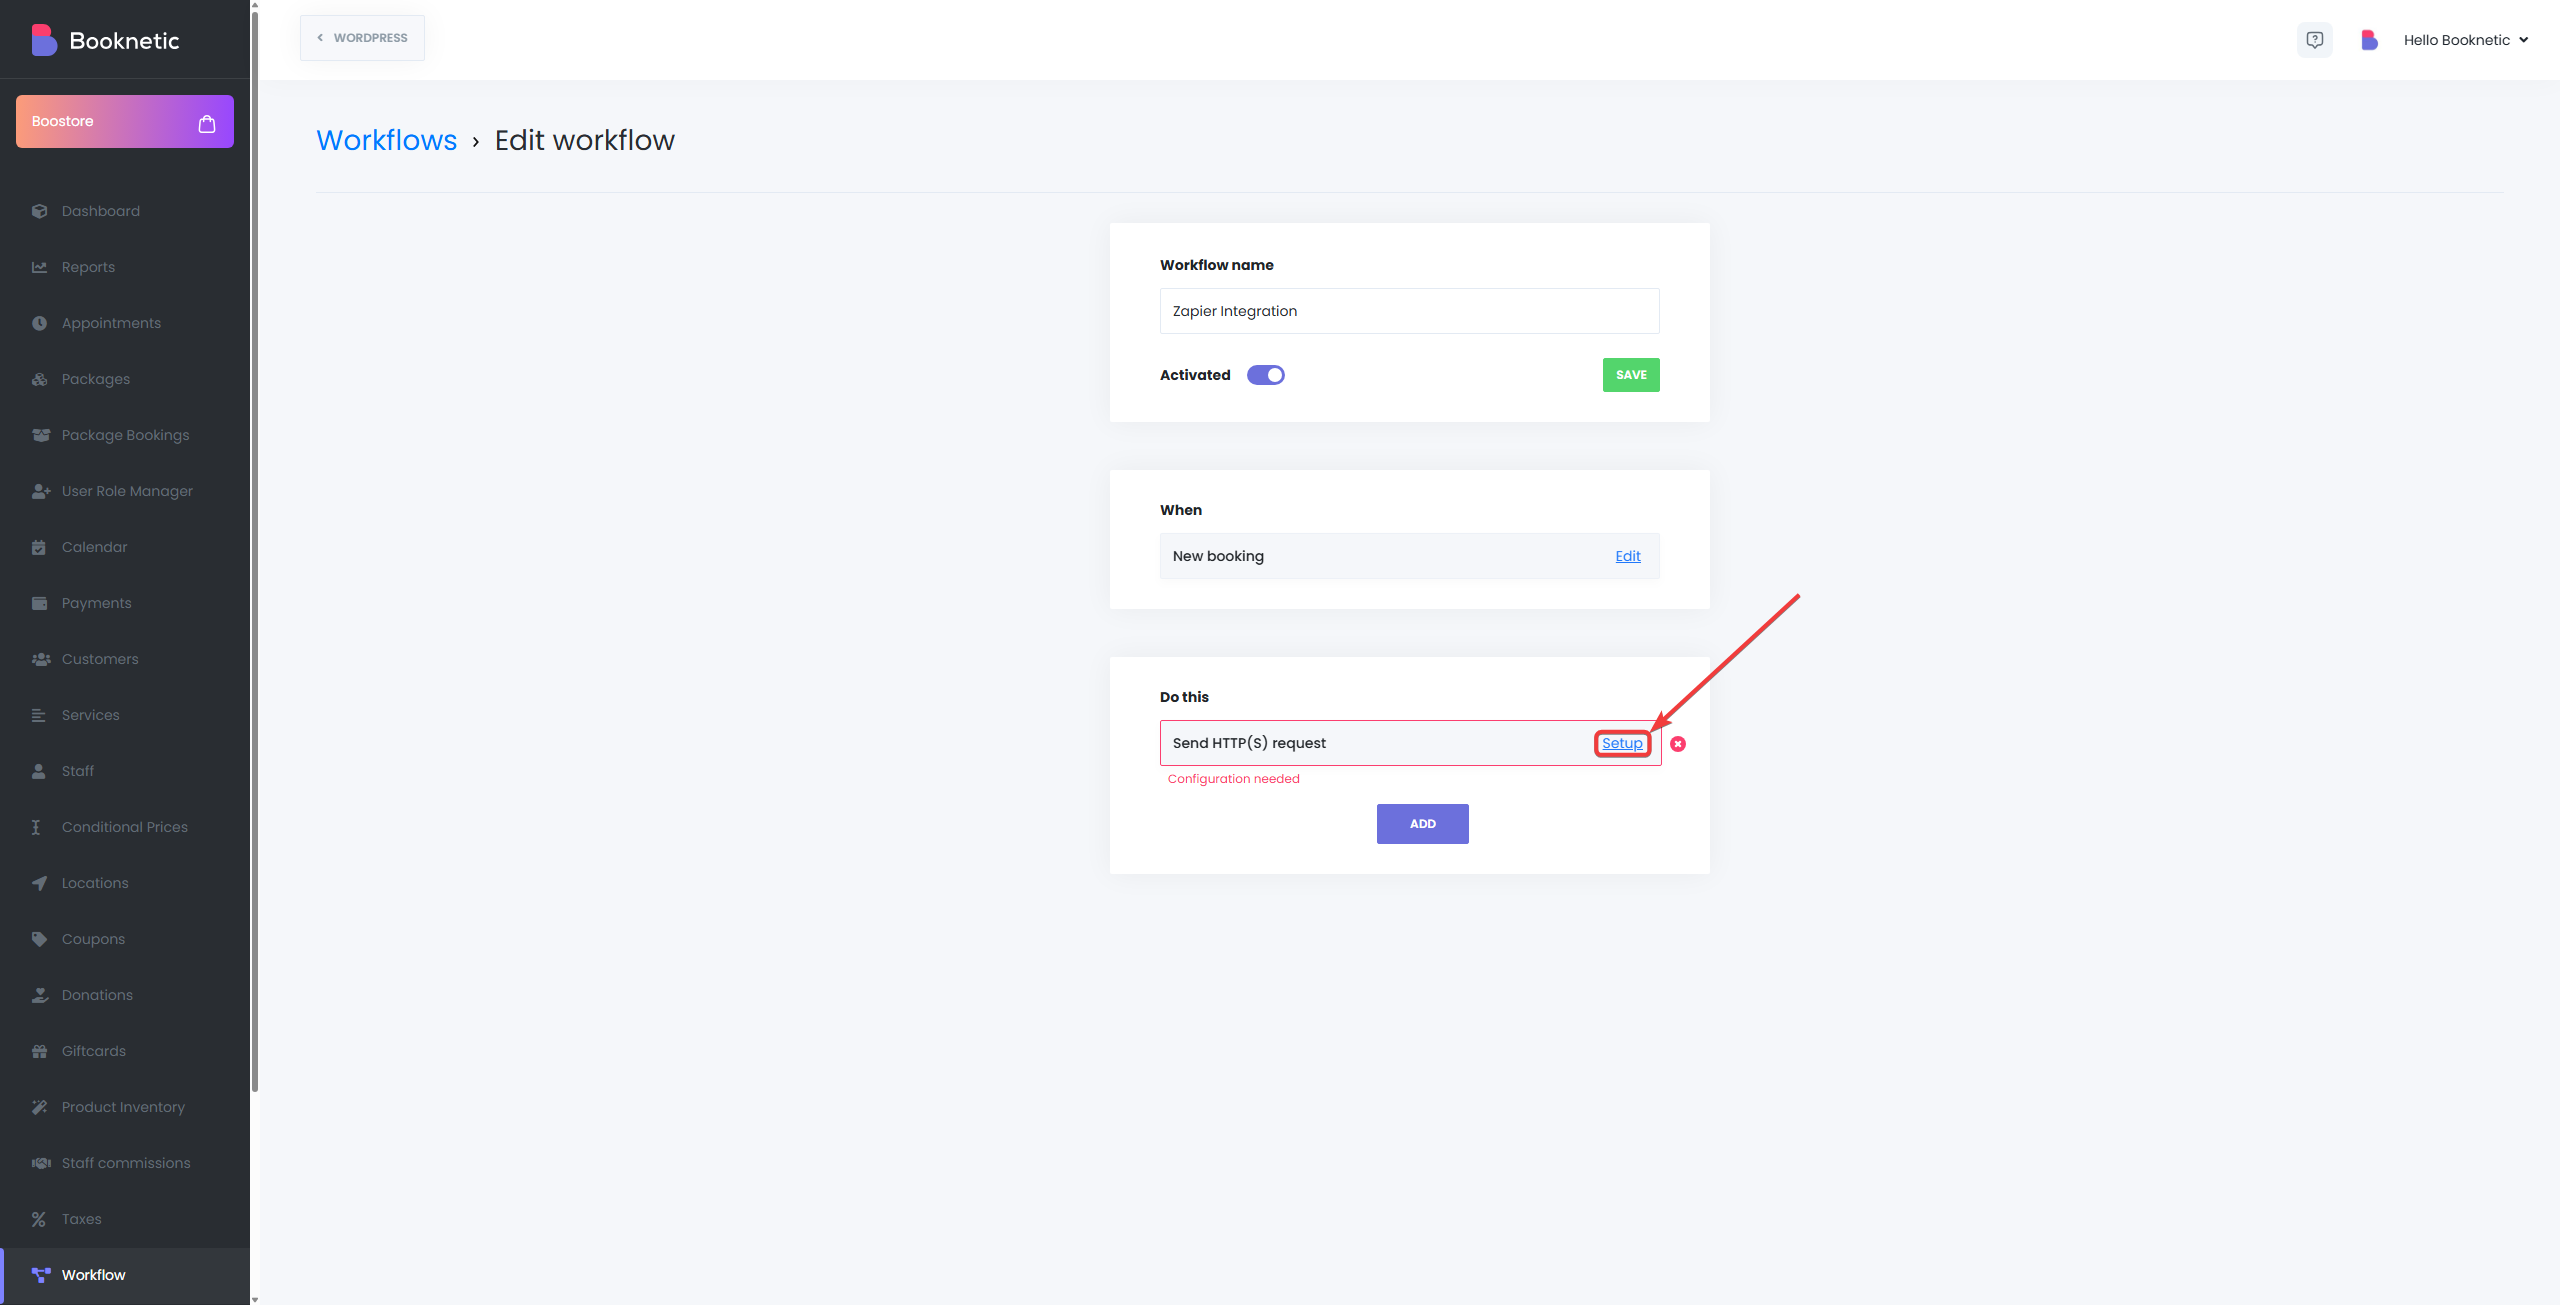
Setup HTTP Request:
- Click the “Setup” button next to the Send HTTP(s) request action.
-
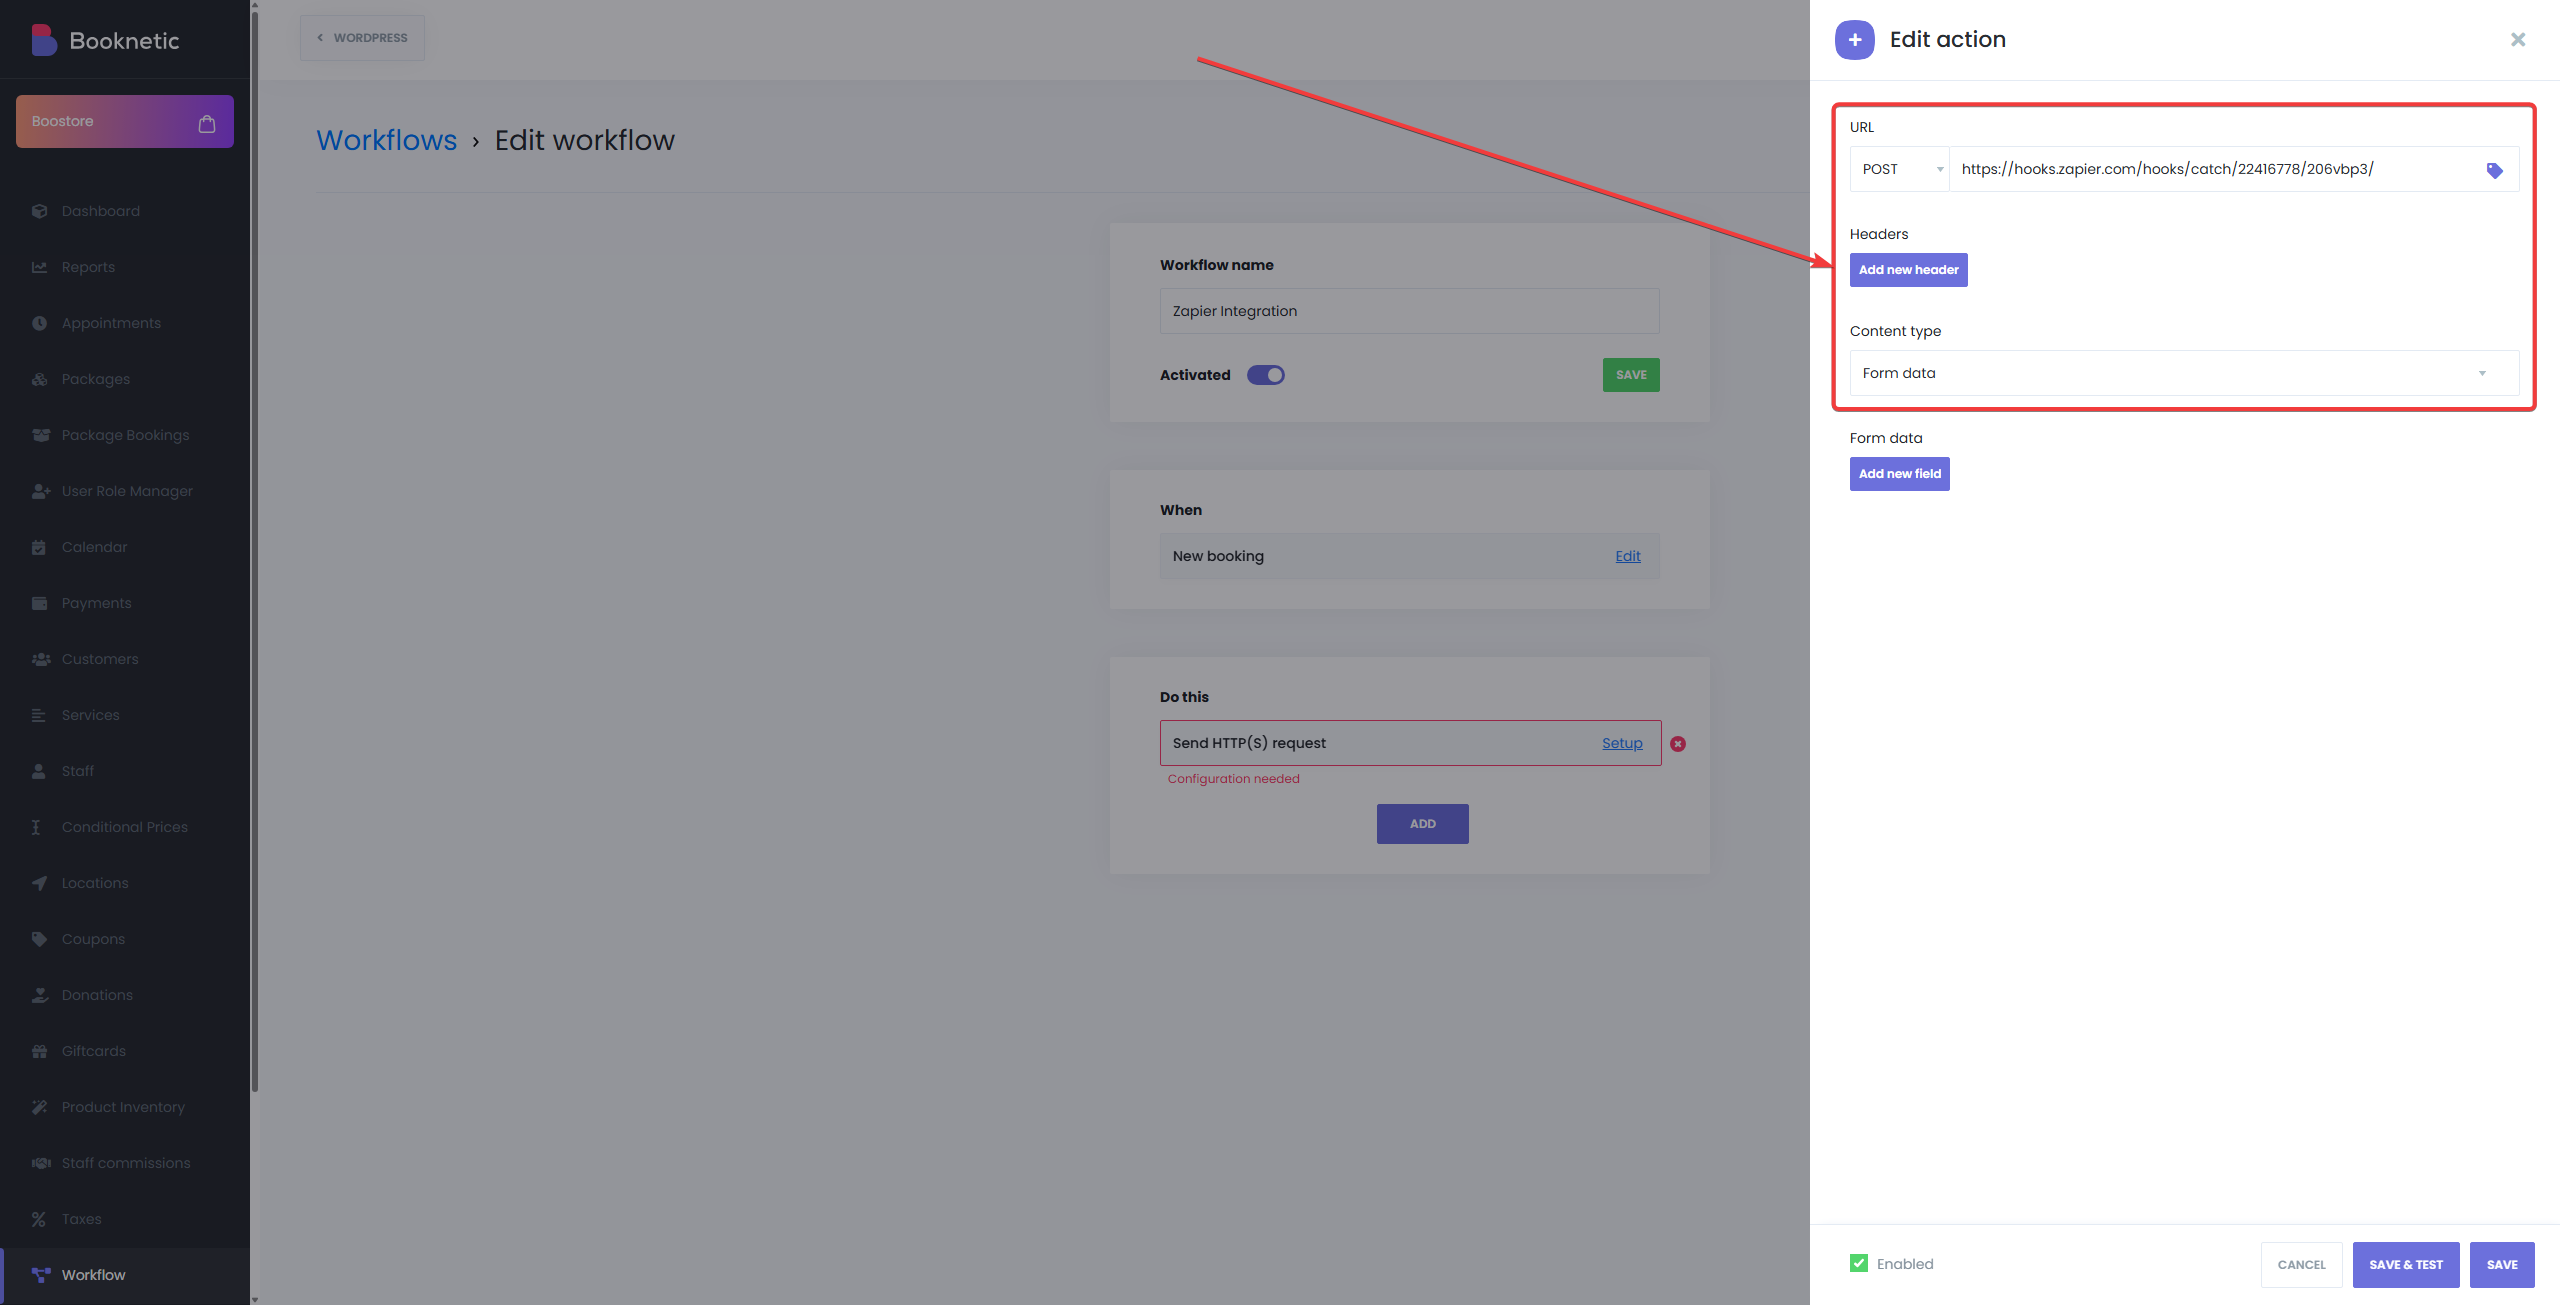
A new window will appear; configure it as follows:
- URL: Paste the Webhook URL copied from Zapier.
- Request Method: Select POST.
- Content Type: Choose Form Data.
- Headers: Optional, usually skipped unless specifically needed.
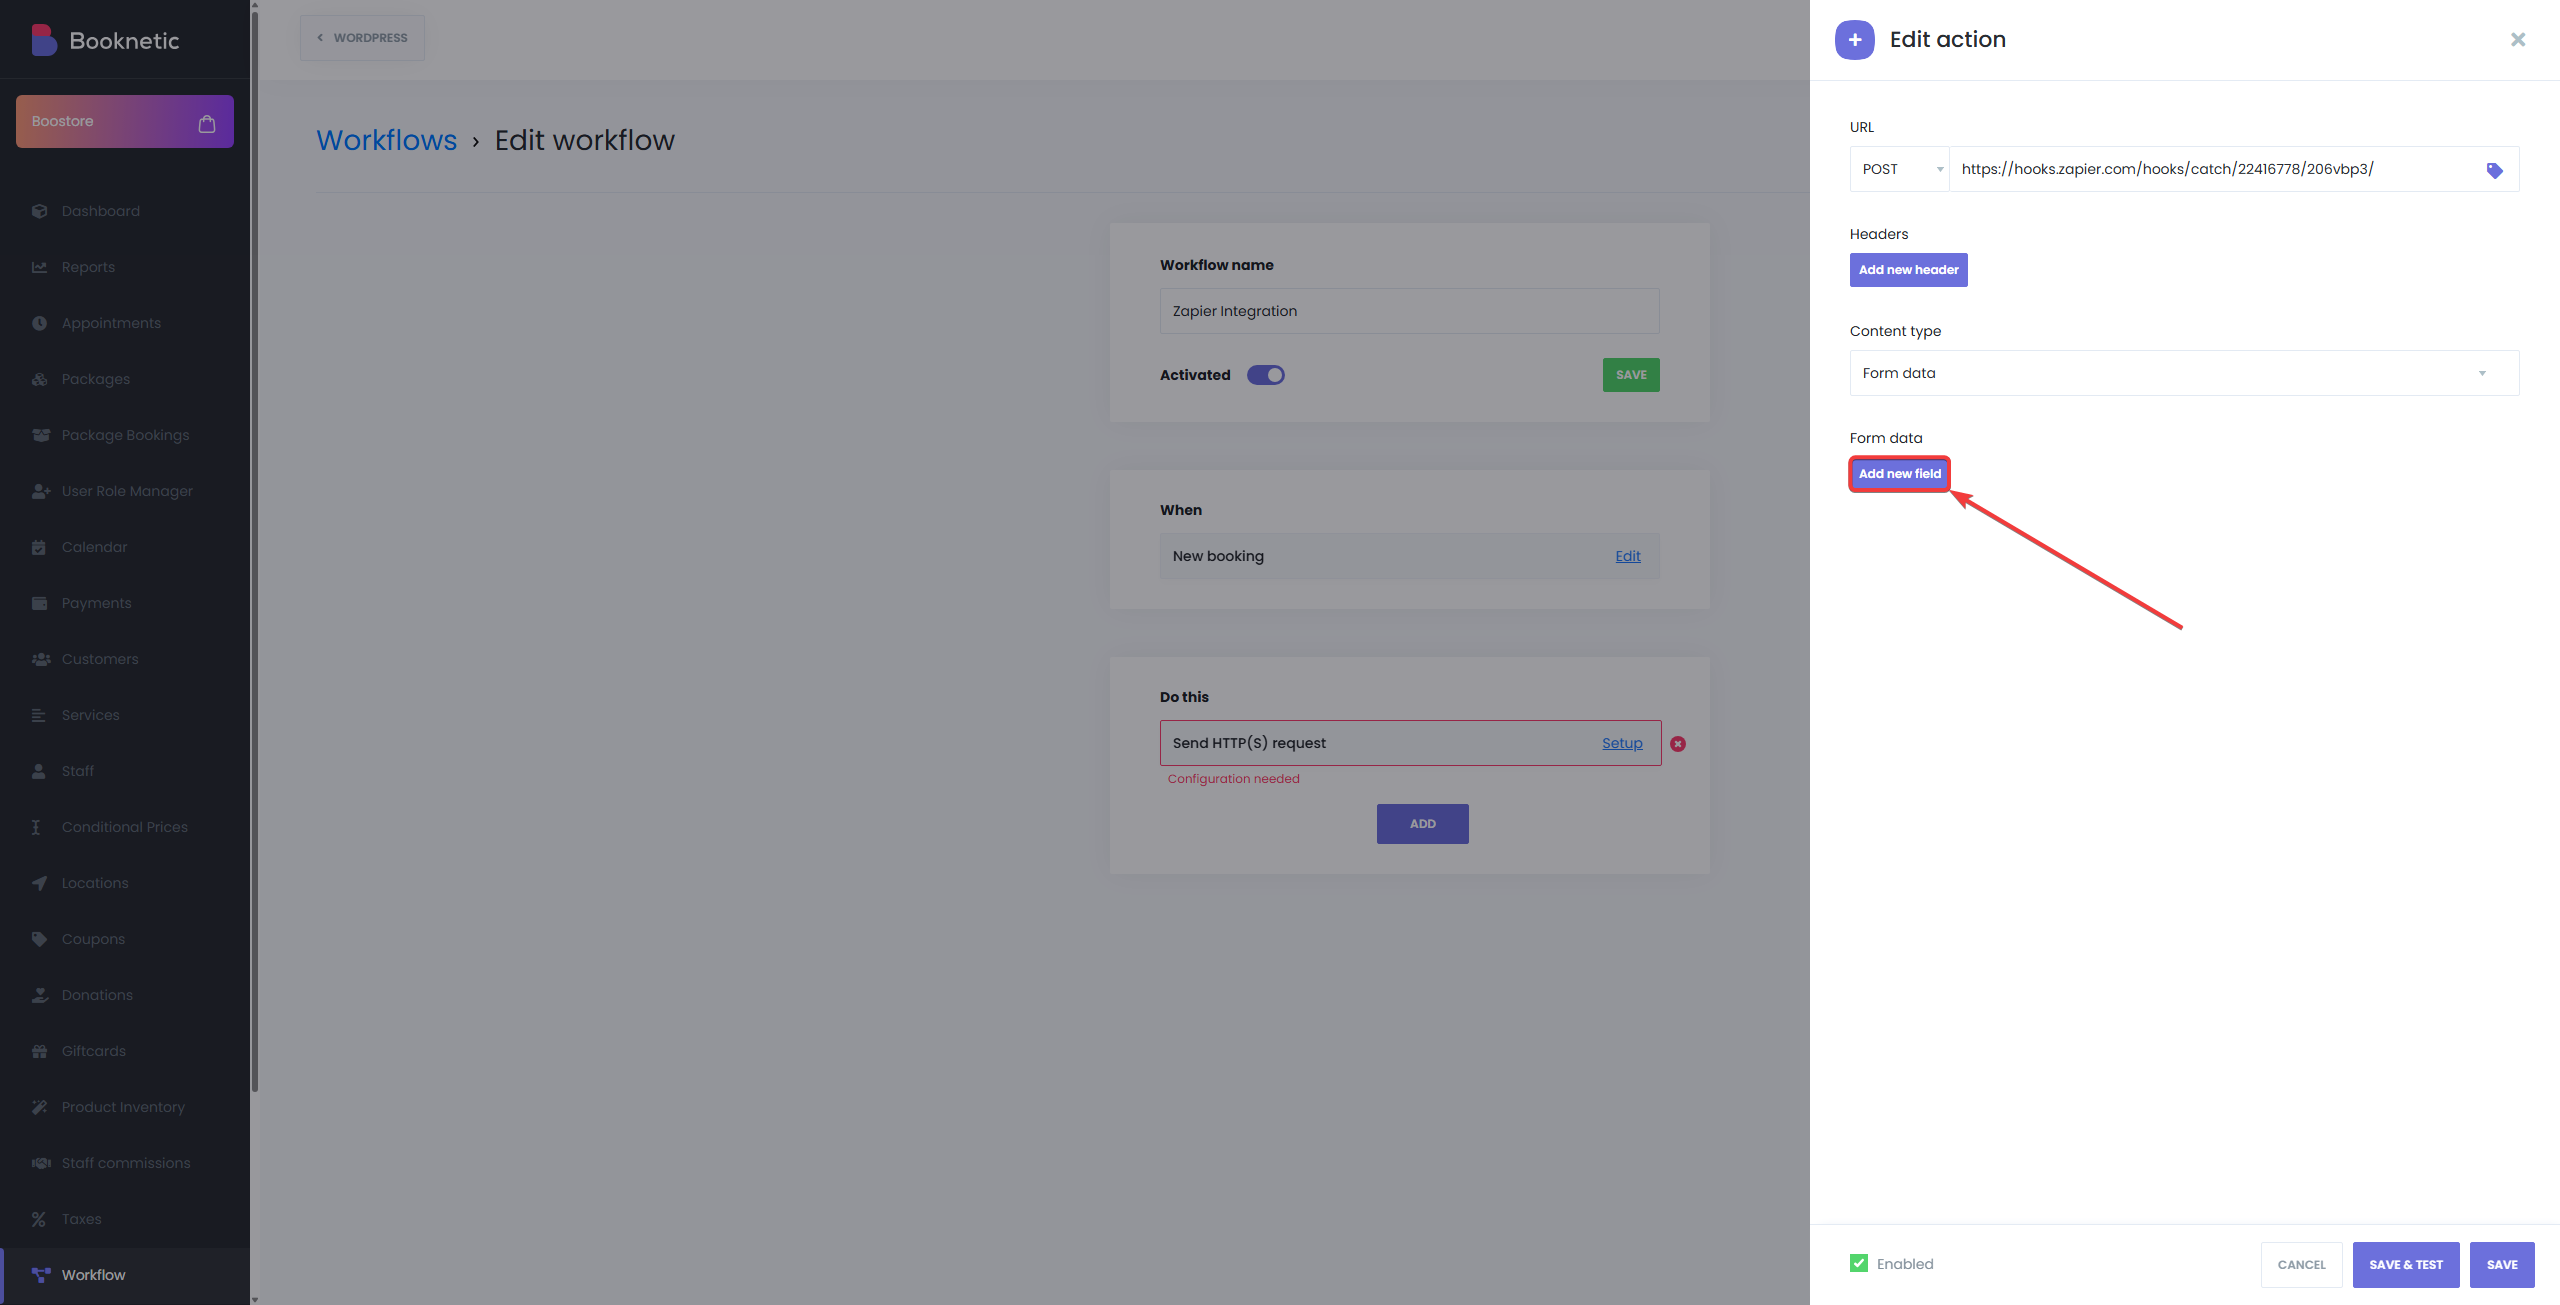
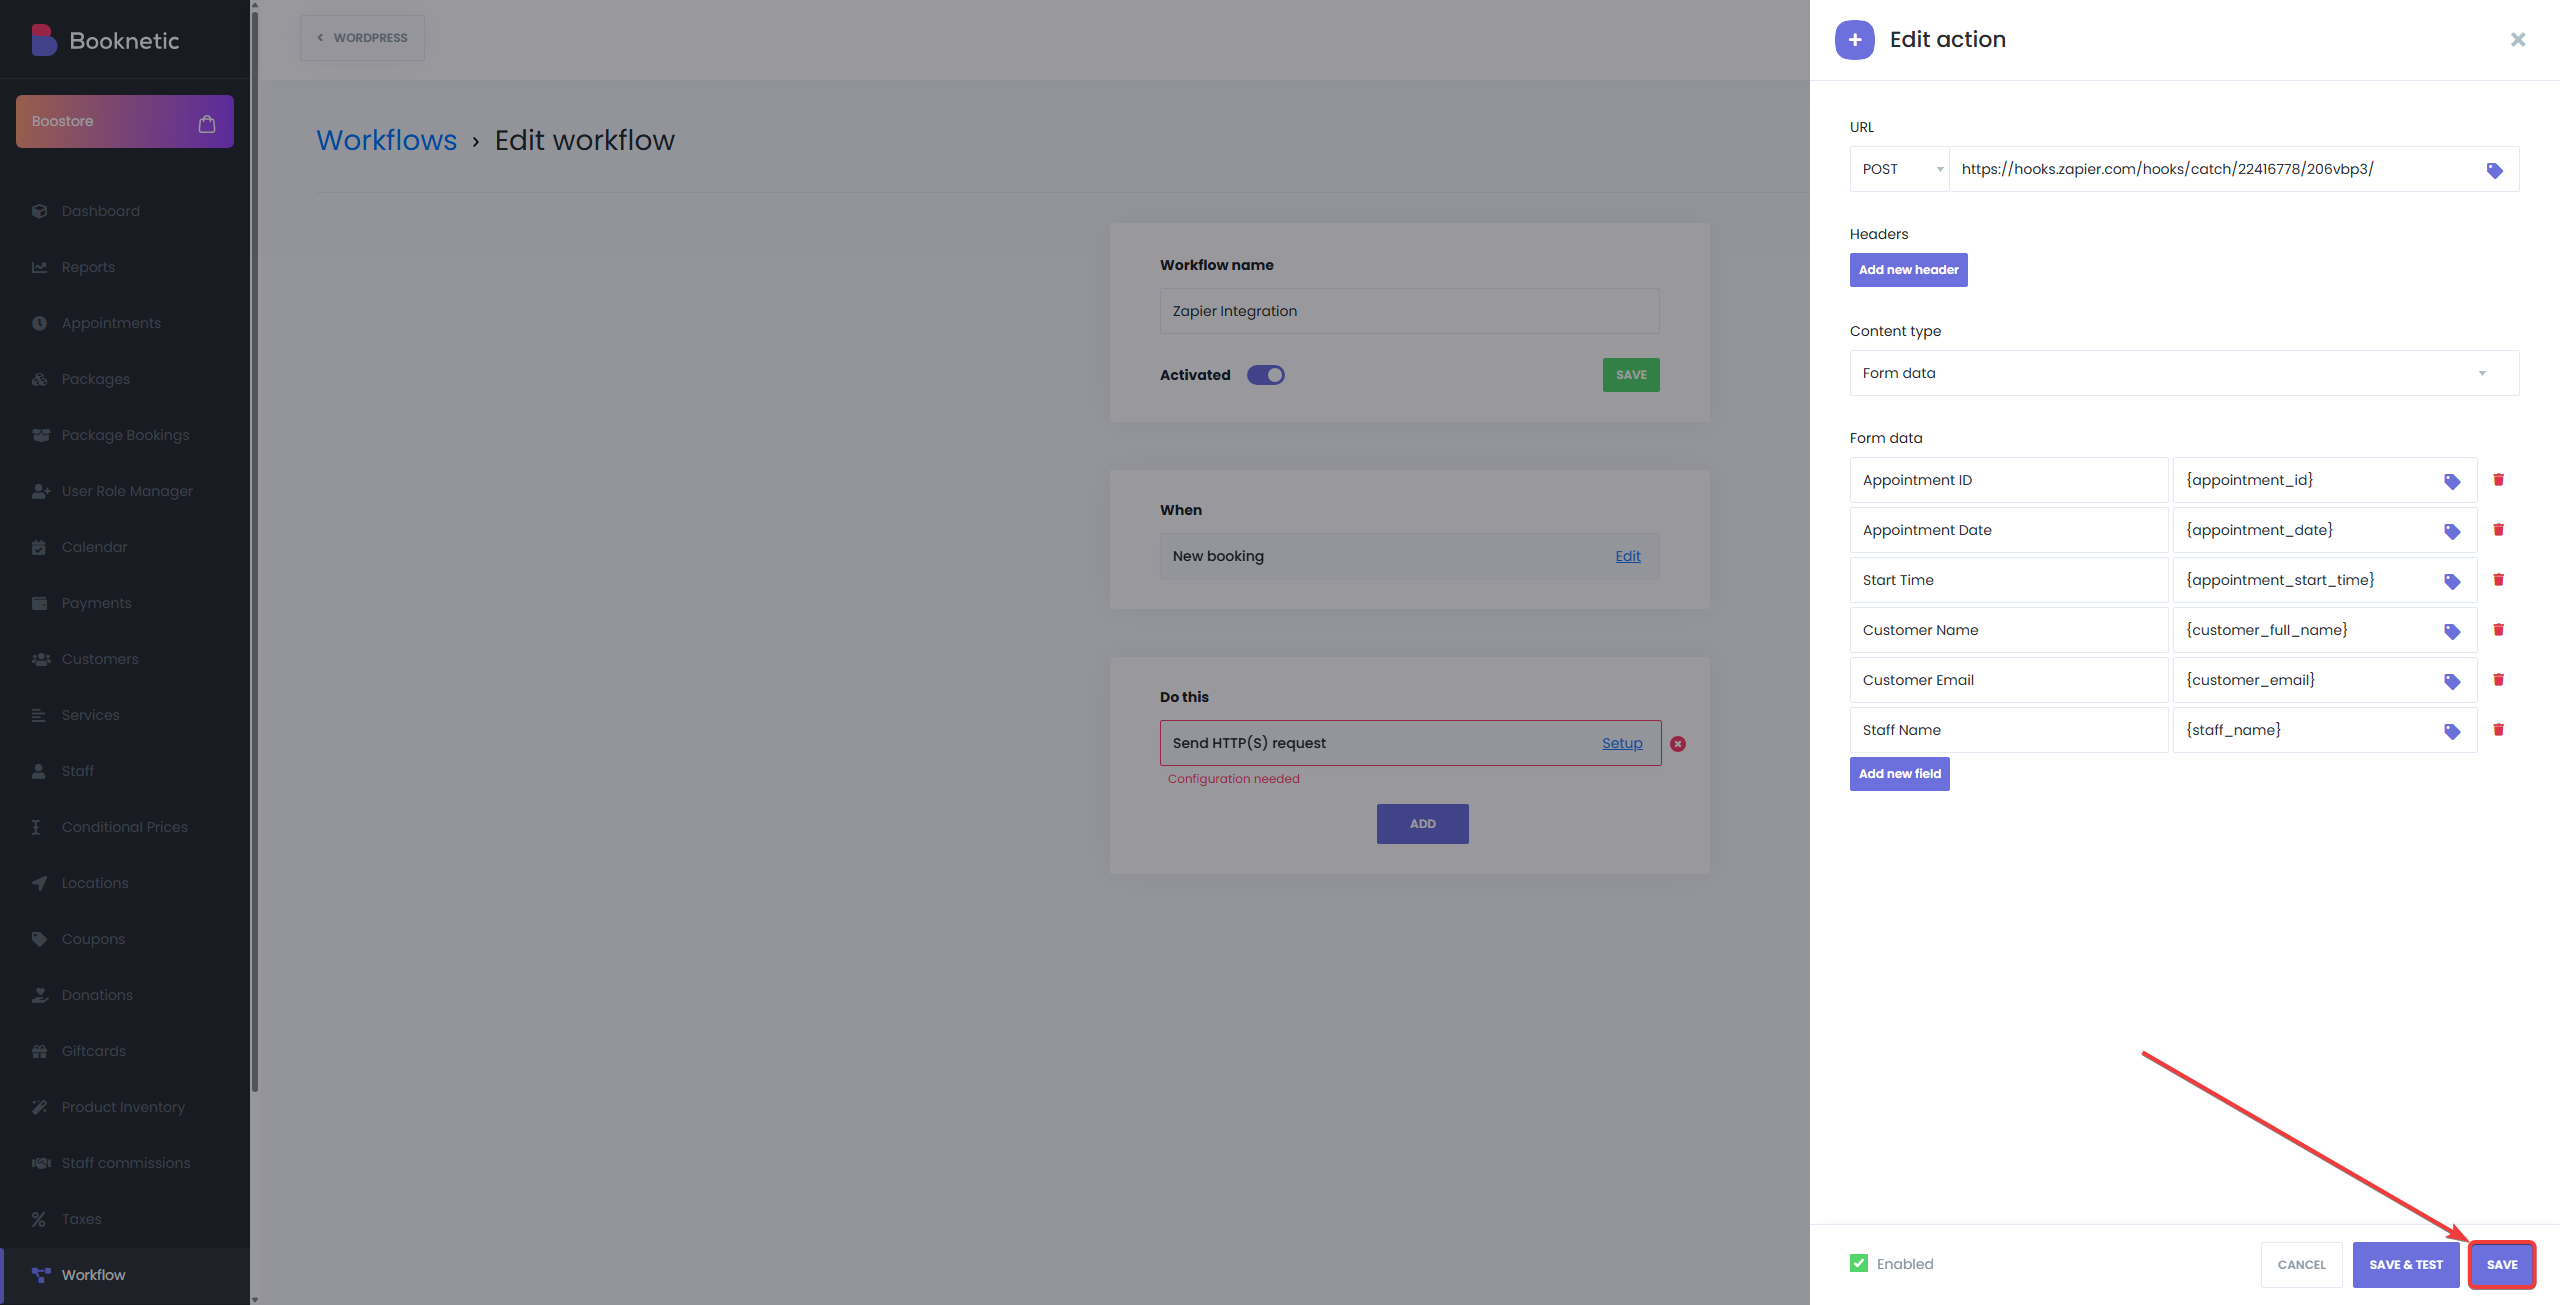
-
Add fields to send specific booking information:
- Click “Add new field” to define the data you wish to send.
-
Click “Save” once all required fields are configured.
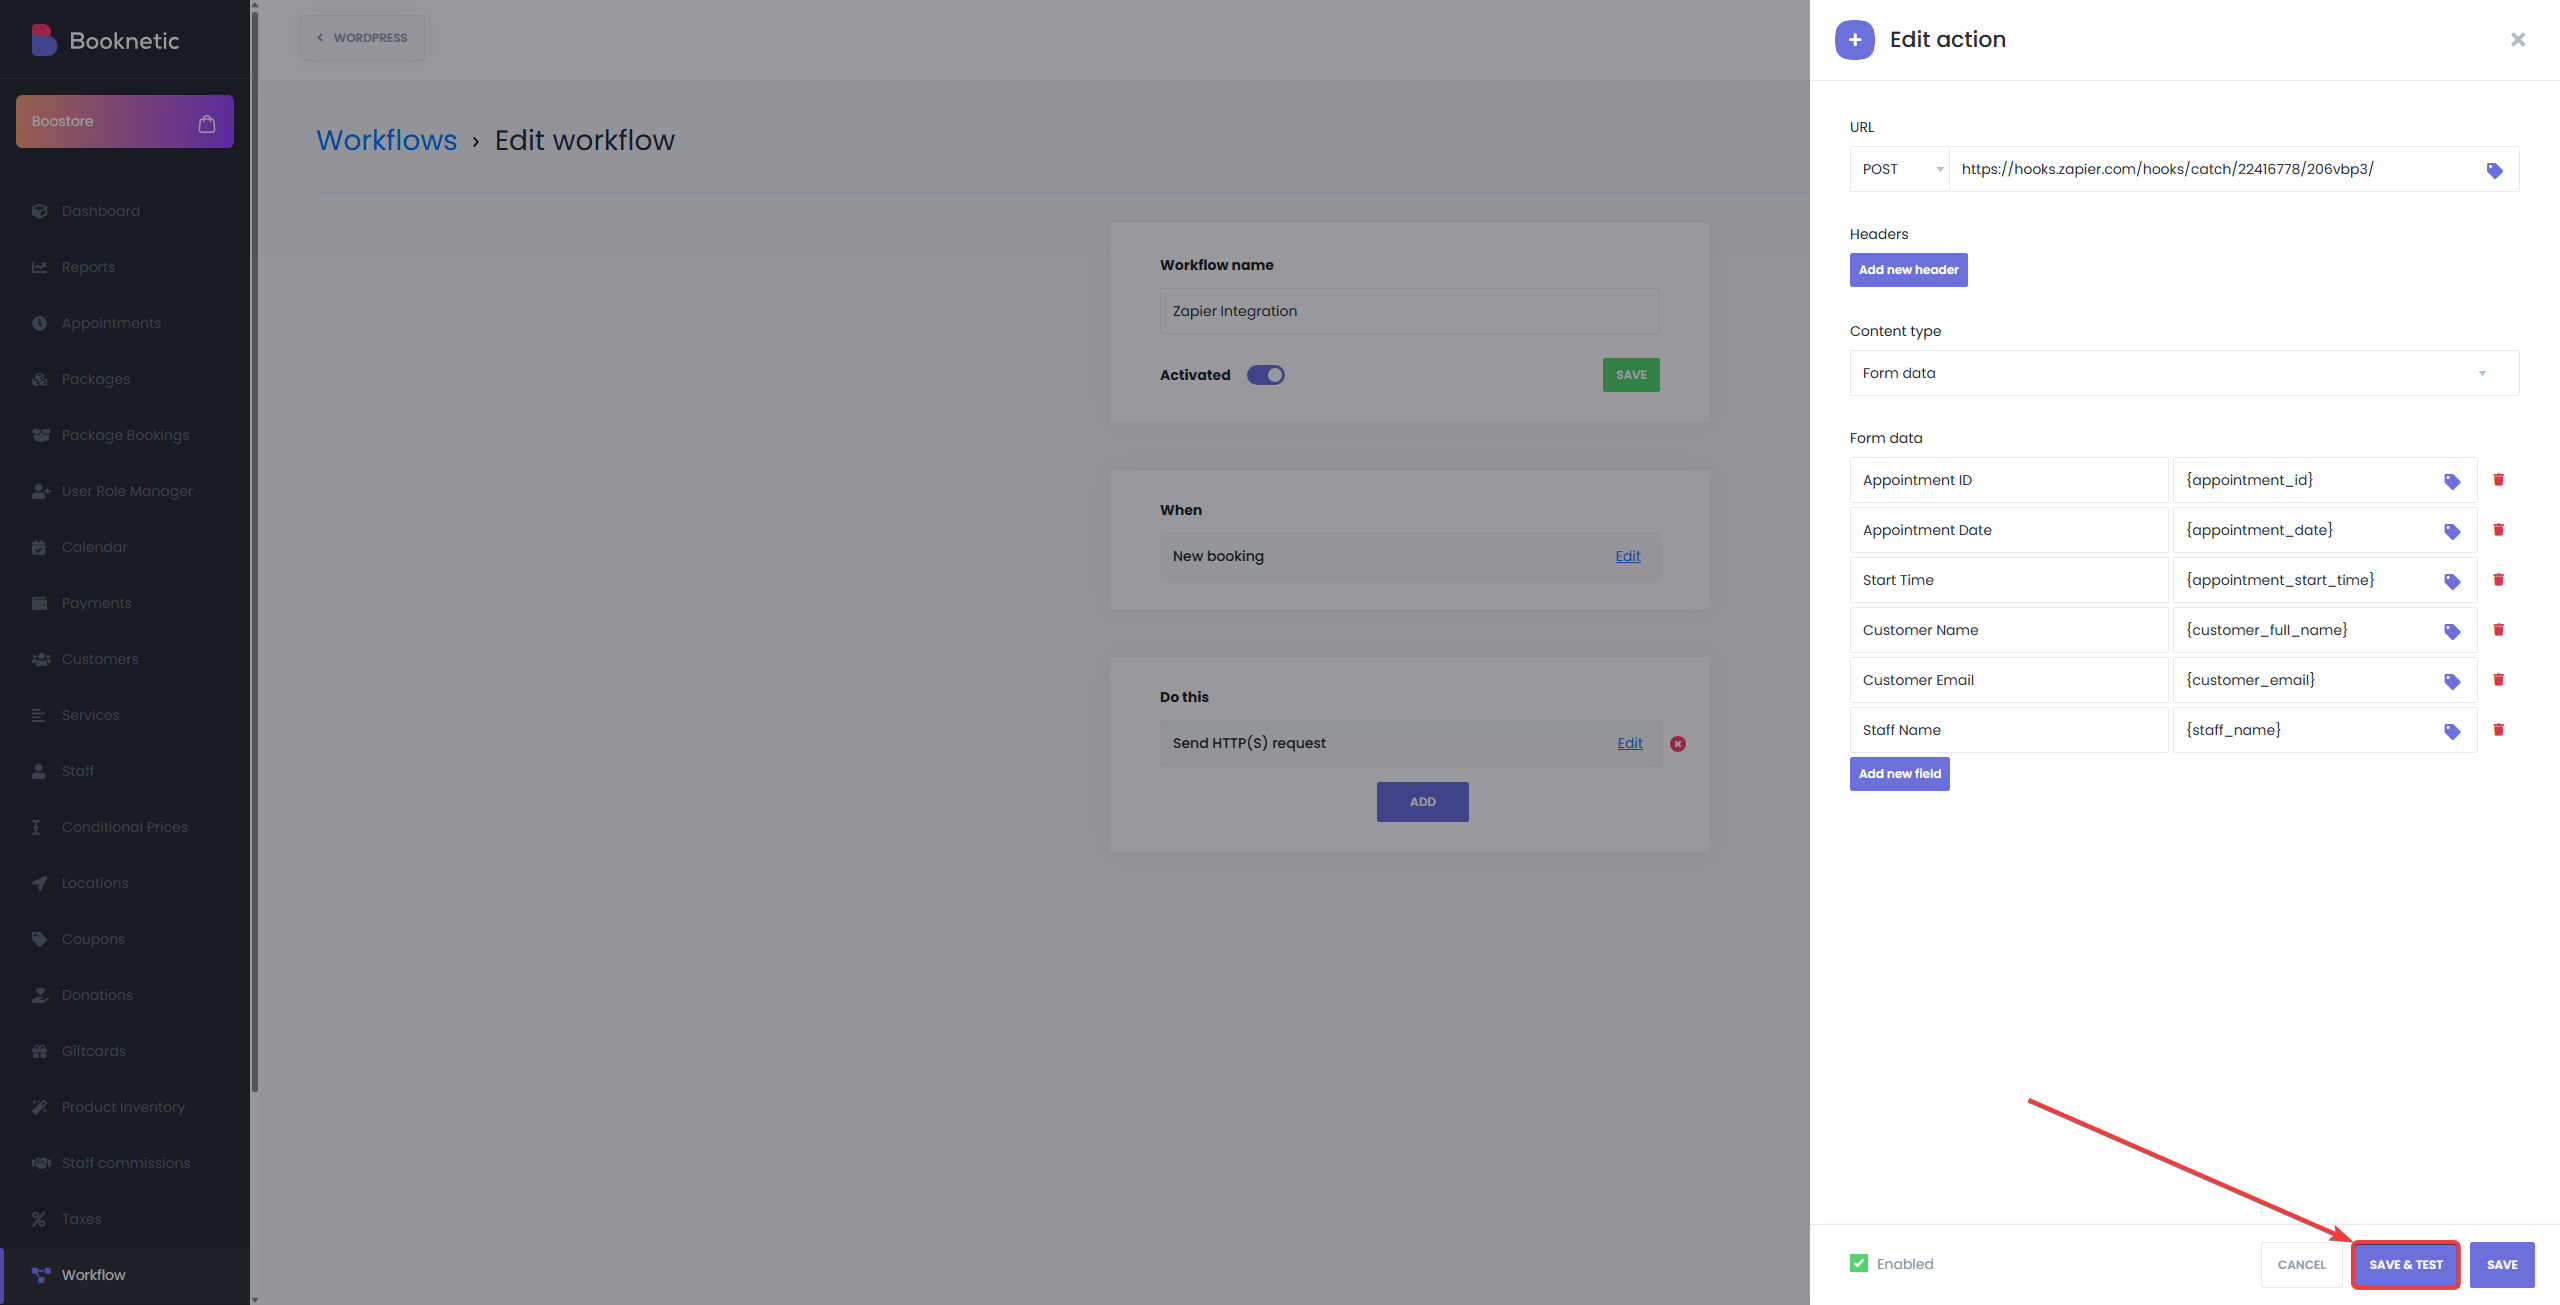
- After that, click on edit button to edit the HTTPS request, and this time, click “Save & Test” button.
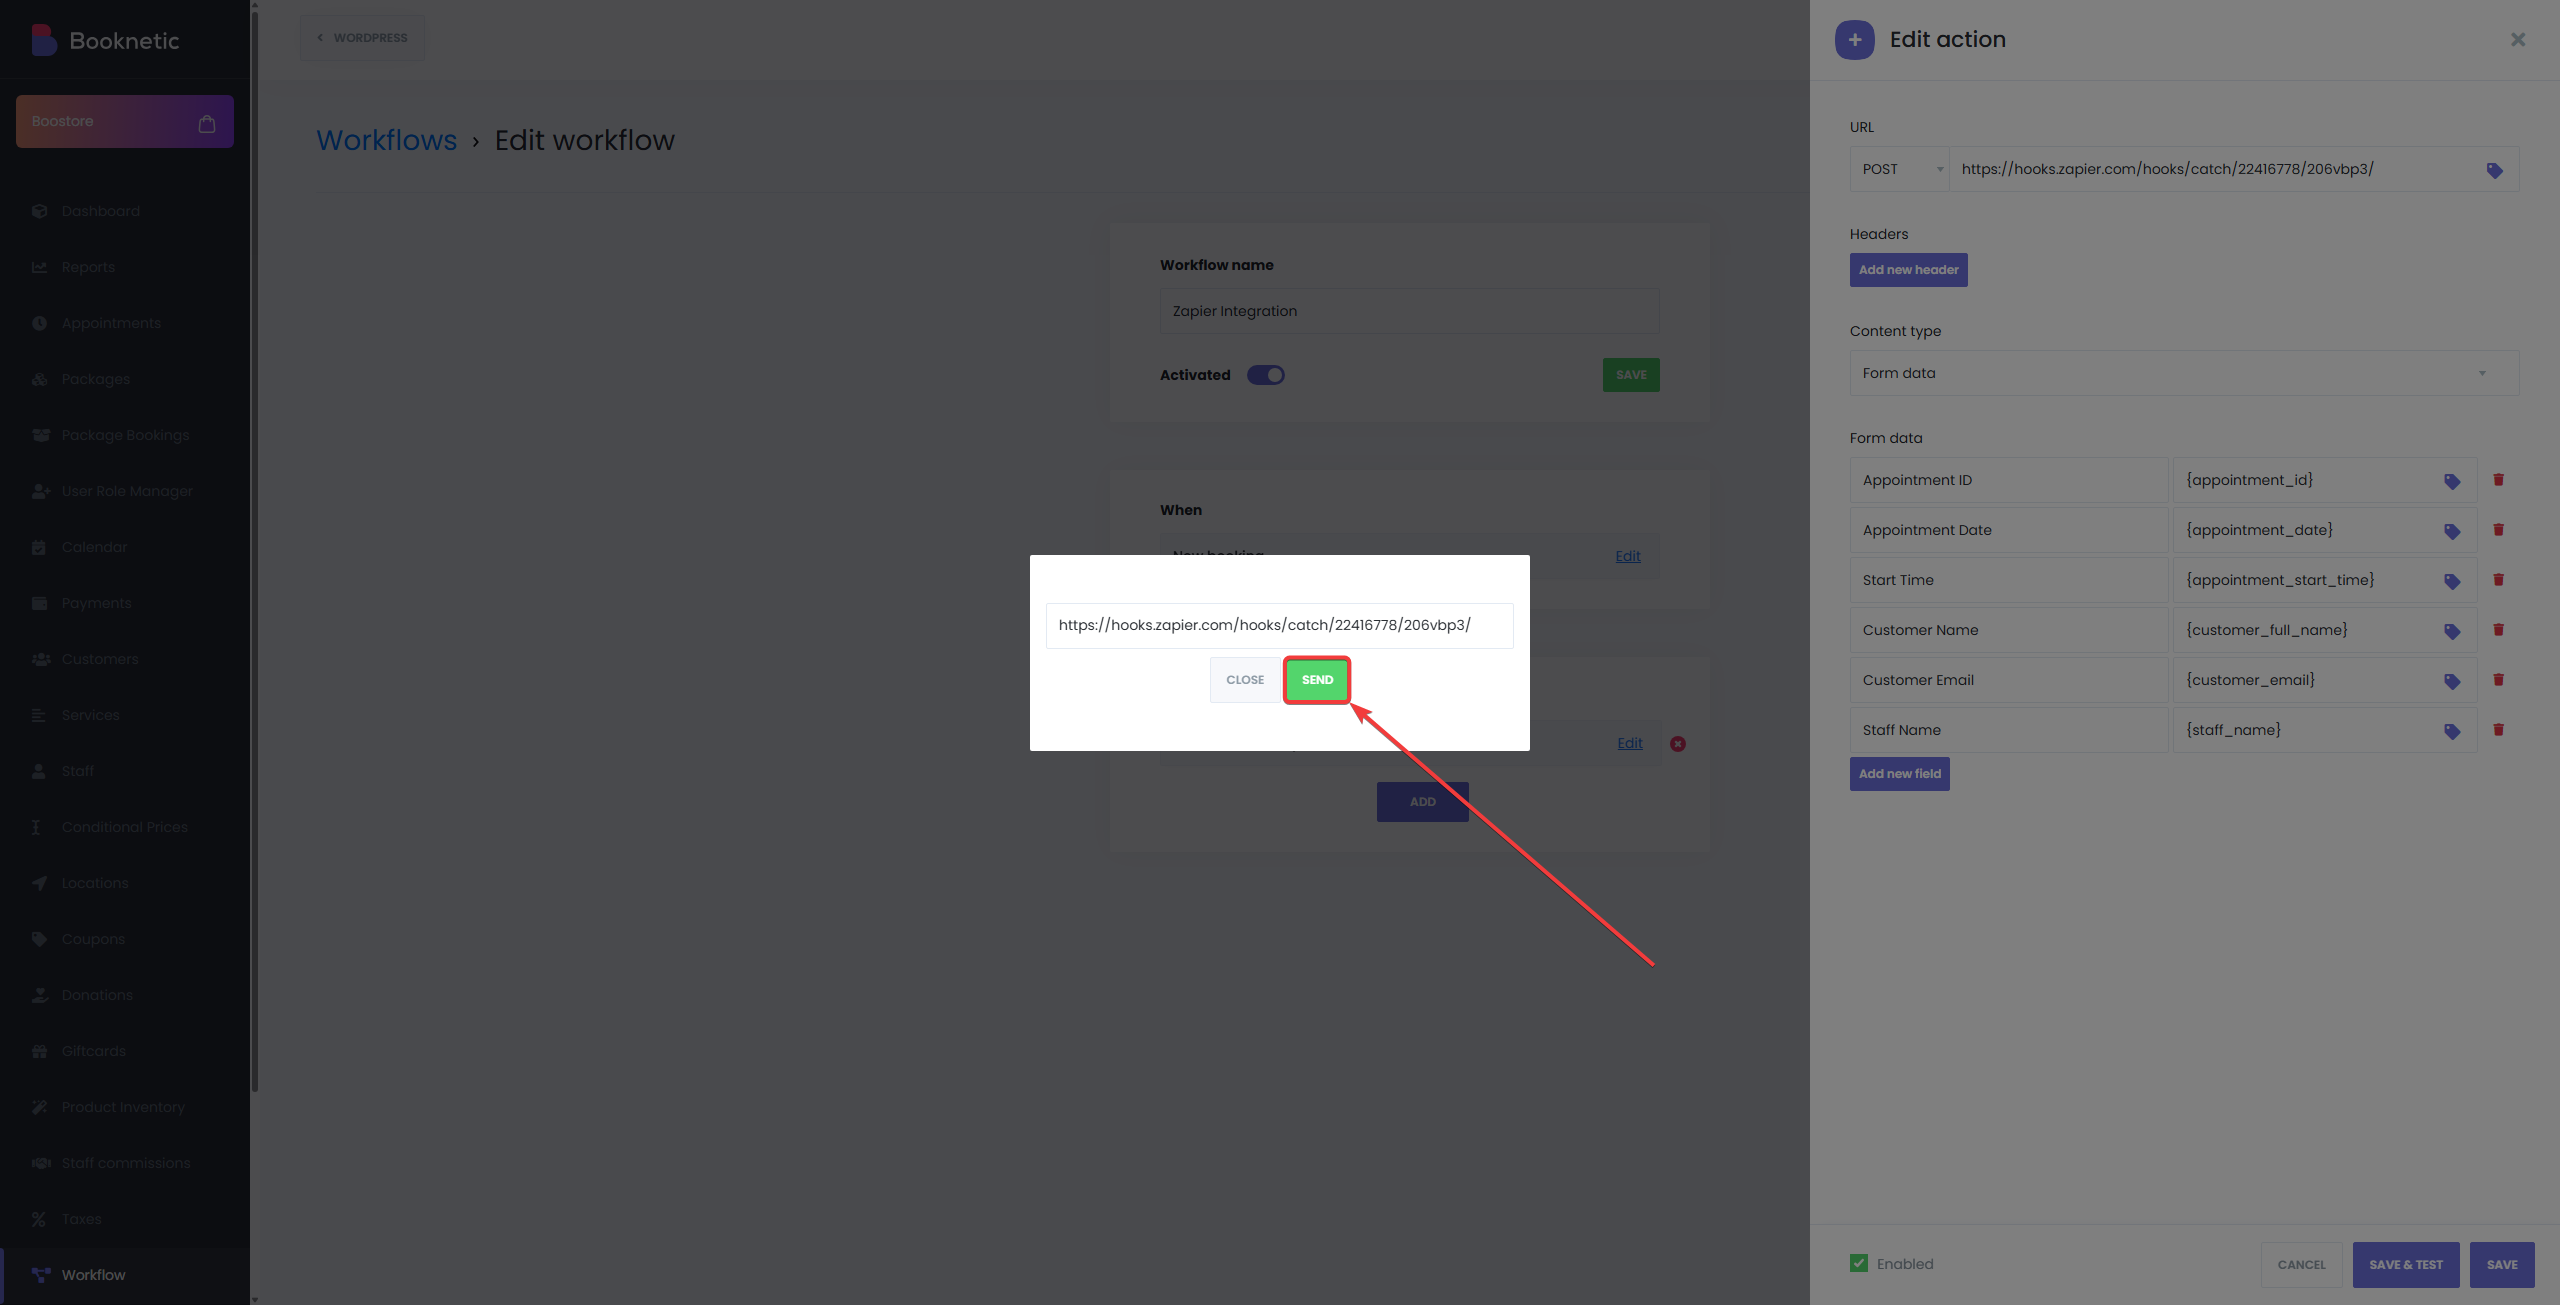
- Lastly, click on the “Send” button to send the test data to Zapier.
Step 4: Testing and Activating the Zap
-
Test the Trigger:
- Return to Zapier and click “Test trigger” to test the trigger.
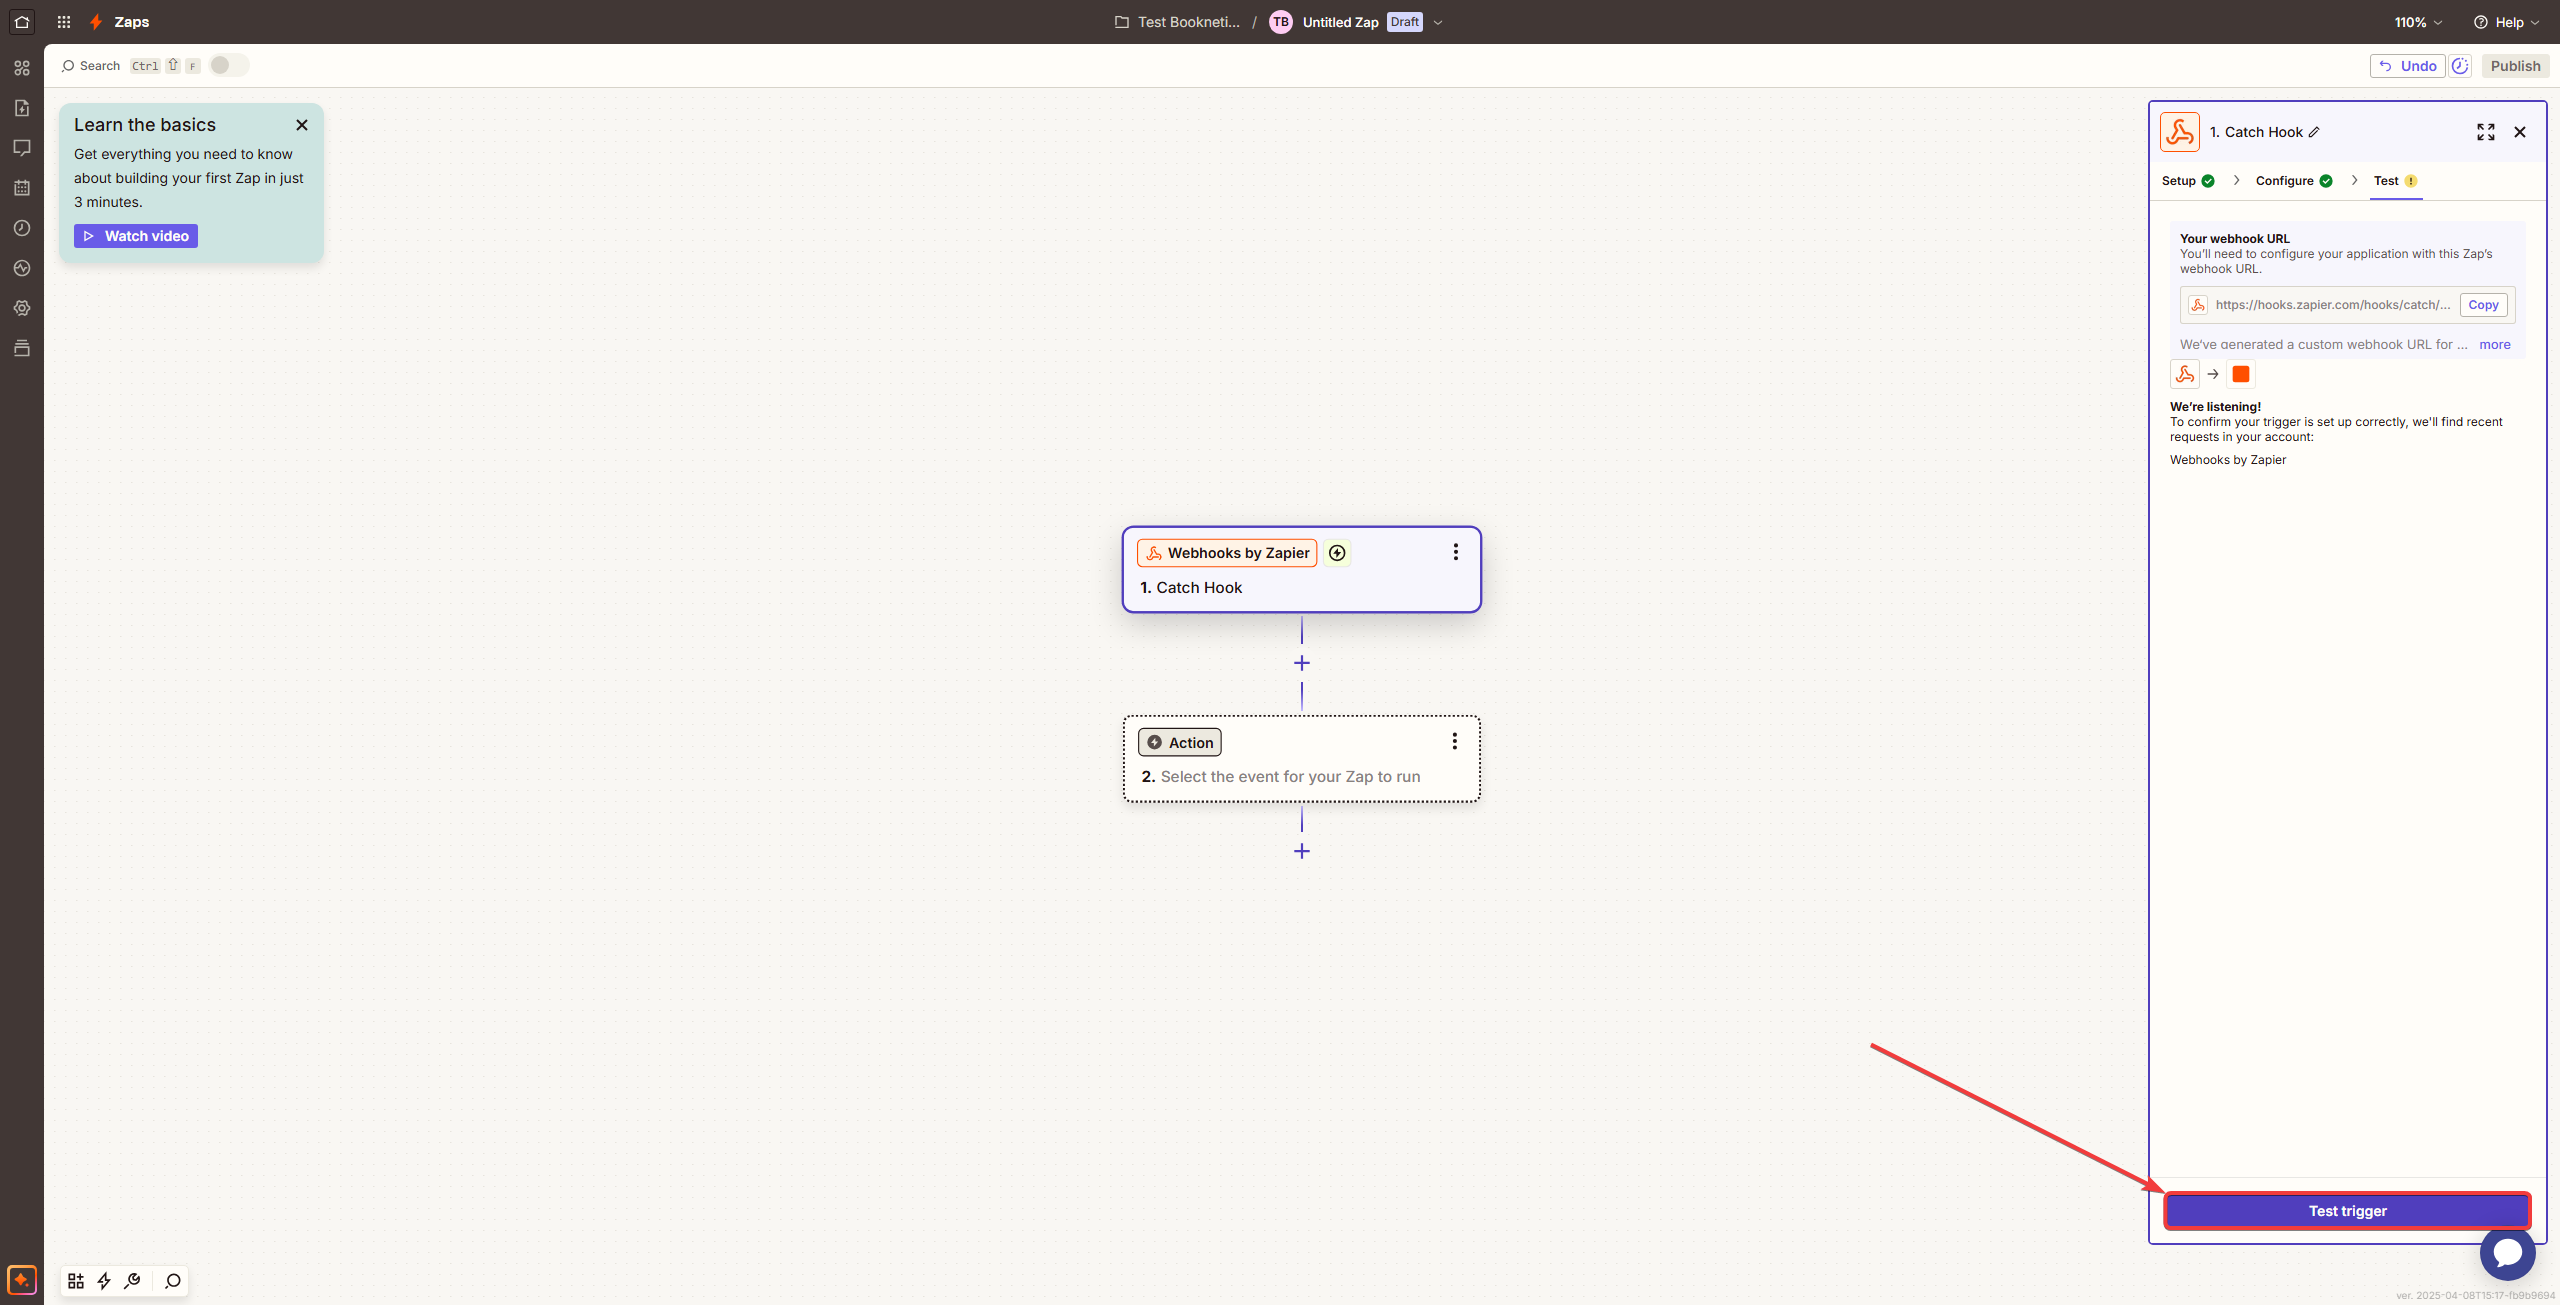
- Booknetic will send sample data to Zapier, which you can review to confirm correct setup.
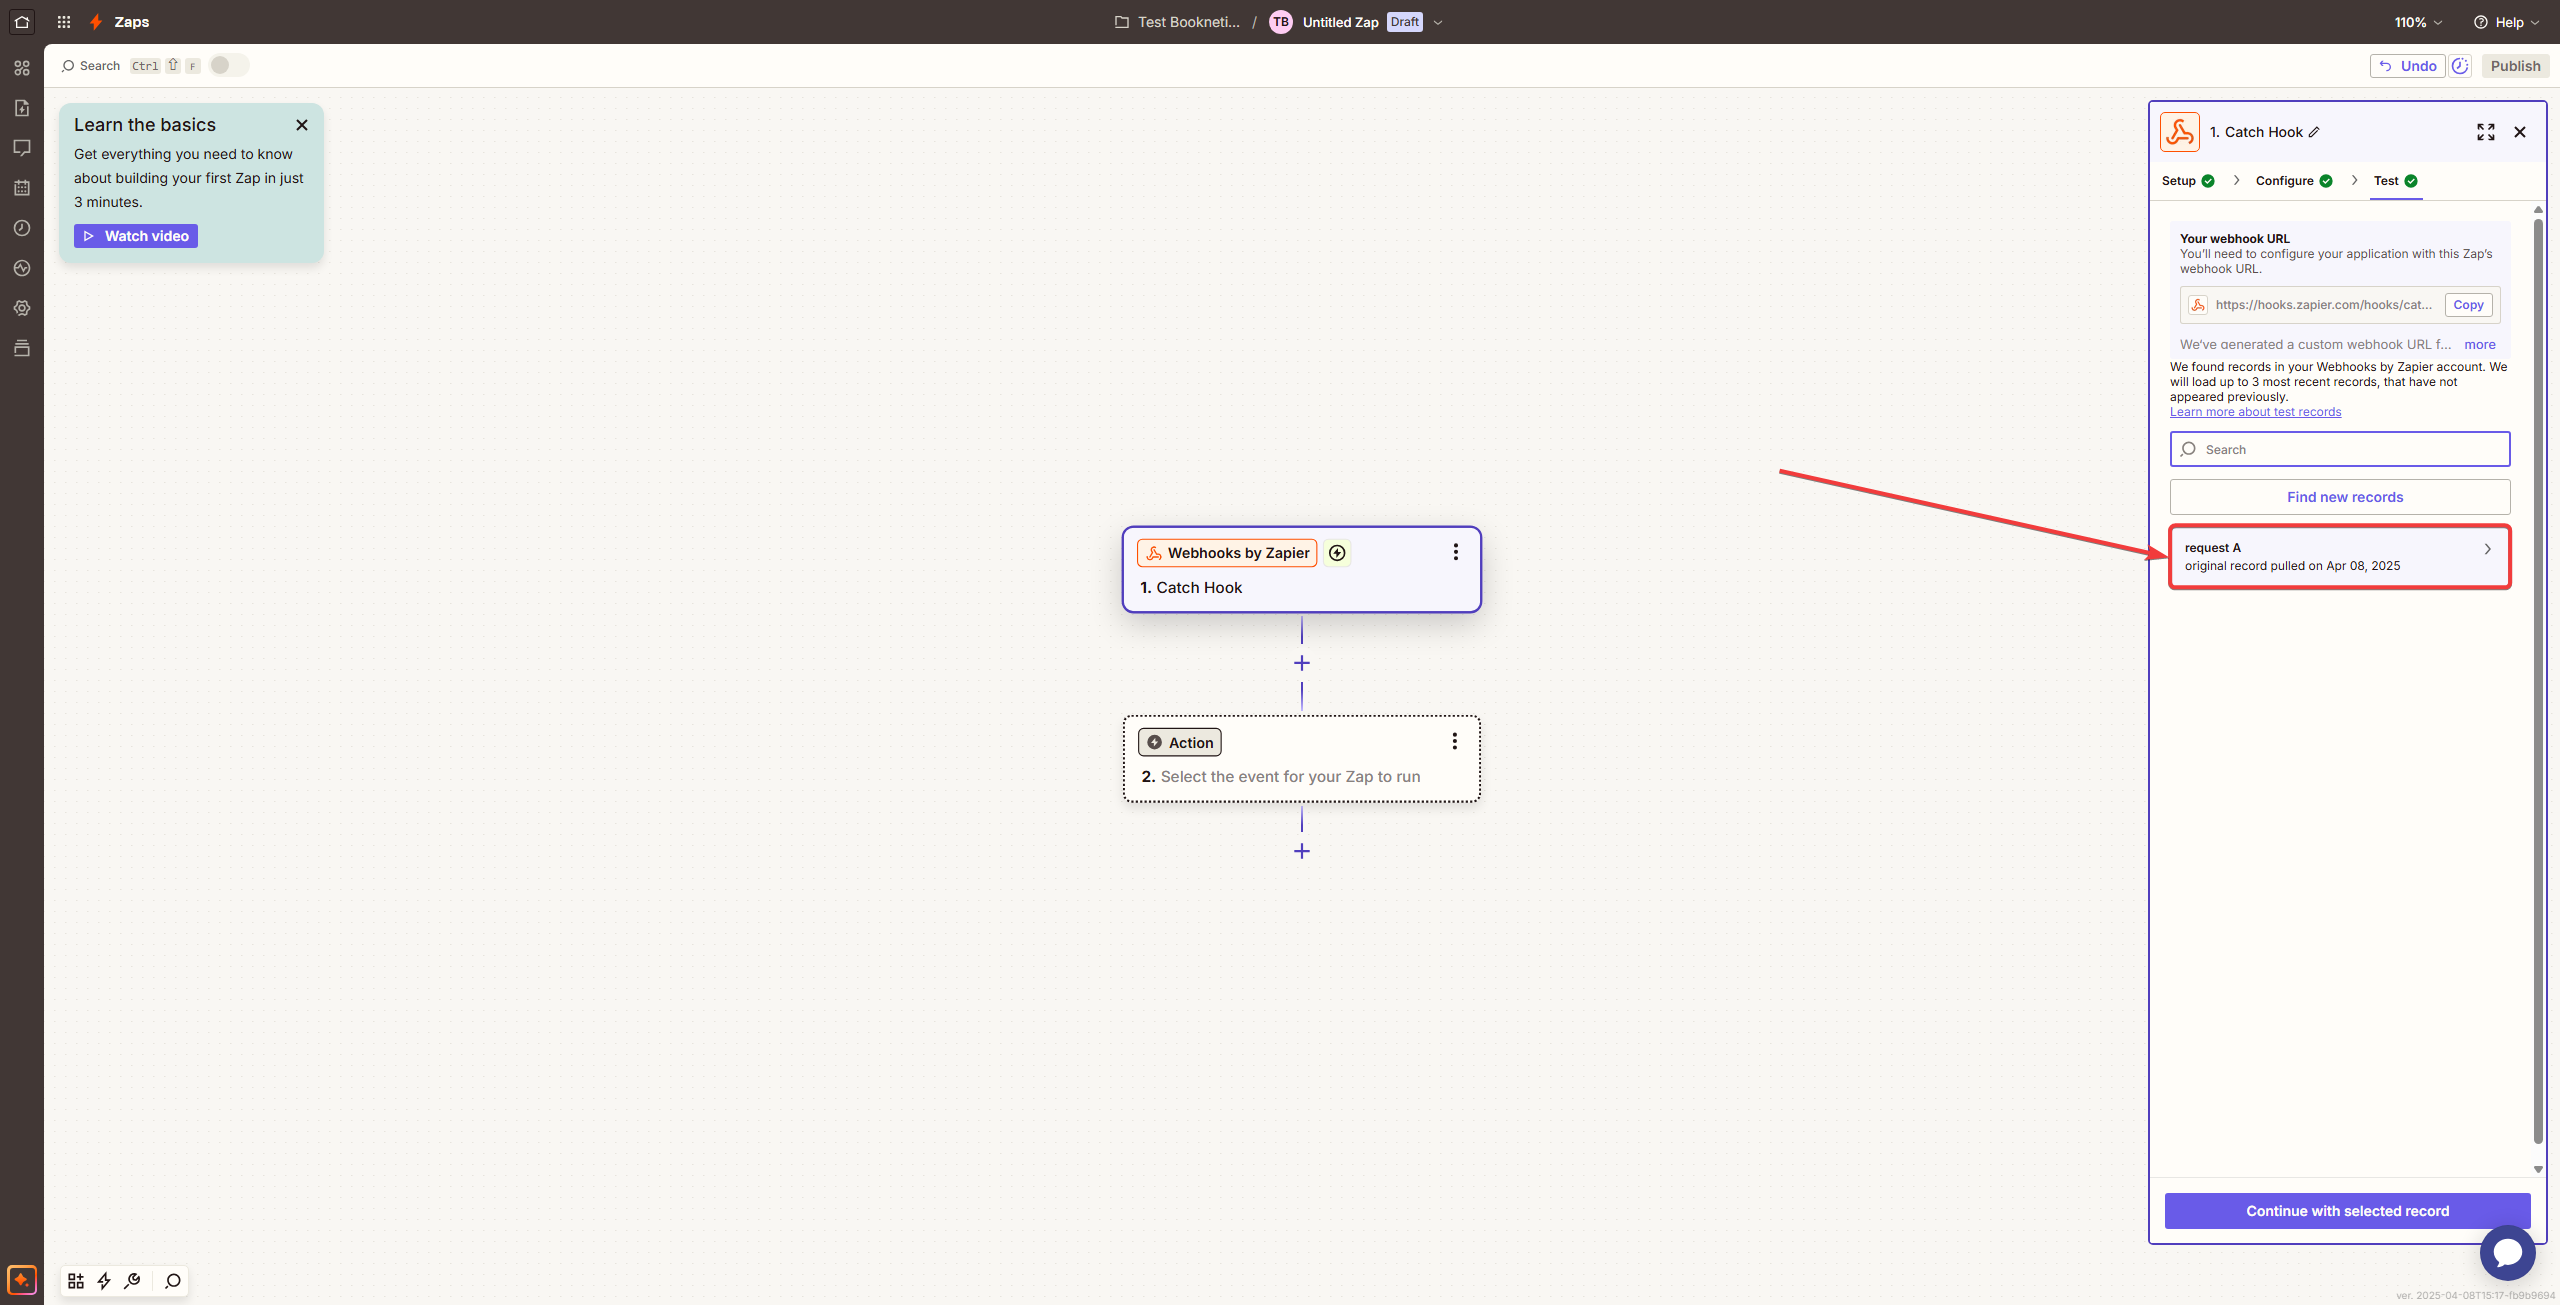
-
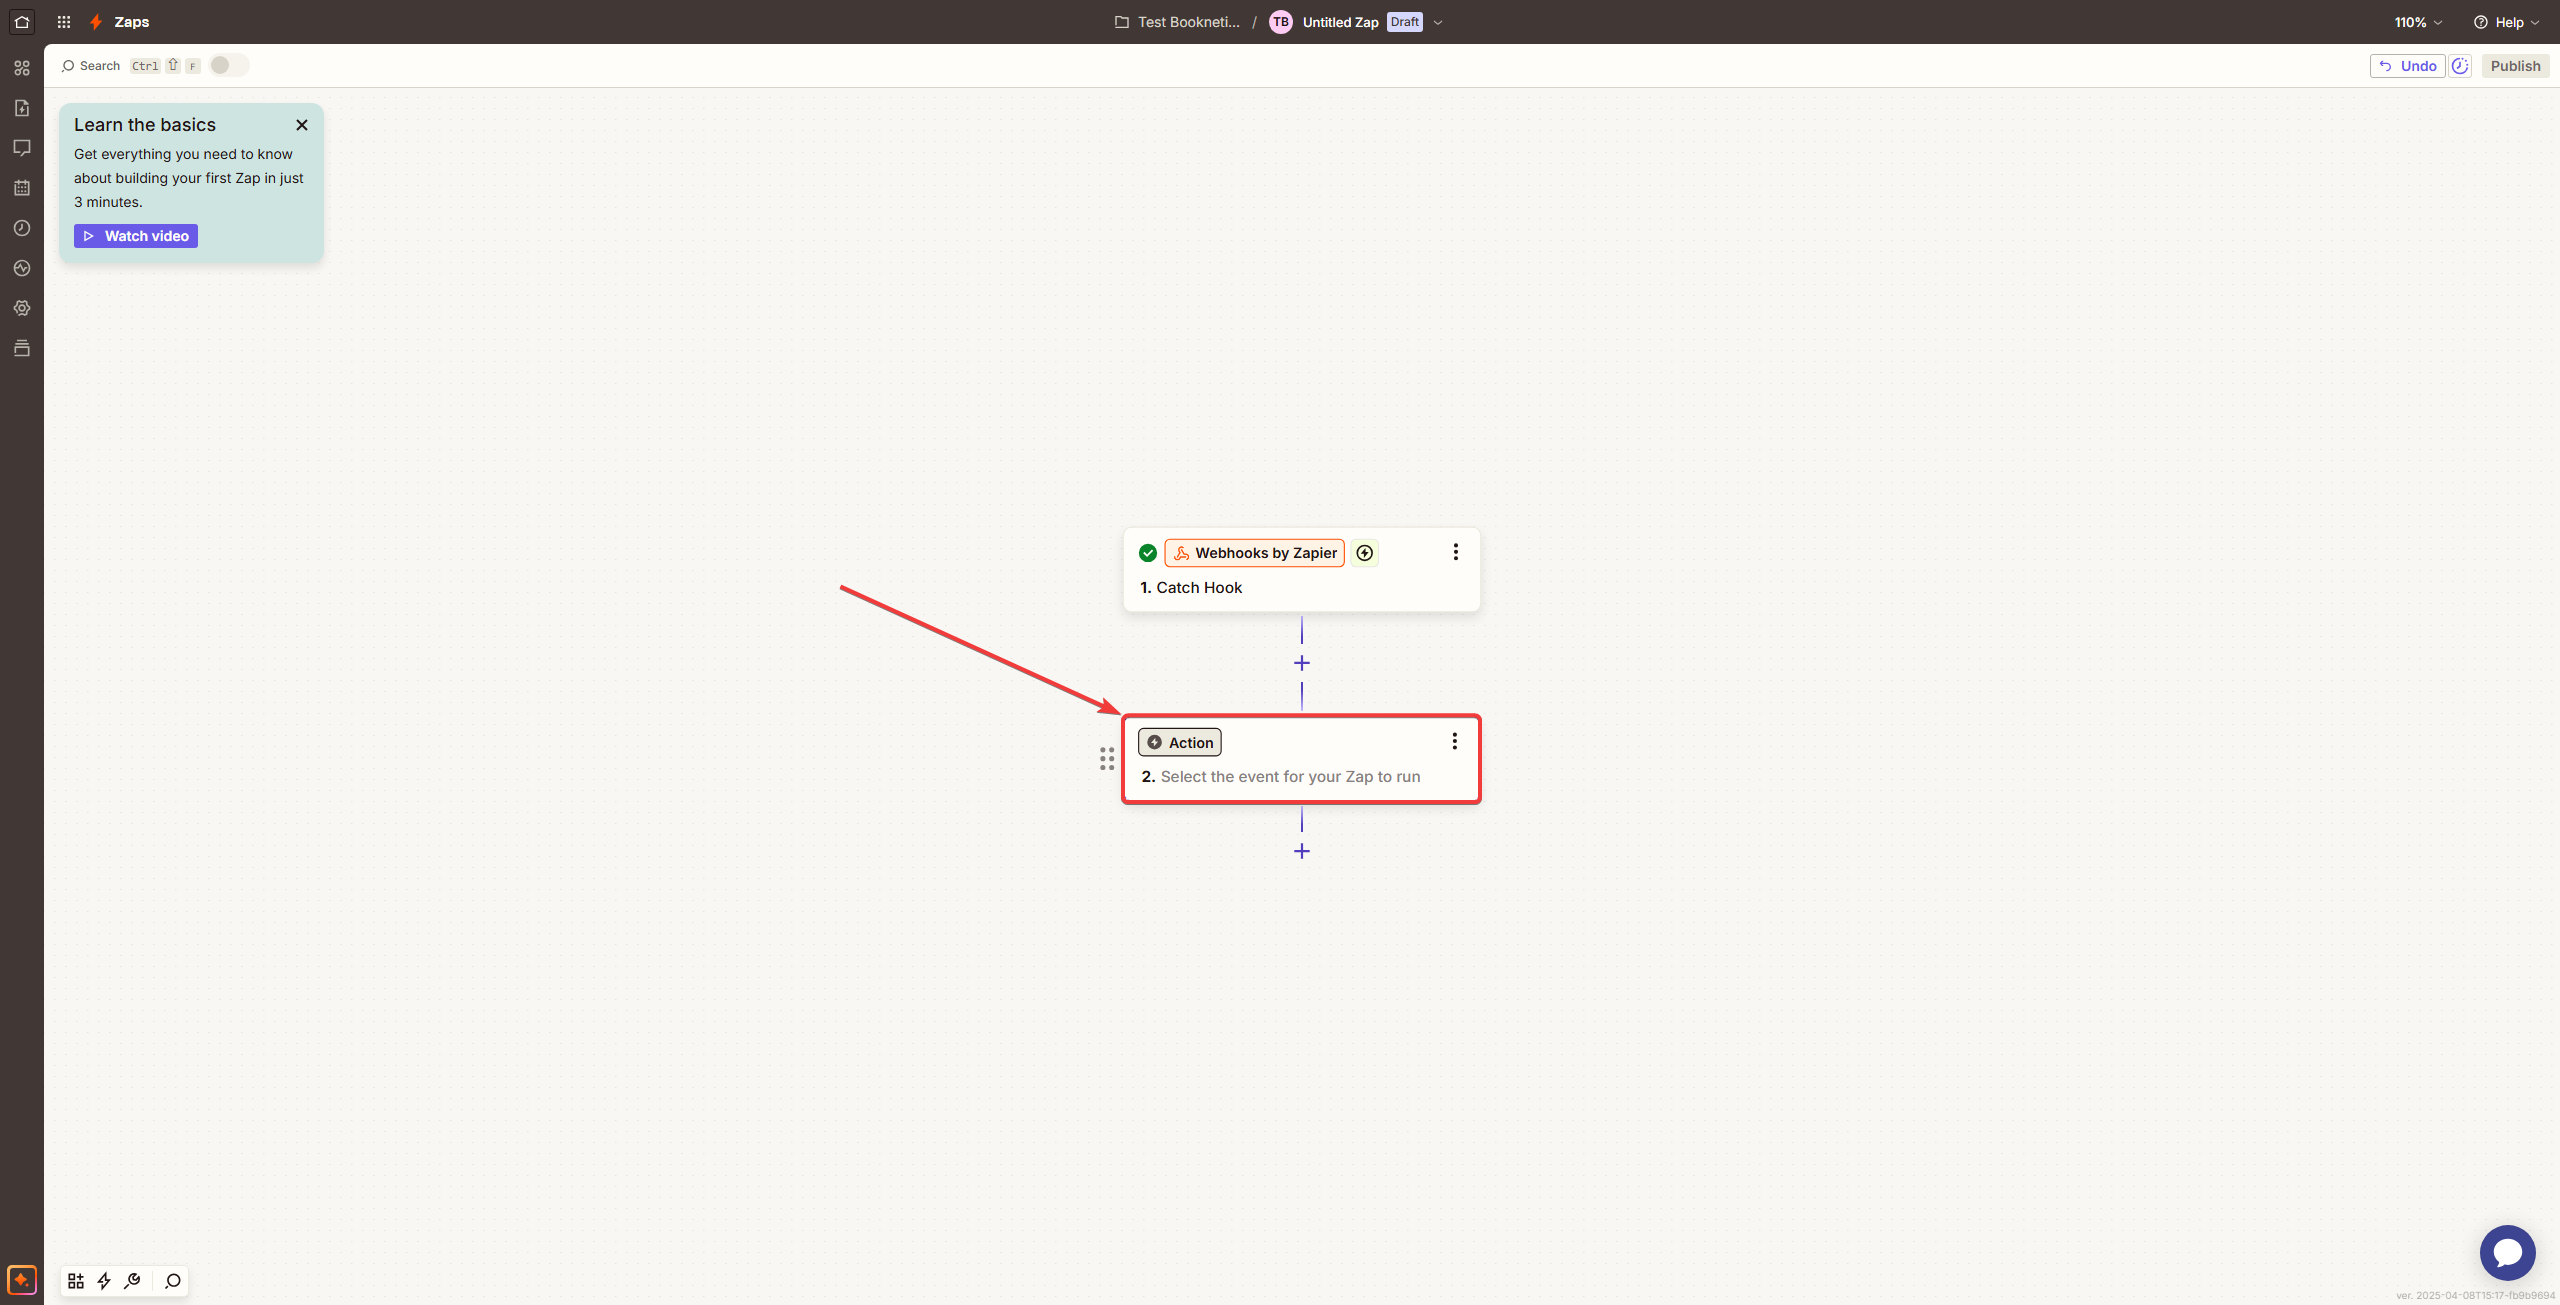
Configure the Action in Zapier:
-
Click on the “Action” button to see the list of the available options:
-
After testing the trigger, select an app and configure what action to perform with the received data. For example:
- Add appointment details to Google Sheets
- Send customer data to Mailchimp
- Notify your team on Slack
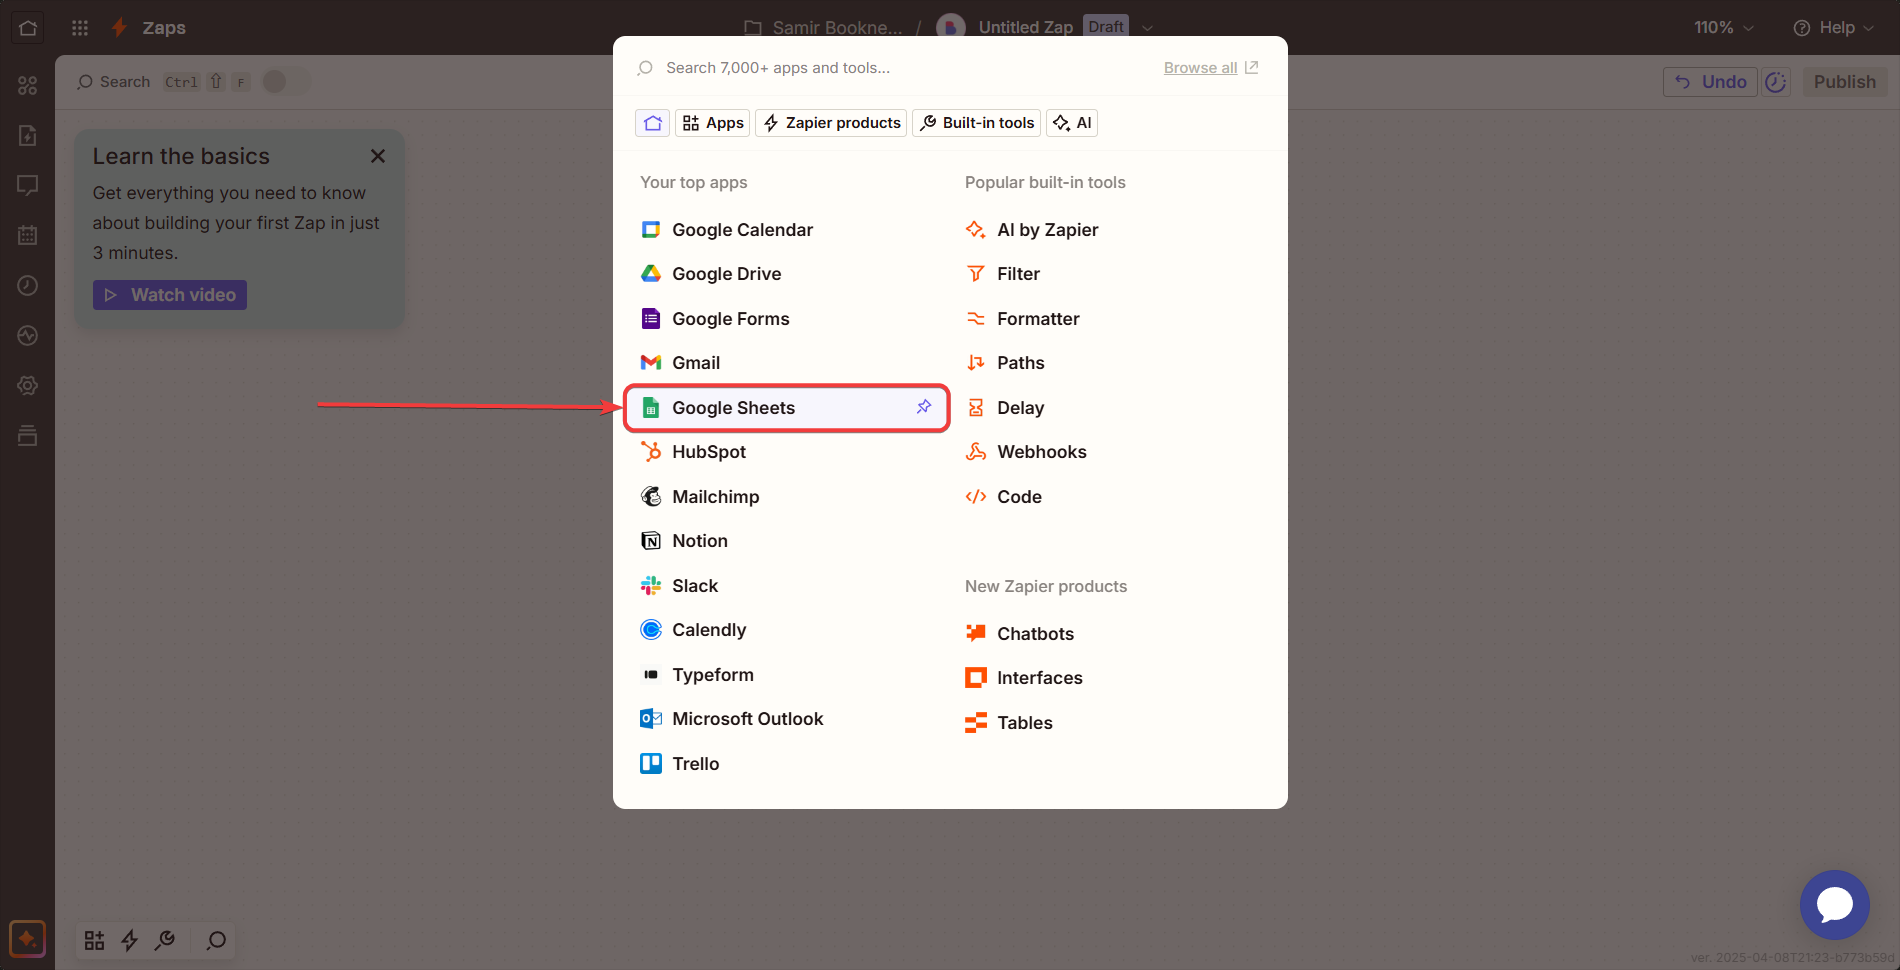
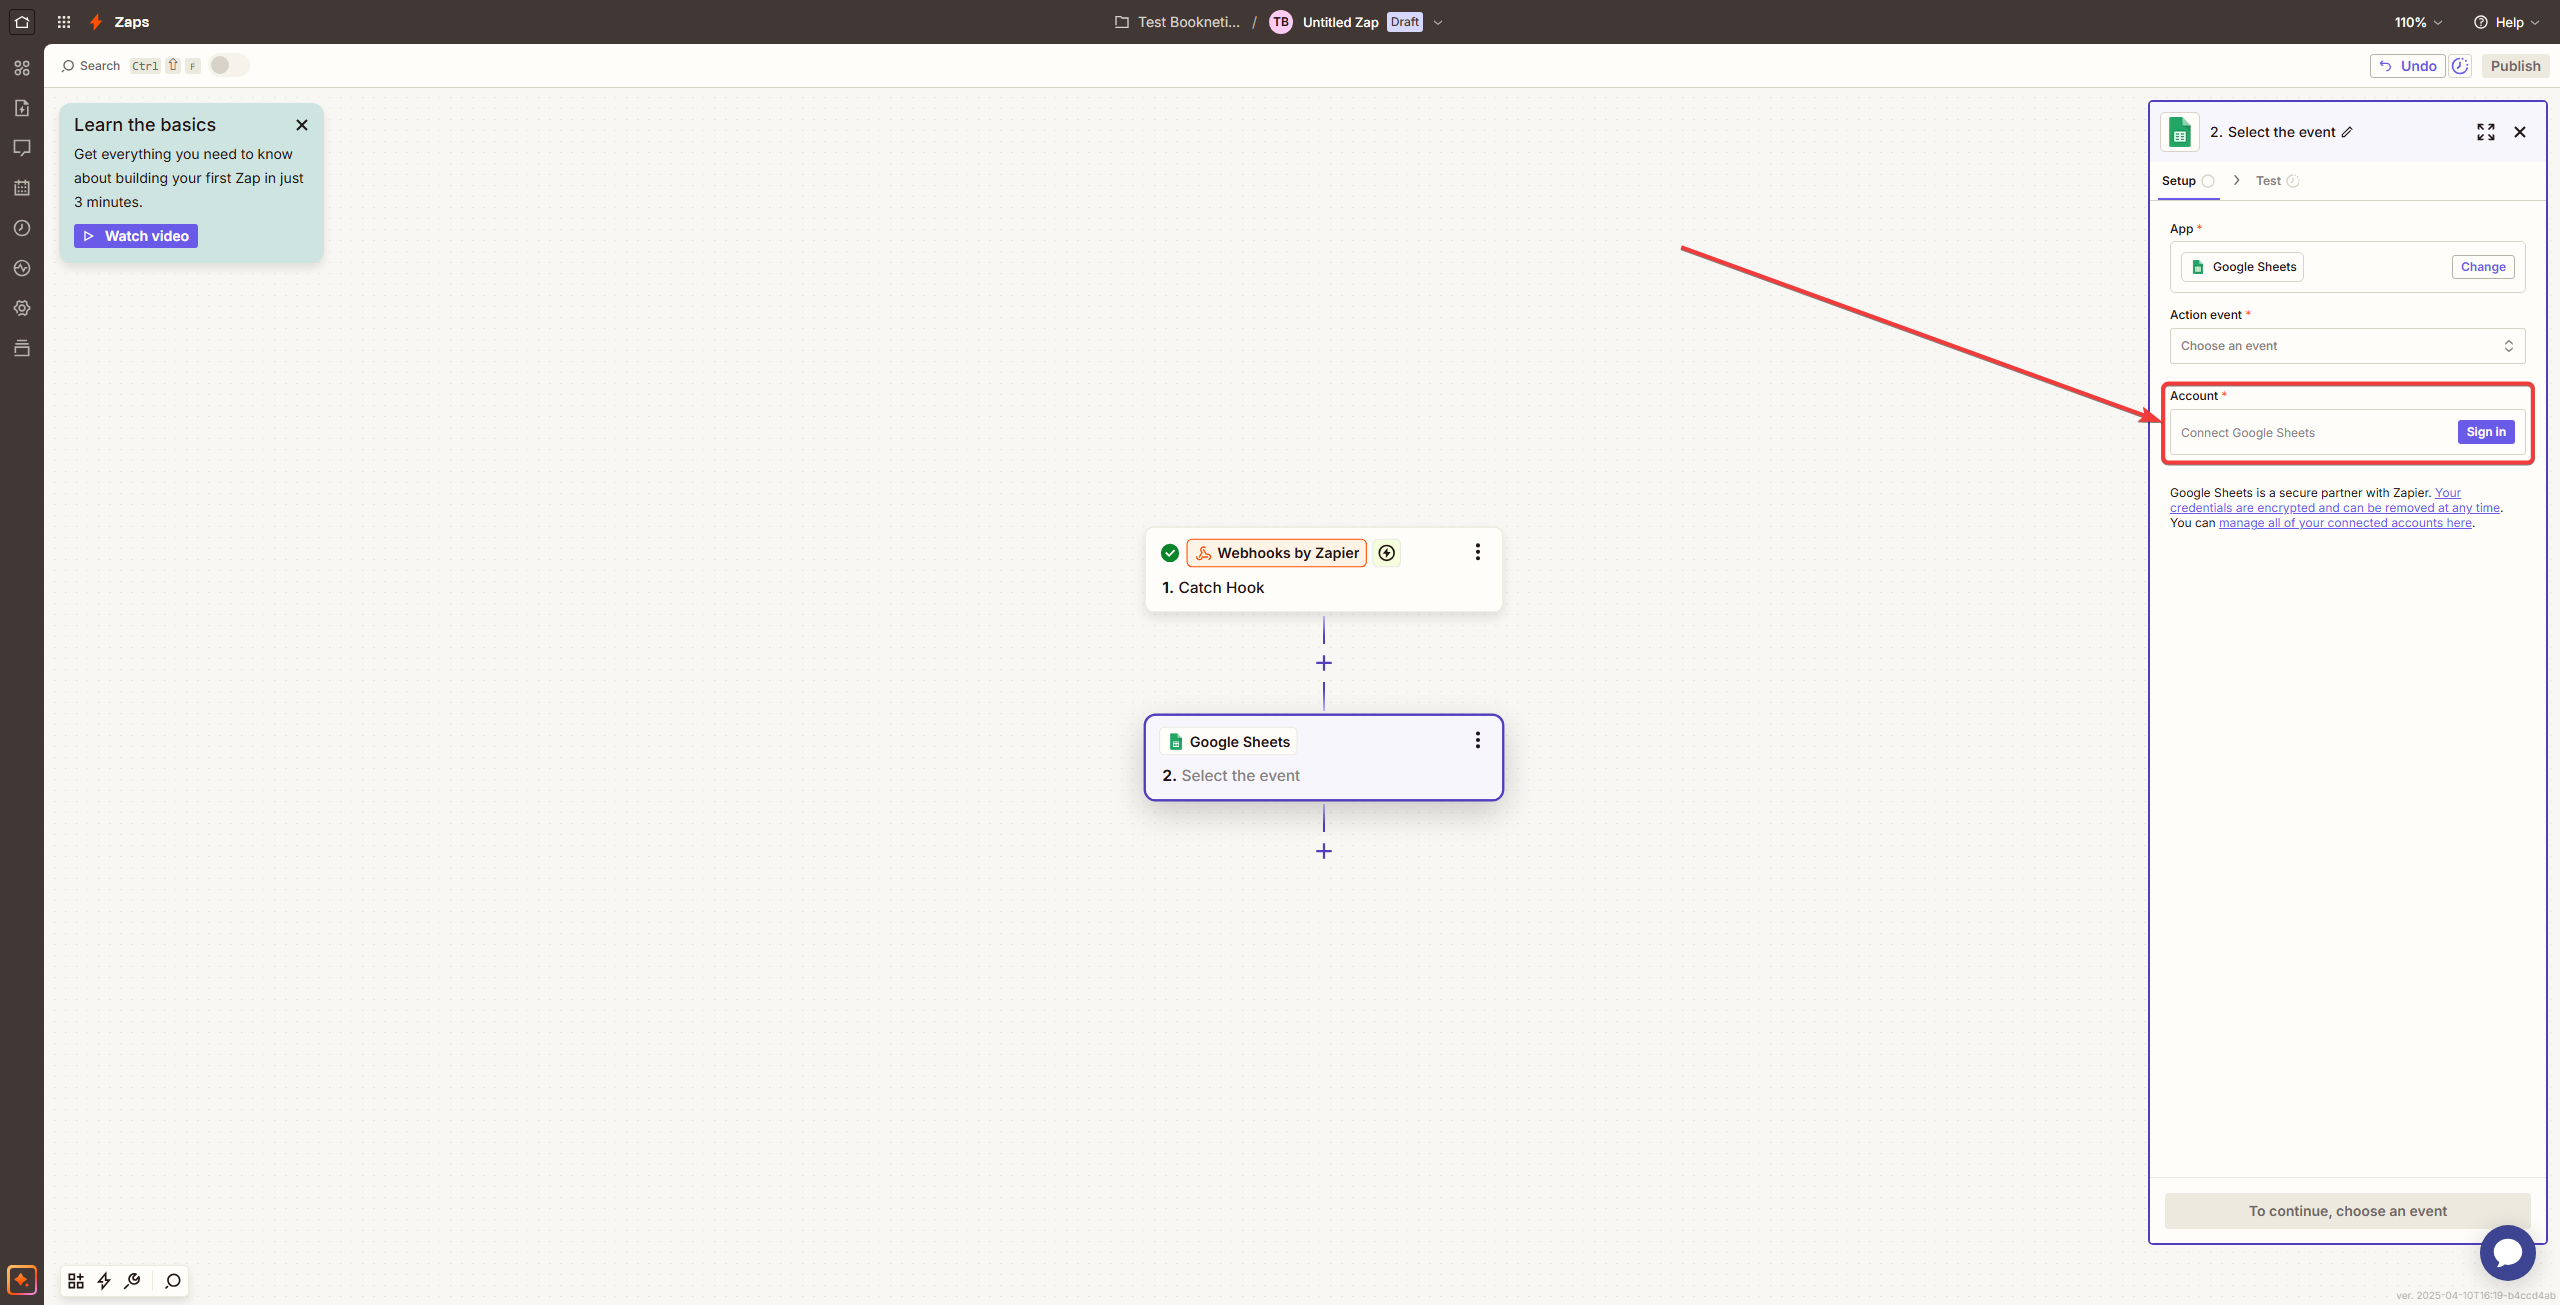
- Set up the action event as needed, then sign in to the account where google sheets will be created.
- Allow Zapier to have the necessary access.
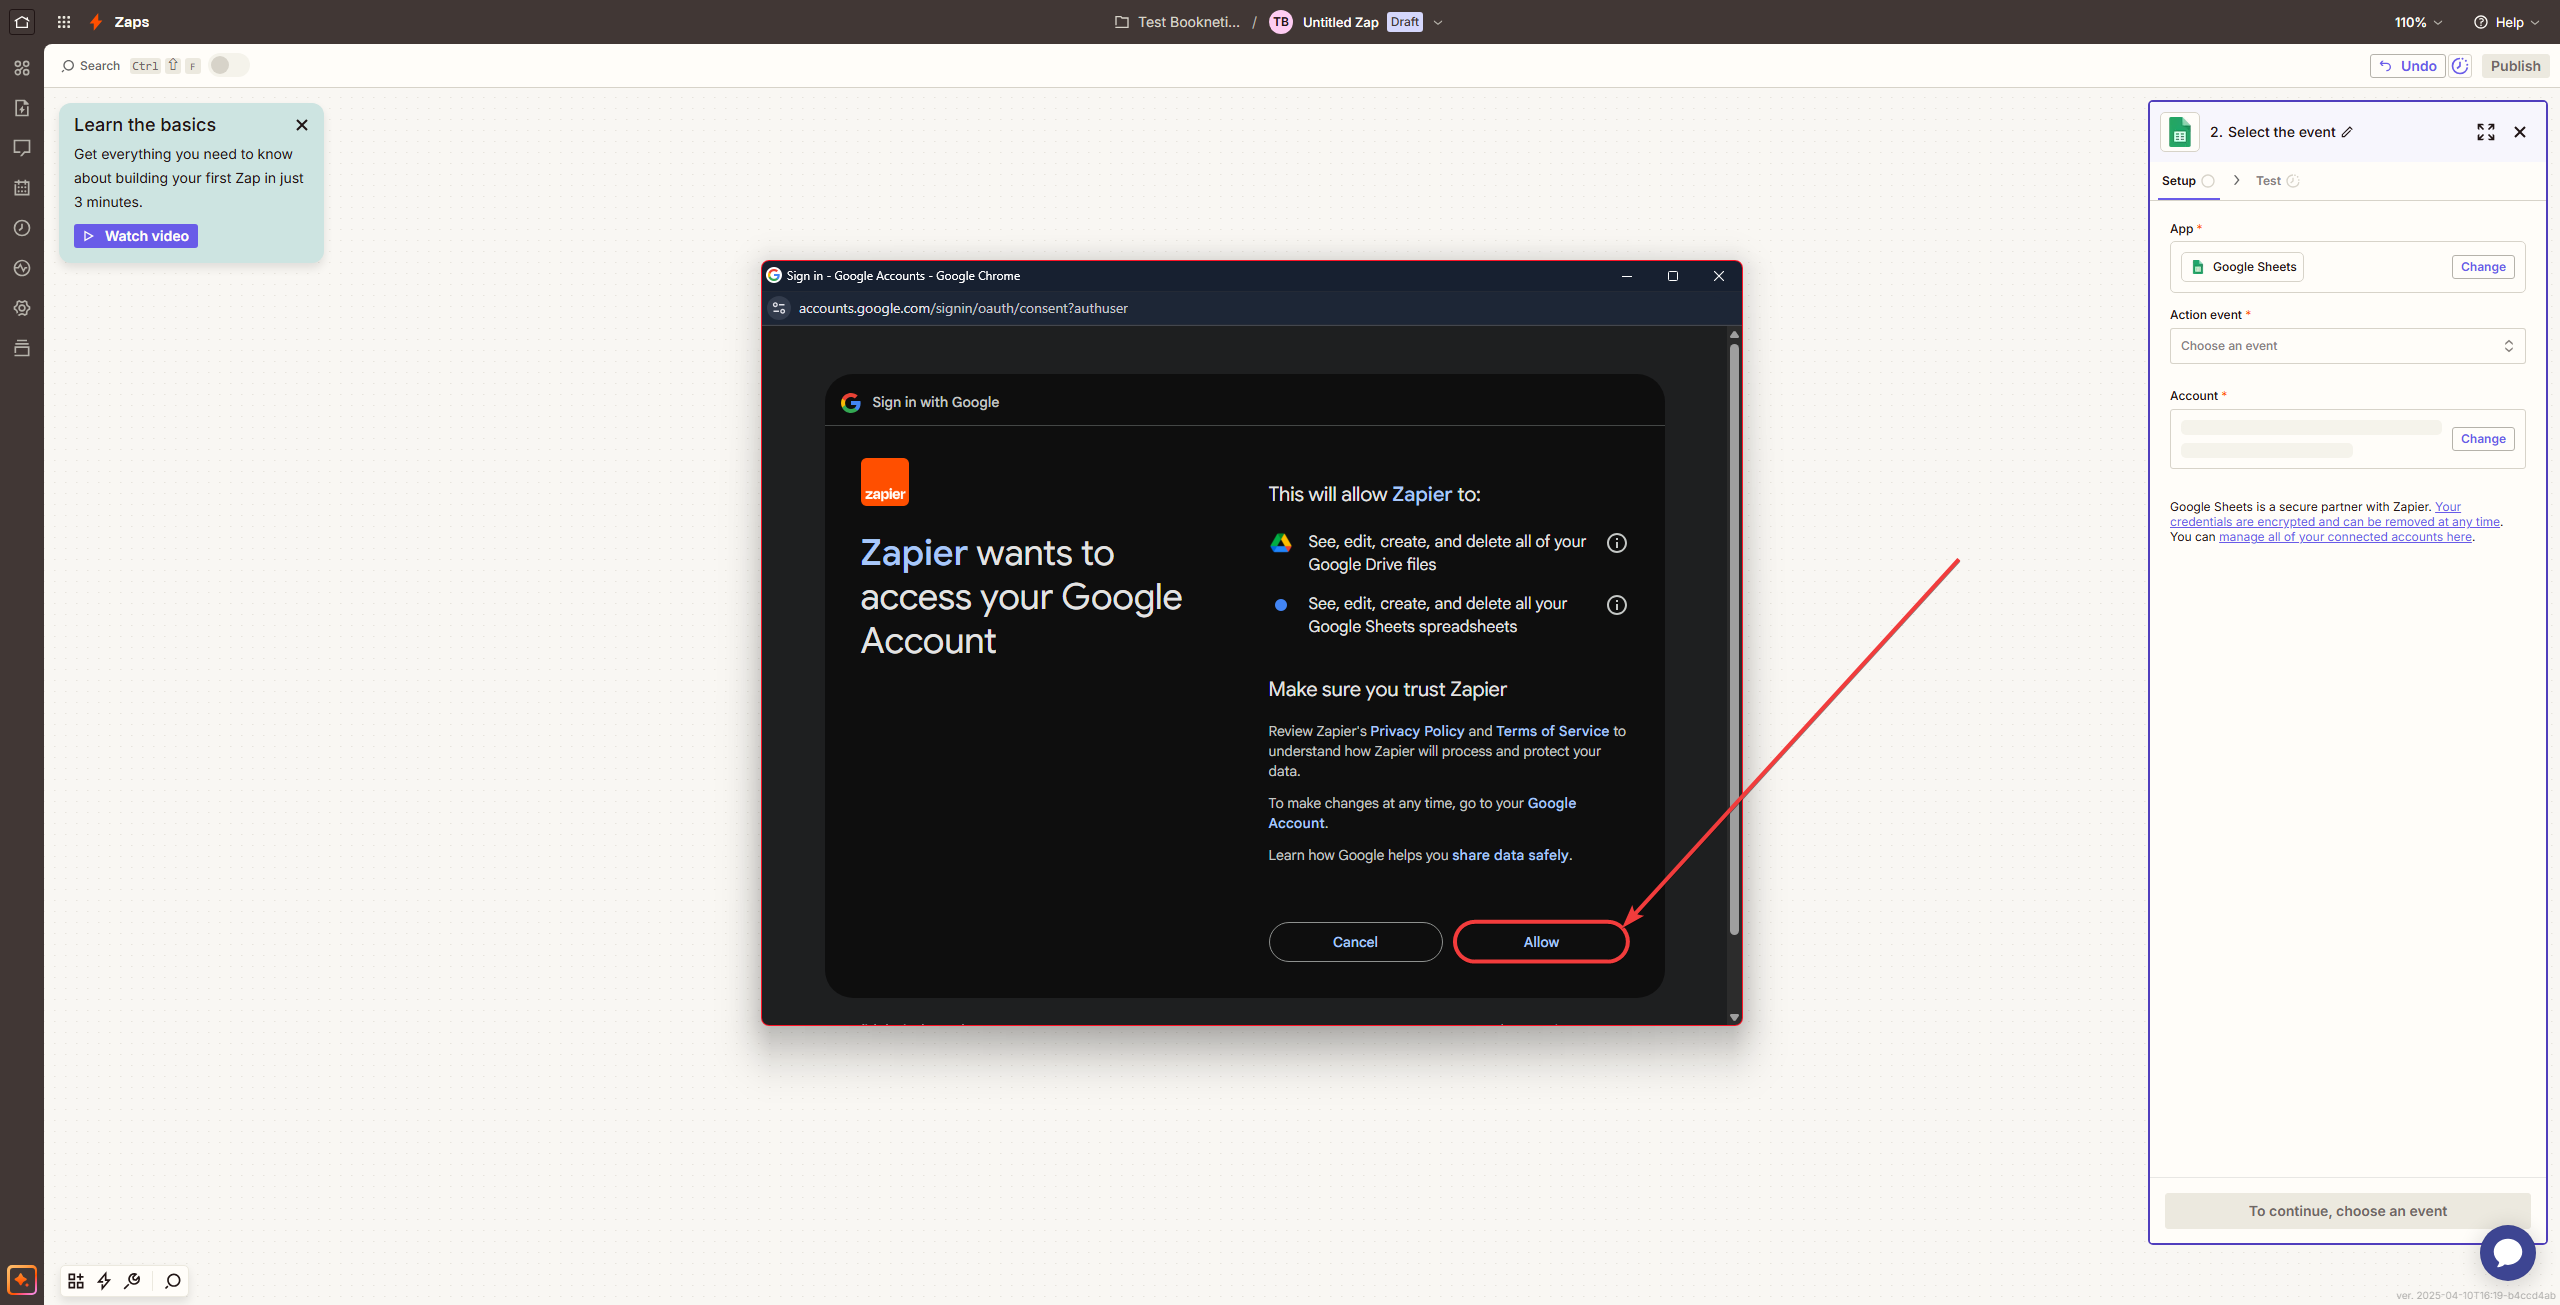
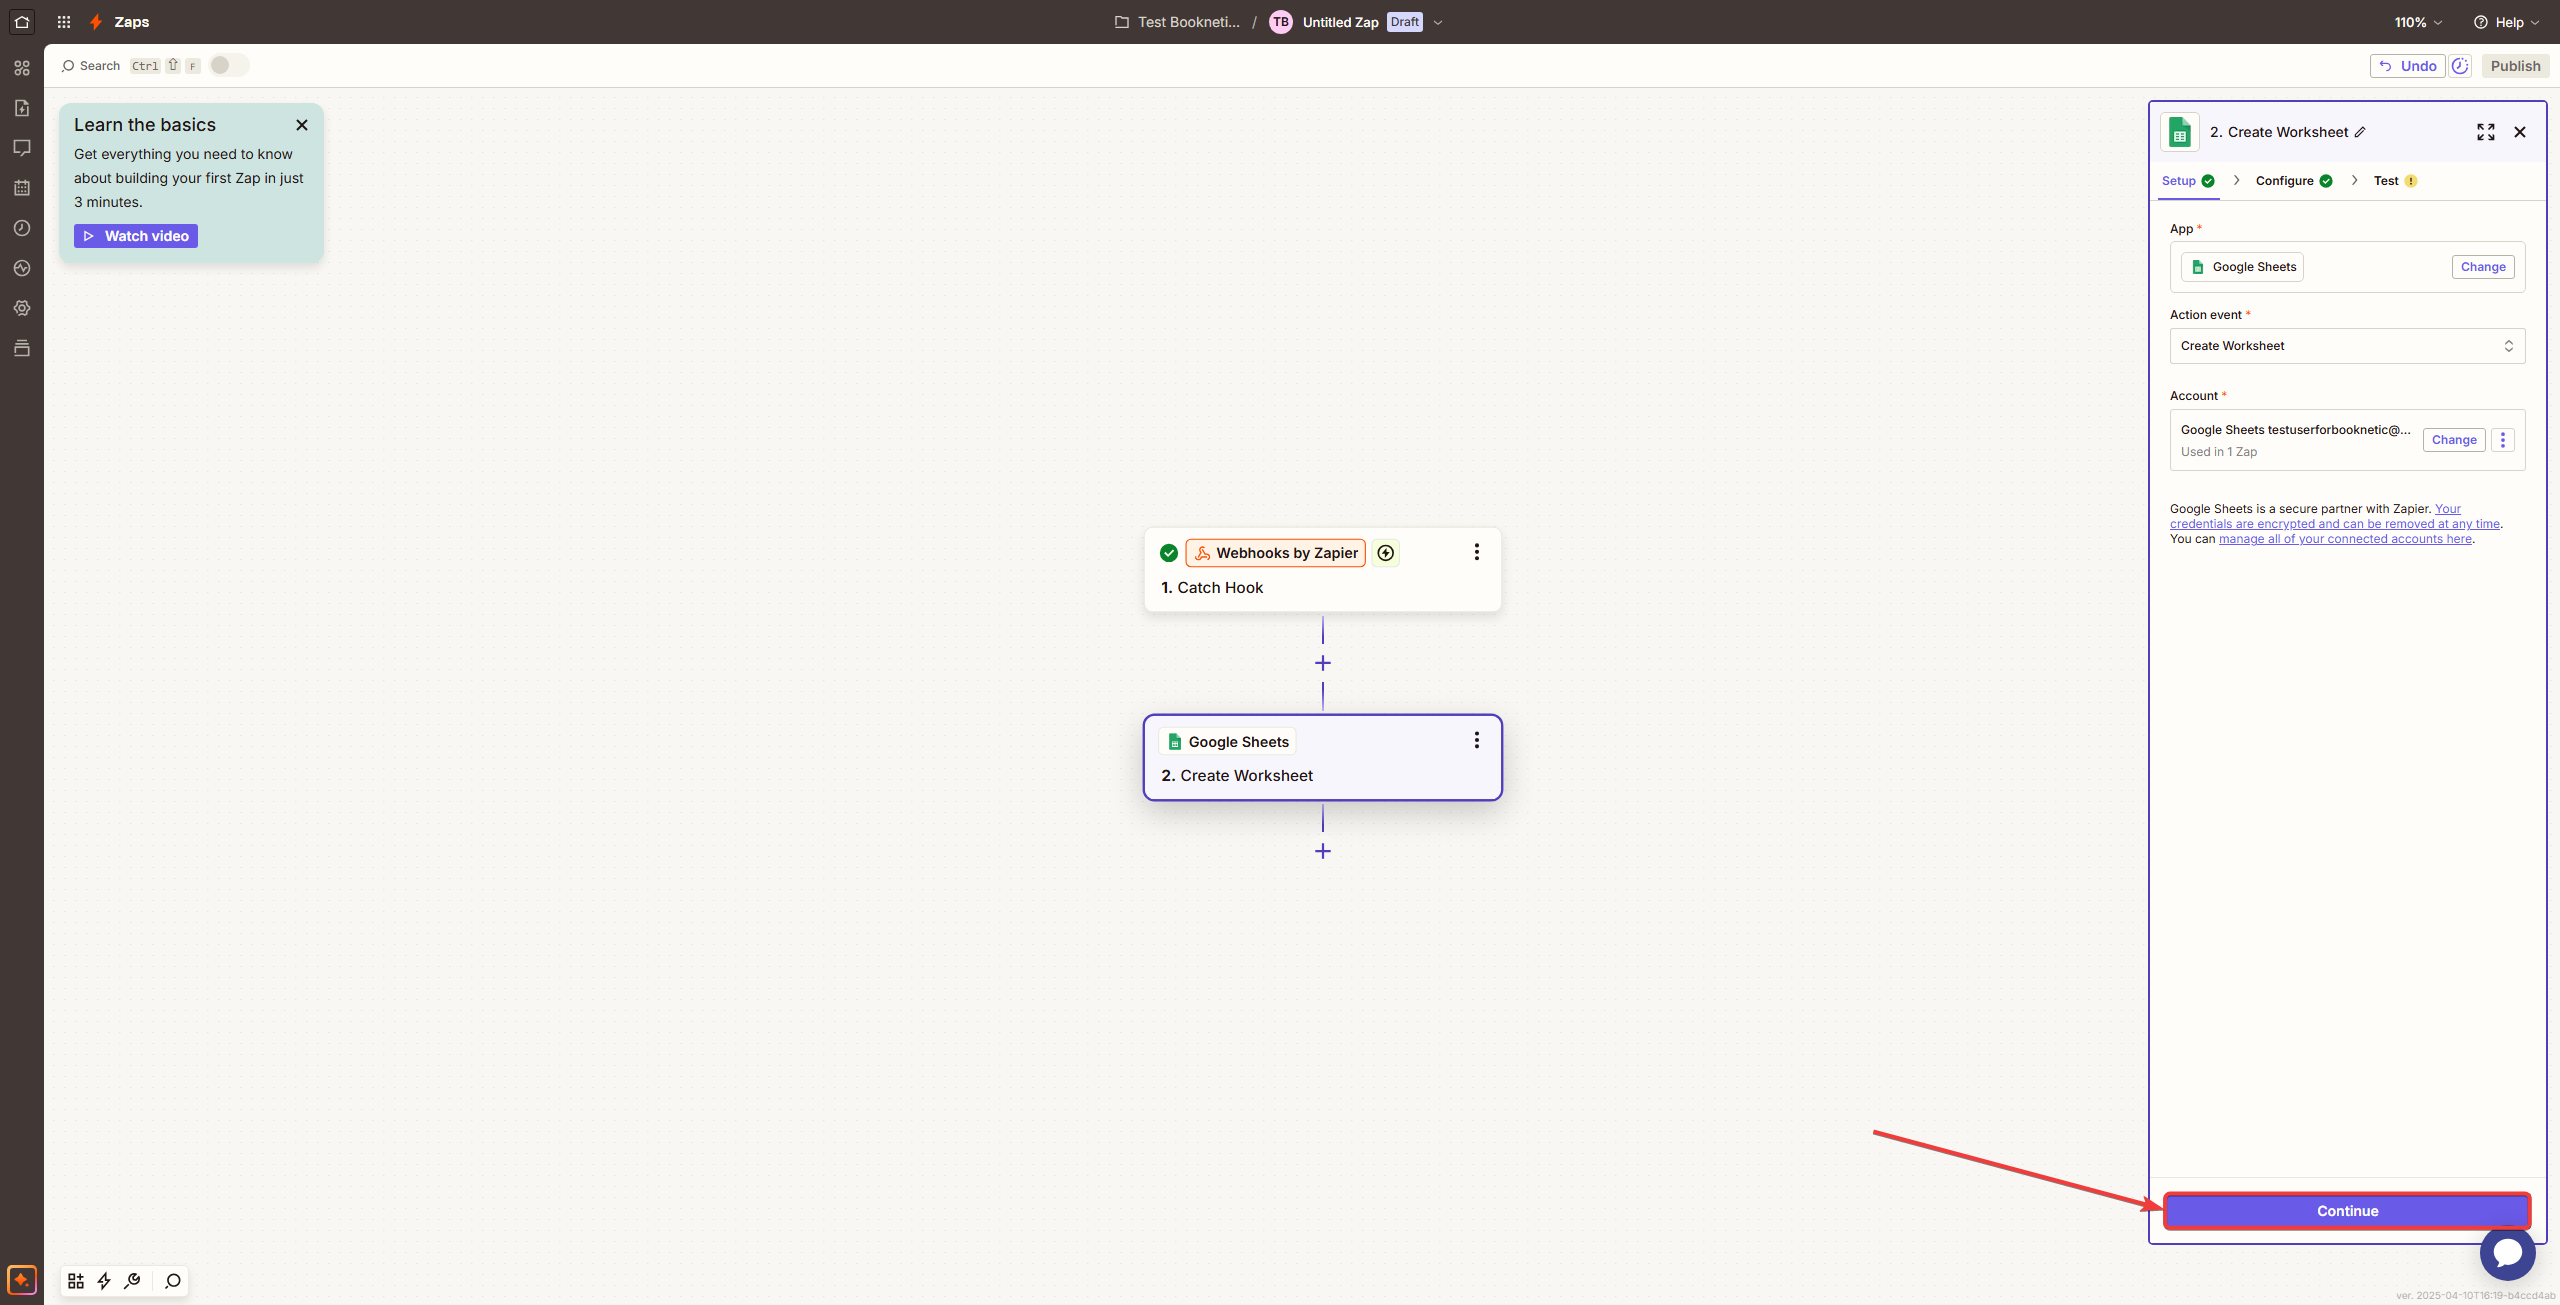
- Click “Continue” after the setup is finished.
-
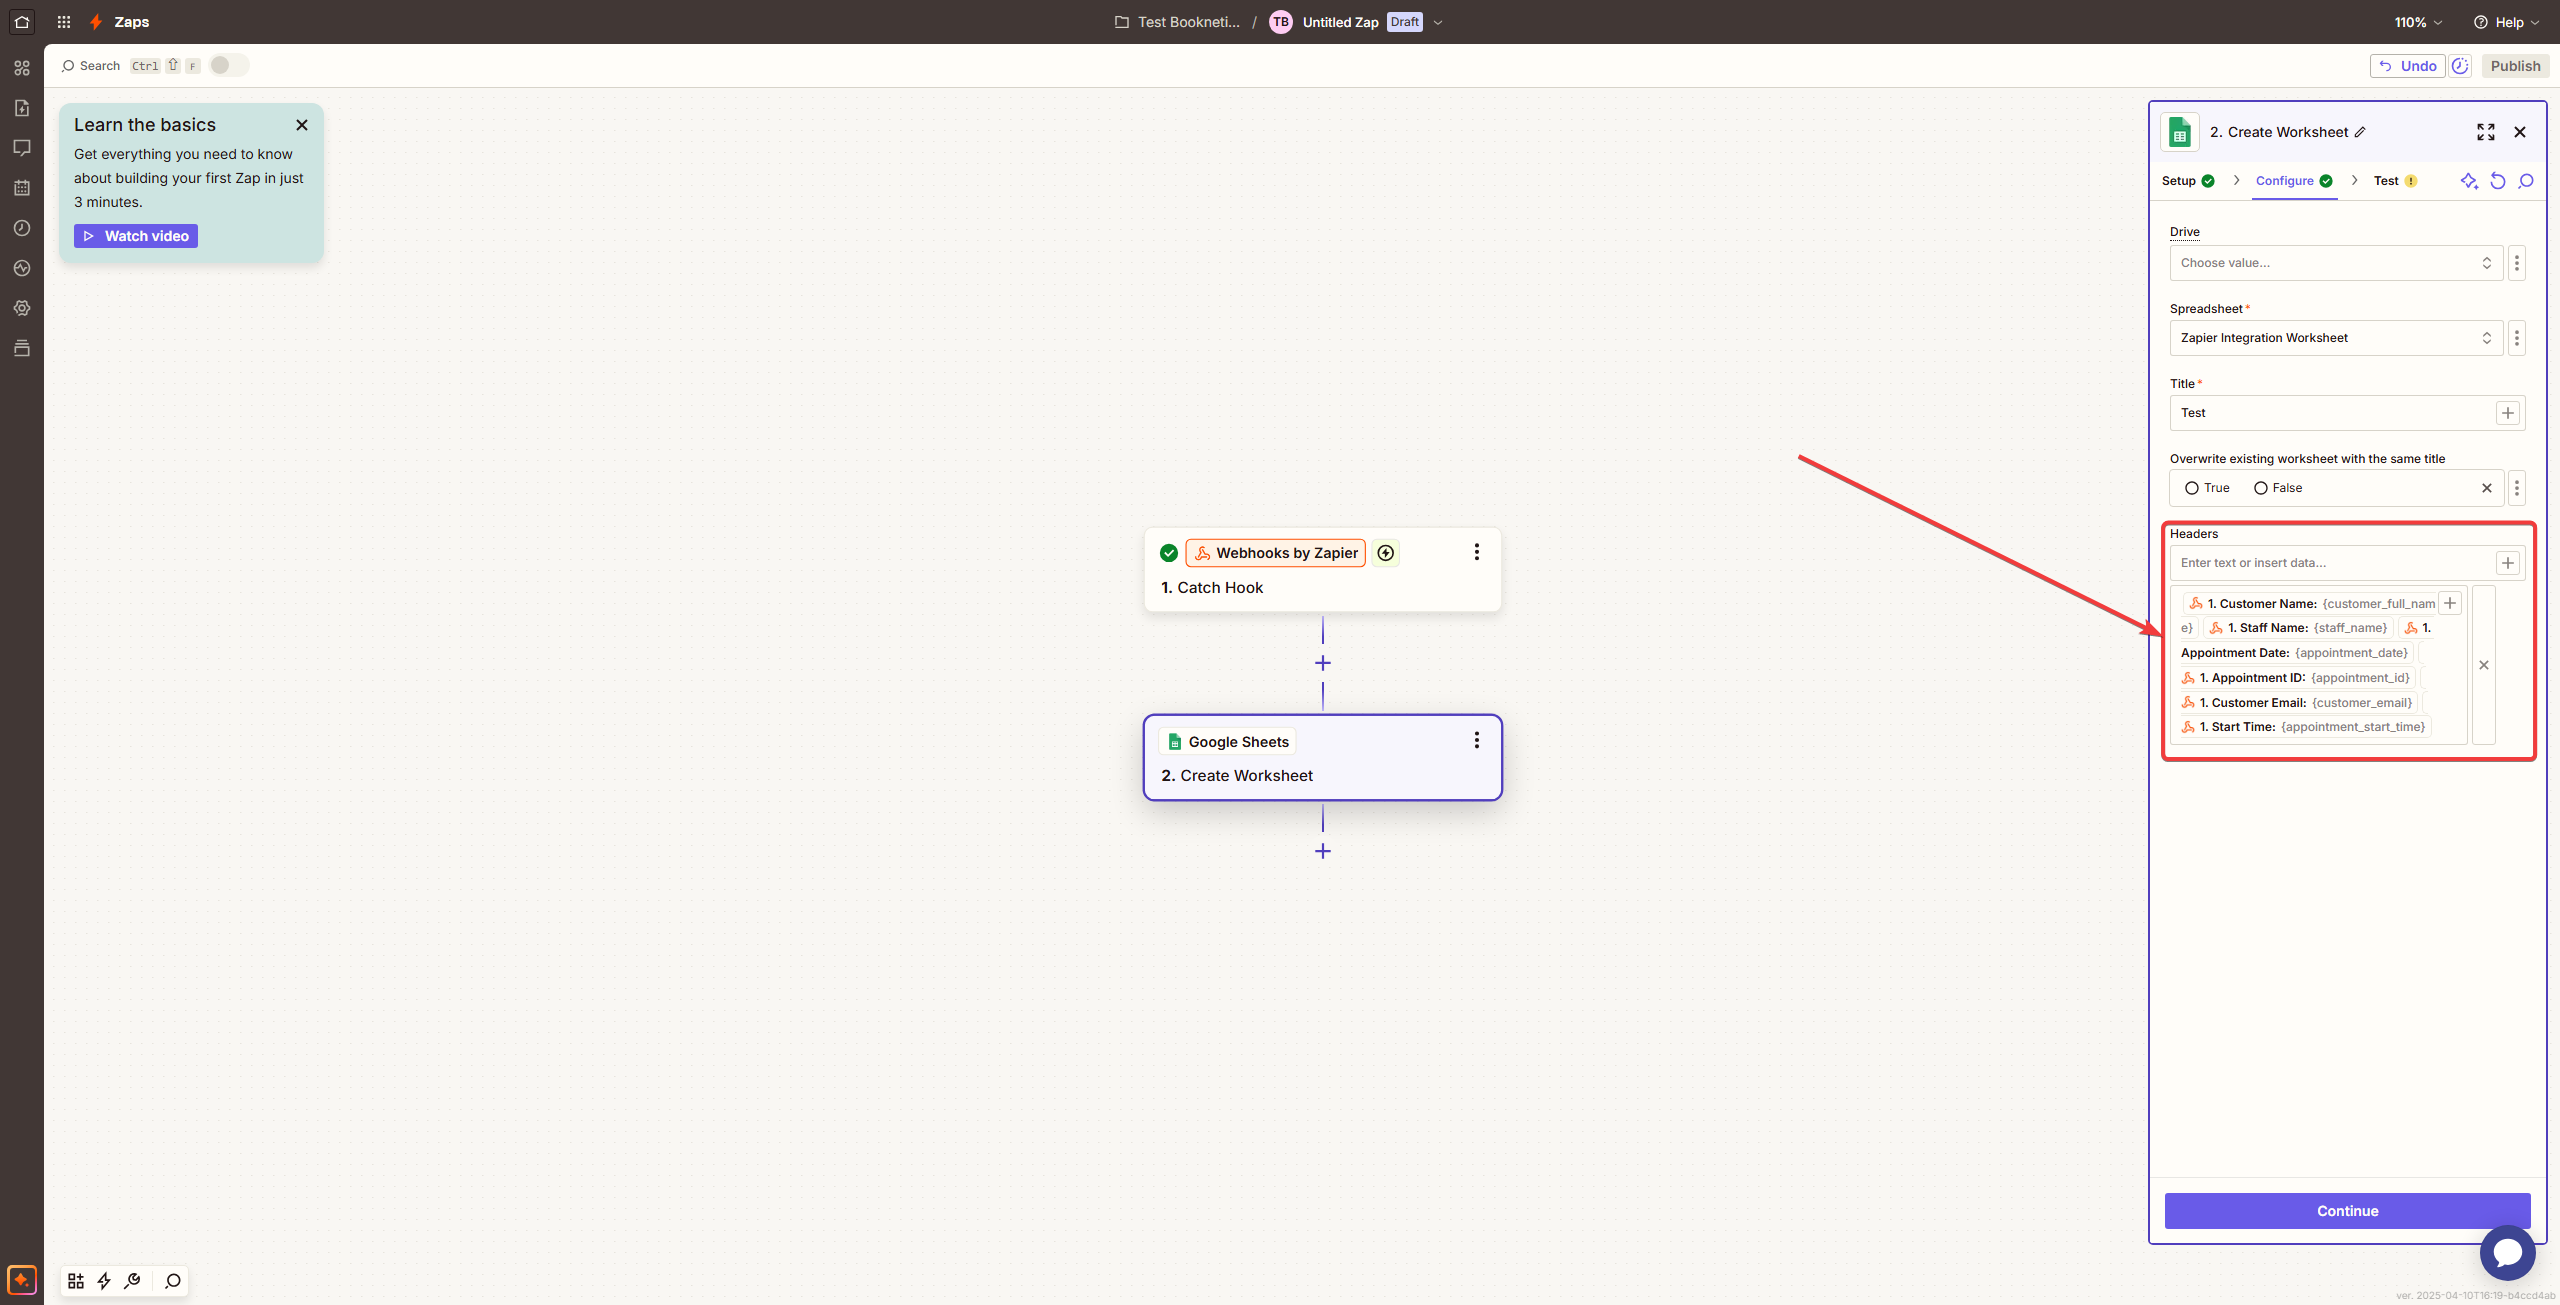
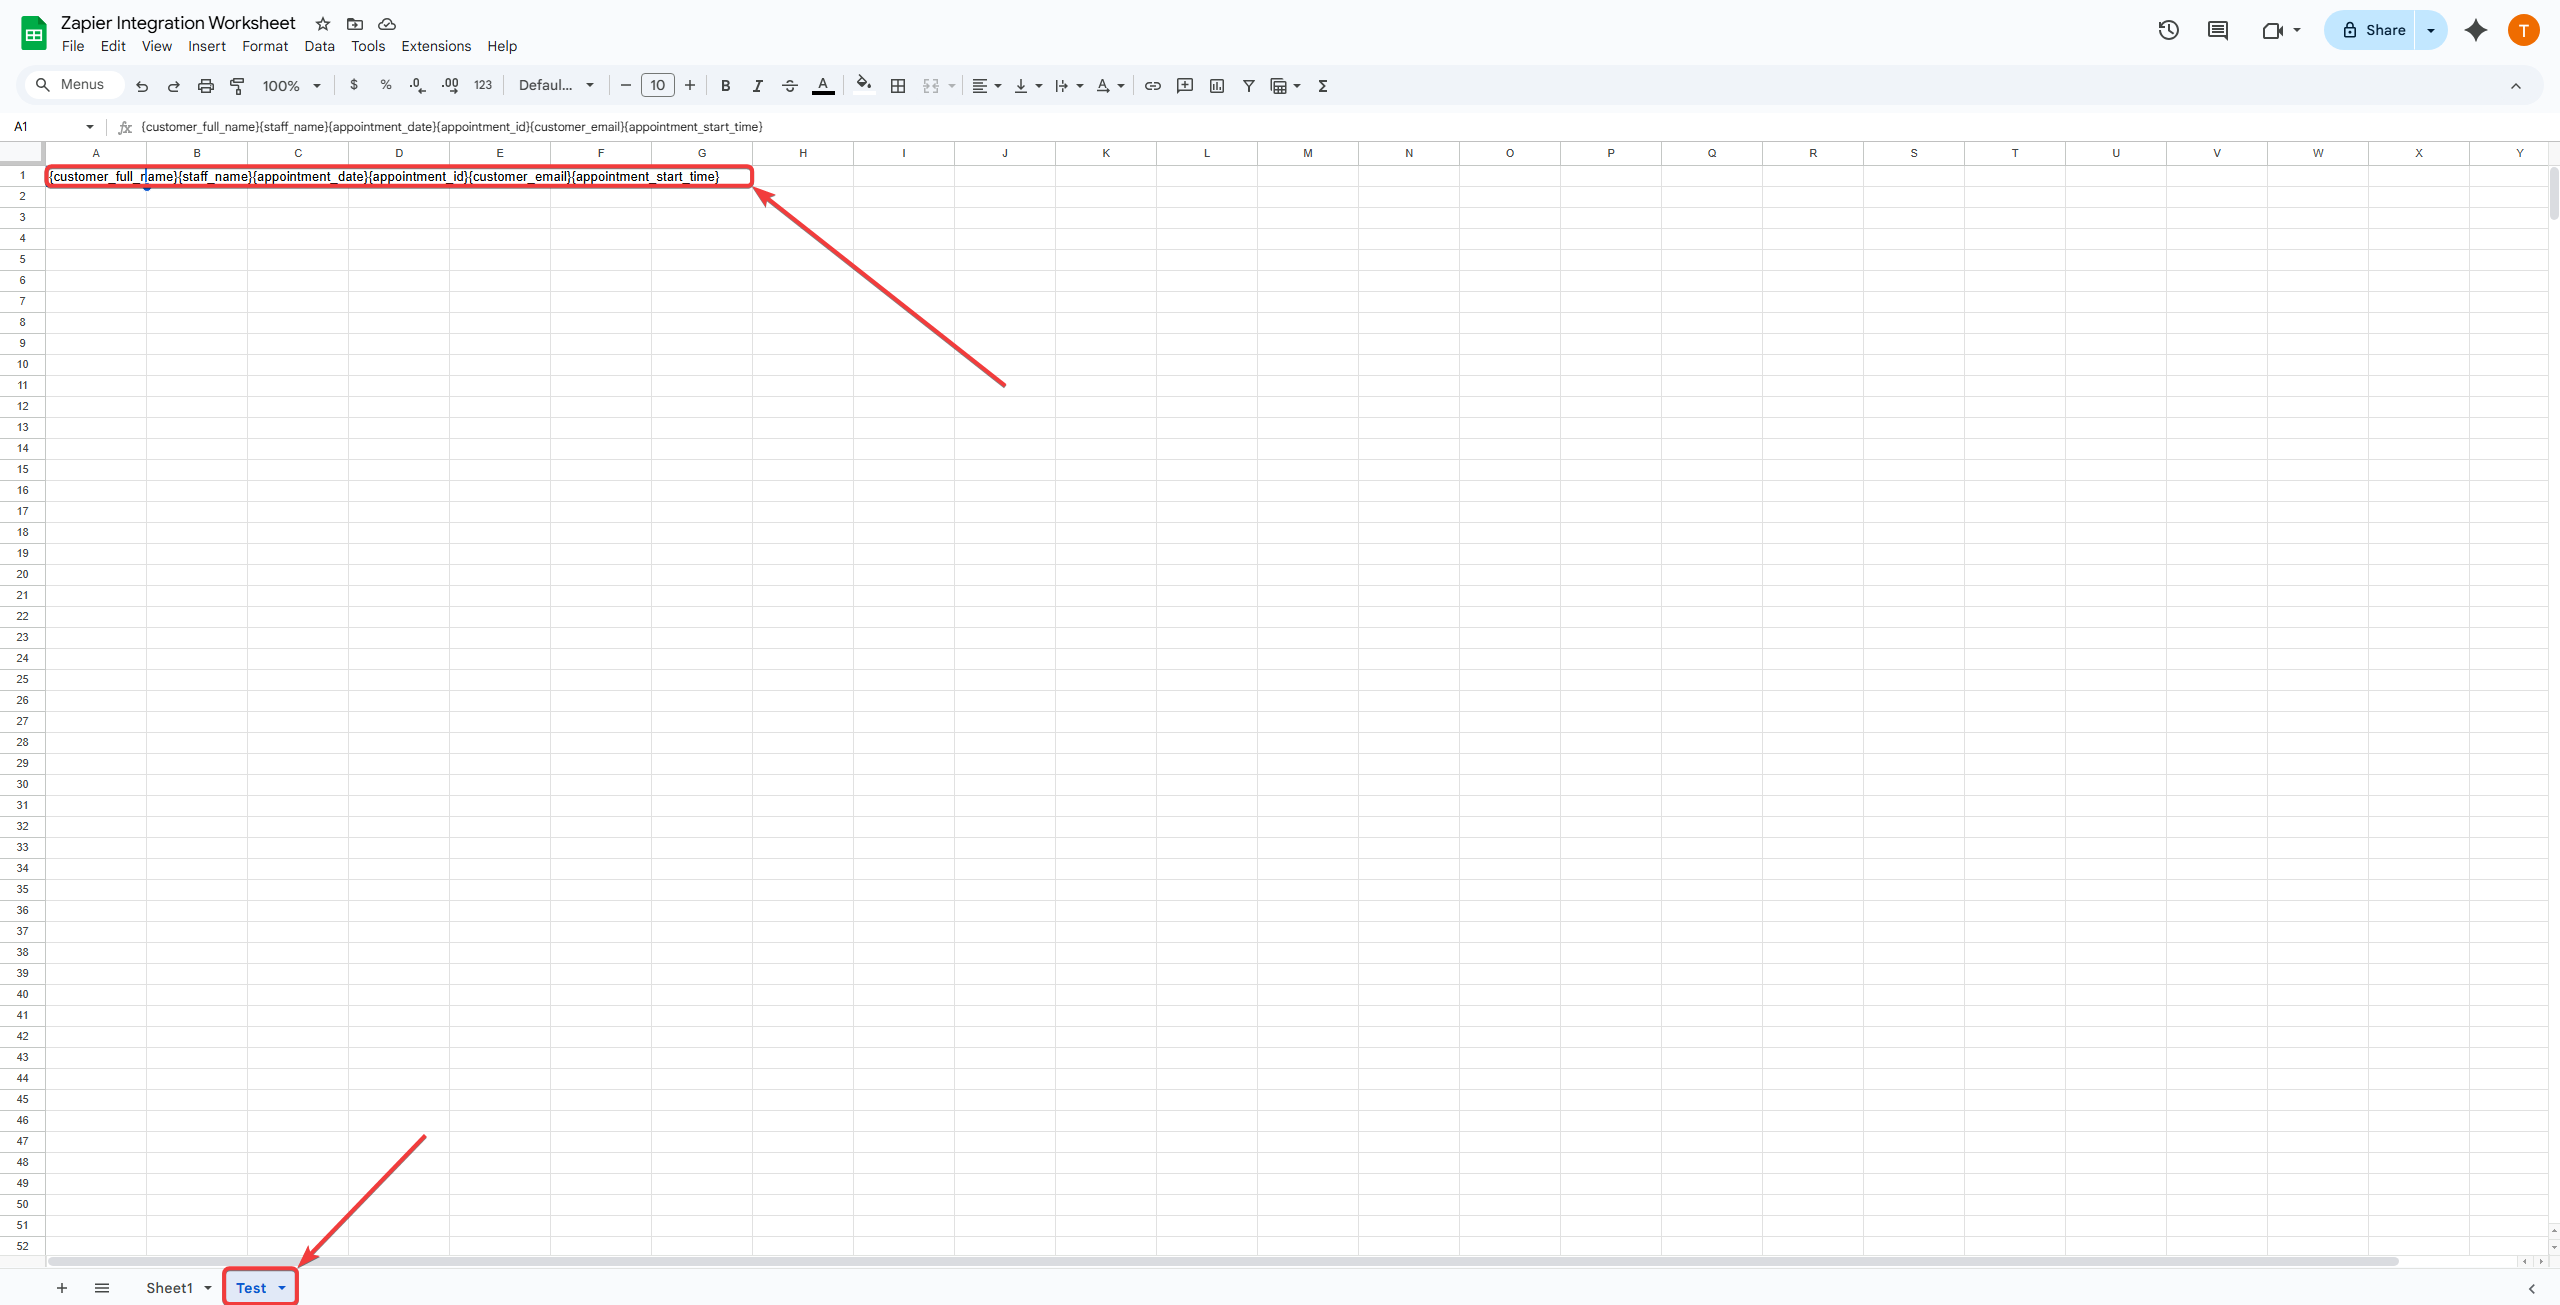
Configure Your Zap:
- In this step the test data from Booknetic can be used.
-
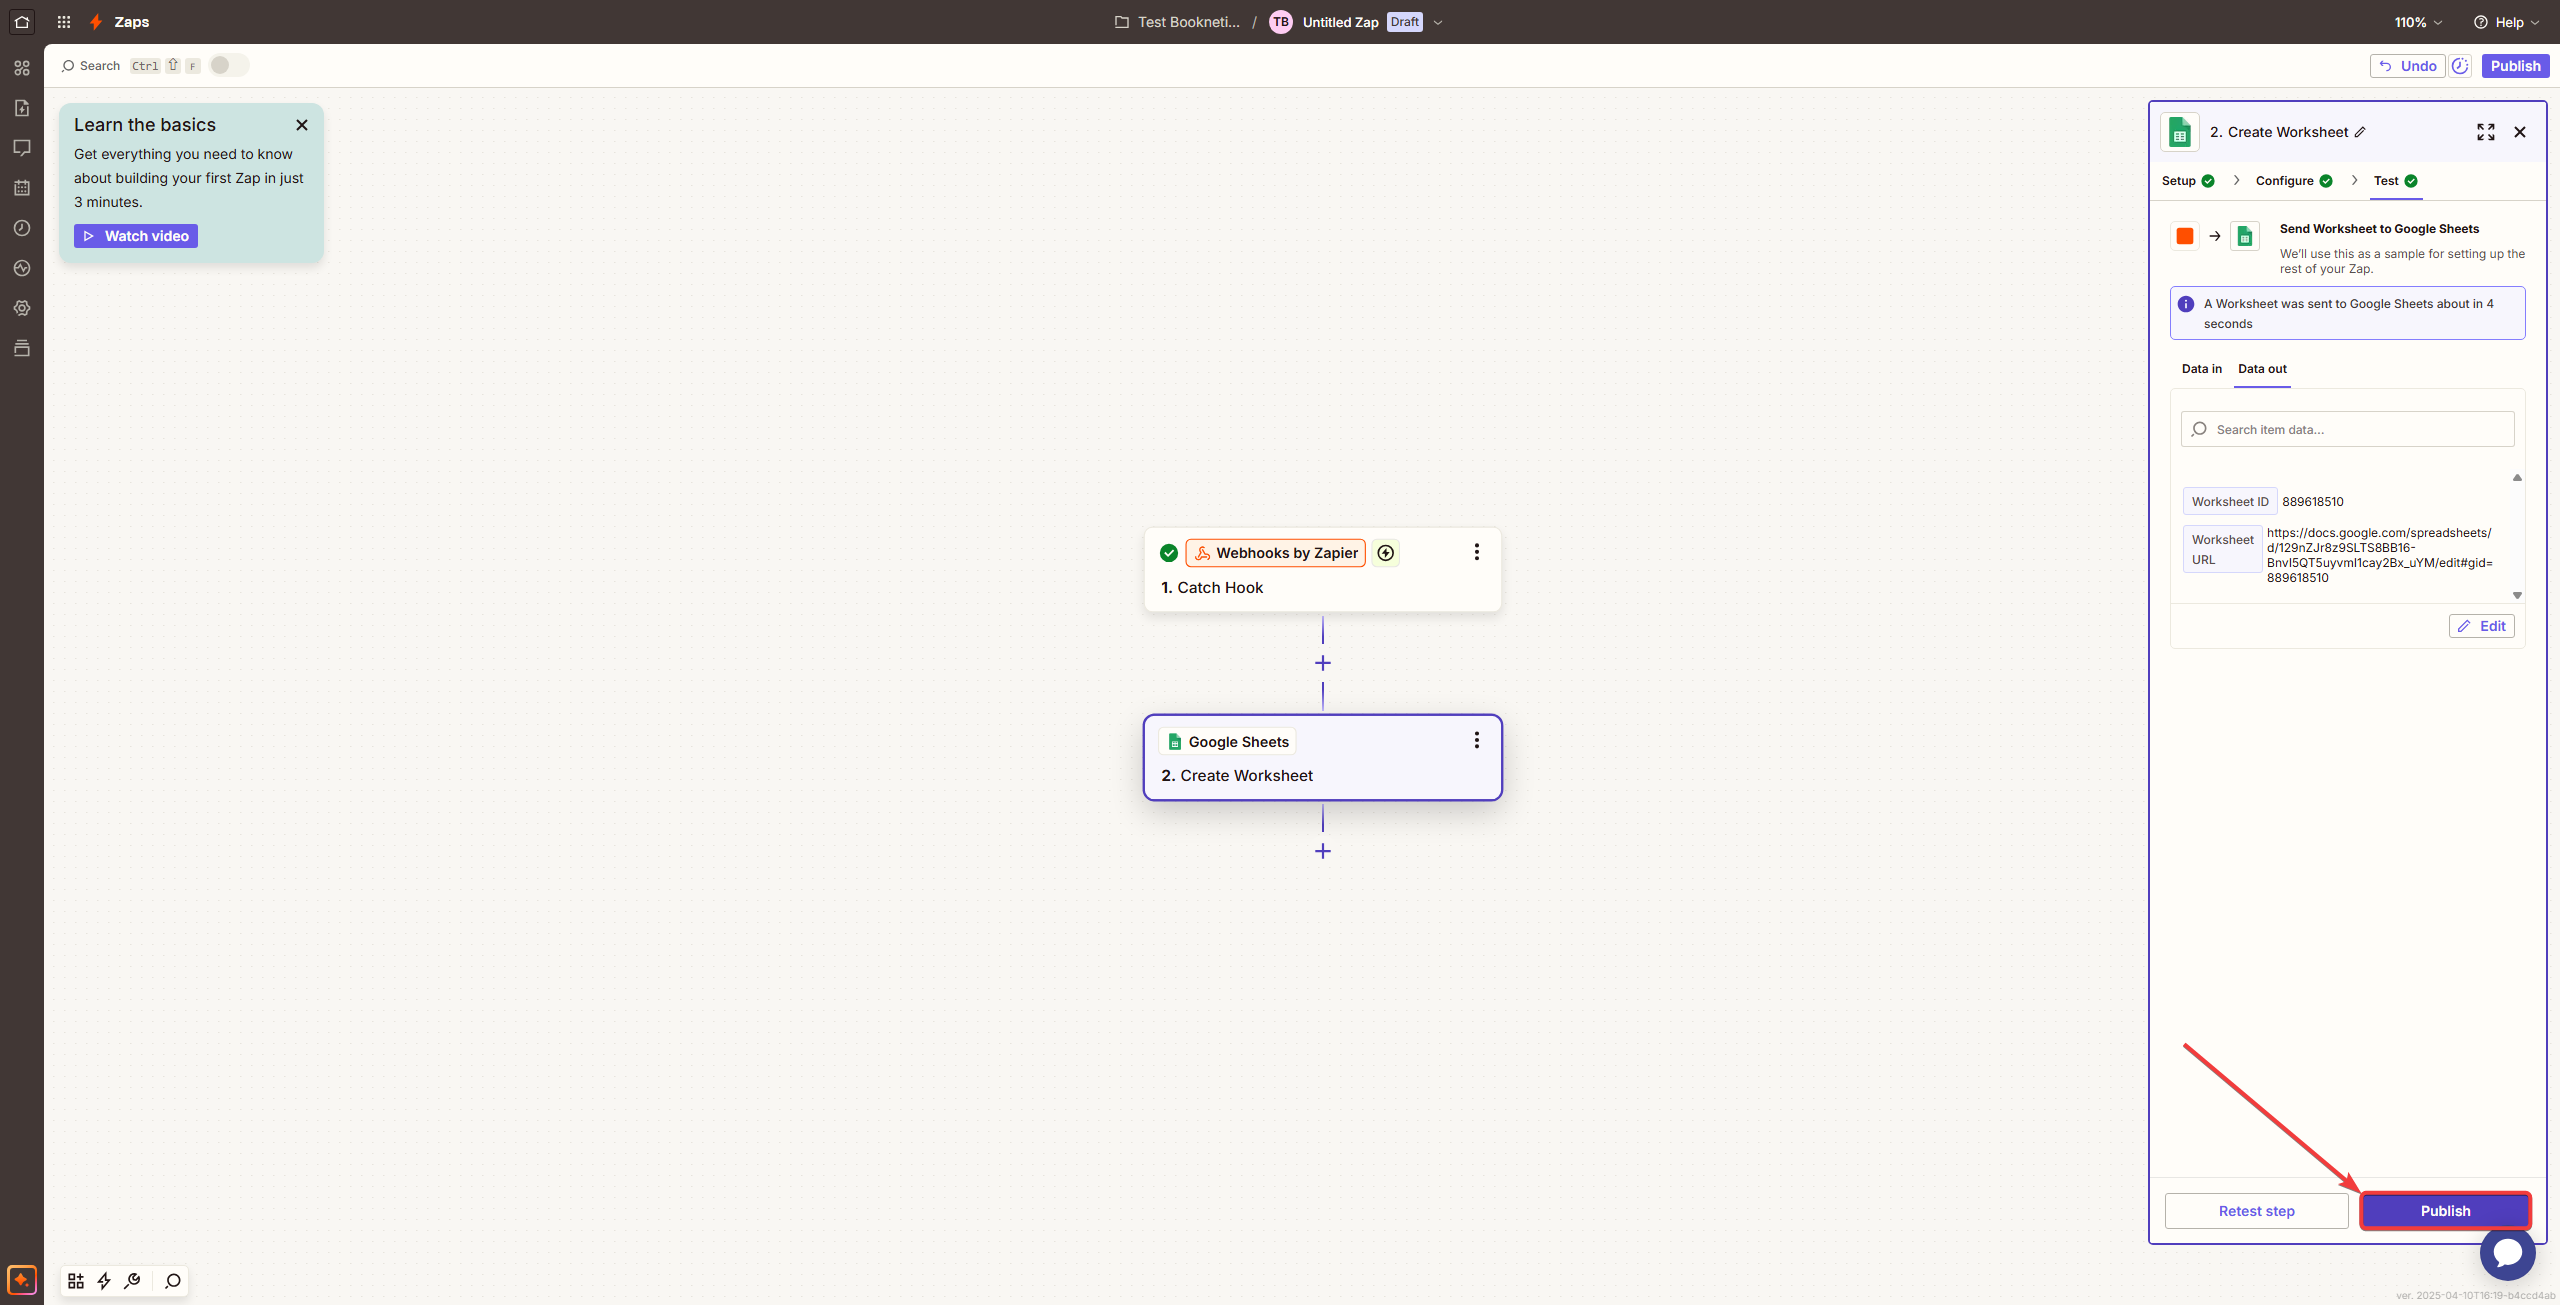
Test Your Zap:
- After the configuration, test the zap to make sure that everything is working as intended.

- If the zap works as intended with the test data, it will work the same way with real data from real appointments.
-
Activate Your Zap:
- Once configured, click “Publish” to activate automation.
Common Zapier Automations
Below are some commonly-used automation examples you can set up:
- Booking to Google Sheets: Automatically record appointments in a spreadsheet for easy tracking.
- Booking Notifications via Slack: Instantly notify your team of new or updated appointments.
- Sync Customer Data with Mailchimp: Automatically add new customers to your email marketing lists.
- CRM Integration: Automatically create leads or customers in platforms like Salesforce, HubSpot, or Zoho CRM.
Troubleshooting
If you encounter issues with Zapier integration, consider the following:
- Ensure your Webhook URL from Zapier is accurately copied into Booknetic.
- Confirm the required fields are properly set in Booknetic’s HTTP request configuration.
- Verify that your Booknetic workflows are enabled.
- Double-check that the Webhook add-on is installed and active in Booknetic.