Conversion Tracking

Conversion Tracking

Categories

With Booknetic - Conversion tracking features, you can measure the conversion of your Appointment Bookings. This feature consists of 2 integrations.

  1. Google Analytics integration

  2. Google Tag Manager integration.

By using the Google Tag Manager integration, you will also get indirect integration with the Facebook pixel and many other analytics tools.

Now let's talk about how you can install both integrations in turn.

Google Analytics integration to Booknetic Appointment Booking Plugin

First of all, of course, you must have a Google Analytics account and have Google Analytics installed on your site. Conversion Tracking does not add Google Analytics to your site. You have to do it yourself, it's a very simple process and Google Analytics provides you with ready-made instructions to do it. If Google Analytics is not linked to your site, this functionality will not work on your site.

Note that the current integration supports both Google Analytics 4 (GA4) and Universal Analytics.

To enable Conversion Tracking via Google Analytics, complete the following steps:

  1. Log in to your Booknetic admin control panel
  2. Go to Settings > Integration Settings > Conversion tracking
  3. Click the new tracker button.

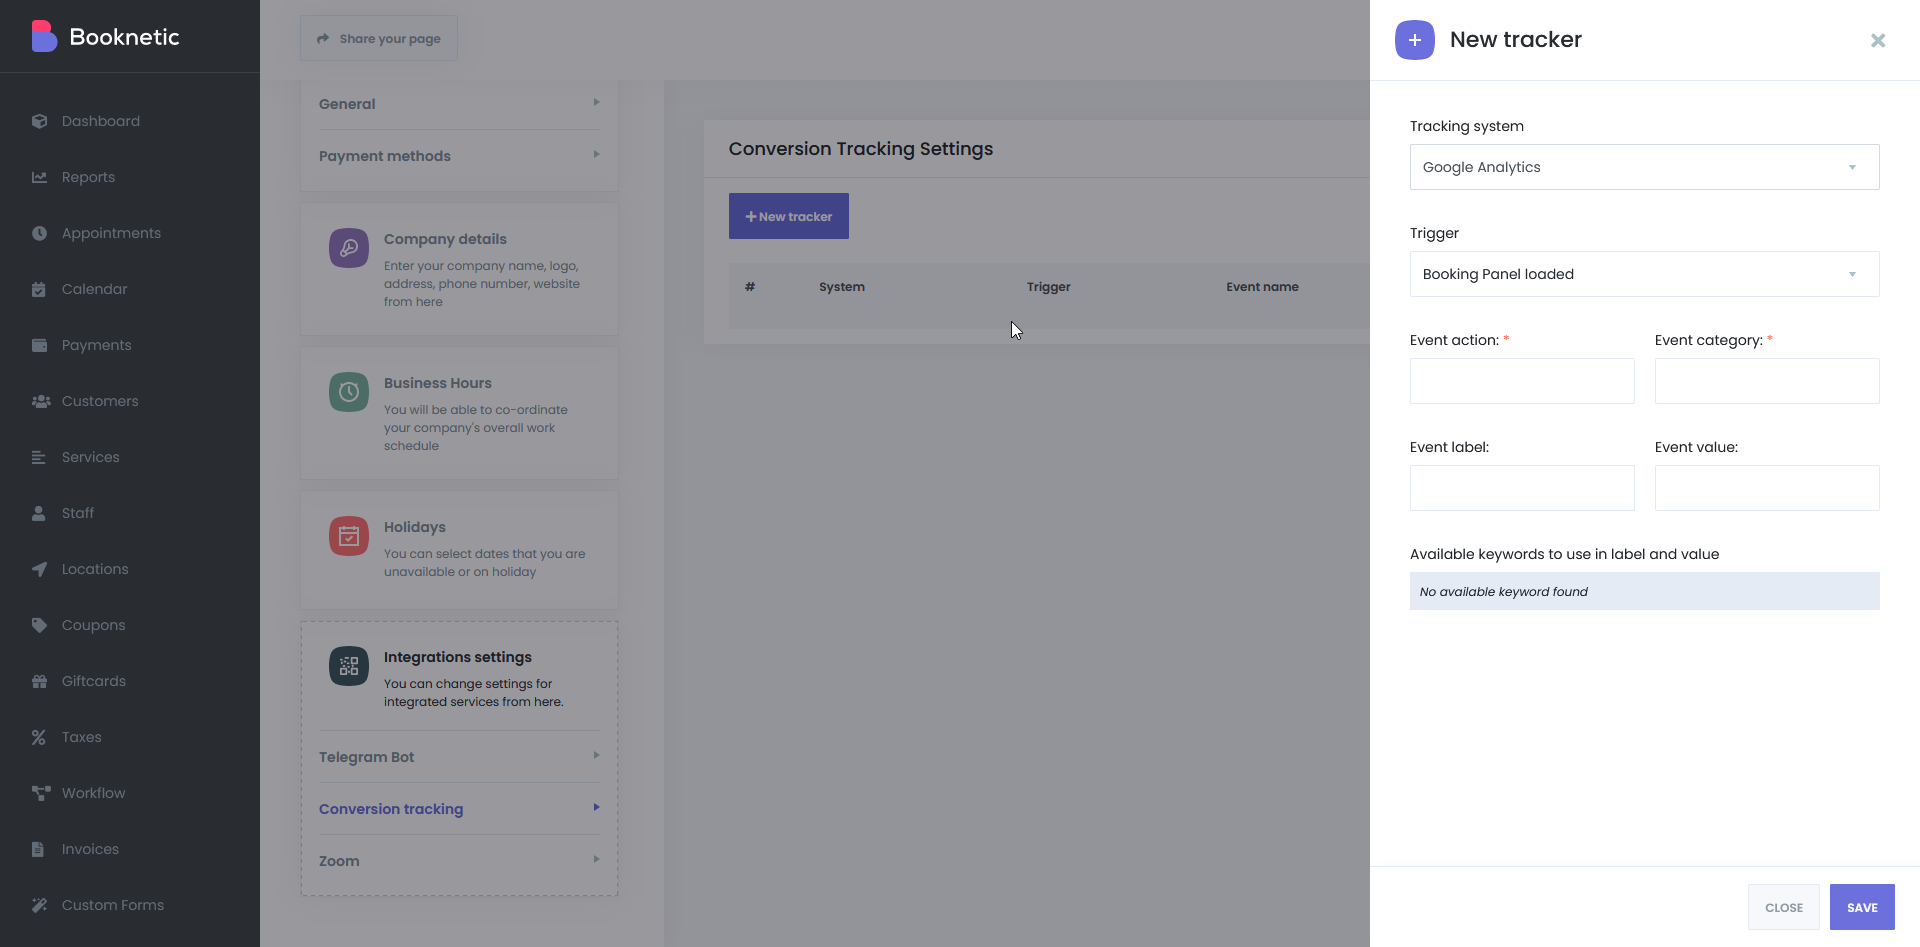
In the modal that opens, we choose Google Analytics as the Tracking system.

In Trigger, you find and select the option you want to monitor. The following triggers are available:

  • Booking Panel loaded - When any user logs into your Booking panel in this tracker, the event you entered is automatically sent to Google Analytics.
  • Location selected - In this tracker, the event you entered is automatically sent to Google Analytics when the user/customer in the Location step selects any location during the Booking process and proceeds to the Next step.
  • Service selected - During the Booking process in this tracker, the event you entered is automatically sent to Google Analytics when the user/customer in the Services step selects any service and proceeds to the Next step.
  • Staff selected - During the Booking process in this tracker, the event you entered is automatically sent to Google Analytics when the user/customer in the Staff step selects any staff member and proceeds to the Next step.
  • Selected date - When the user/customer in the Date and time step selects any date during the Booking process in this tracker, the event you entered is automatically sent to Google Analytics.
  • Selected time - When the user/customer in the Date and time step selects any time during the Booking process in this tracker, the event you entered is automatically sent to Google Analytics.
  • Information step completed - When you fill in the information of the booking user/customer in this tracker and complete the next step, the event you entered will be automatically sent to Google Analytics.
  • Booking completed (Local payment method) - This tracker is activated when the Booking is completed with a cash (local) payment method.
  • Booking completed with payment - This tracker is activated when the Booking process is completed and the customer pays with any online payment method.
  • Payment error - If any error occurs during checkout, you can submit your event to Google Analytics via this tracker.

After selecting the trigger you need, you fill in the next 4 fields - Event action, Event category, Event tag, and Event value fields. These fields are the event data that will go to Google Analytics. Here you can use ready-made shortcodes. For example:

{appointment_id}
{appointment_payment_method}
{appointment_sum_price}
{appointment_paid_price}
{service_name}
.etc

The list of these shortcodes varies depending on the audience selected. For example, the shortcode appointment_price_price is only valid on Booking completed with payment tracking. The list of keywords you can use for the selected tracker is at the bottom of the mod you are working on and you can easily use it by copying it from there.

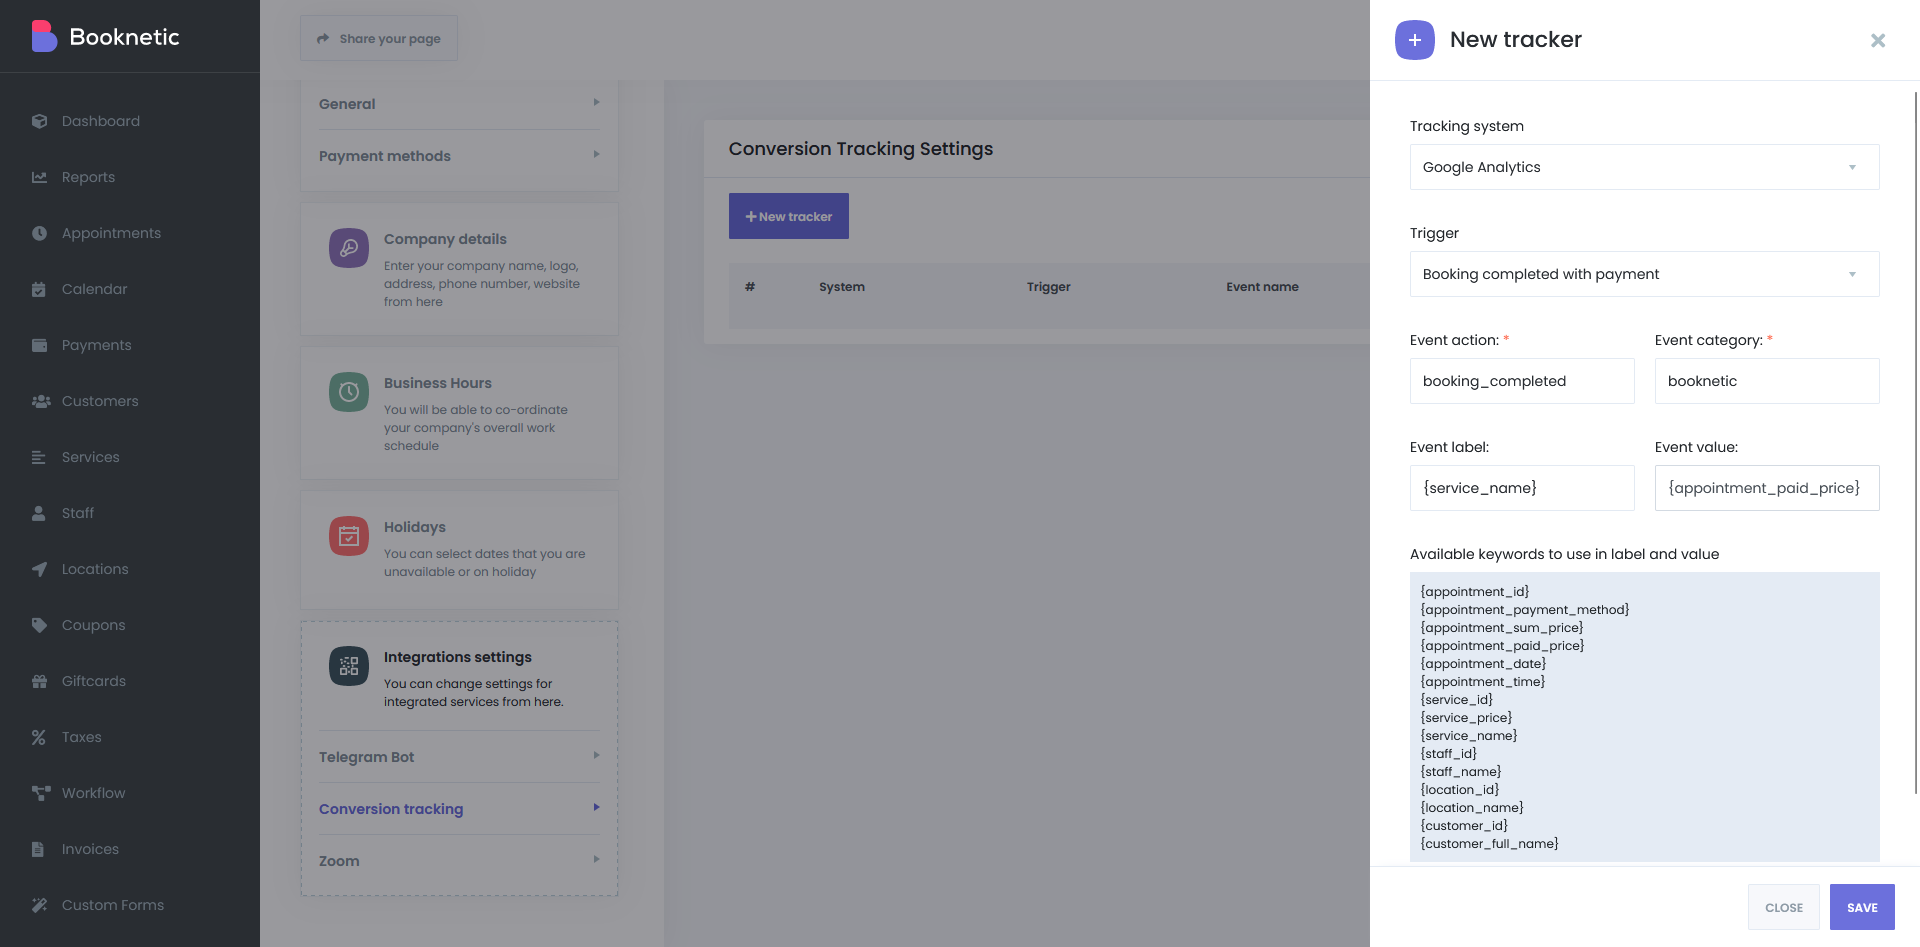
After entering the data, you save it by clicking the SAVE button. In this way, you can add as many Trackers as you want.

After adding the tracker, if you want to test whether the event you added in Google Analytics is working properly, you can use the Google Analytics Debugger chrome extension.

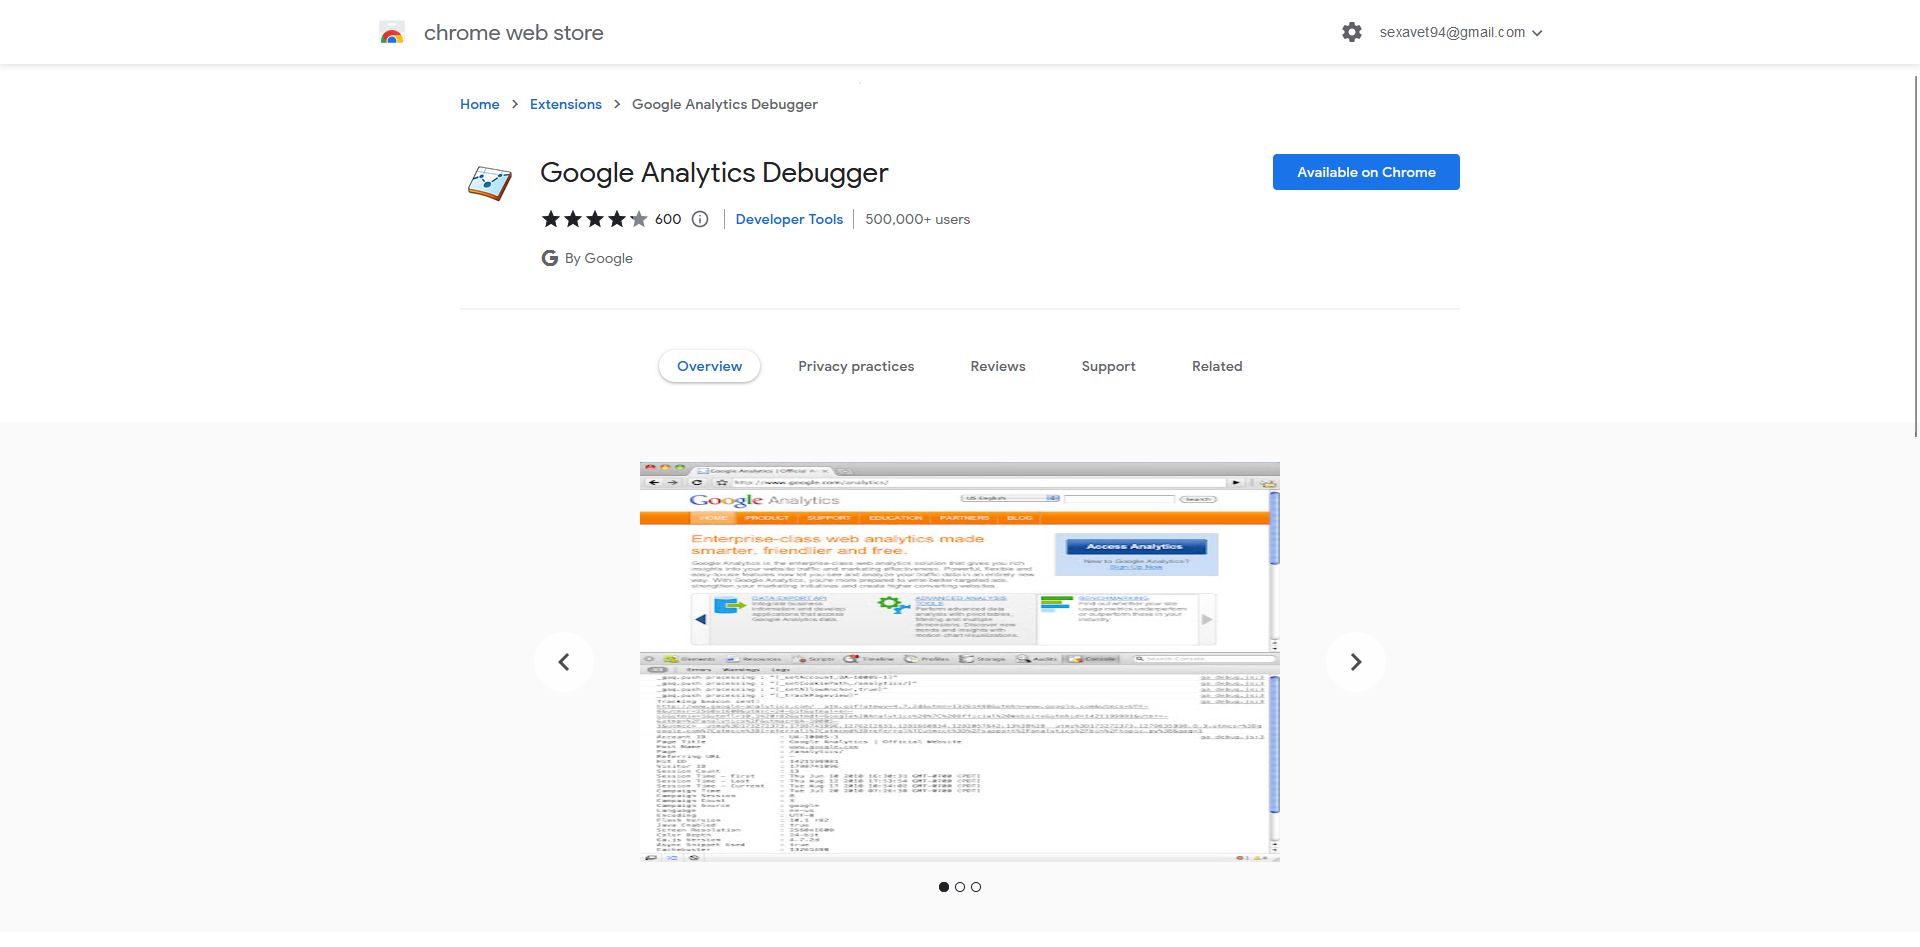
After downloading and installing this extension in Chrome, enable it. You can then monitor events sent to Google Analytics here by opening the Console log in your browser (pressing F12 on the keyboard or right-clicking the mouse > Inspect item).

Also if you are using the GA4 version, there is a simpler method instead of watching events in the Console Log.

  1. Get involved with Google Analytics.
  2. Go to Configure > DebugView.
  3. And after waiting for a while, if you did everything right, you will see that your event is triggered in DebugView when you enter the Booking Panel and perform the operation according to the tracker you added.

In the new version, events in GA4 will be arranged very neatly in DebugView as a timeline. You can also track the tag and value you sent by clicking on the event here.

Google Tag Manager Integration to Booknetic Appointment Booking Plugin

For this integration to work, you must first have a Google Tag Manager account and have this account set up on your site. The current integration of Booknetic does not install Google Tag Manager on your site. You have to do it yourself, it's a very simple process and the Google Tag manager gives you the instructions to do it. If your site does not have Google Tag Manager enabled, this feature will not work on your site.

To enable Conversion Tracking via Google Tag Manager, complete the following steps:

  1. Log in to your Booknetic admin control panel
  2. Go to Settings > Integration Settings > Conversion tracking
  3. Click the new tracker button.

In the opened modal, we select Google Tag Manager as the Tracking system.

In Trigger, you find and select the option you want to track. The following triggers are available:

  • Booking Panel loaded - When any user logs into your Booking panel in this tracker, the event you enter is automatically sent to Google Tag Manager.
  • Location selected - During the Booking process in this tracker, the event you entered is automatically sent to Google Tag Manager when the user/customer in the Location step selects any location and proceeds to the Next step.
  • Service selected - During the Booking process in this tracker, the event you entered is automatically sent to Google Tag Manager when the user/customer in the Services step selects any service and proceeds to the Next step.
  • Staff selected - During the Booking process in this tracker, the event you entered is automatically sent to Google Tag Manager when the user/customer in the Staff step selects any staff member and proceeds to the Next step.
  • Date selected - When the user/customer selects any date during the Booking process in this tracker, the event you entered will be automatically sent to Google Tag Manager.
  • Time Selected - When the user/customer in the Date and time step selects any time during the Booking process in this tracker, the event you entered is automatically sent to Google Tag Manager.
  • Information steps complete - Once you fill in the information of the booker/customer in this tracker and do the next step, the event you entered will be automatically sent to Google Tag Manager.
  • Booking completed (Local payment method) - This tracker is activated when the Booking is completed with a cash (local) payment method.
  • Booking completed with payment - This tracker is activated when the Booking process is completed and the customer pays with any online payment method.
  • Payment error - If any error occurs during checkout, you can submit your event to Google Tag Manager through this tracker.

After selecting the trigger you need, you write the name of the event you want to send to Google Tag Manager in the Event action entry.

If necessary, you can send any number of custom parameters to Google Tag Manager by clicking the + Add parameter link. Here you can use ready-made shortcodes both in parameter name and parameter value. For example:

{appointment_id}
{appointment_payment_method}
{appointment_sum_price}
{appointment_paid_price}
{service_name}
.etc

The list of these shortcodes varies depending on the selected tracker. For example, the appointment_paid_price shortcode is valid only in Booking completed with the payment tracker. The list of keywords that you can use for the selected tracker is at the bottom of the mod you are working on, and you can easily use it by copying it from there.

After entering the data, you save it by pressing the SAVE button. In this way, you can add as many Trackers as you want.

To verify that the events you've added are correctly reflected in Google Tag Manager, complete the following steps:

  1. Sign in to your Google Tag Manager account.
  2. Click the Preview button in the upper right corner.
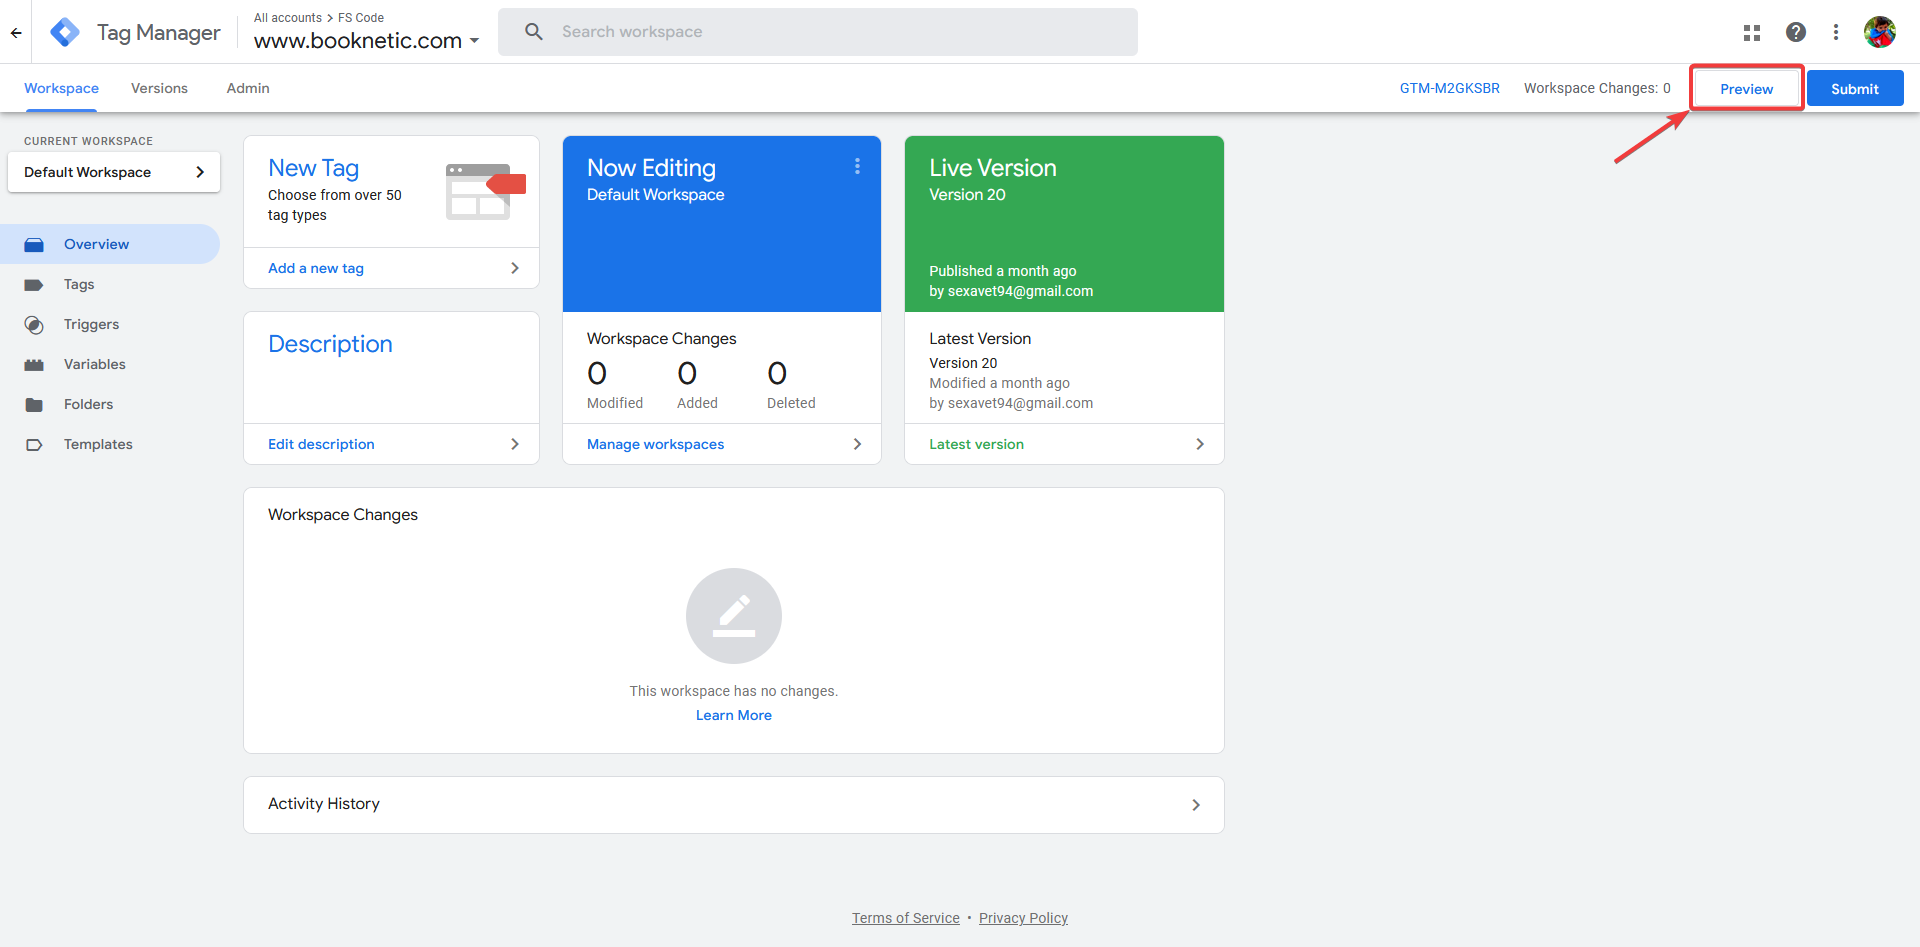
  3. In the new window that opens, enter the URL where your booking panel is located and click the Connect button
  4. Your site will open in a new window in debug mode. After performing the actions you want to follow in the booking panel, you will be able to return to the previous open window and see the list of triggered events there. You can also monitor the settings you sent here by clicking on the event.

Note that you can integrate with Google Analytics, Facebook Pixel, and many analytics tools at the same time using the Google Tag Manager integration.

How to purchase Conversion Tracking Add-on in Booknetic?

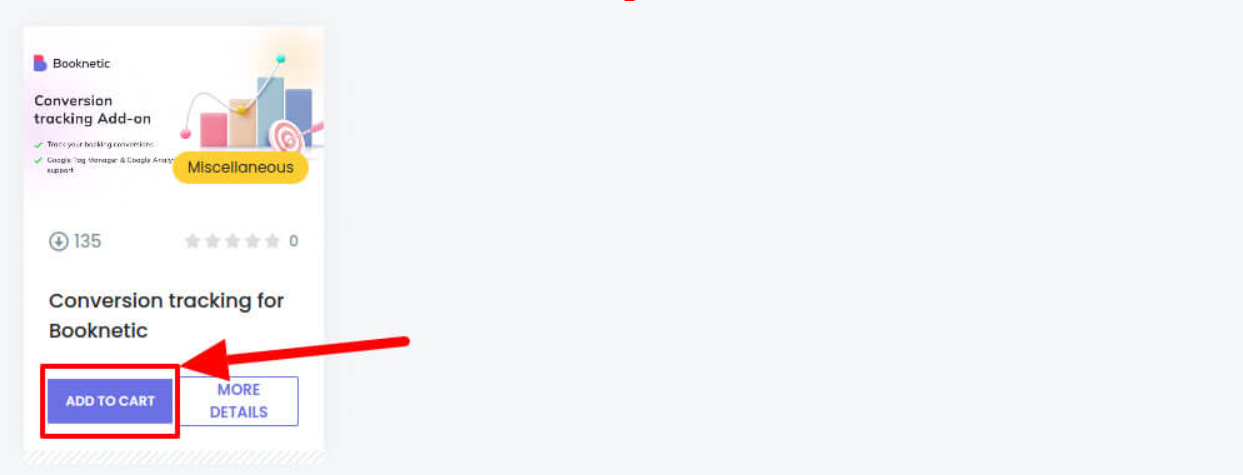
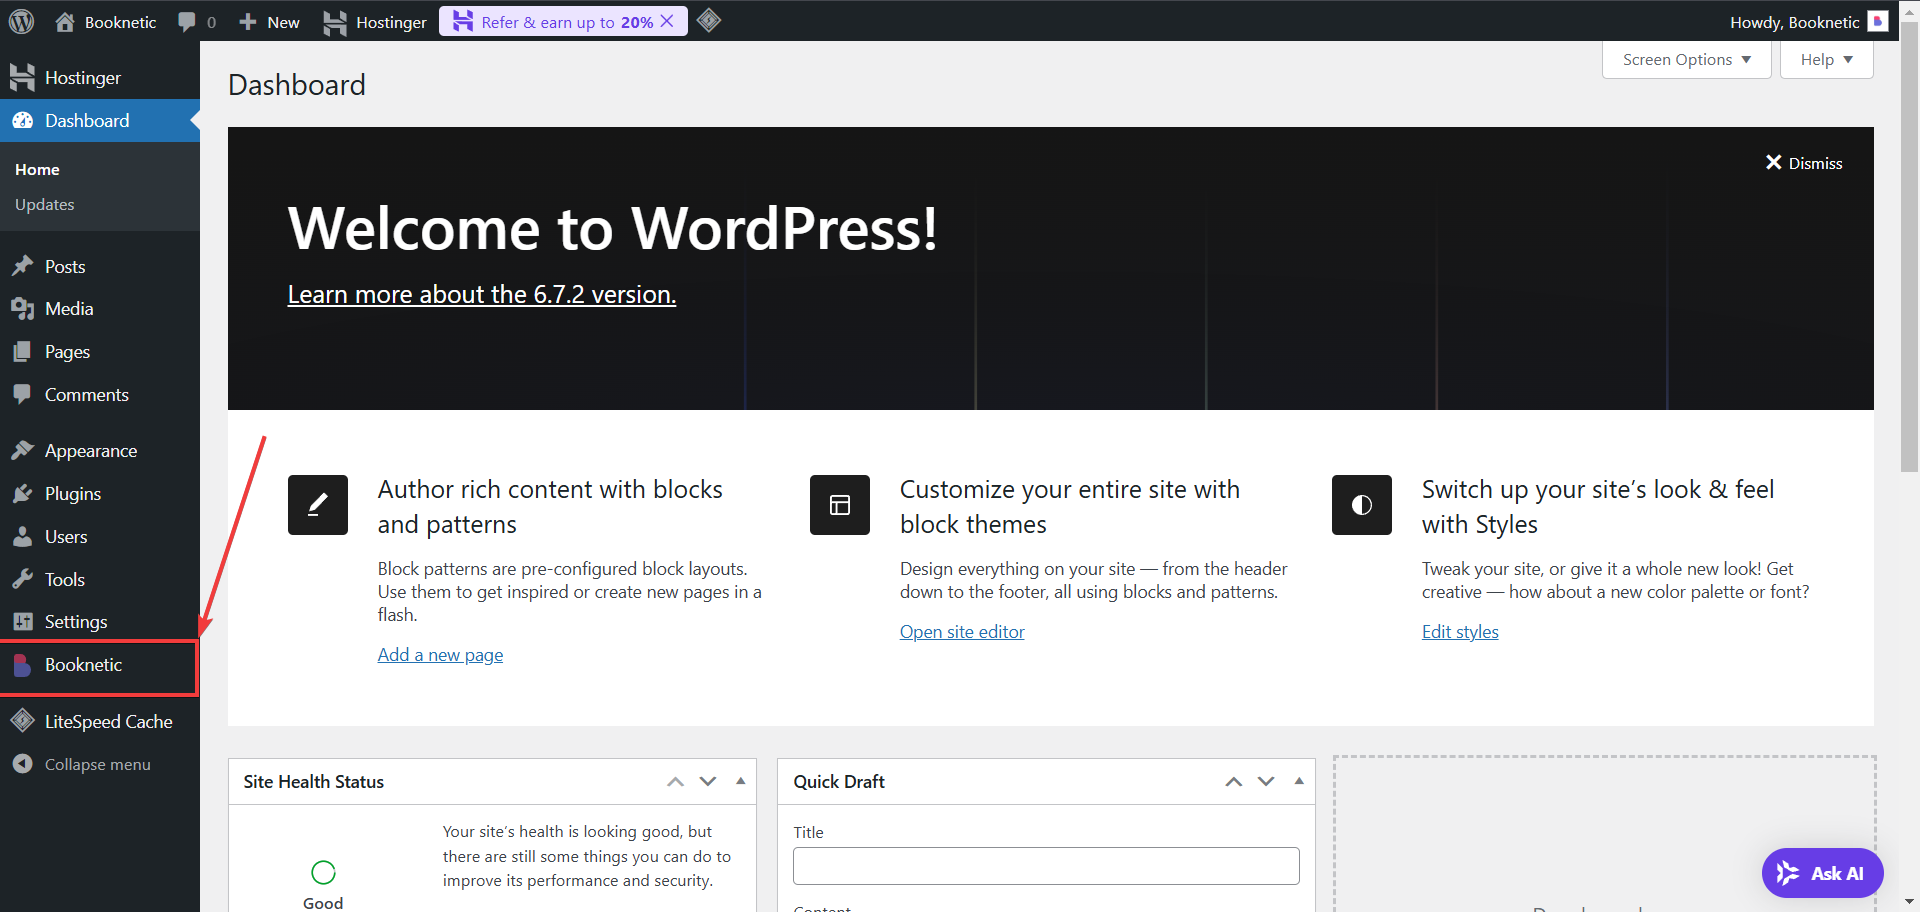
Step 1: Click on Booknetic

Click on Booknetic

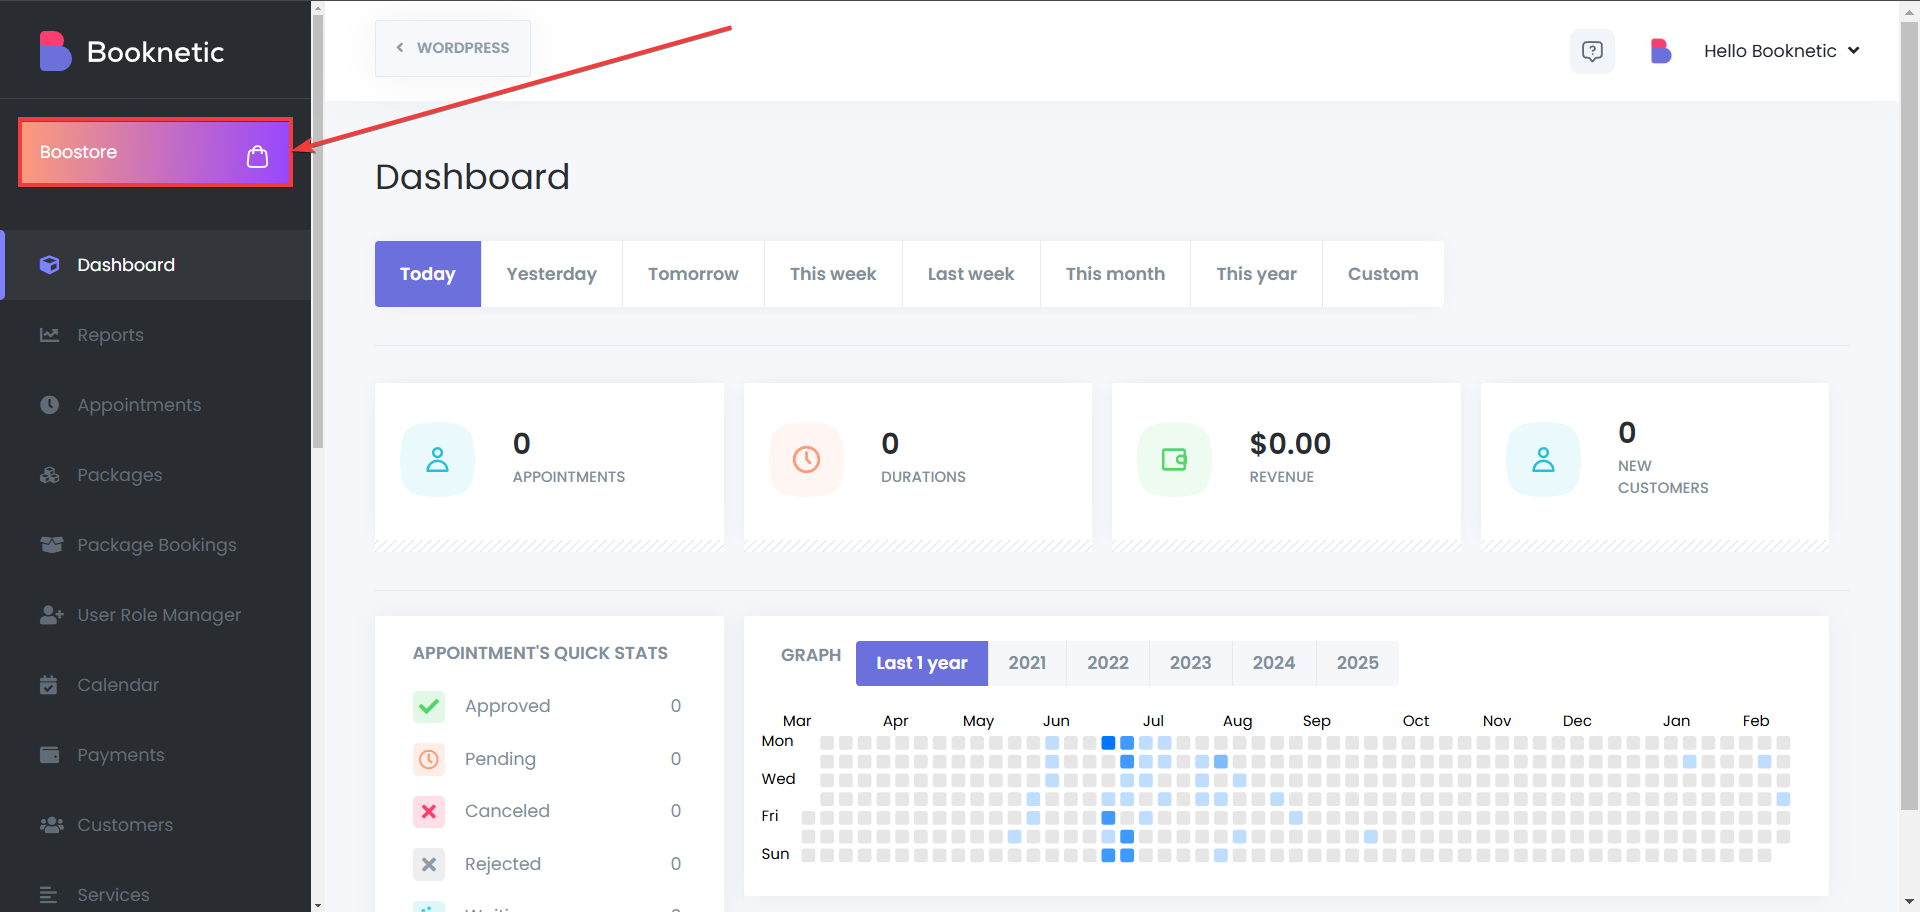
Step 2: Go to Boostore

Go to Boostore

Step 3: Write the name of the add-on to search bar

Write the name of the add-on to search bar

Step 4: Click add to cart

Click add to cart