One of the new features of Booknetic is to send Mailchimp transactional Emails.
To set up Mailchimp integration, a few requirements needed to be met.
Requirements:
- Mailchimp addon for Booknetic.
- DNS management for the domain (for example, Cloudflare).
- Mailchimp Transactional paid plan.*
*This option is not mandatory, but the Mailchimp Transactionals trial plan only allows sending emails to those within the same domain. For instance, if we set up Mailchimp Transactional (trial) for our domain, e.g., booknetic.com, we will not be able to send emails to [email protected], so we highly recommend upgrading to a Paid plan Mailchimp Transactional Email.
Now let’s start configuring our Mailchimp:
- Navigate to Mailchimp profile and select “Transactional Email” in Automations:

- Then click “Launch App”:

- A pop-up will come up and notify us to “Continue to Mandrill,” Click:

- After configuring our Mandrill, we must add our domain to Mandril and then verify it, select “Sending Domains” from Settings:

- Now we can add our domain:

- After we added our domain, we needed to verify our domain. There are three procedures, so that we will start accordingly. First is “Domain Verification” click “view details”:

- A pop-up will show up and provide us with a TXT record. We need to add this TXT record to our DNS. For this purpose, we will use Cloudflare, but you can use any provider available for you.
- Now let’s add the given TXT record to our domain:

- Now, if we come over to our Mandrill and click “Test DNS Settings,” we’ll see that our Domain is verified

- Now we need to set up DKIM settings:

- Pop-up will come up:

- Added to DNS:

- The last step is to verify domain SPF settings:


- As you can see, we successfully verified and added our domain to mandrill.
 For some providers, it might take some time to take effect.
- Now let’s go back to settings and add our API Key:

- Our API Key is created:

- Now we need to add this to our Mailchimp settings in Booknetic:


- As the last step, click “Save Settings.” Congratulations, you’ve successfully integrated Mailchimp Transactional Emails into Booknetic
How to Buy Mailchimp Integration in Booknetic?
Step 1: Click on Booknetic
.png)
Step 2: Go to Boostore
.png)
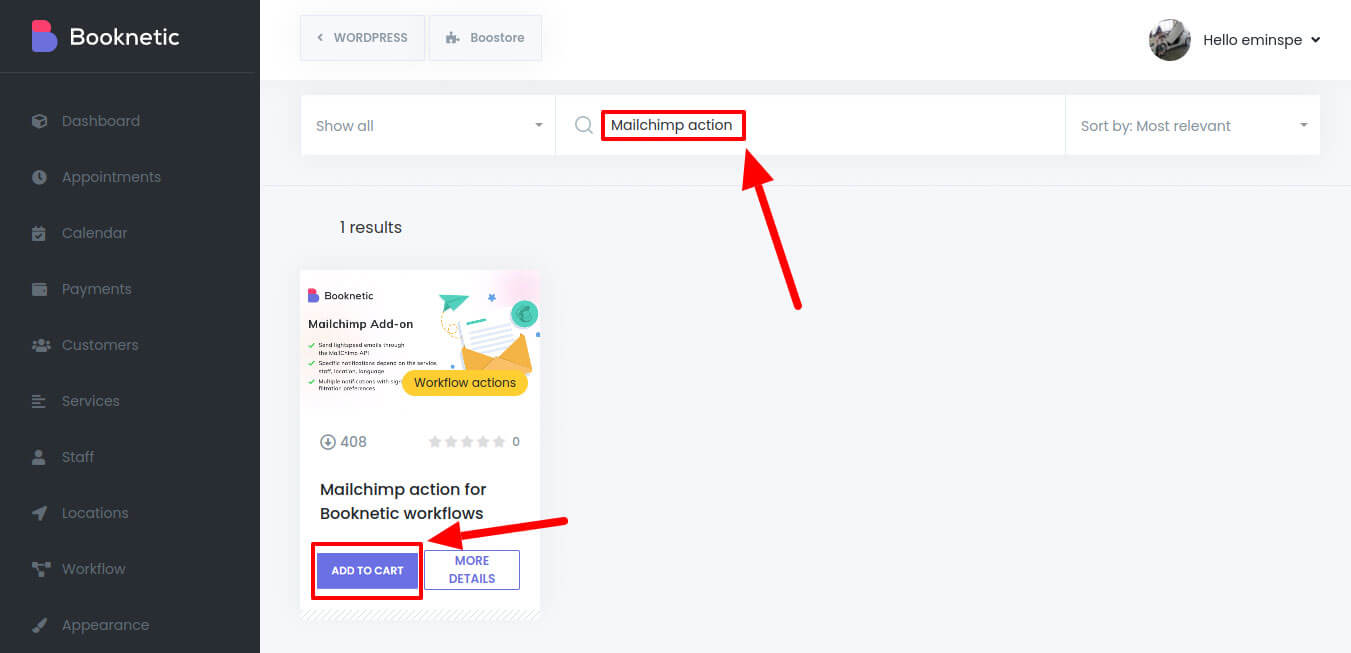
Step 3: Write the name of the add-on to search bar
.png)
Step 4: Click add to cart


 For some providers, it might take some time to take effect.


.png)
.png)
.png)
