Setting up the Booknetic SaaS
Enterprise level Wordpress Appointment Booking system with SaaS support
By using this site, you agree to our Cookie Policy
Enterprise level Wordpress Appointment Booking system with SaaS support
Welcome! In this guide, we’ll walk you through the installation, configuration, and key features of the Booknetic SaaS version.
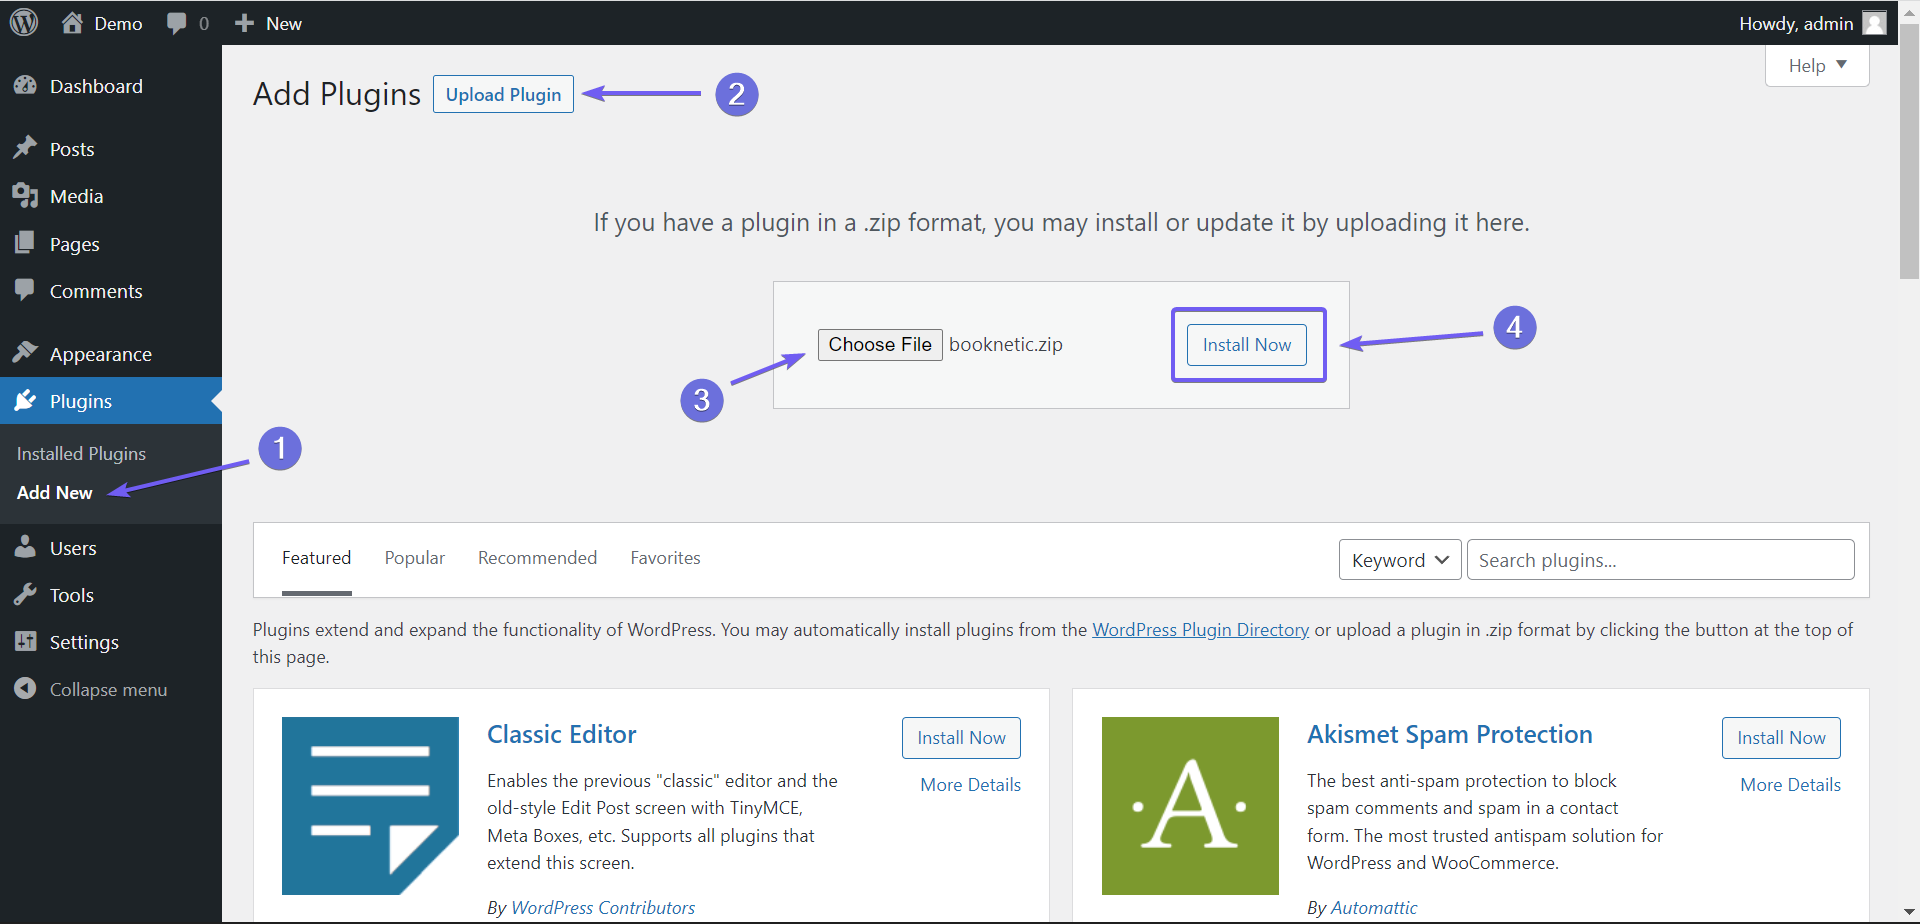
Installing and setting up the Booknetic plugin is straightforward. Simply select the plugin file you need and upload it to your website. WordPress will handle the rest of the installation process automatically.
Once the plugin installation is complete, click the Activate button.
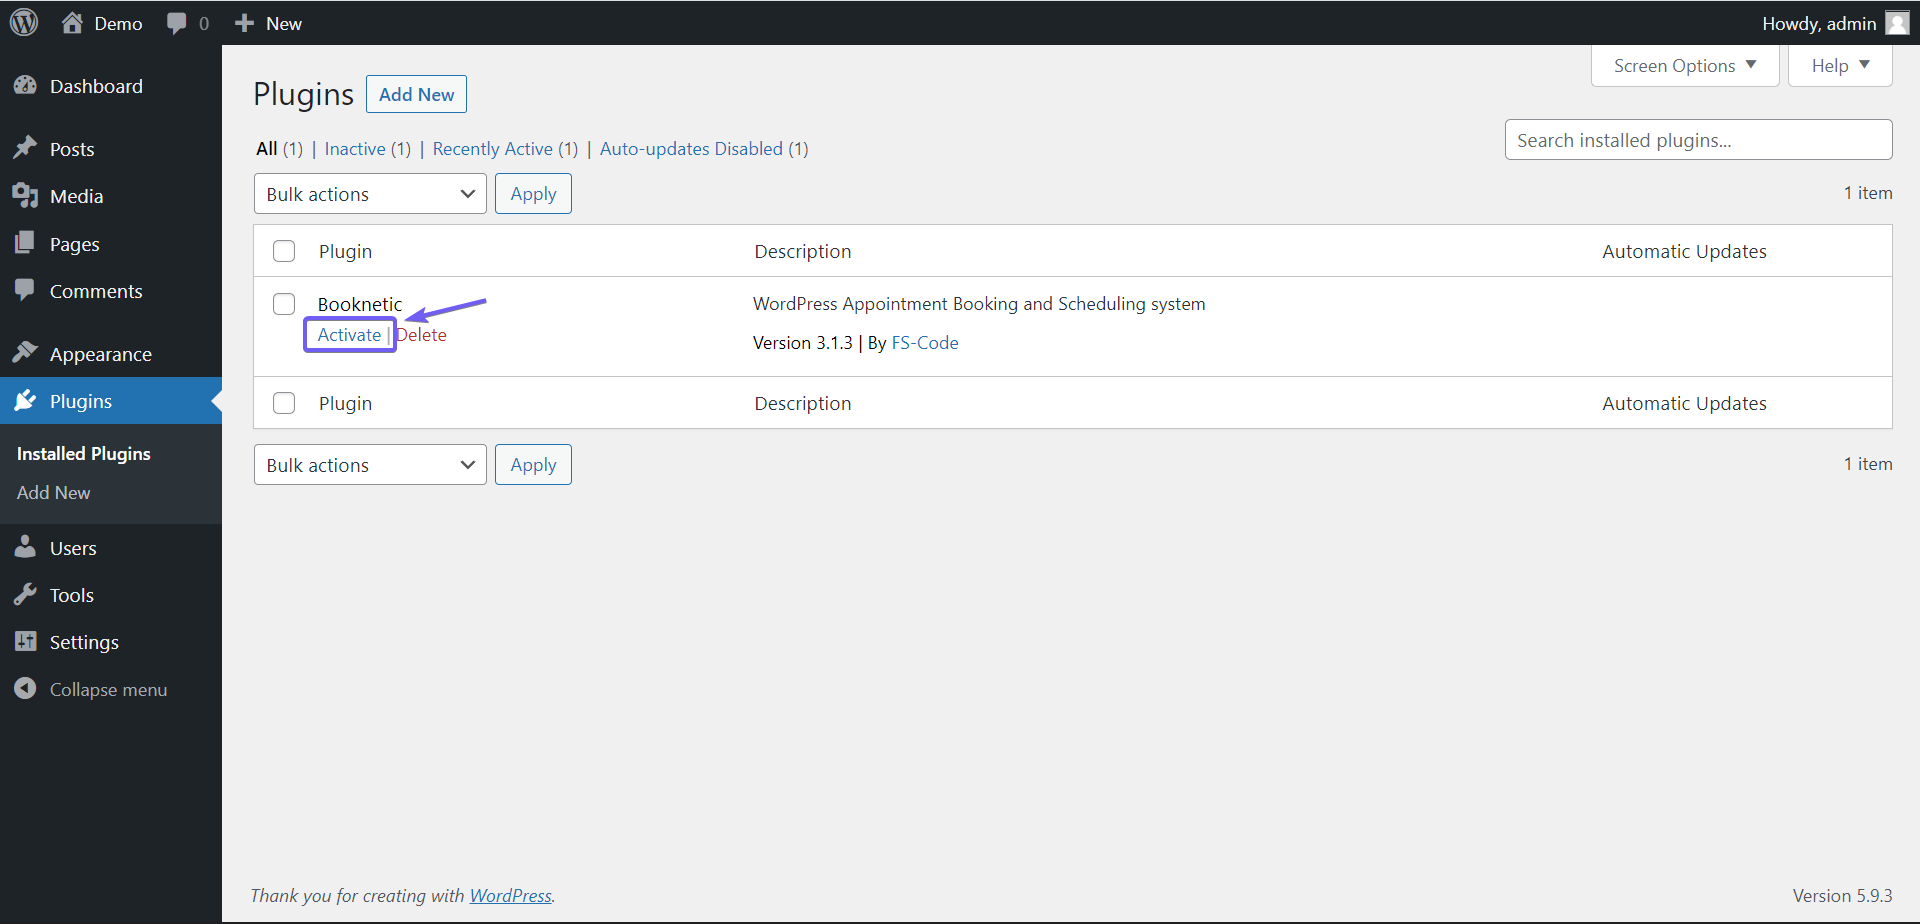
You will now see Booknetic in the menu. Click on it to access the activation page.
On this page, you’ll be prompted to enter your purchase code. Copy your purchase code/license key and paste it into the designated field.
Next, select how you heard about the plugin, enter your email address, and click the INSTALL button.
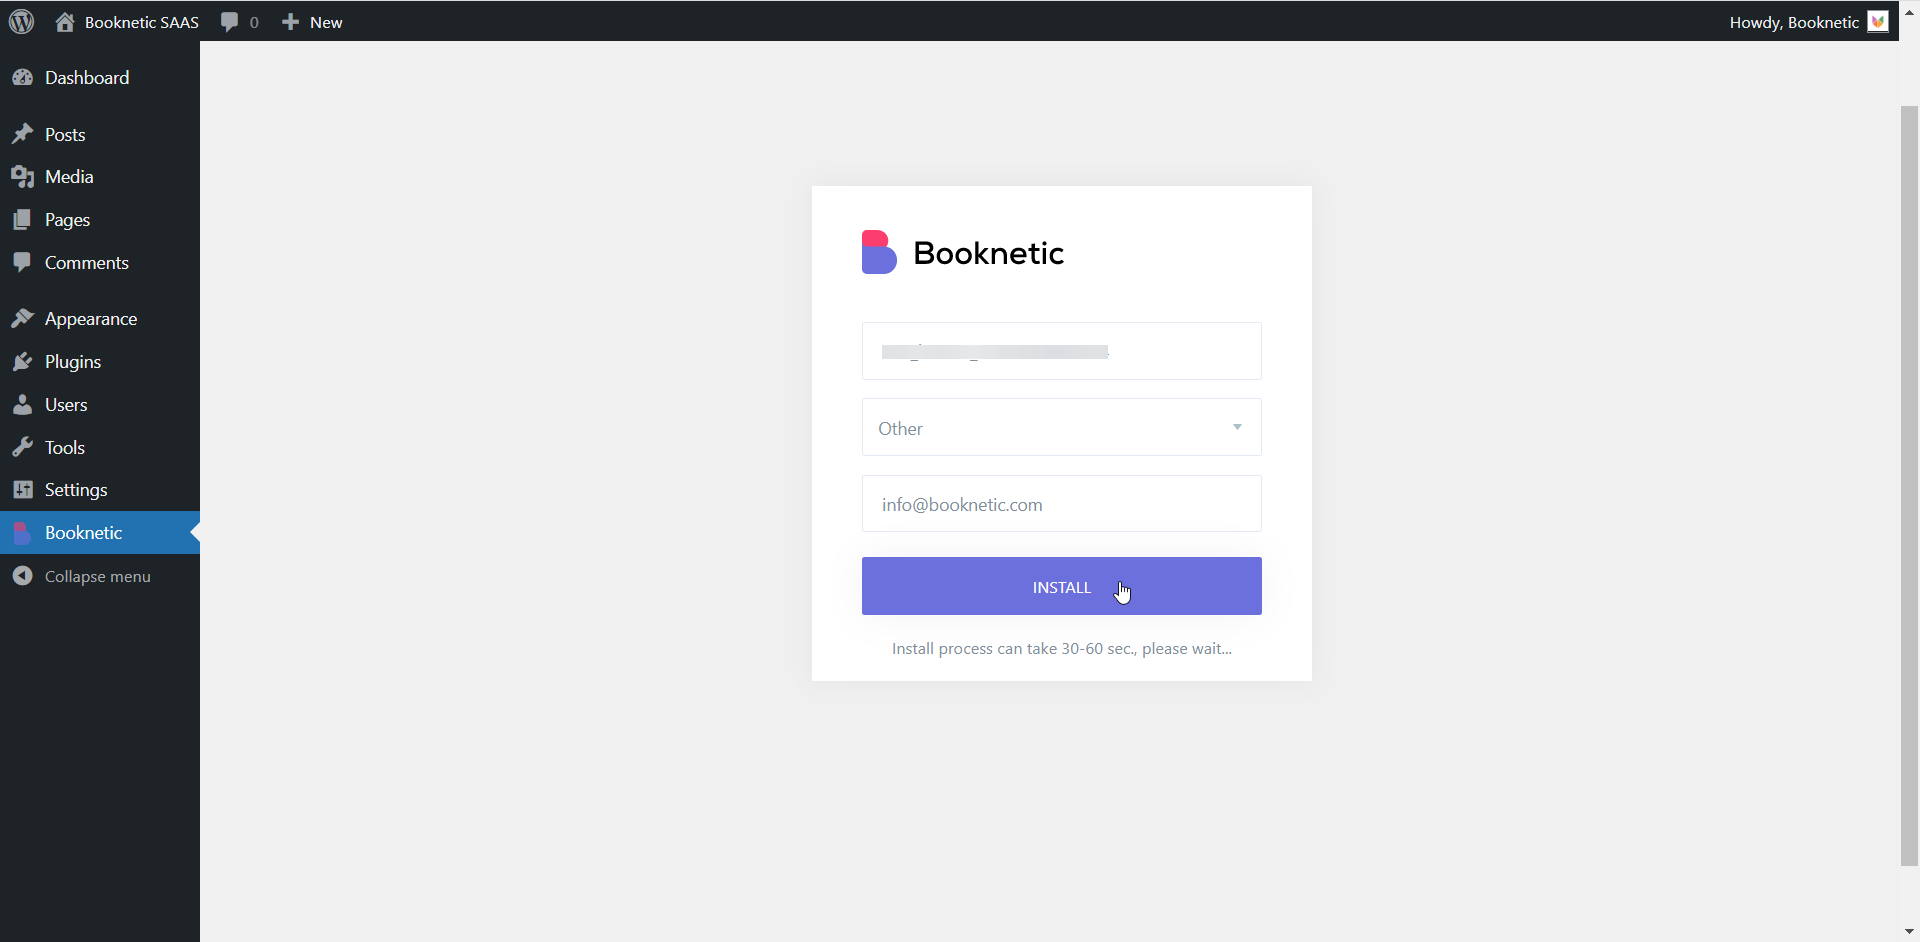
The system will take a few moments to load. Once the process is complete, the system will be fully operational.
You will be automatically redirected to the Super-Admin Panel of the SaaS version.
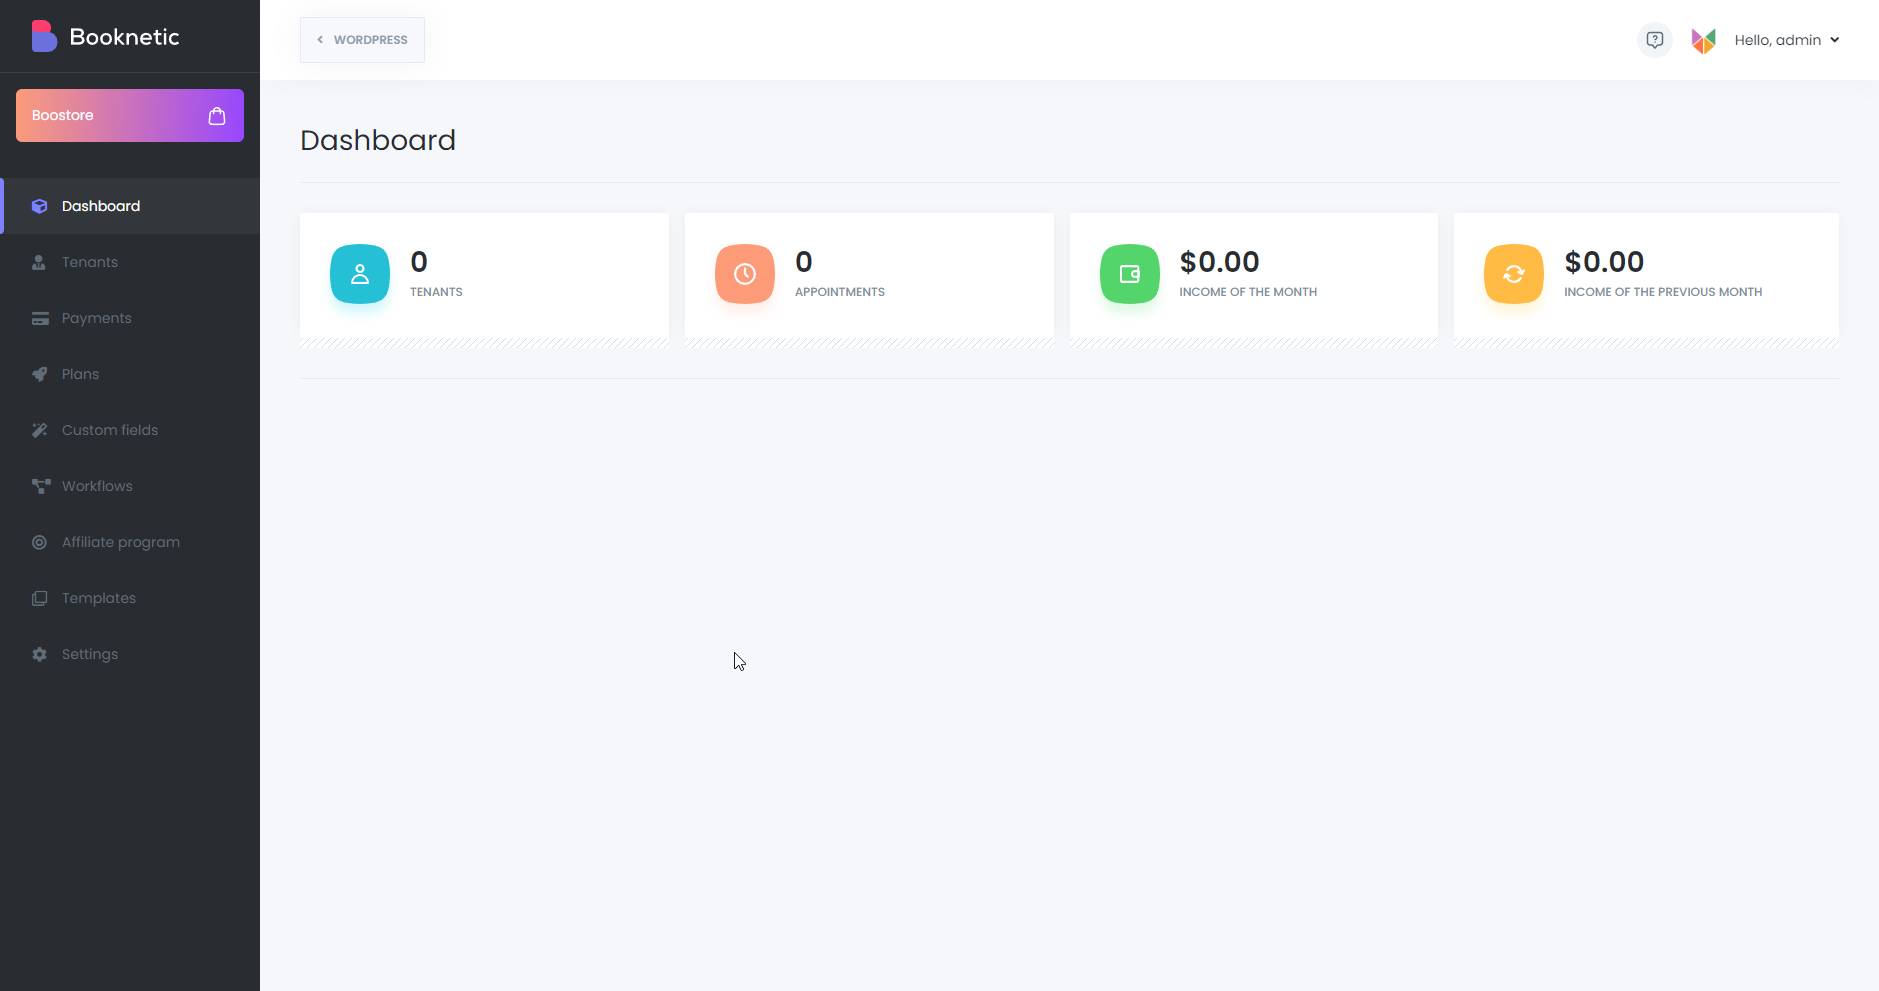
The Super-Admin Panel, like the Booknetic dashboard, is a dedicated interface that is separated from the WordPress menu. This ensures that other WordPress menus do not interfere with your ability to efficiently manage your business through the panel.
To get the plugin working properly, you need to create 4 essential WordPress pages that tenants will use to register and interact with your system:
Booking Page – This page serves as the central hub for all booking panels for your tenants. It cannot be accessed directly and is only accessible via the tenant’s booking panel.
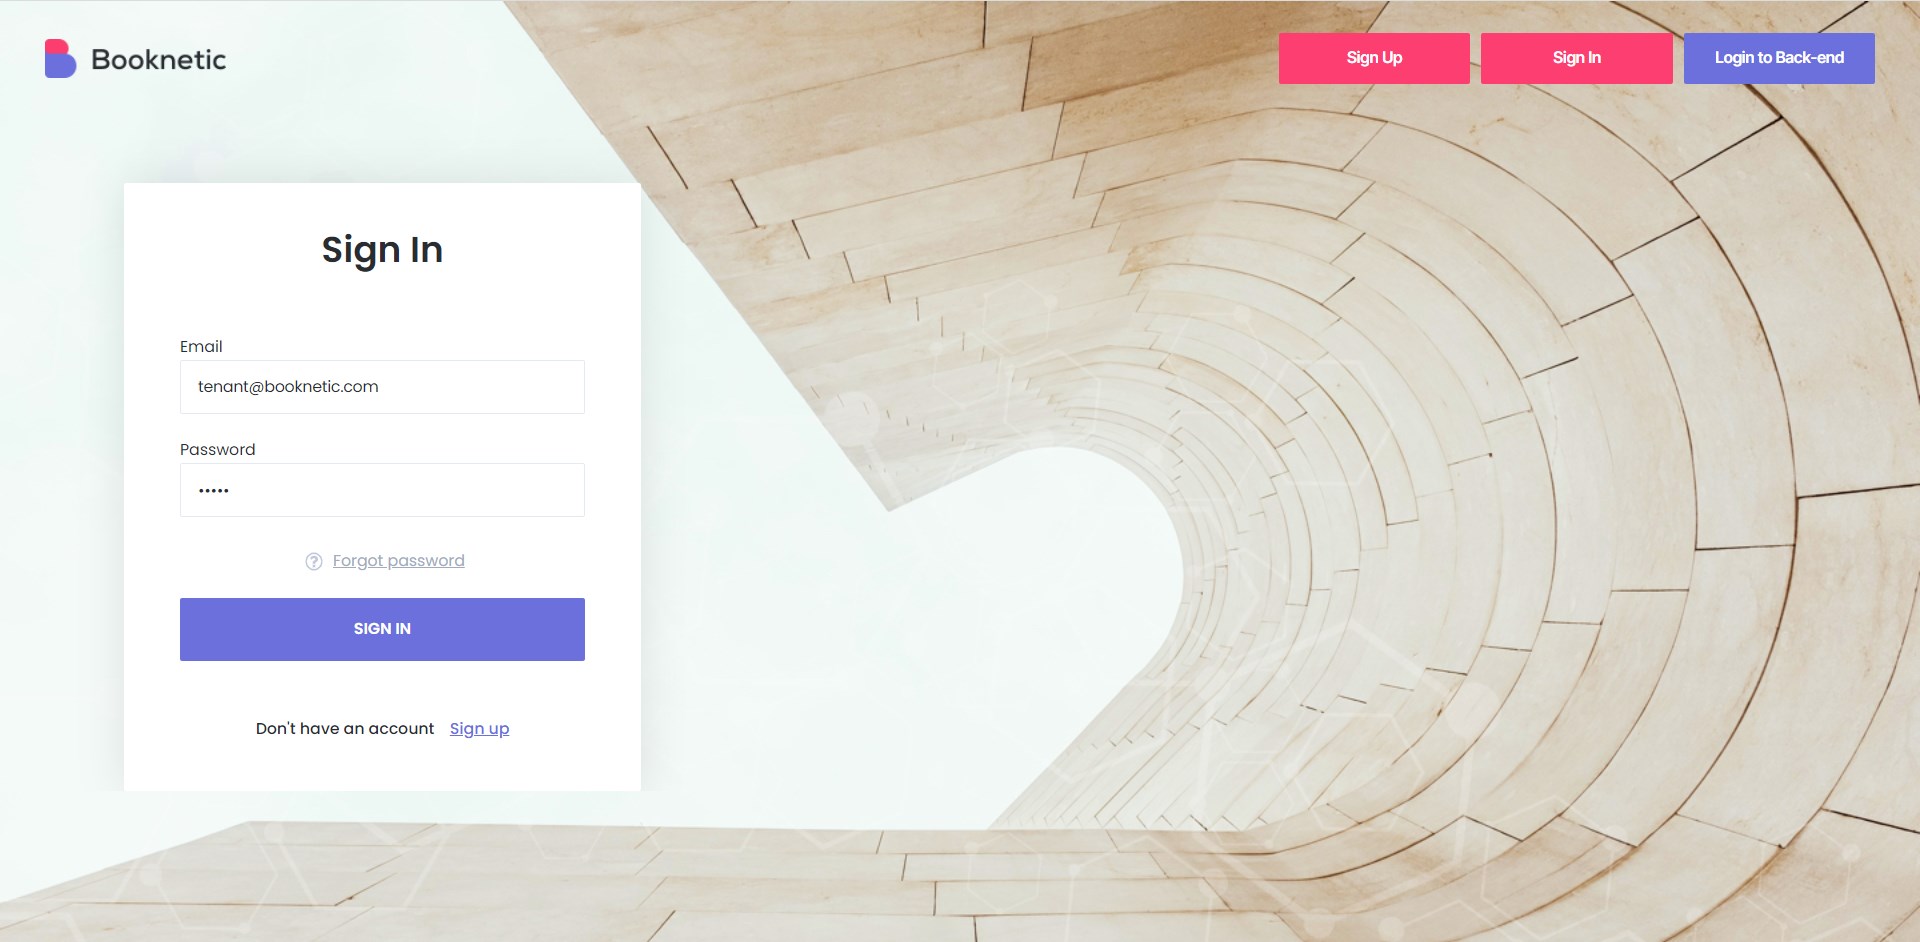
Sign-in (Tenants) – This page provides access to the admin dashboard, bypassing the default WordPress login page.
Sign-up (Tenants) – Tenants will use this page to register on your platform.
Forgot Password (Tenants)– This page allows tenants to reset their passwords if they forget them.
Additionally, you should create the following pages for customers:
Customer Sign-in (Customers) – This page enables customers to log in and access their accounts without using the default WordPress login page.
Customer Sign-up (Customers) – Customers will register on your platform through this page.
Forgot Password (Customers) – Customers can use this page to reset their passwords if needed.
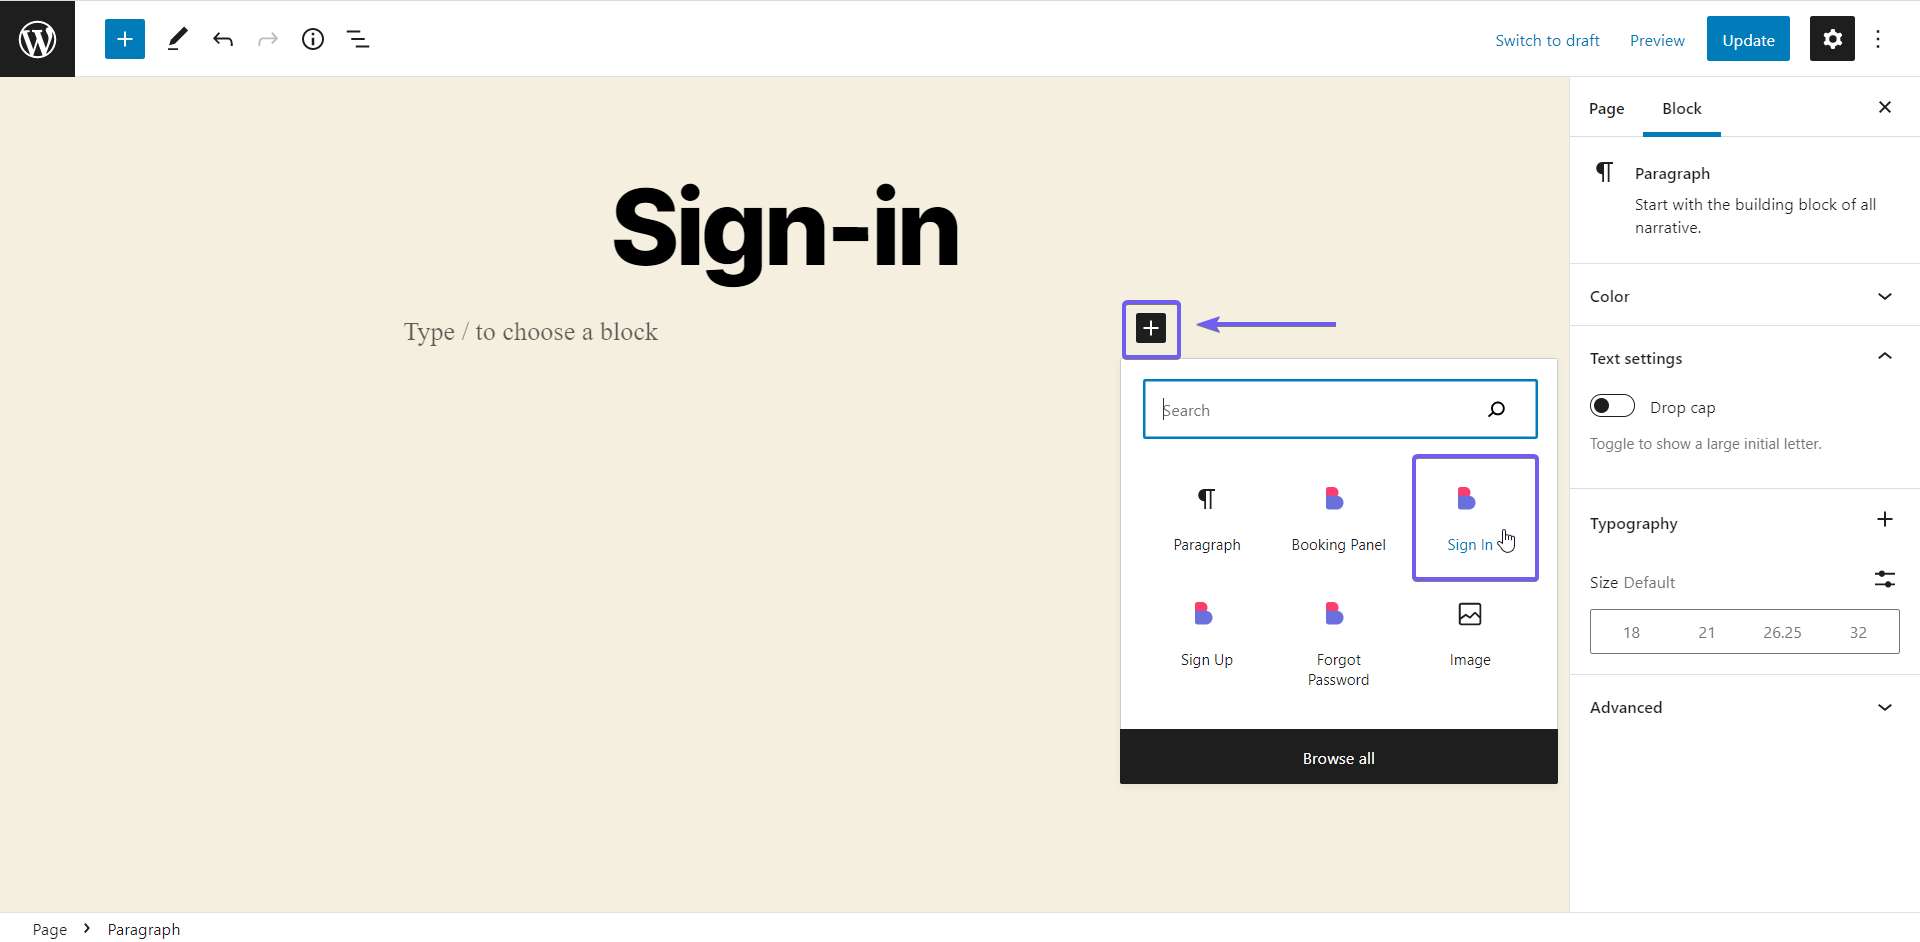
When creating each page, you can easily add and save the appropriate shortcodes using the pre-configured Booknetic blocks in your editor. Below are the shortcodes to be used for each page:
Simply insert the appropriate shortcode into each page, and the system will be set up and ready to use.
After creating the necessary pages, navigate to the Booknetic SaaS Panel > Settings. Go to White Label settings > Pages, select and save the Sign-in, Sign-up, Booking, and Forgot Password pages, respectively.
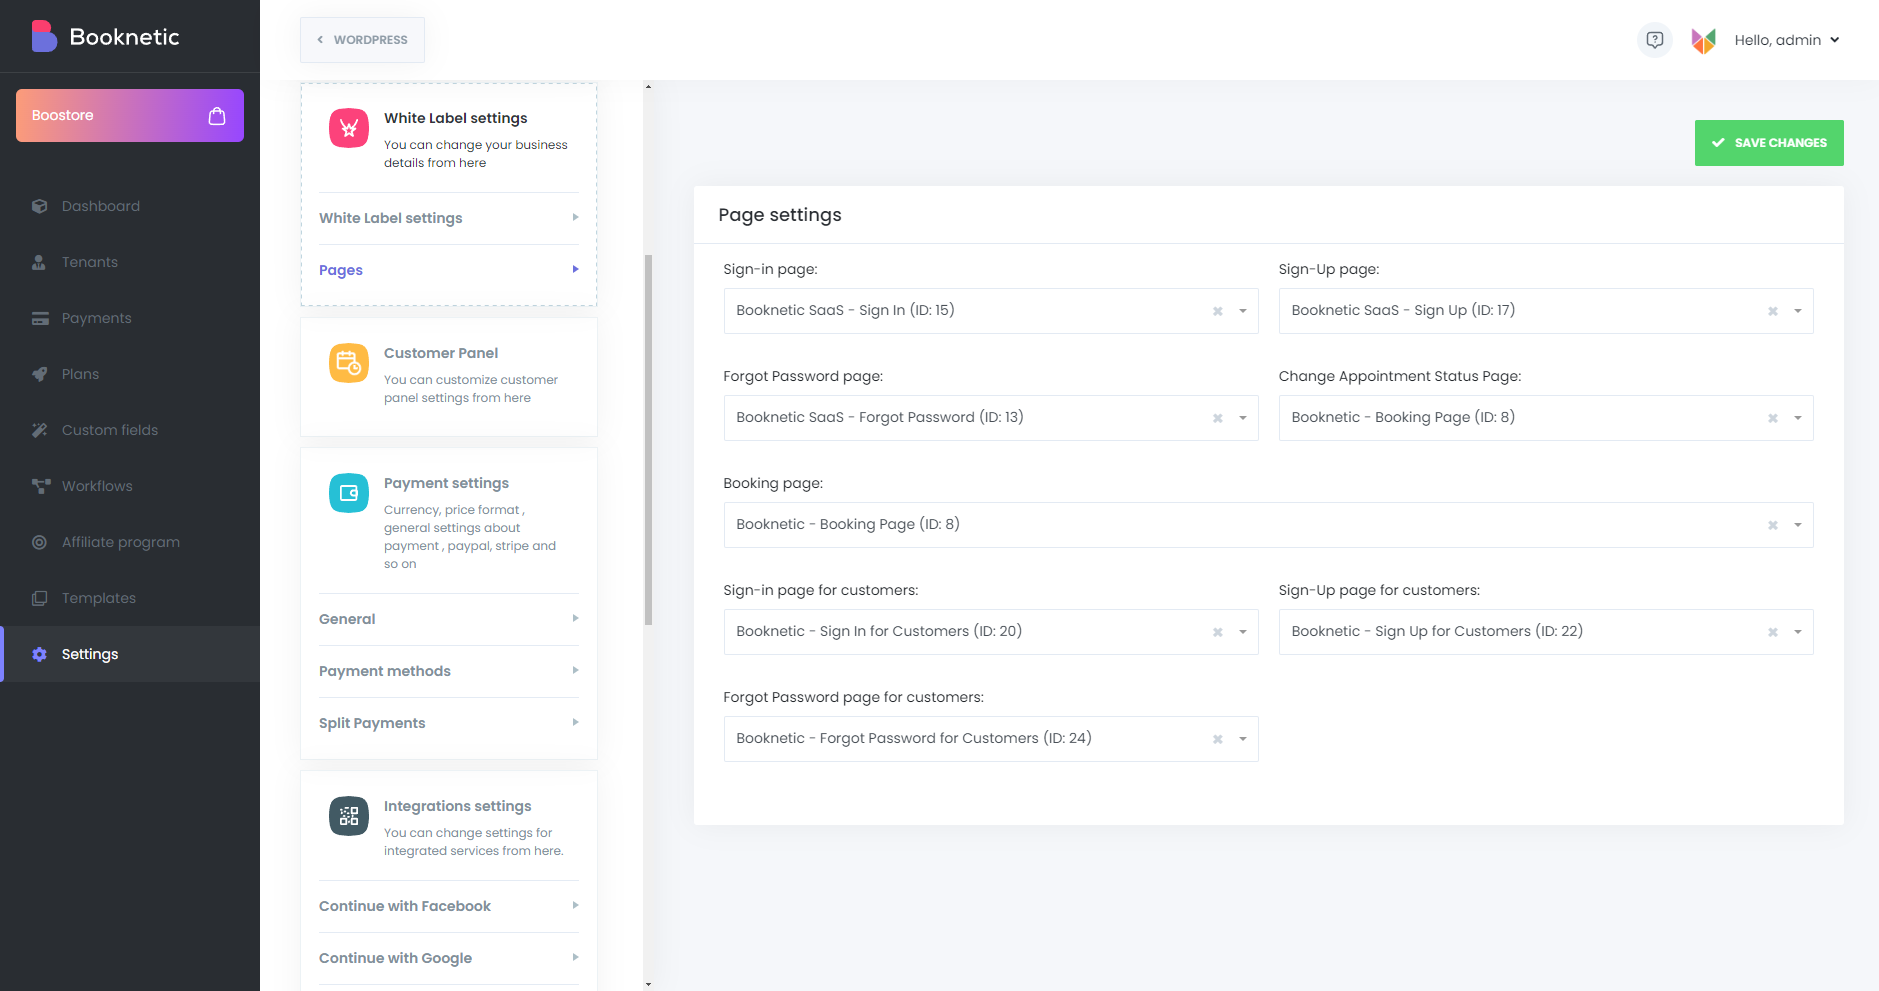
Once these settings are saved, the basic configuration is complete, and you can preview how the pages will appear on your site.
Upon accessing the Super-Admin Panel, the first module you’ll see is the Dashboard. This module provides a quick overview of key system statistics, including:
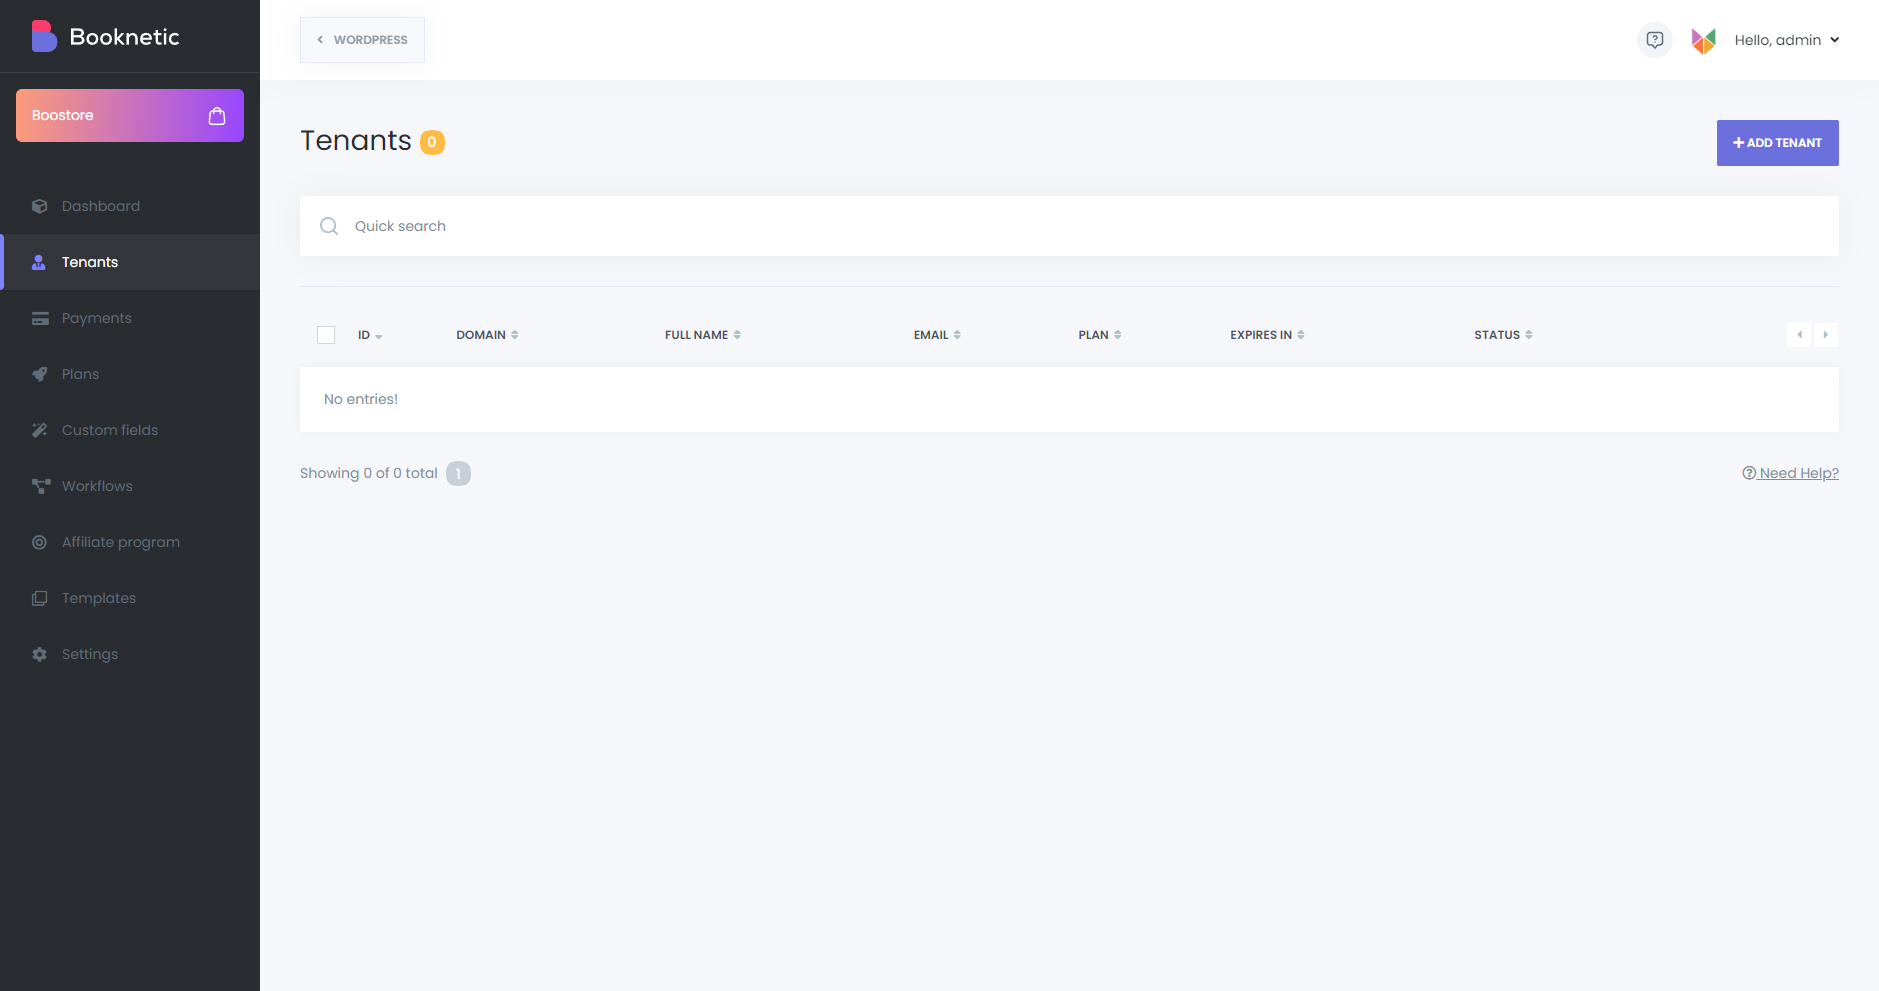
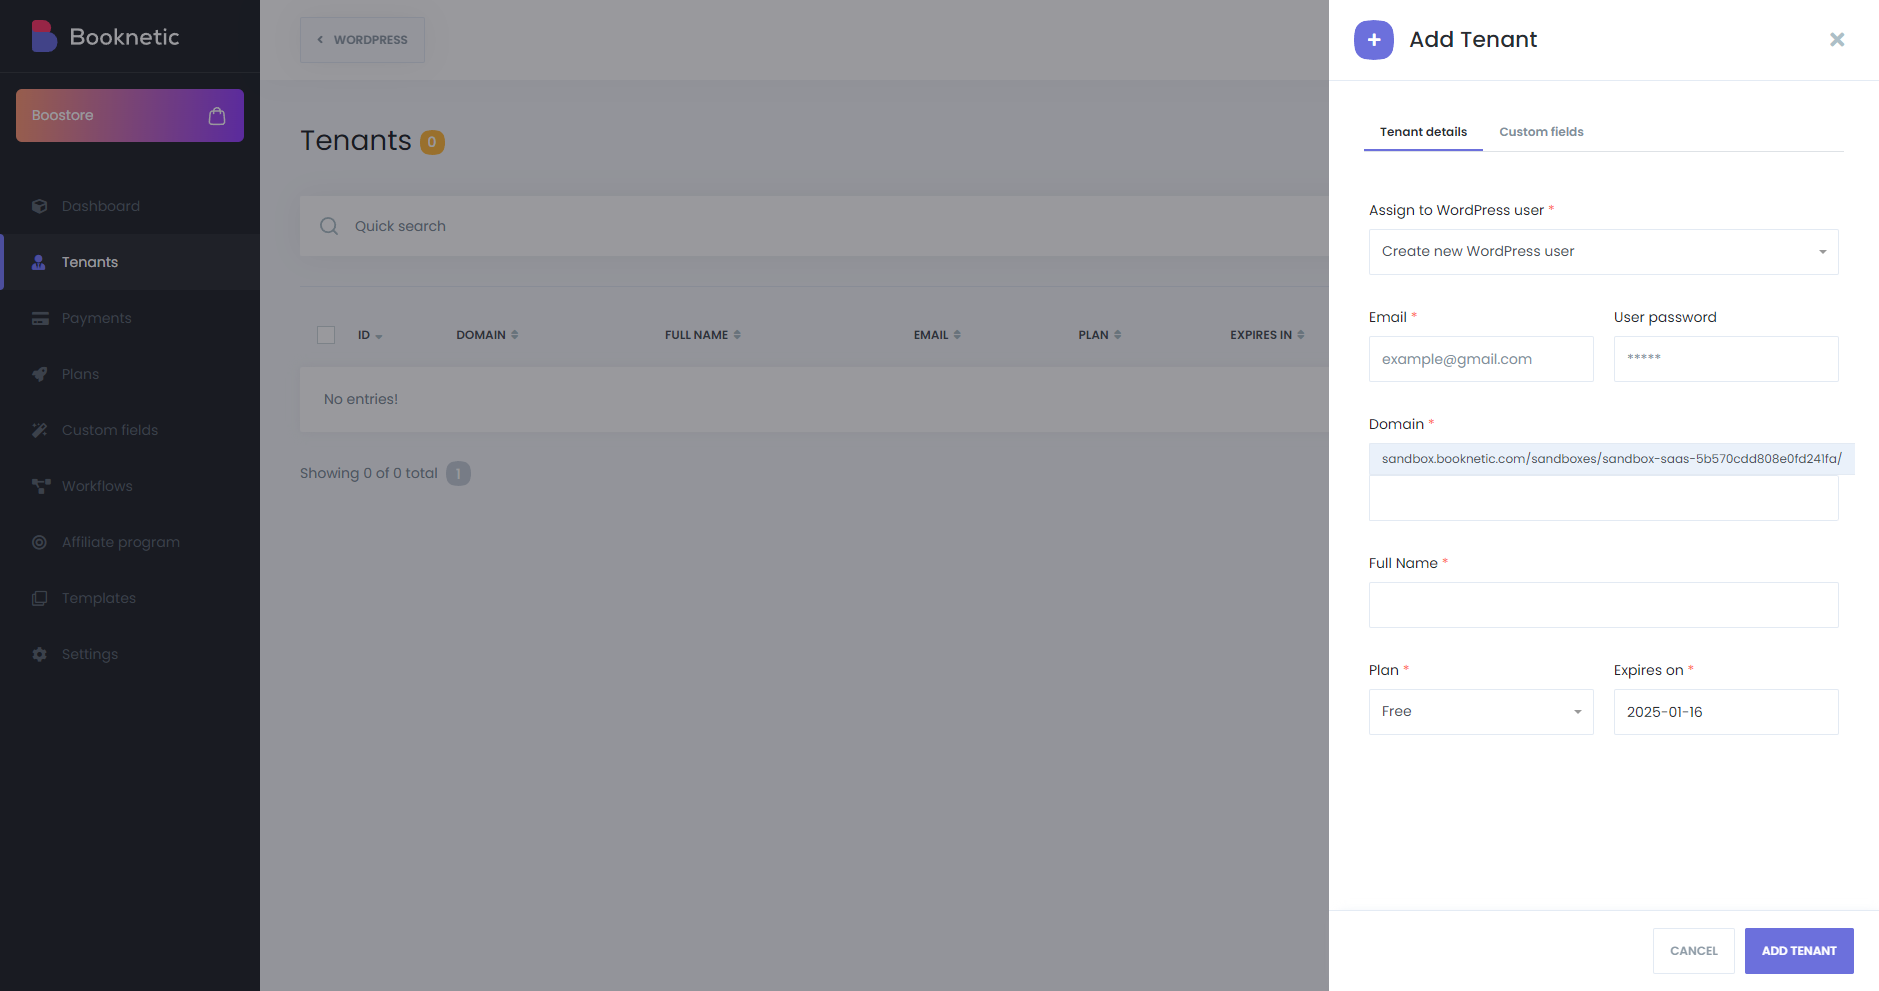
The Tenants module allows you to view and manage all registered tenants. You can:
Adding a New Tenant is a simple process. Enter the basic information, select the plan to assign, and save the details.
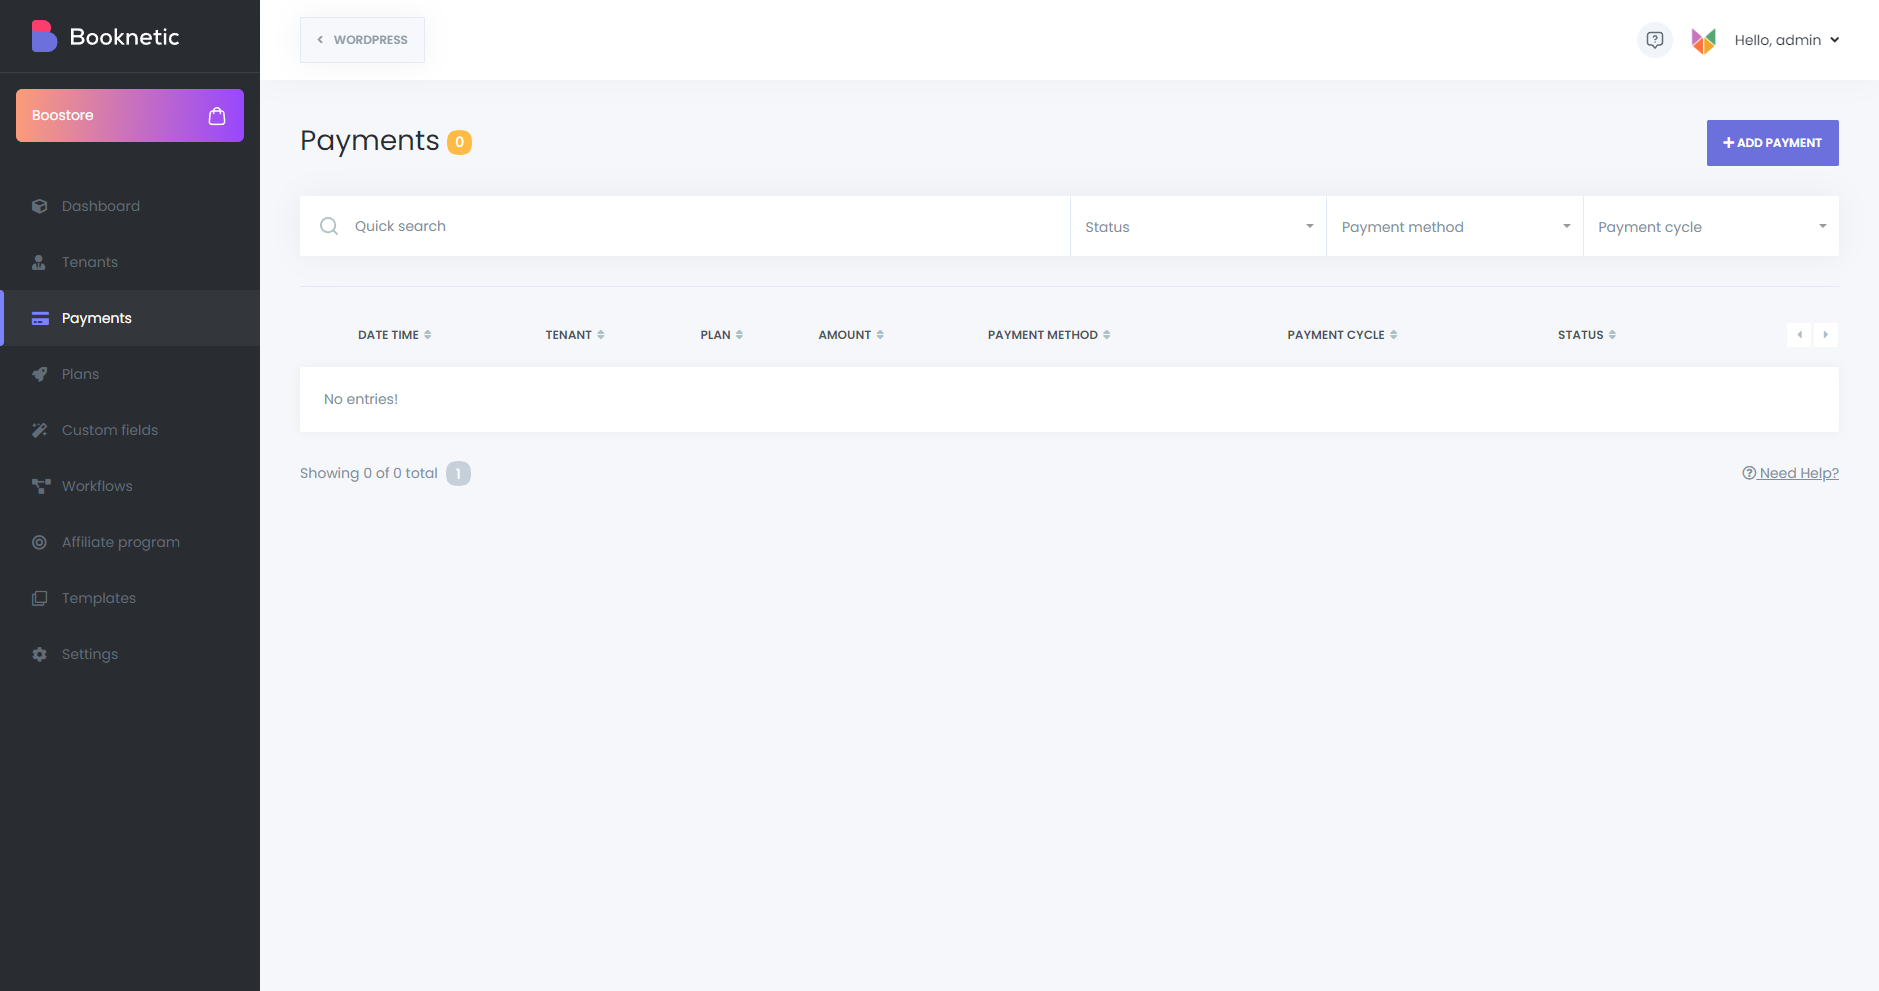
In the Payments module, you can monitor all payments made by tenants. Use advanced filters to find specific payments quickly and efficiently.
The Plans module allows you to create and manage subscription plans for tenants with extensive configuration options.
Creating a Plan
Click the Add Plan button to get started. The process consists of three stages:
Stage 1: Plan Details
Stage 2: Modules, Features, and Add-ons
Stage 3: Limits
Define usage limits and counts per plan. Setting a value to -1 means unlimited.
Tenant resource limits:
Monthly message limits (each is the cap for one calendar month):
Add-on limits appear in this list only if the corresponding add-on is installed. When a tenant hits a monthly limit, the relevant workflow driver stops sending and writes a row in Workflow Logs (if installed). Tenants do not get an in-product warning ahead of hitting the limit — design a tenant_notified workflow to alert tenants approaching their cap.

The Custom Forms module is a built-in feature of Booknetic SaaS that allows you to collect additional information from tenants during the registration process. Unlike the Custom Forms add-on, this functionality is a core feature of the SaaS version and does not require any additional purchase or activation.

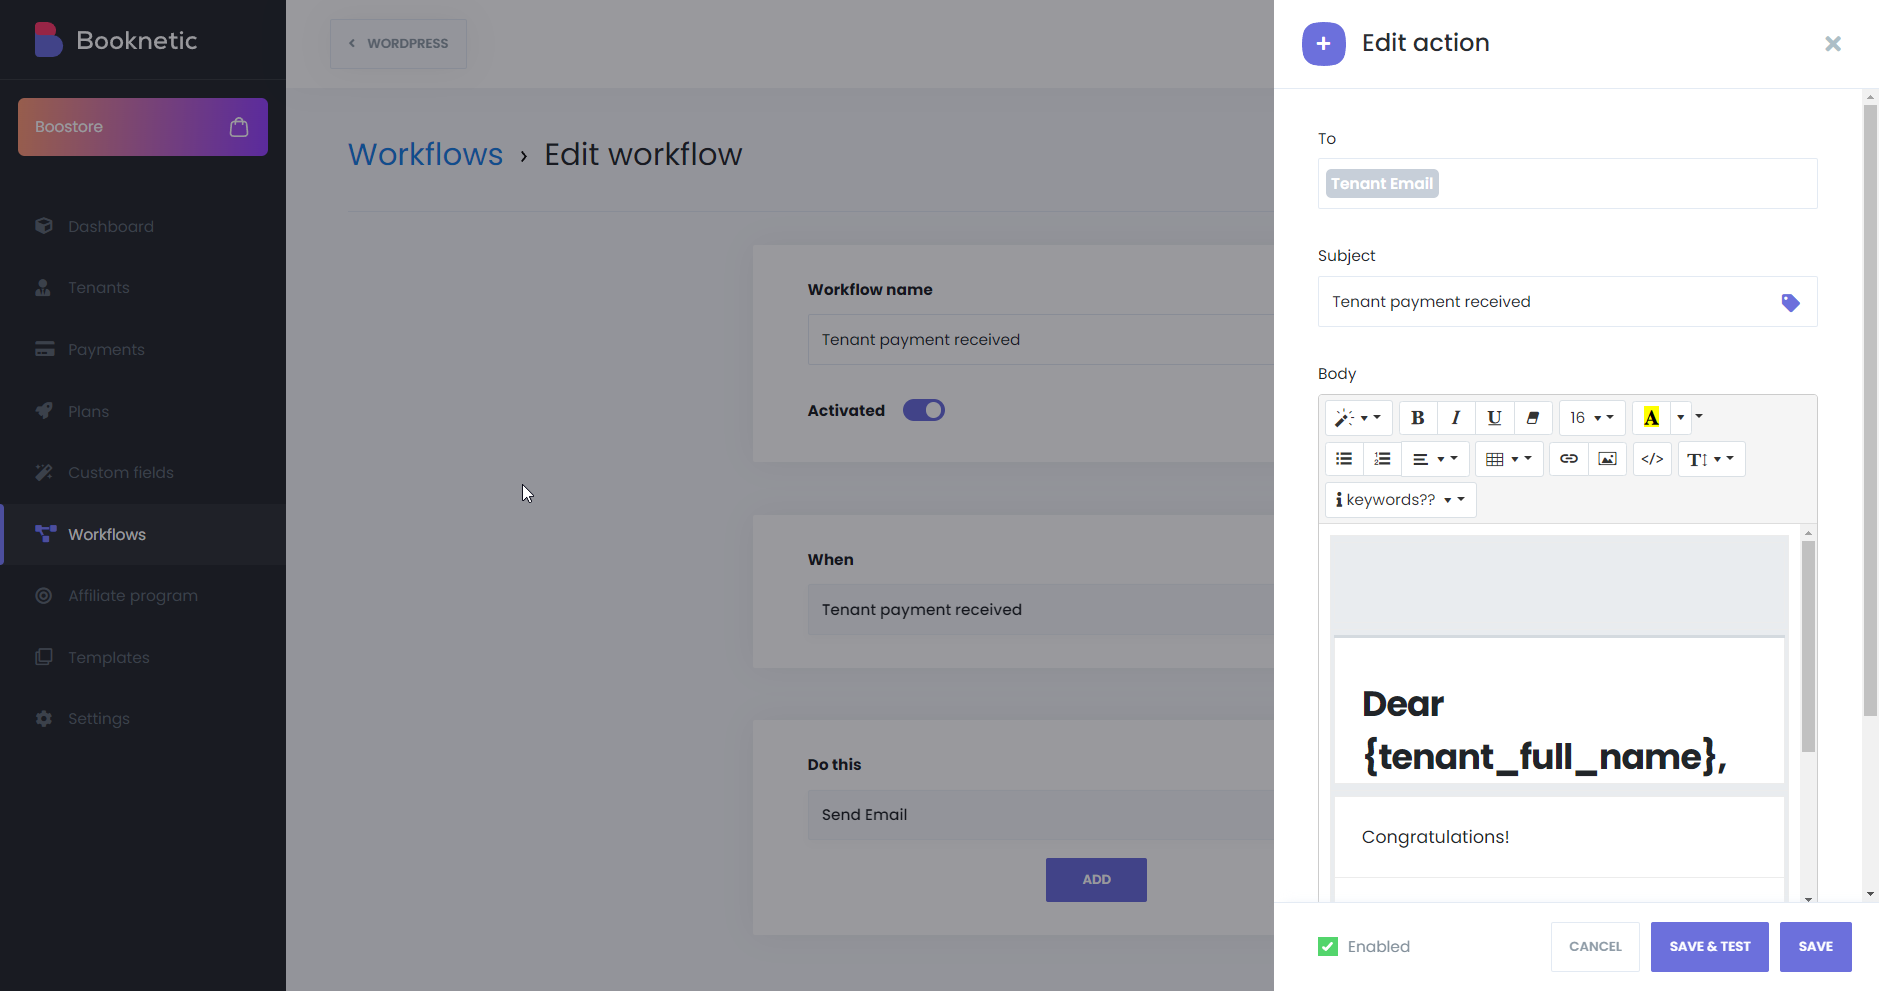
The Workflow module allows you to automate processes, including sending notifications for various events.
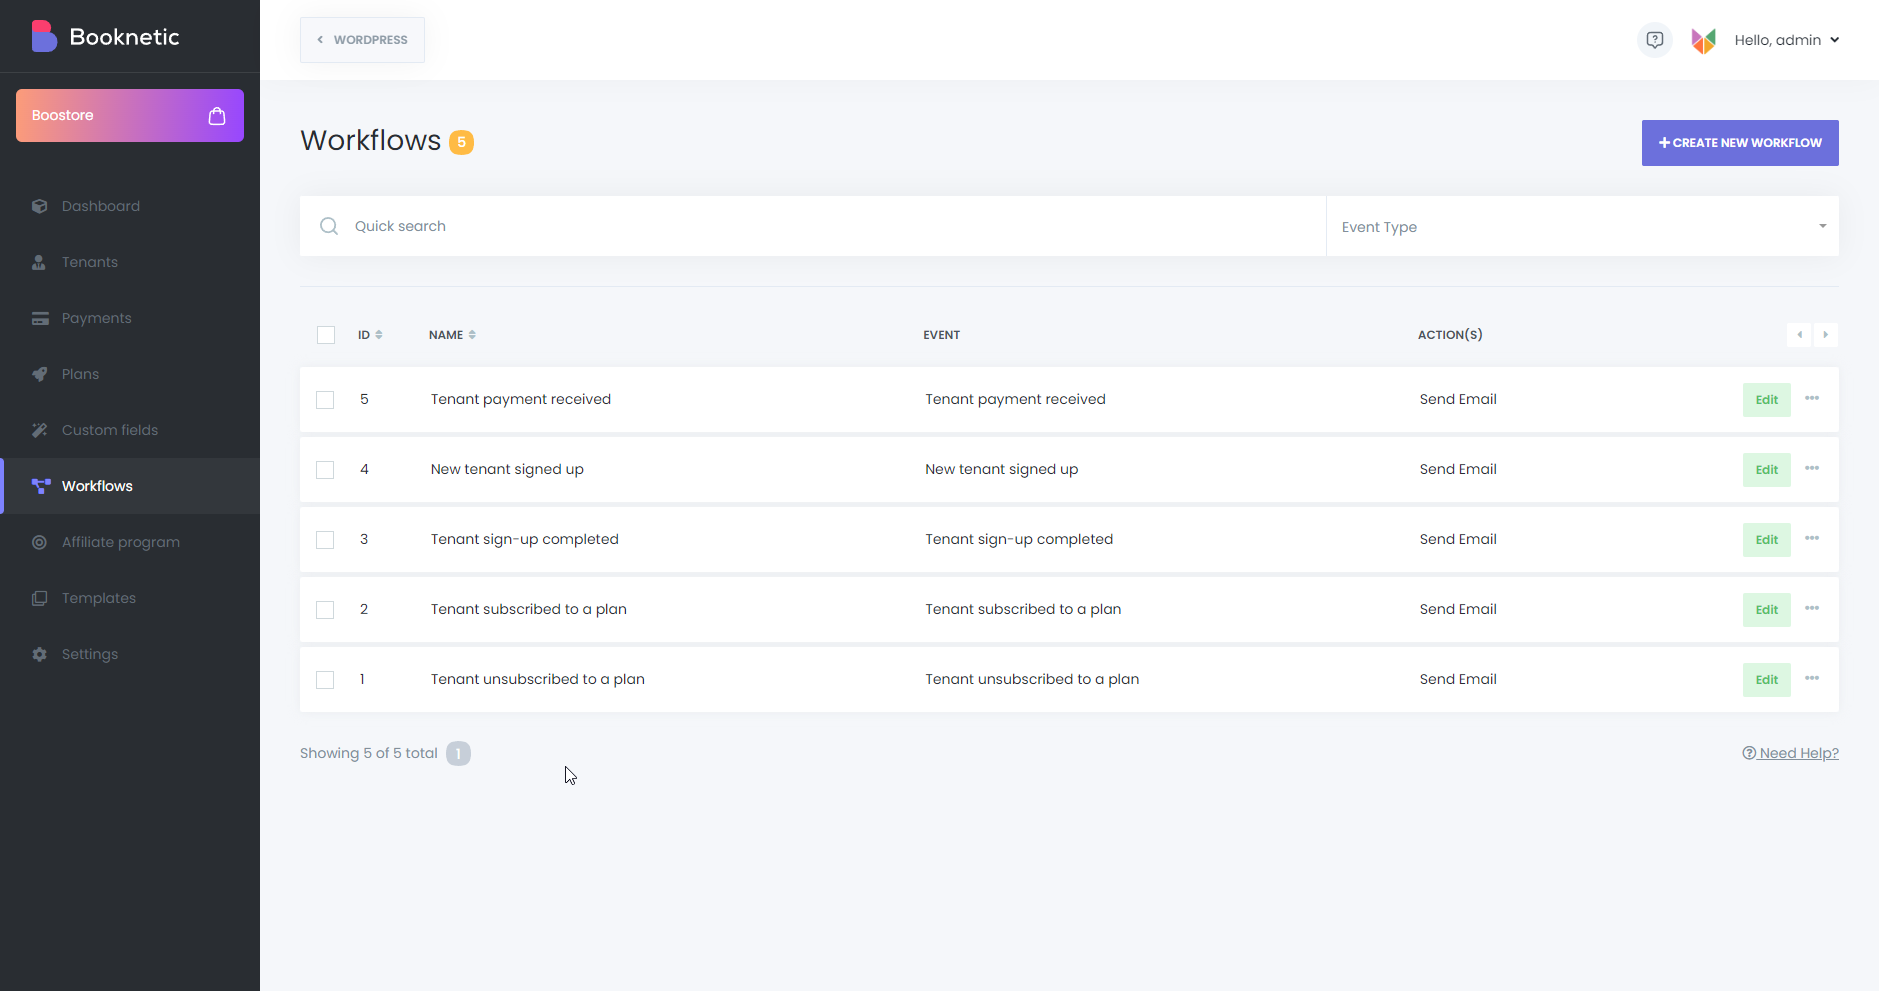
Booknetic SaaS workflow events are separate from regular Booknetic appointment events. They fire on platform-level lifecycle moments — tenant lifecycle, tenant billing, and customer-account events. Booknetic SaaS currently registers 13 event types:
Tenant lifecycle:
Tenant billing:
Customer accounts (end-customer of a tenant):
Each event has its own shortcode catalogue. Tenant events expose {tenant_id}, {tenant_email}, {company_name}, {plan_name}, {subscription_expires_in}, {url_to_complete_signup}, {url_to_reset_password}, plus any tenant custom-field shortcodes you have configured. Customer events expose customer shortcodes. The Tenant Notified event is driven by Booknetic’s renewal-reminder cron — configure when this fires through your WP-Cron / system cron and the relevant Plan Settings.
You can fully customize notifications for these events using the available shortcodes to include dynamic details. Additionally, any unnecessary events can be disabled directly through the Workflow module, ensuring flexibility and control over your automation processes.
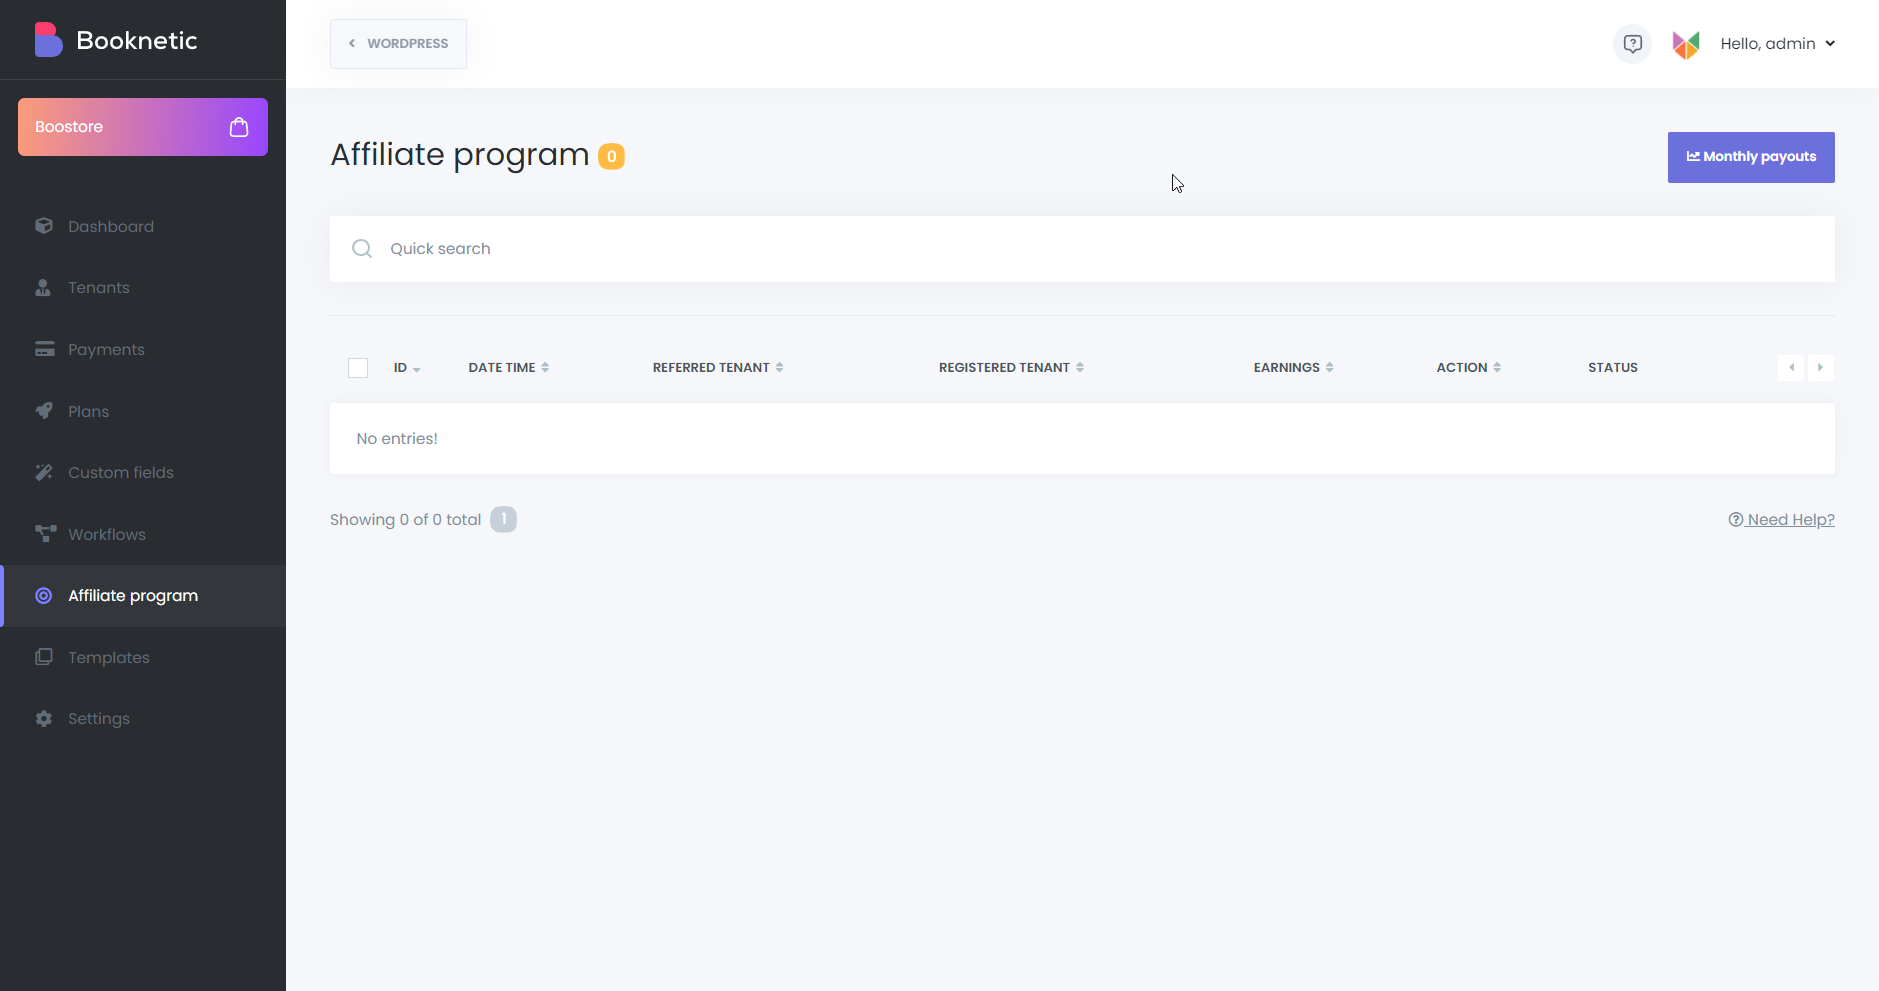
The Affiliate Program Module allows tenants to earn commissions by referring new users to the SaaS platform.
Important — first-payment only. Commissions on monthly and annual plans are paid on the first subscription payment your referred tenant makes after signing up, not on every renewal. Set that expectation clearly before launching the affiliate add-on publicly. See Affiliate program module for the full commission model, settings reference, and platform-owner setup.
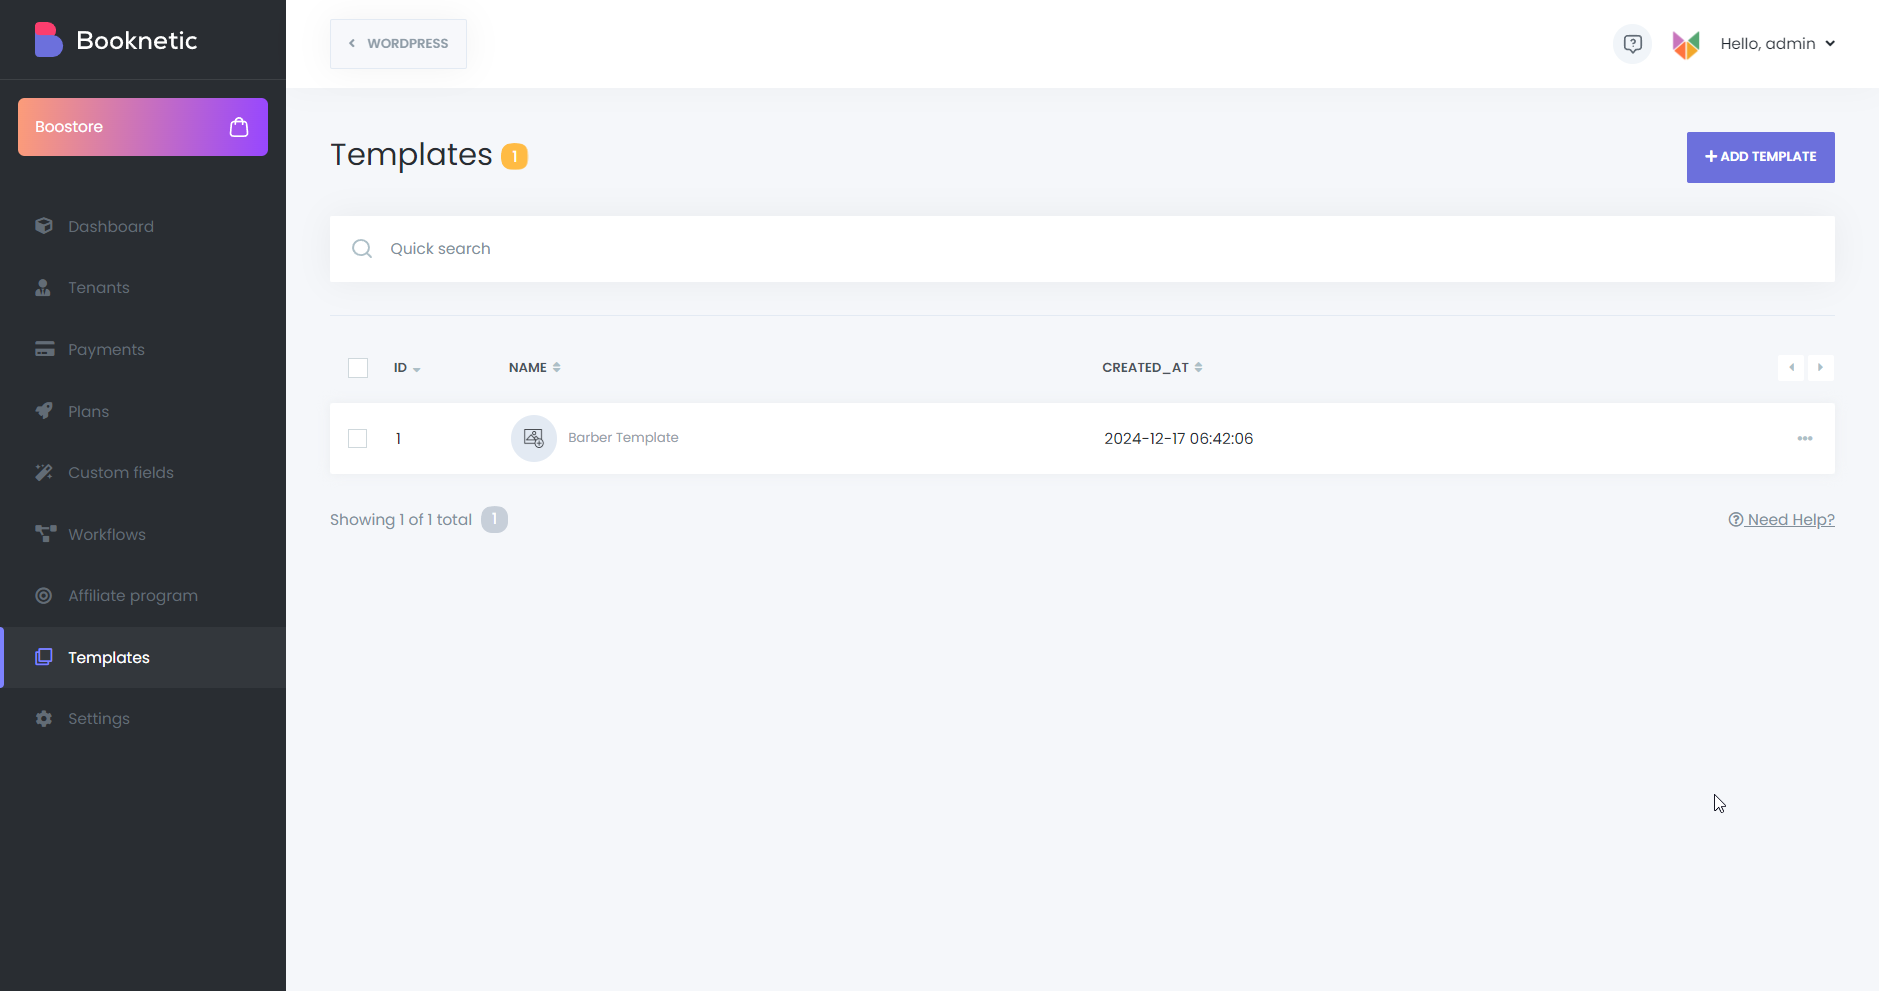
The Templates Module simplifies workflows by allowing you to save and reuse frequently used configurations and settings.
The Settings module contains various menus for configuring the system. These include:
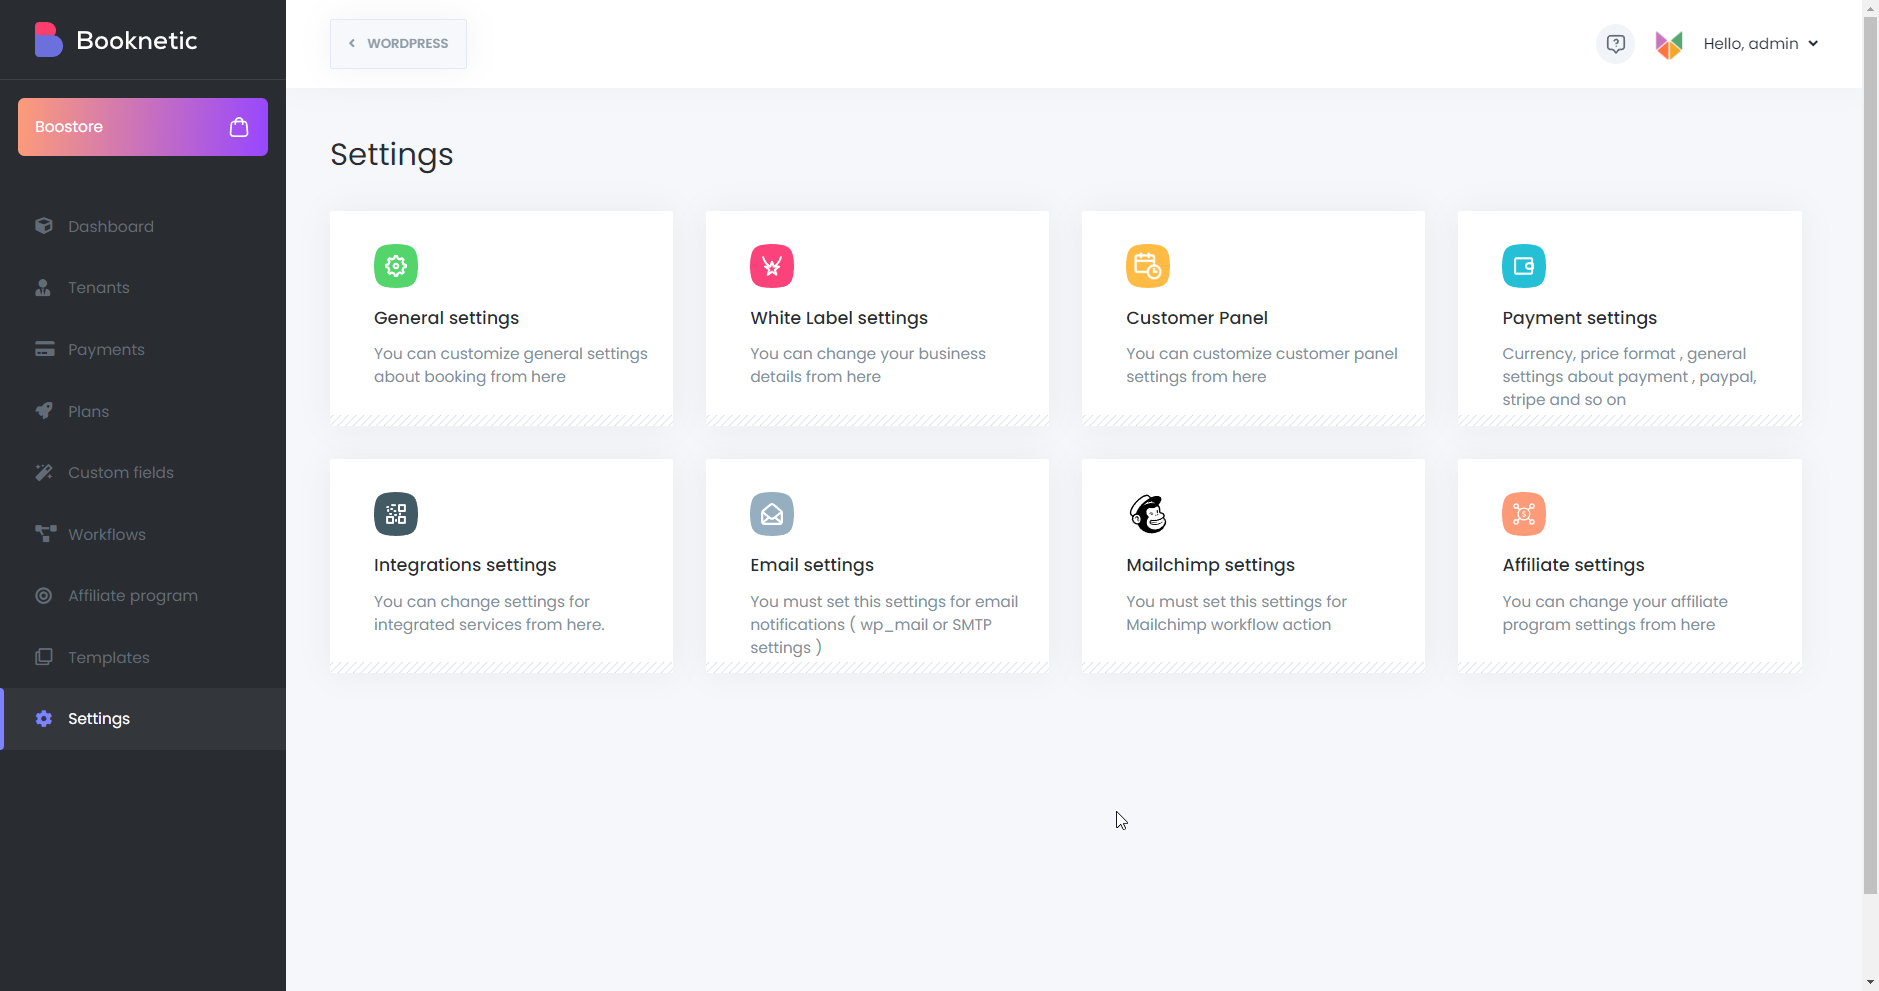
General Settings
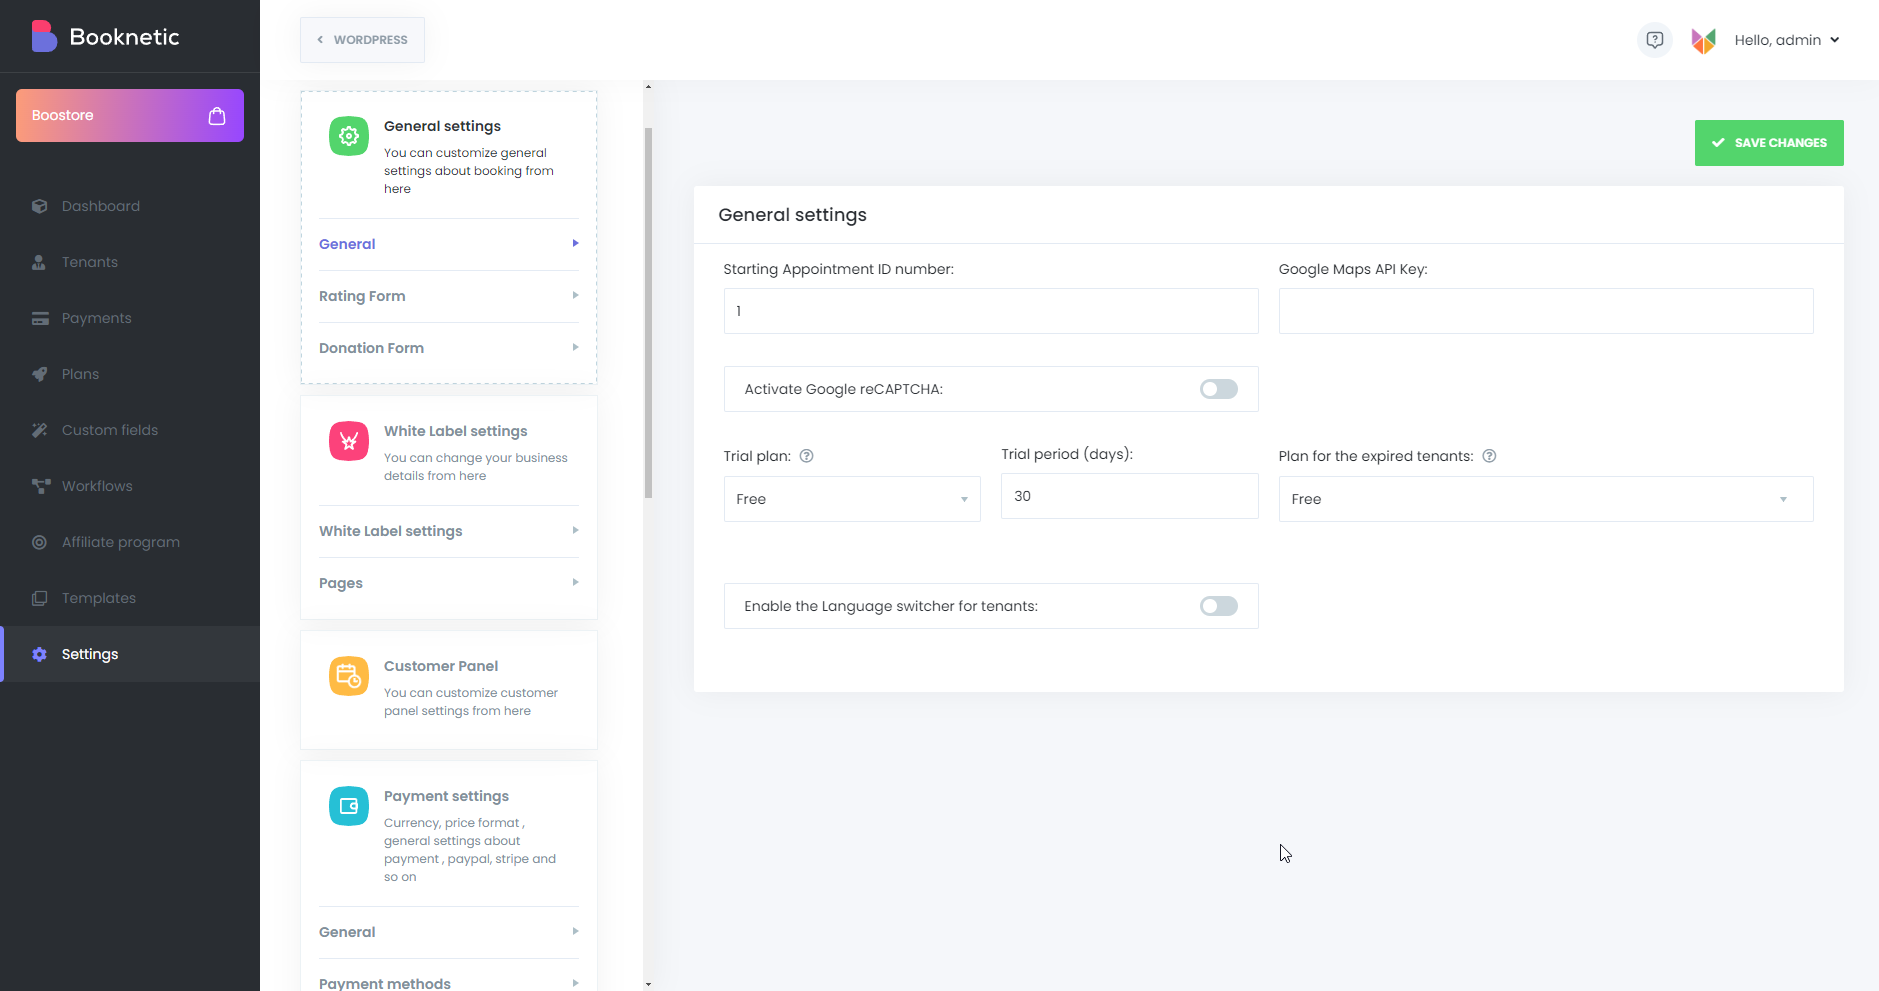
In the General Settings, you can fine-tune your platform’s configurations, including:
admin-ajax.php (so Booknetic AJAX continues to work) and async-upload.php (so file uploads continue to work). Use this when you don’t want tenants to see standard WP admin pages like Posts, Pages, or Plugins. Recommended ON for most SaaS deployments.Additionally, activating the “Create a new WordPress user on new booking” option will automatically create a user account for customers when appointments are booked.
White Label settings
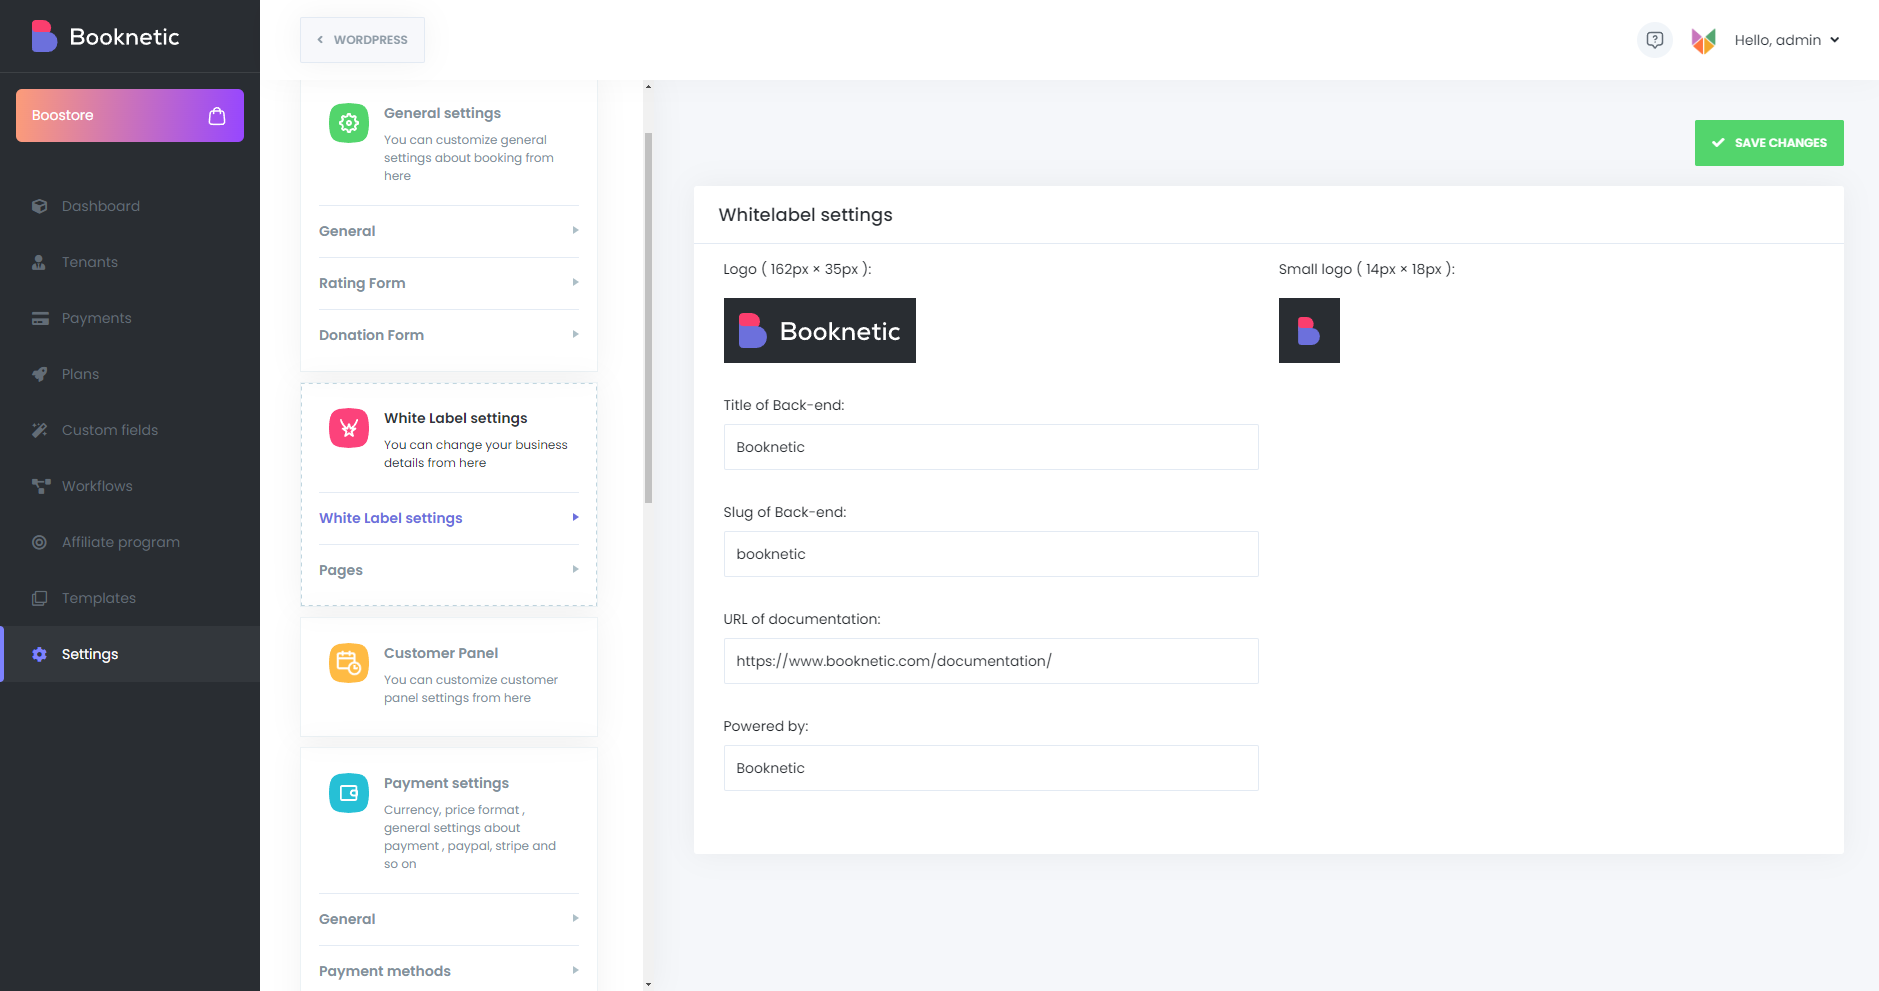
The White Label feature allows you to fully rebrand the plugin and maximize SaaS opportunities. This feature is exclusive to the Booknetic SaaS version.
With White Label settings, you can:
Customer Panel
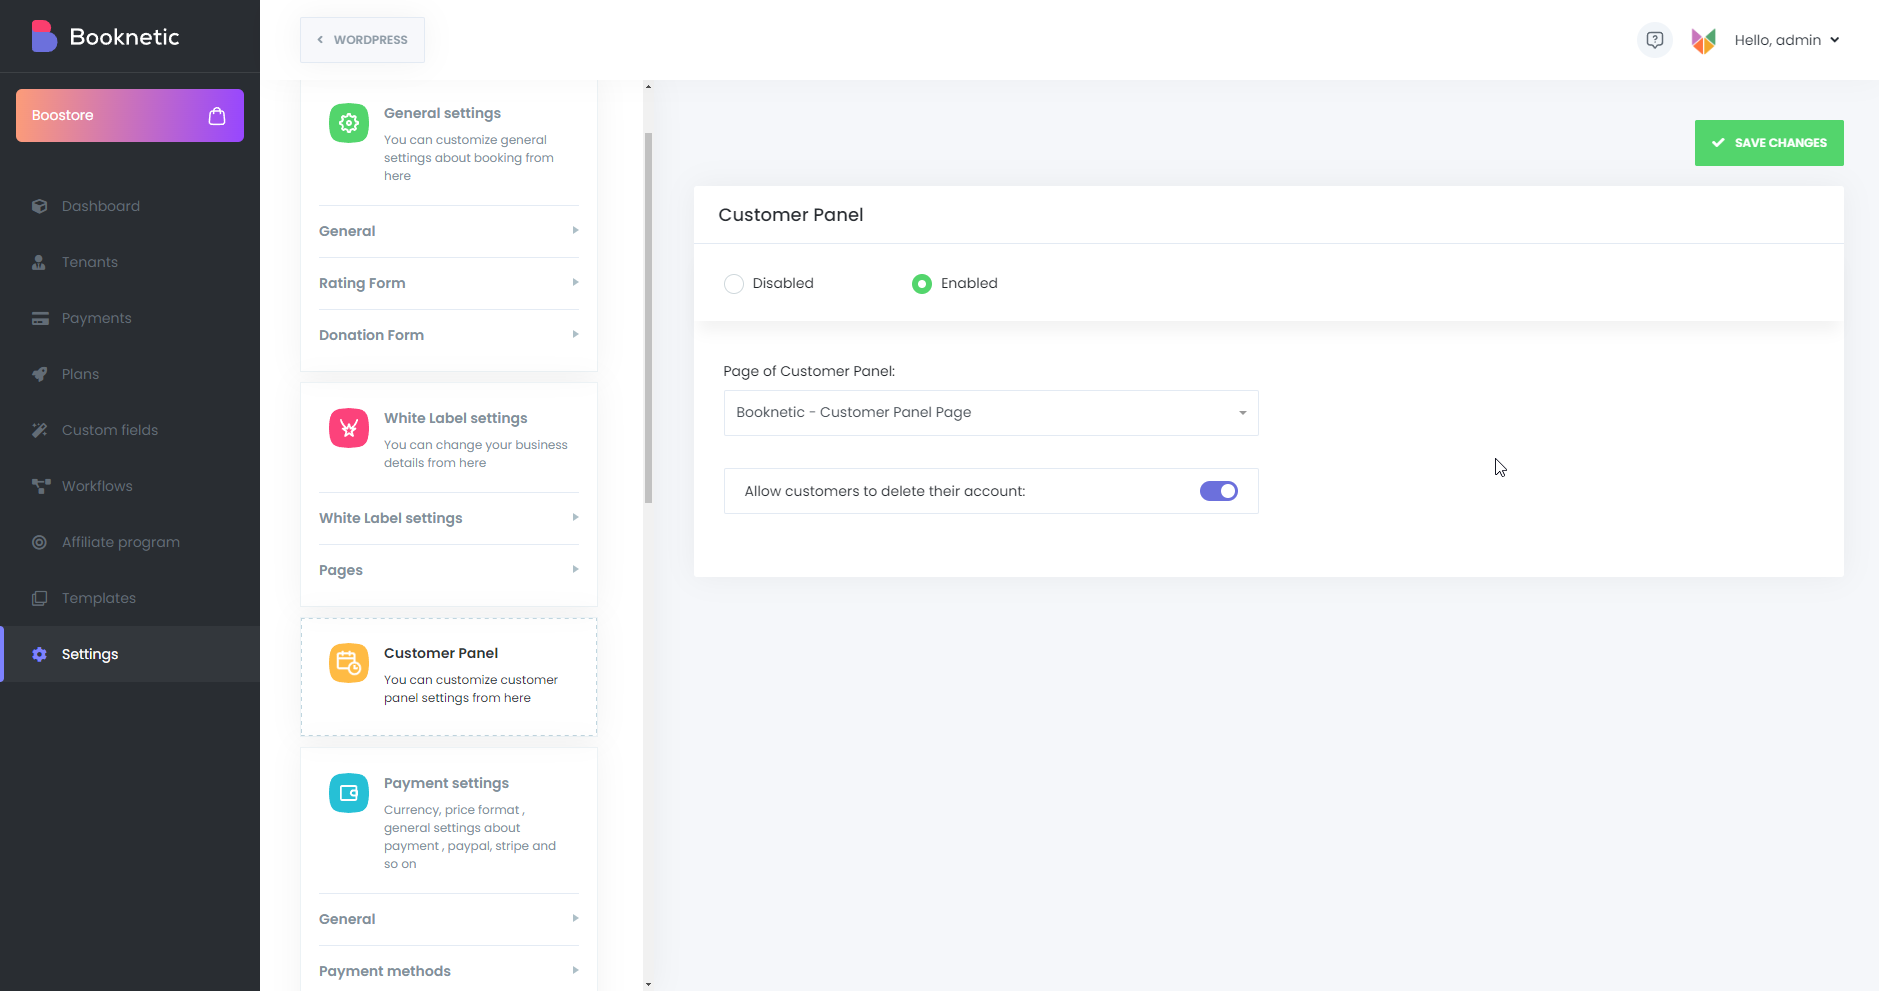
A fully responsive Front-end Customer Panel is available for the SaaS version for end customers to manage their appointments seamlessly.
Key highlights:
Payment settings
The Payment Settings menu consists of two sections:
General Payment Settings
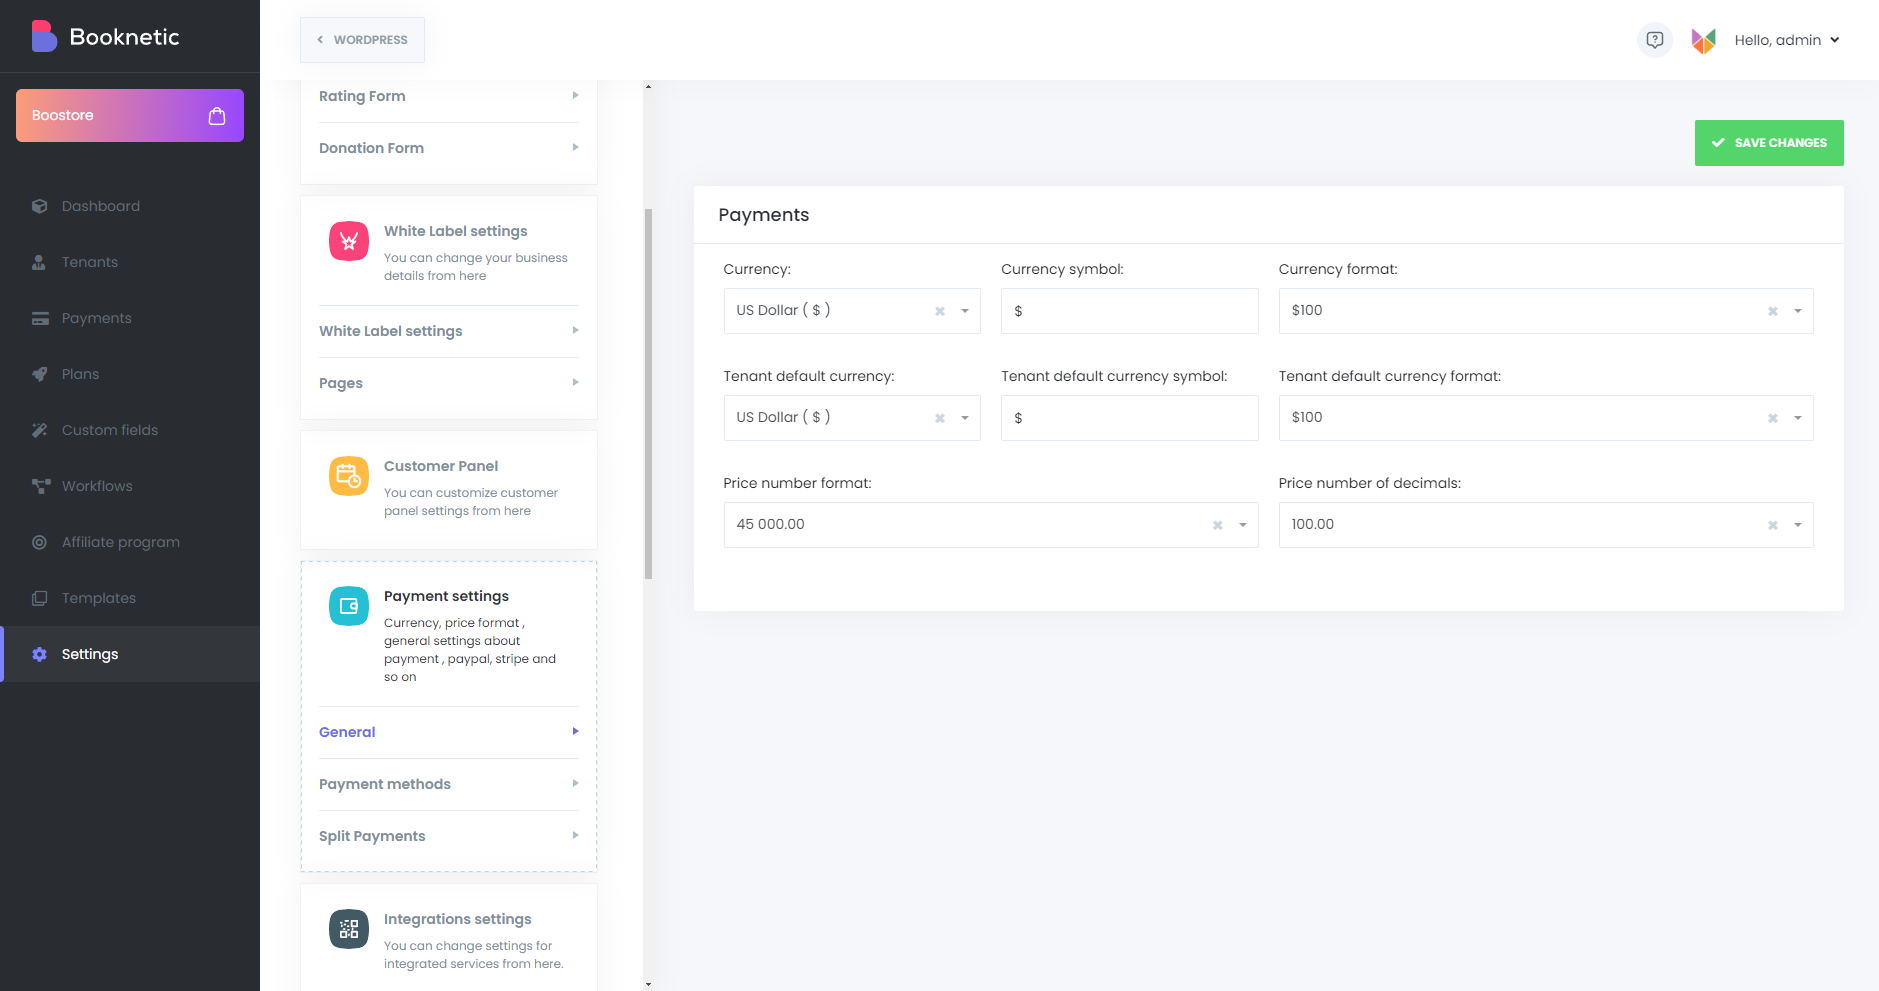
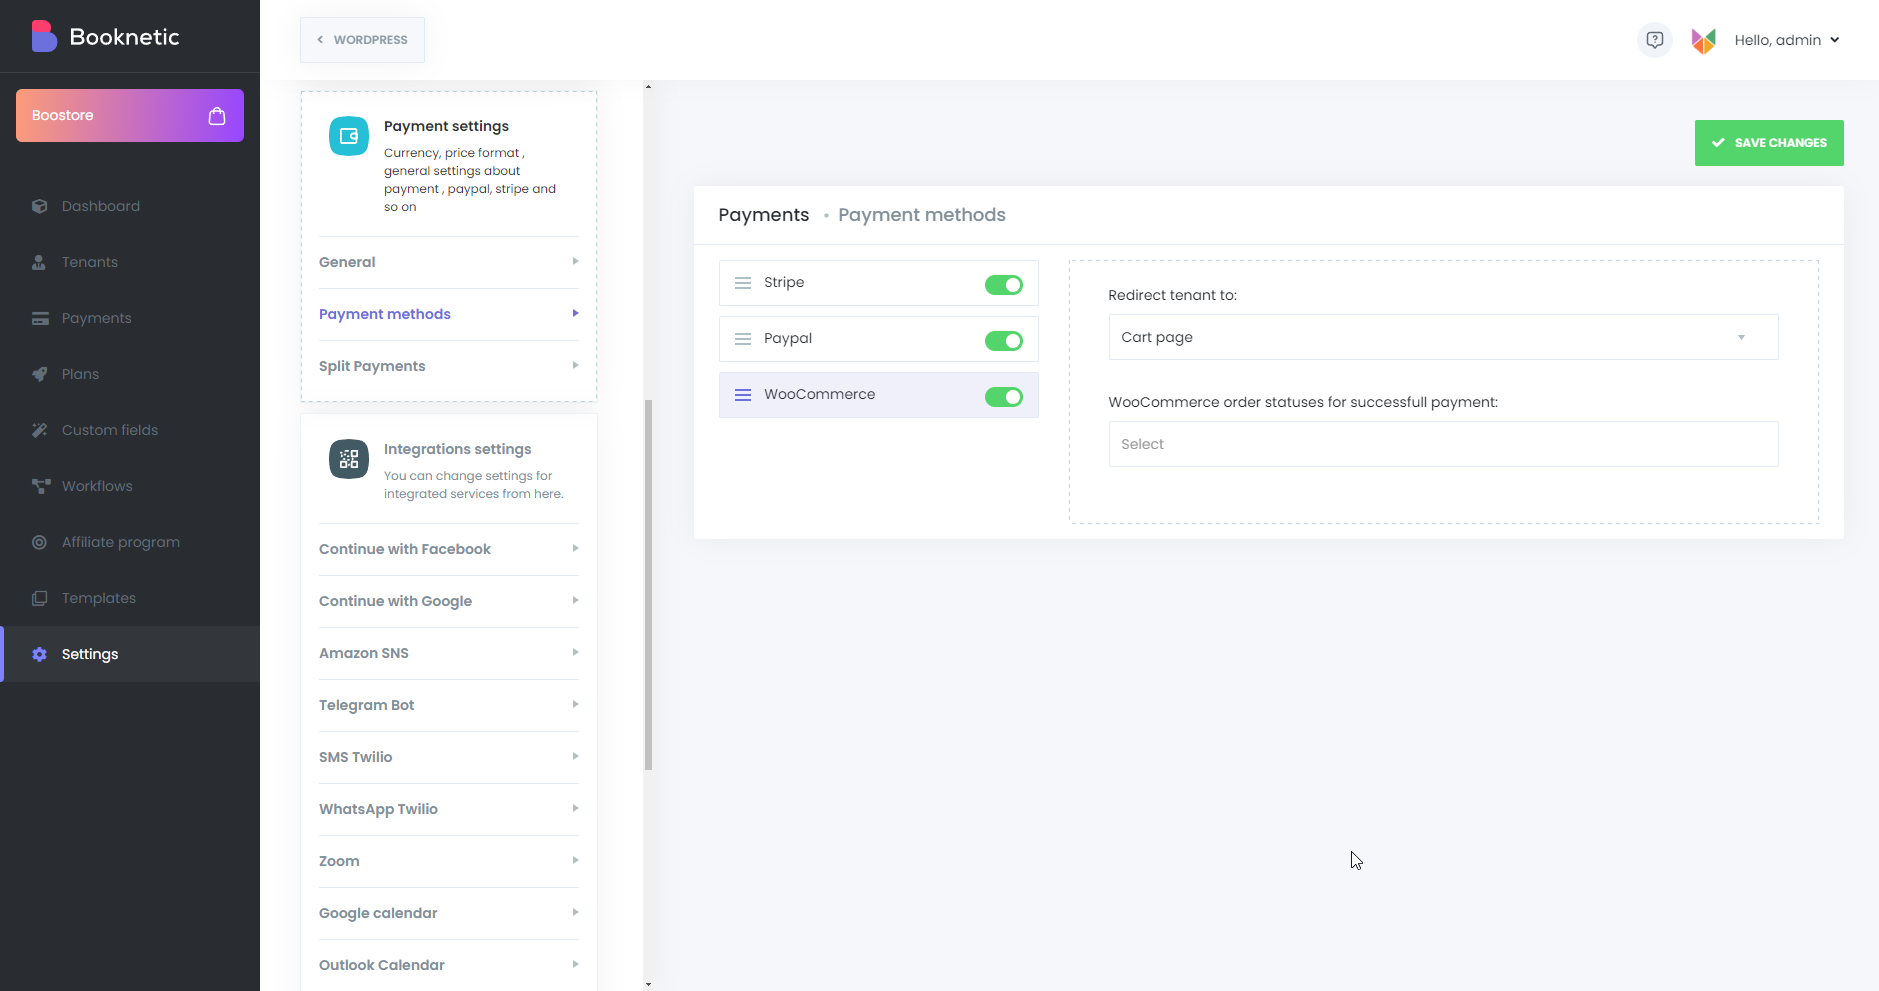
Payment Methods
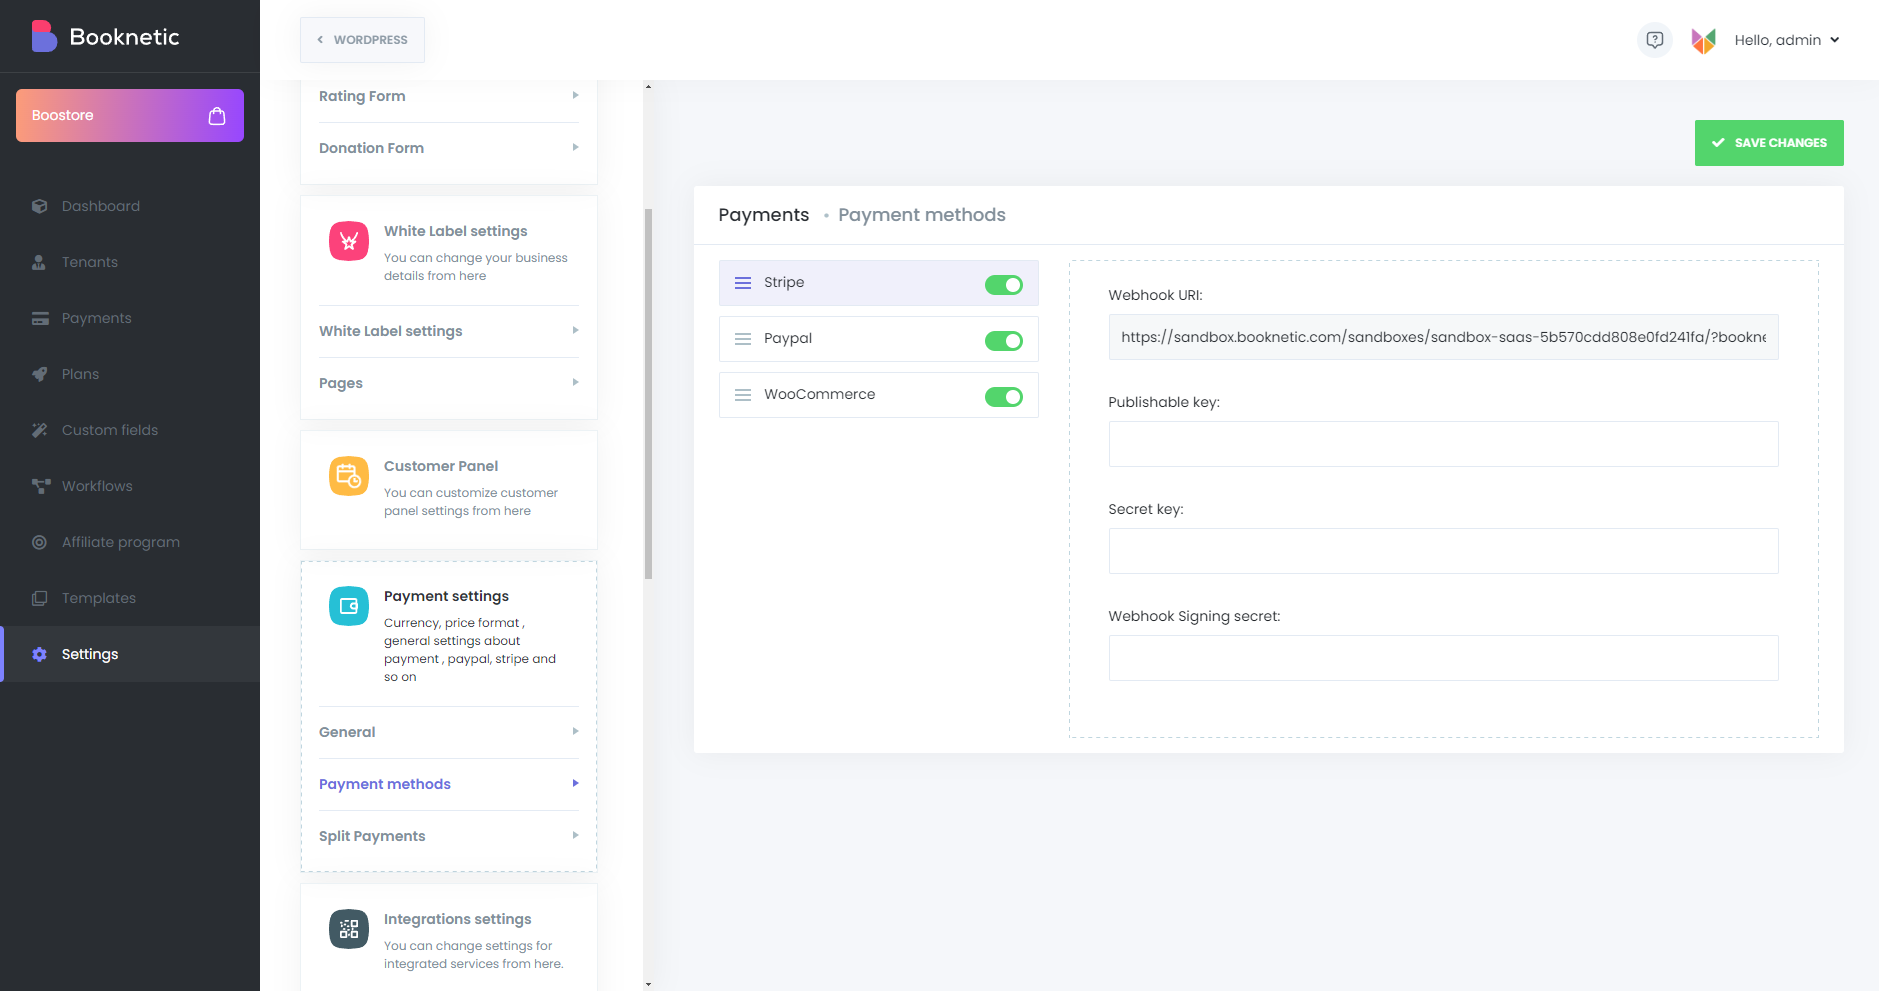
Stripe and PayPal: subscription gateways. Payments are stored as card-on-file and automatically processed monthly or annually at renewal.
WooCommerce: a balance / deposit top-up rail, not a subscription gateway. Tenants top up their Booknetic balance through whichever WooCommerce payment gateway you have enabled (Stripe-for-WC, PayPal-for-WC, bank transfer, COD, regional gateways). Plan fees are deducted from balance at renewal; if balance is insufficient the tenant is downgraded to the “Plan for Expired Tenants” until they top up again. See WooCommerce for Subscription payments for setup and refund behavior.
Integration settings
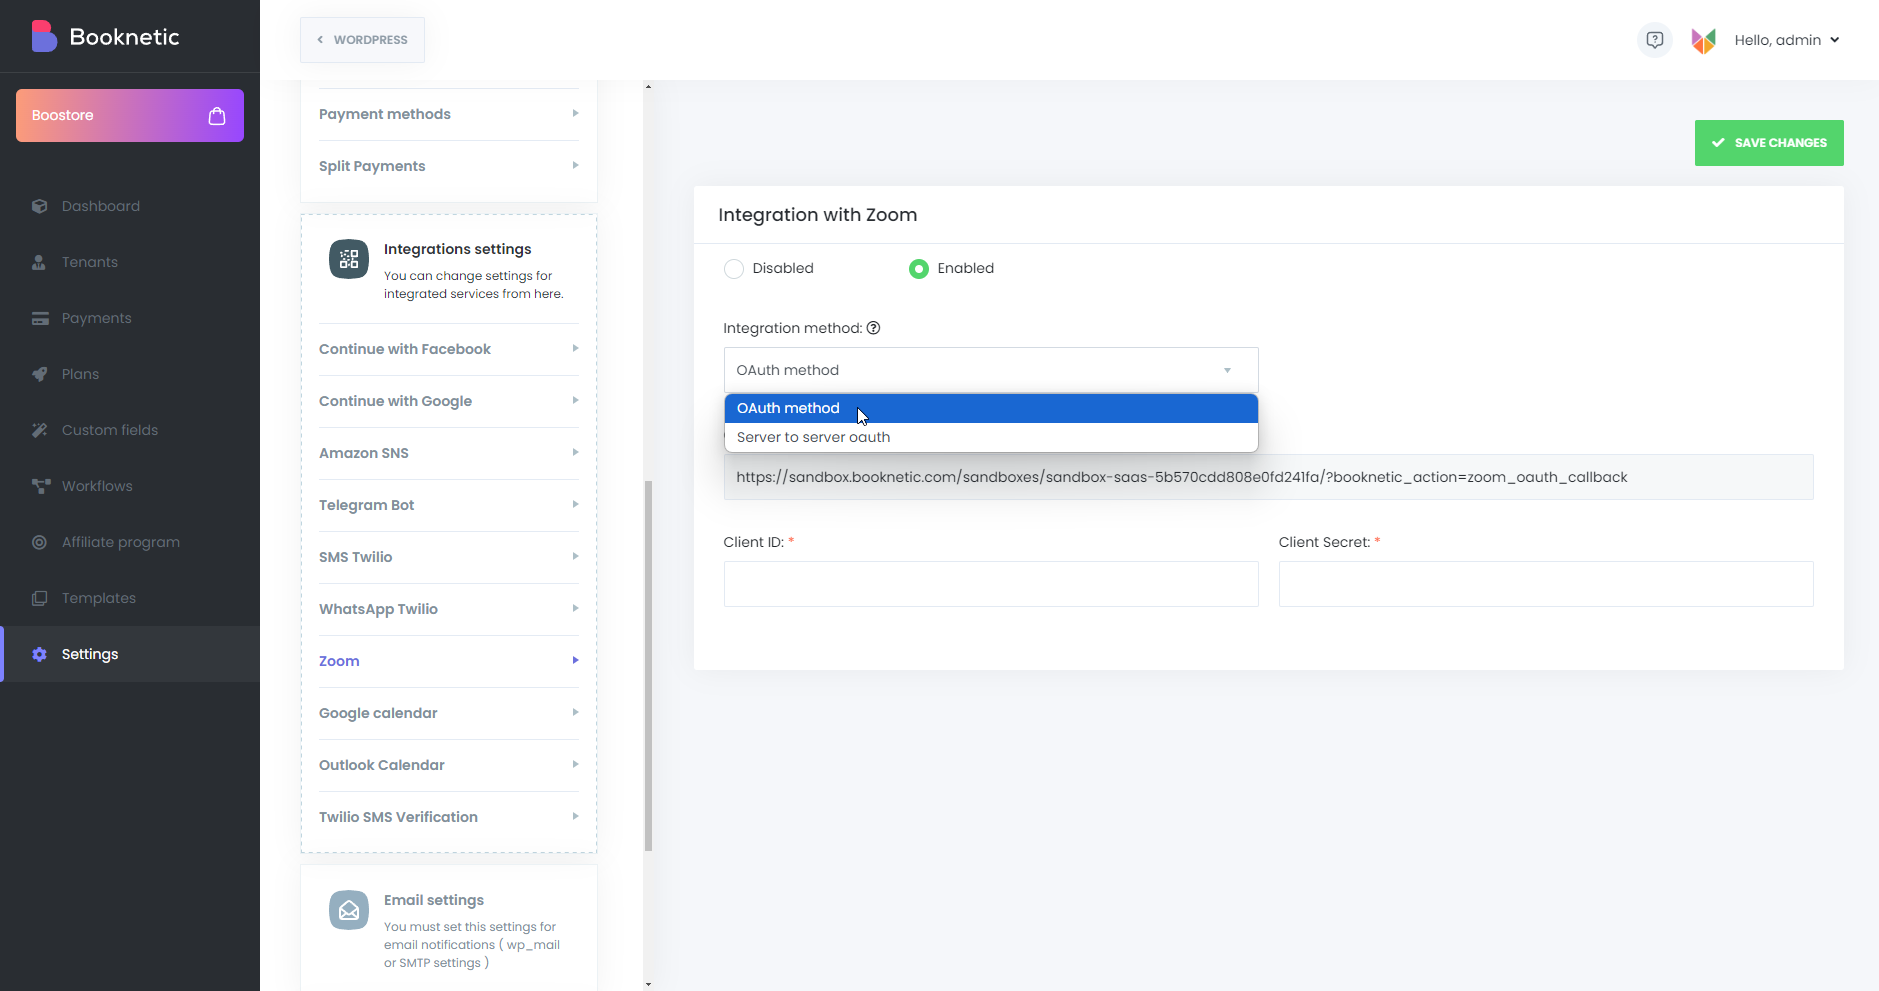
In this section, you configure platform-wide integrations for all tenants. These integrations are applied globally, and tenants can use them based on their plan permissions.
Zoom Integration has two supported configuration methods on Booknetic SaaS:
Booknetic no longer supports Zoom JWT Apps. Zoom sunset JWT Apps on September 1, 2023. Any older Booknetic SaaS install configured for JWT must migrate to OAuth or Server-to-Server — see Integrating Zoom to Booknetic SaaS.
Email settings
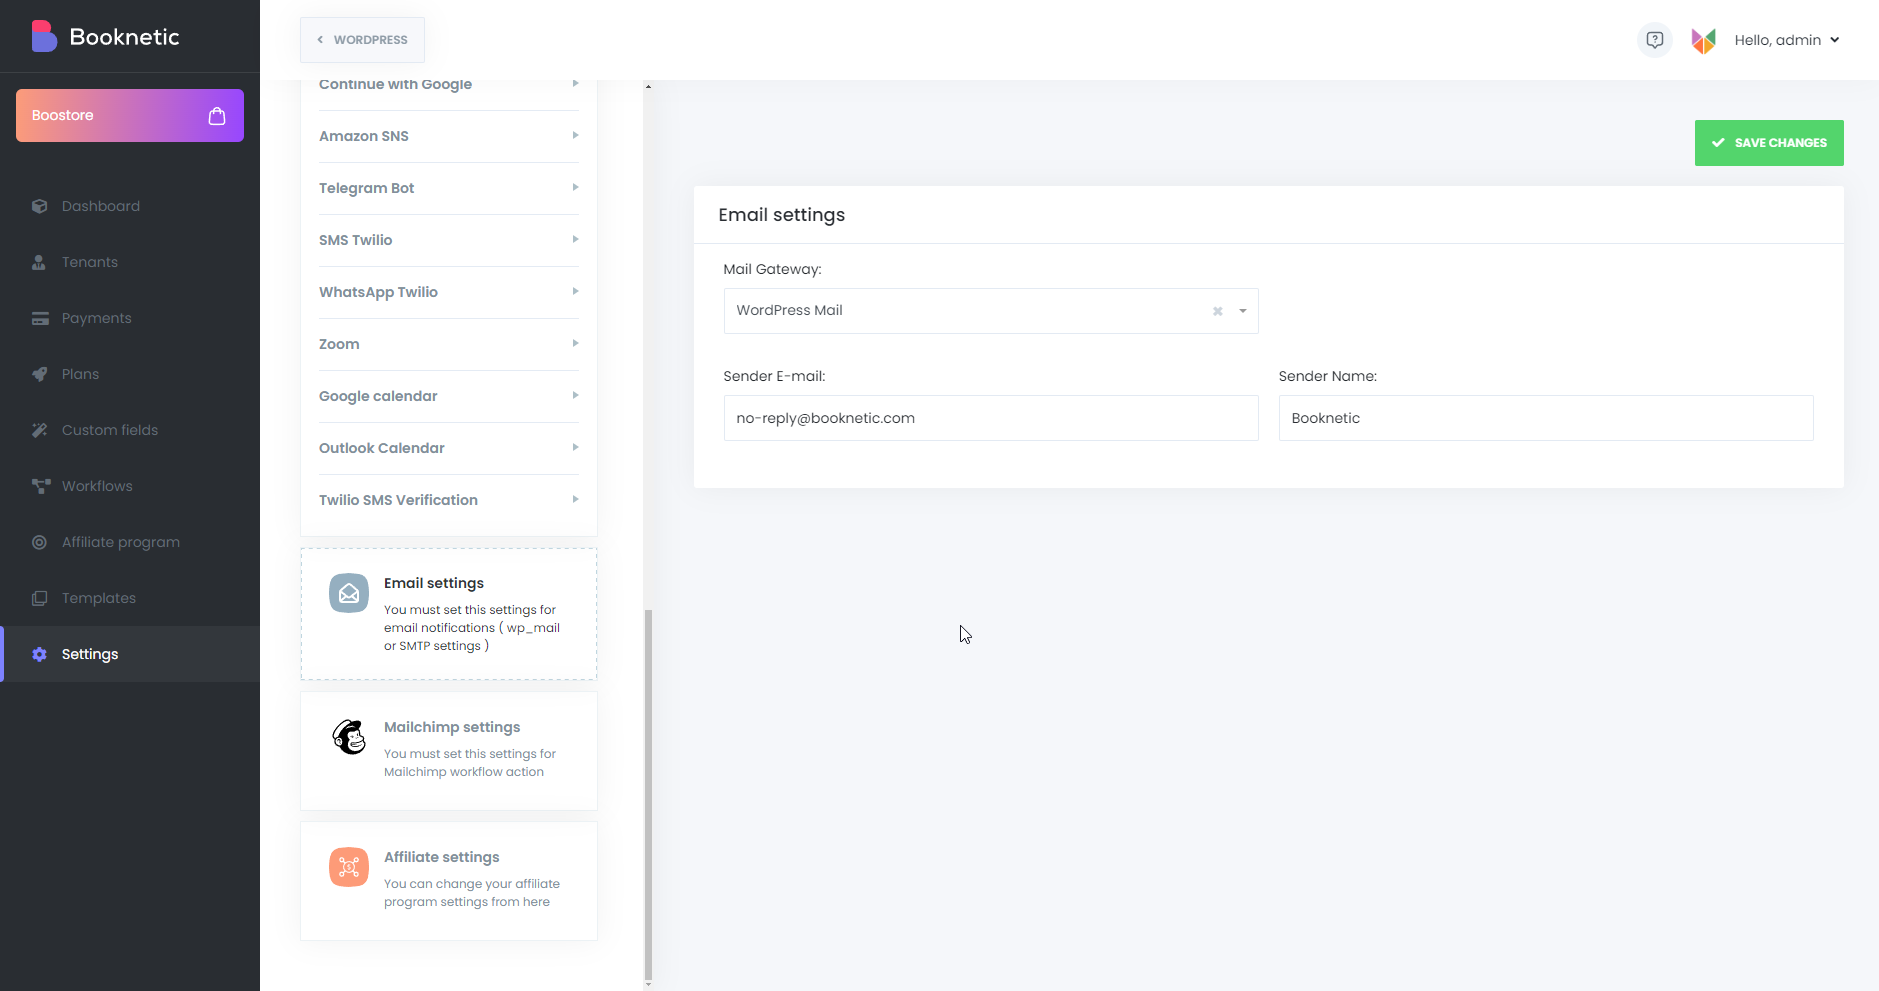
In the Email Settings, you configure the email gateway for sending notifications. Booknetic SaaS supports three mail gateways:
For most platforms we recommend SMTP with a transactional-email provider (SendGrid, Postmark, Mailgun, Amazon SES) for the best deliverability.
Mailchimp settings
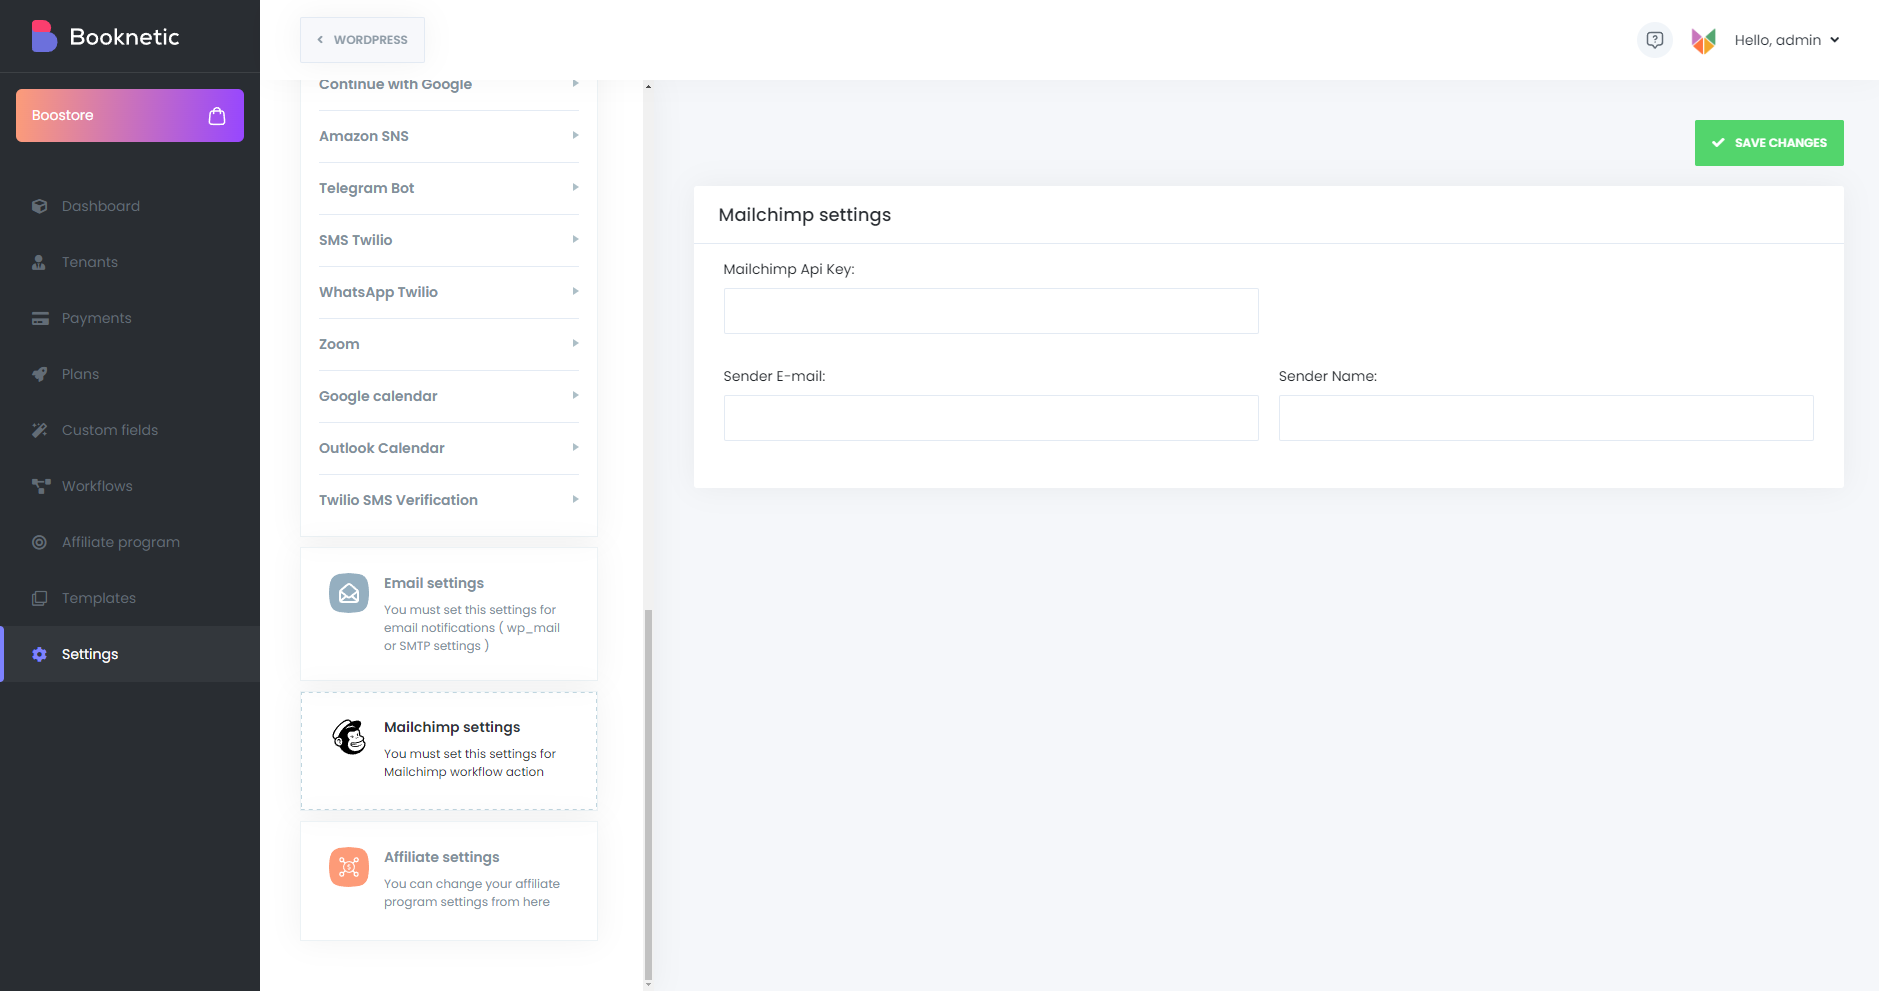
Booknetic SaaS integrates with Mailchimp, a leading marketing platform. Instead of relying on traditional email methods, you can send transactional email notifications to both tenants and their end customers through Mailchimp.
WooCommerce settings
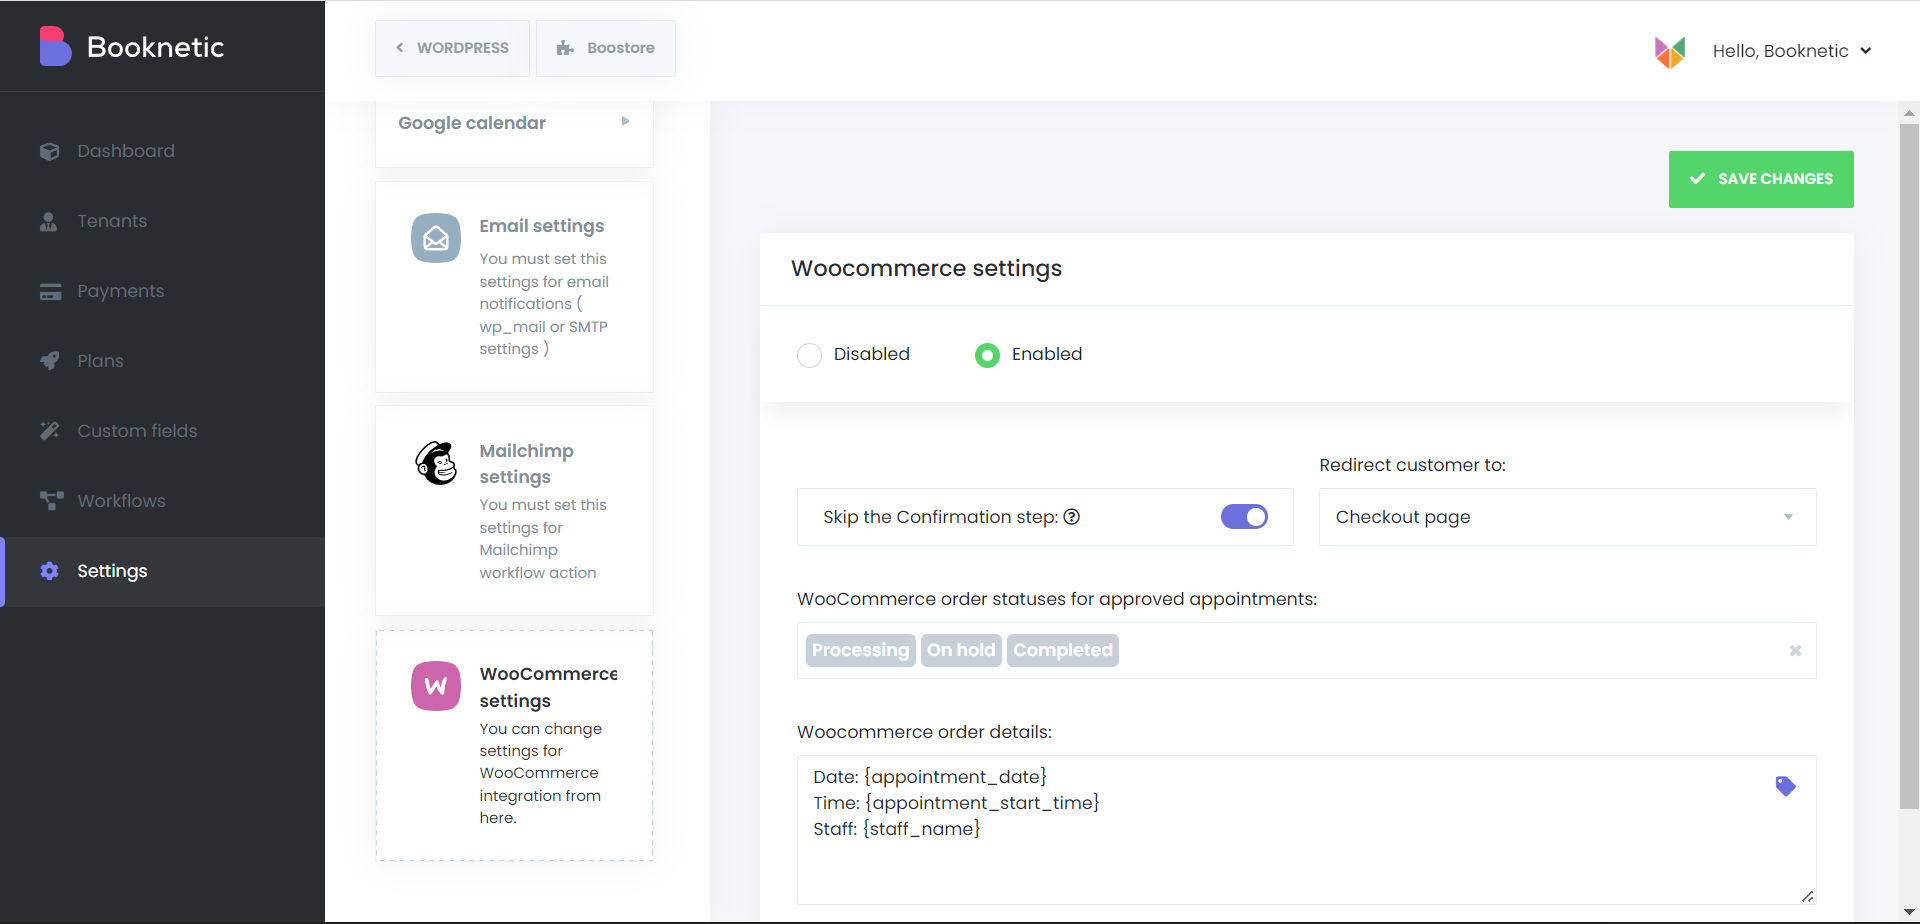
With WooCommerce Integration, tenants can use WooCommerce as their payment gateway for customer bookings.
This allows every tenant to use WooCommerce payment methods independently, ensuring flexibility and control.
Affiliate Settings
The Affiliate Settings section allows you to configure the affiliate program parameters for your tenants. Here are the available options:
Commission Fee (%) for Monthly Subscriptions: Set the percentage of commission earned for monthly subscription referrals
Commission Fee (%) for Annual Subscriptions: Set the percentage of commission earned for annual subscription referrals
Referrer Earning Per New User Registration ($): Define a fixed reward for referring new user registrations
Redirect URL: Set the URL to which users will be redirected after clicking a referral link
Affiliate Terms & Conditions URL: Provide a link to your affiliate terms and conditions
Confirmation Days for Referrer Earnings: Specify the number of days after which referral commissions will be confirmed
Save Referral ID on Cookie (days): Define how long the referral ID will be stored in cookies for tracking purposes.
Tenants can easily manage their booking system through the Tenant Admin Panel. Here are some key features and options available to tenants:
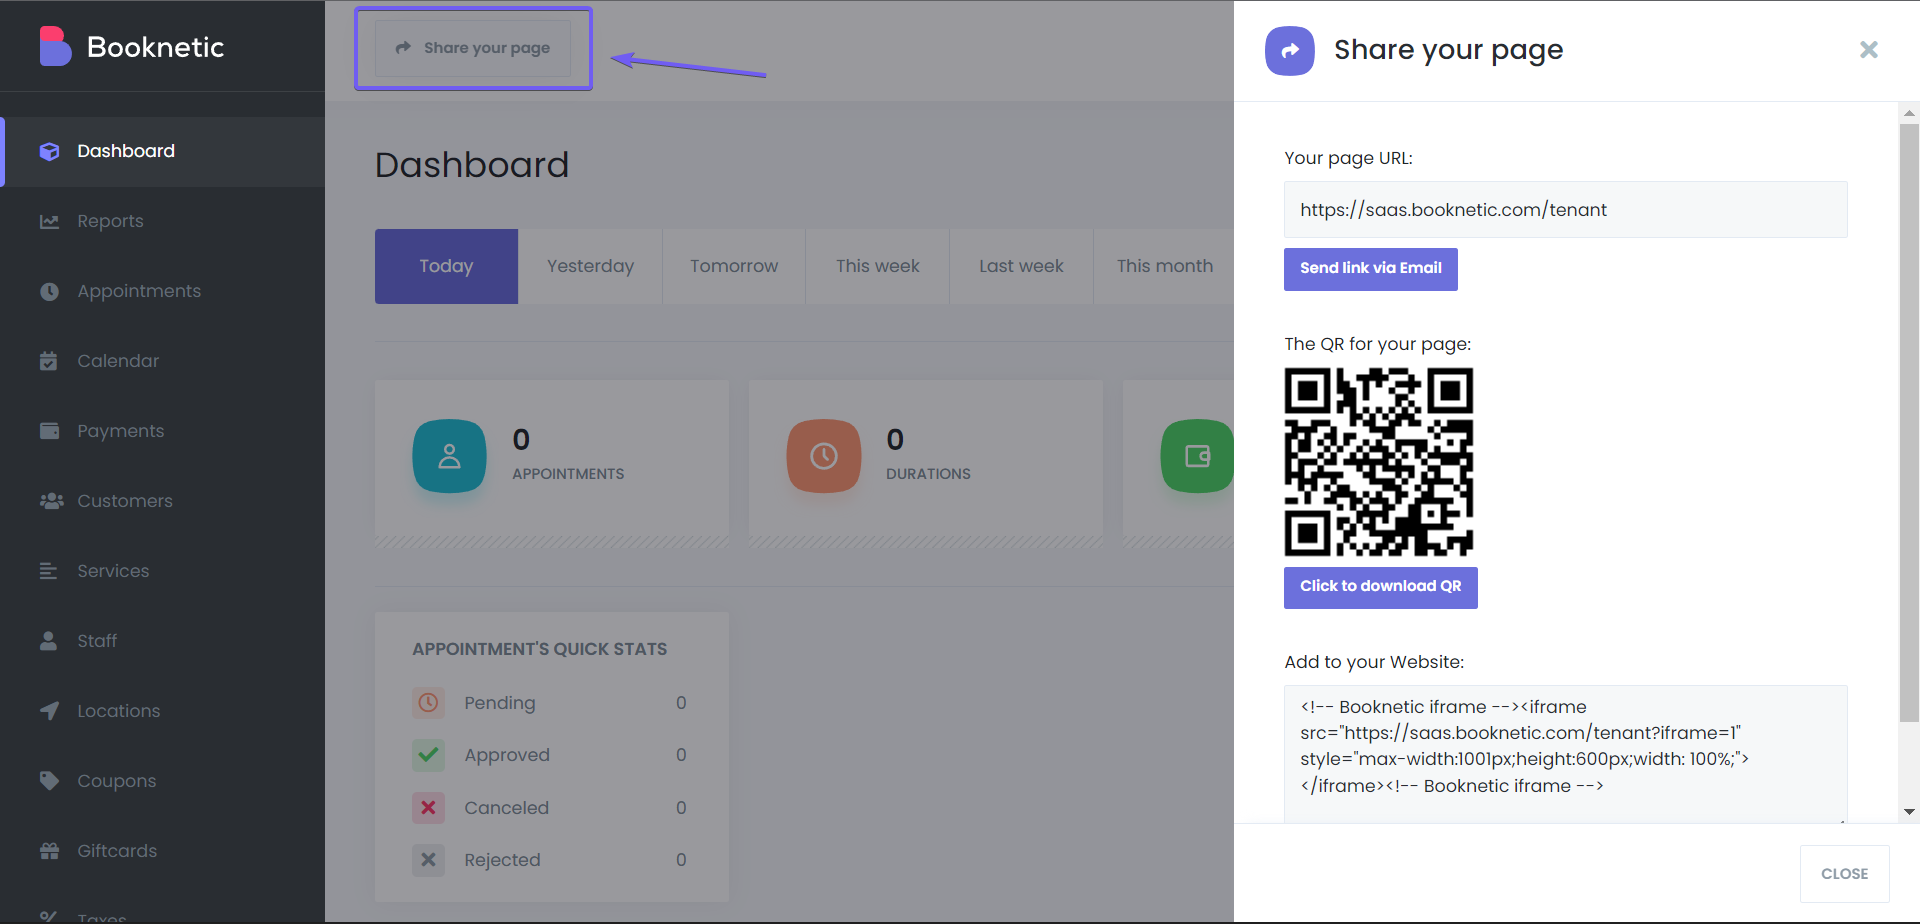
Booking Panel Sharing
Tenants can share their booking panel with customers in various ways:
Billing Page
On the Billing page, tenants can:

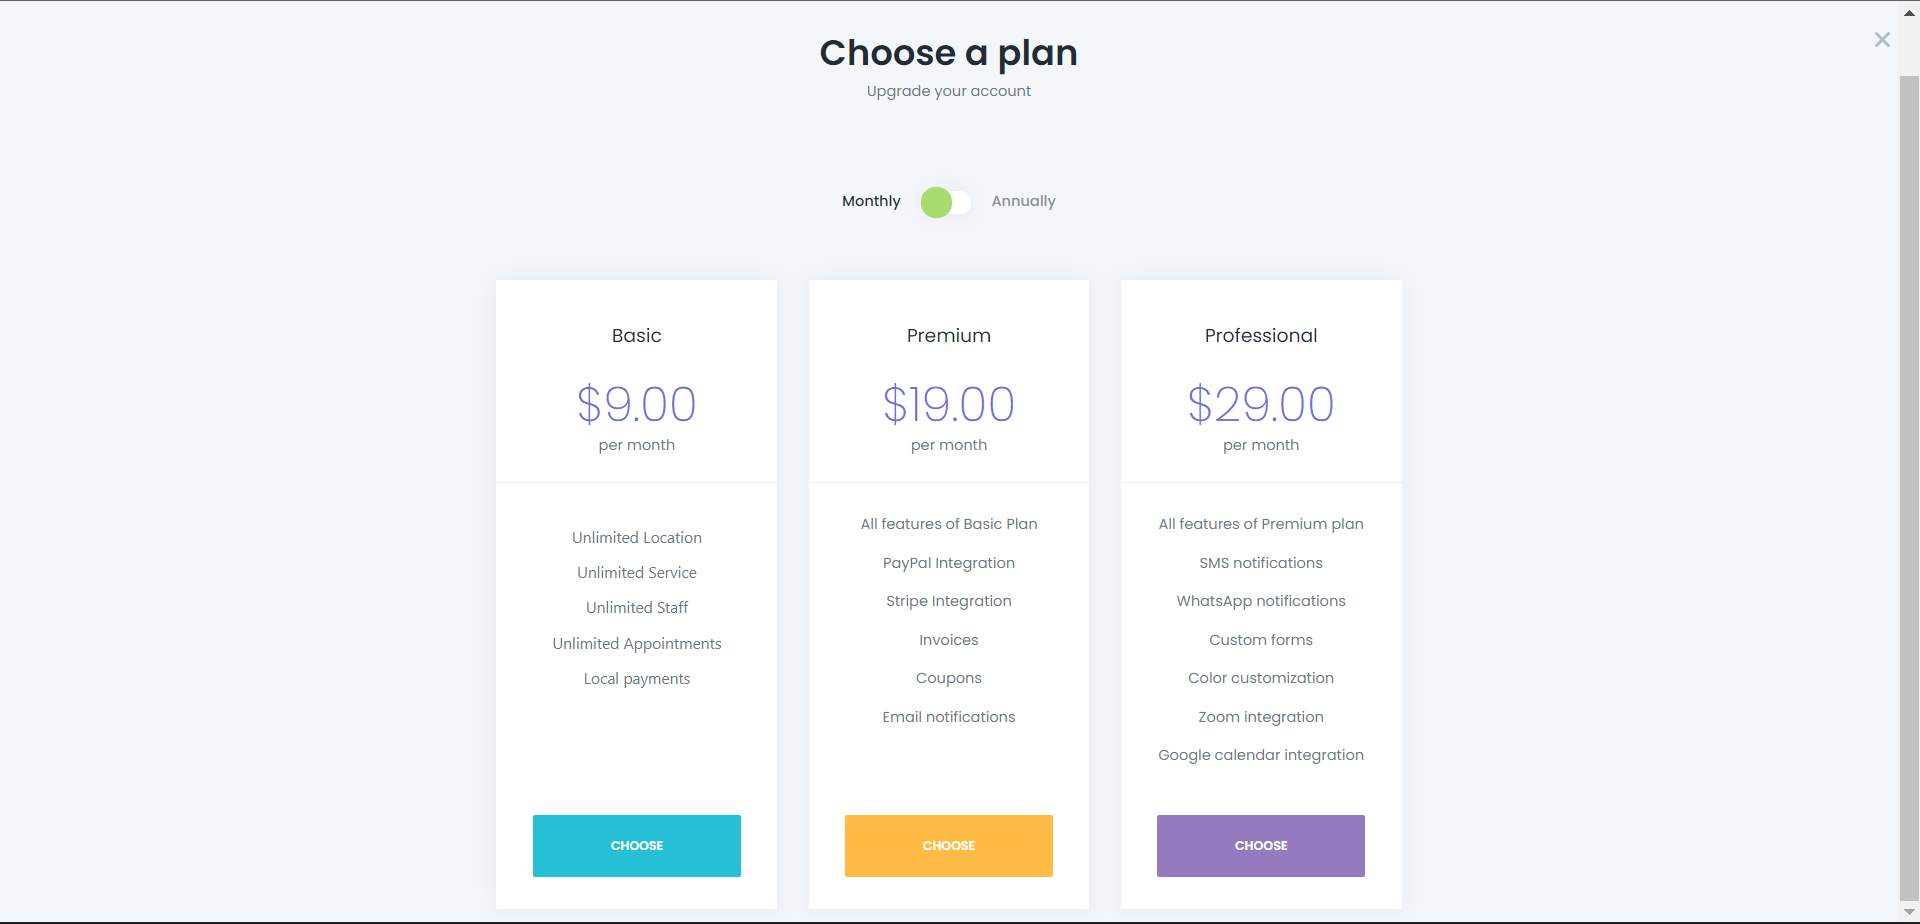
Upgrading Plans
WooCommerce Balance Deposits
Tenants will have access to the system’s features based on the modules and limits defined in their chosen plan. Key points include:
Each tenant operates as an independent Booknetic Regular user within the SaaS system.
Tenants get access to their own:
All existing Booknetic modules are available and can be enabled or restricted based on the tenant's subscription plan.
You can onboard an unlimited number of tenants, and each tenant will be able to individually utilize the full range of Booknetic features according to their plan permissions.