User Role Manager
User Role Manager
By using this site, you agree to our Cookie Policy
User Role Manager
The User Role Manager add-on in Booknetic allows businesses to create custom roles with specific permissions. This feature enables you to control access for different staff members, ensuring they can view or manage only the areas relevant to their responsibilities.
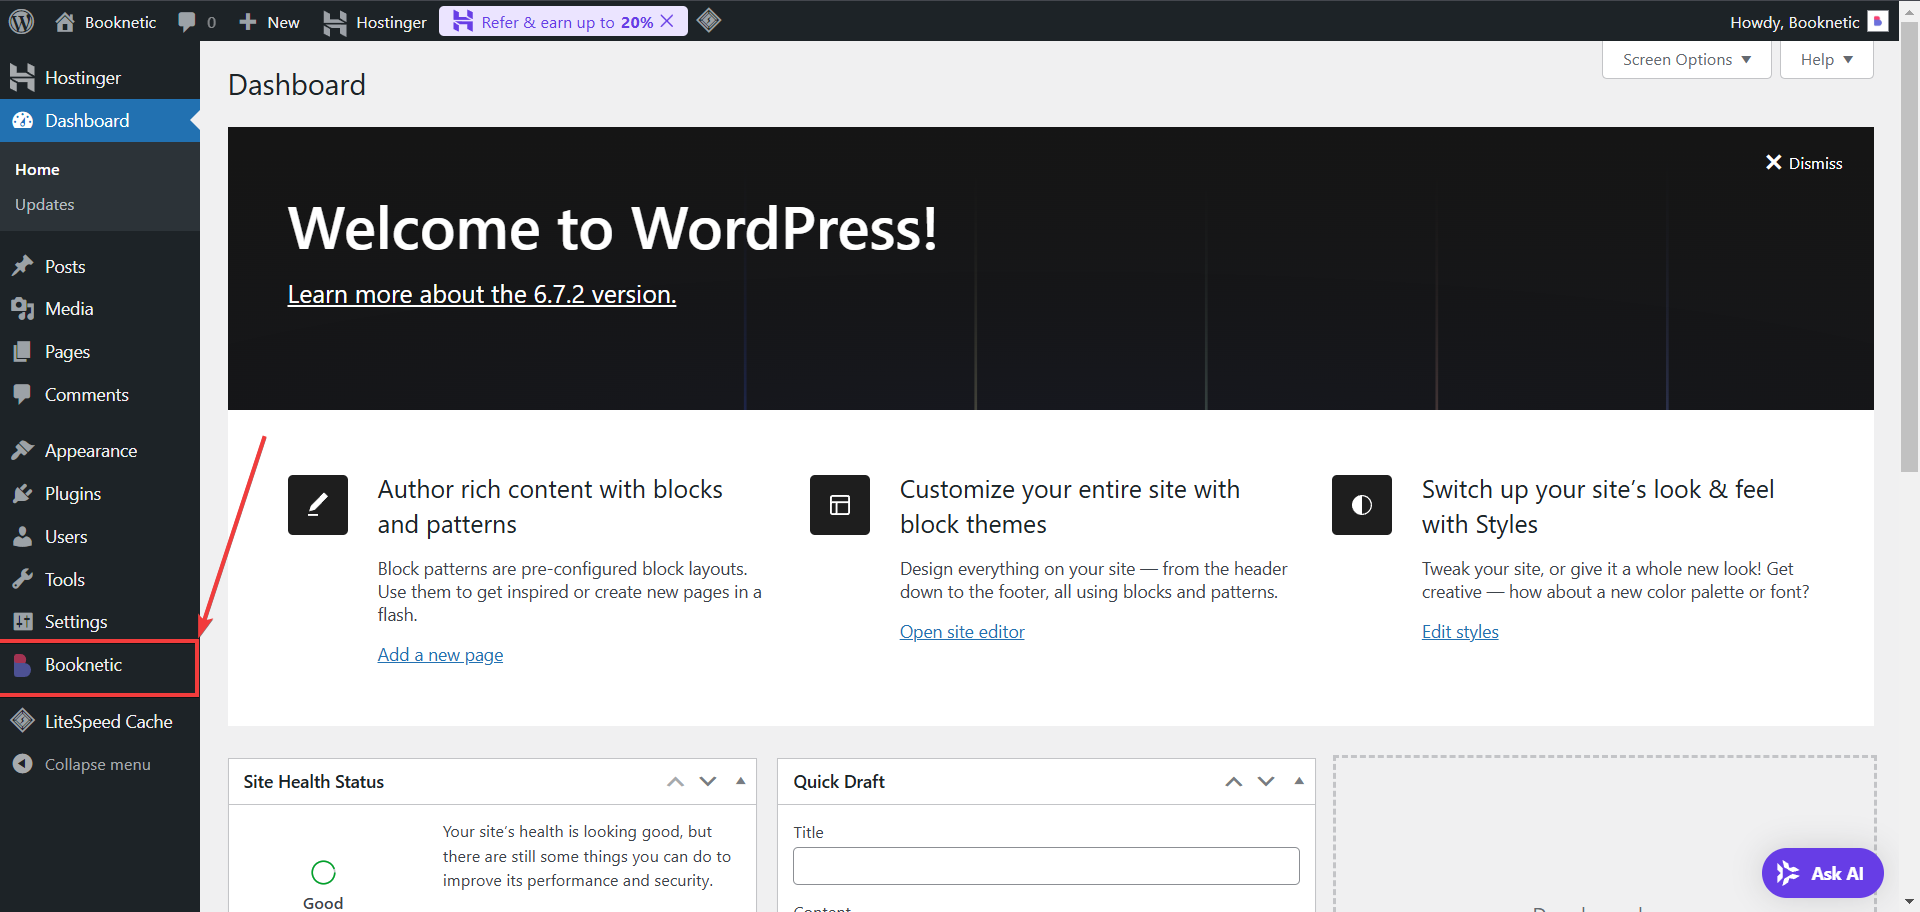
Log in to Your WordPress Dashboard
Open your WordPress Admin Panel and navigate to Booknetic in the sidebar.
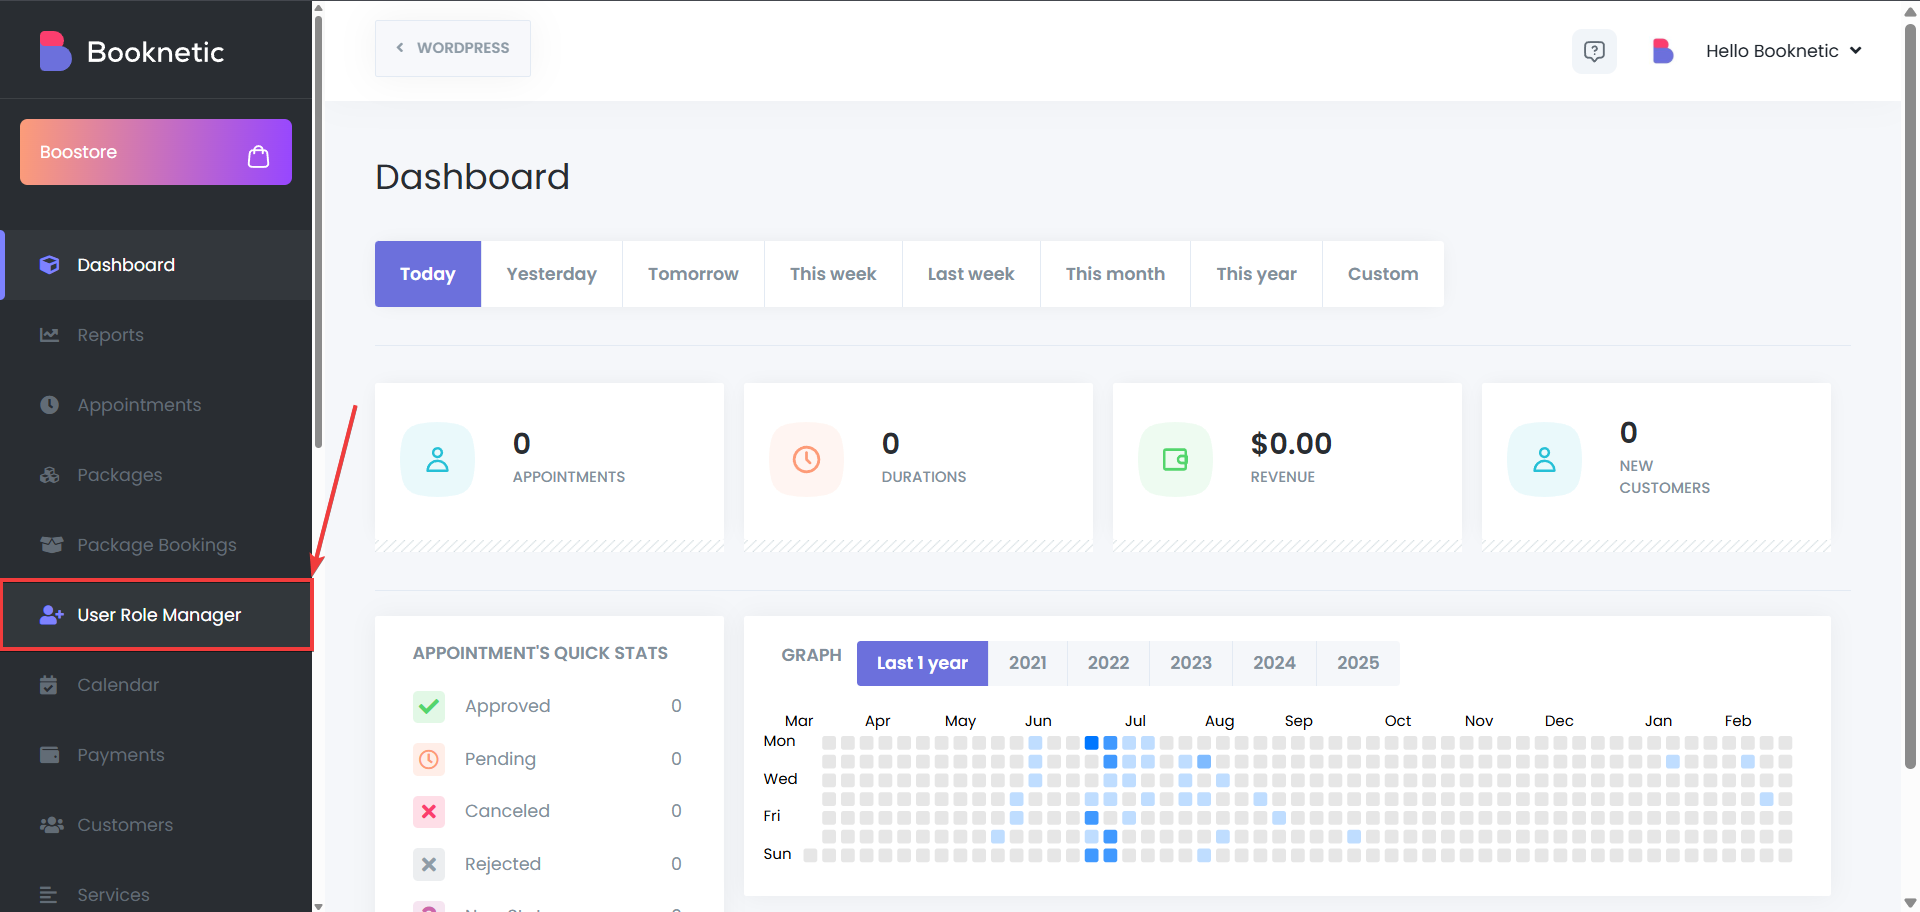
Navigate to the User Role Manager Add-On
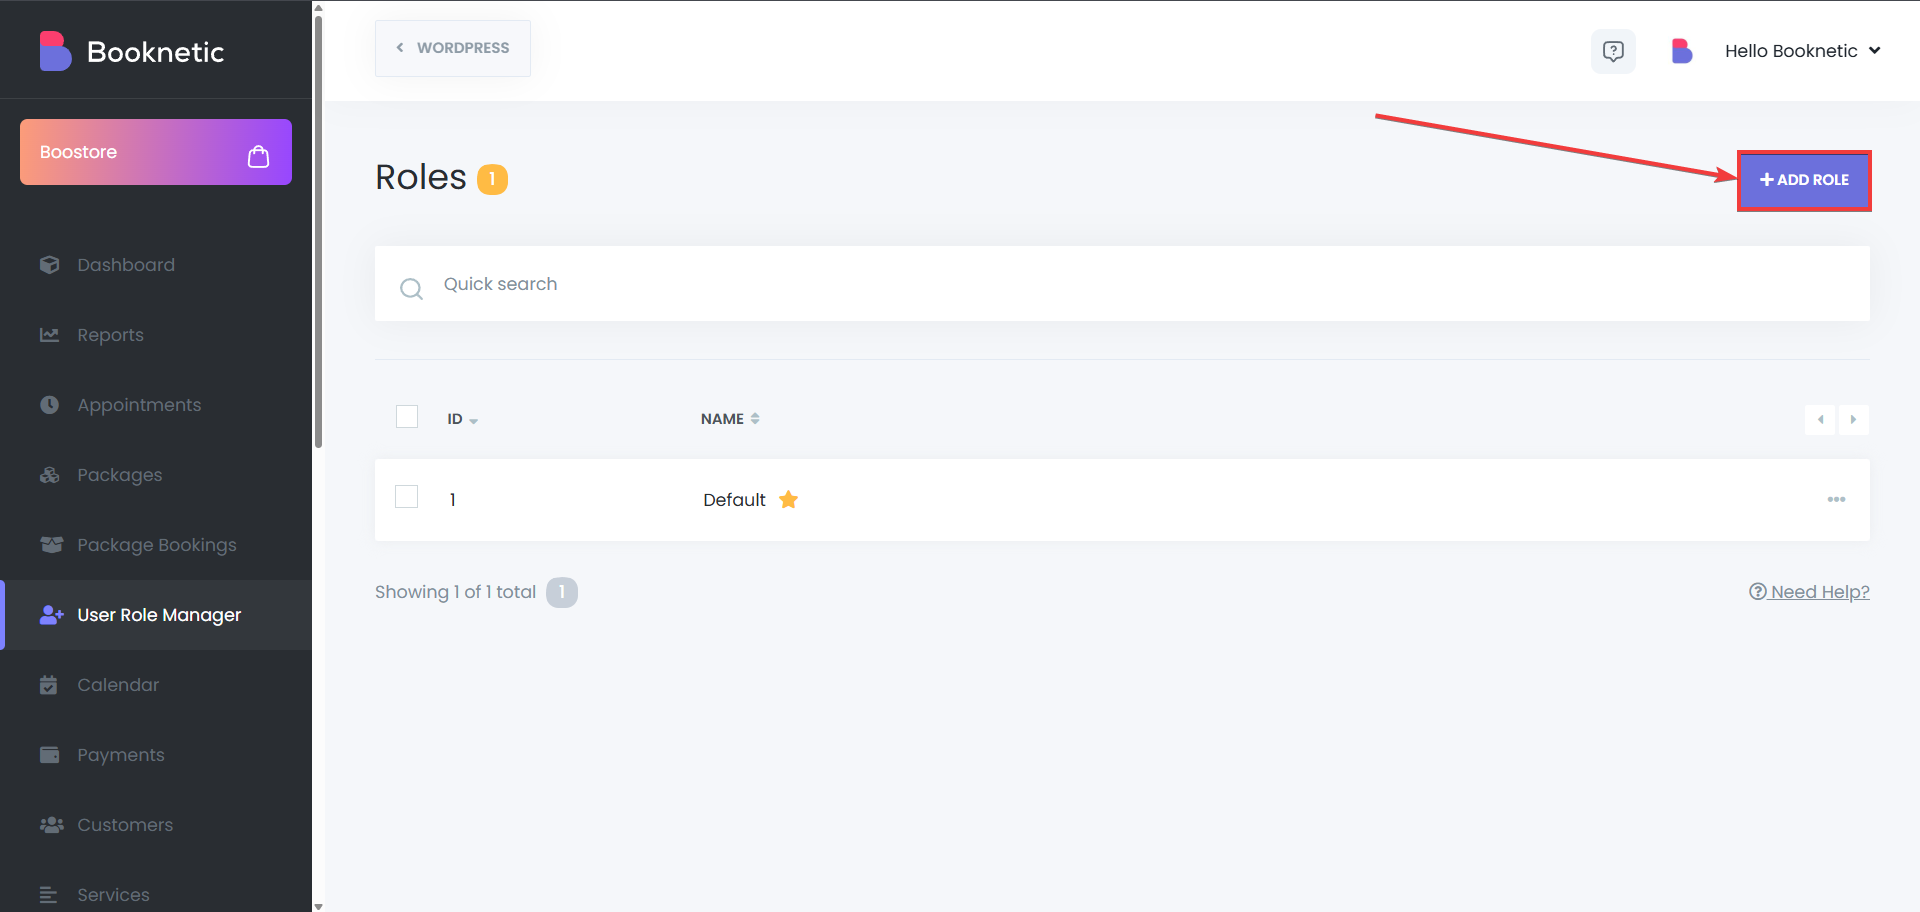
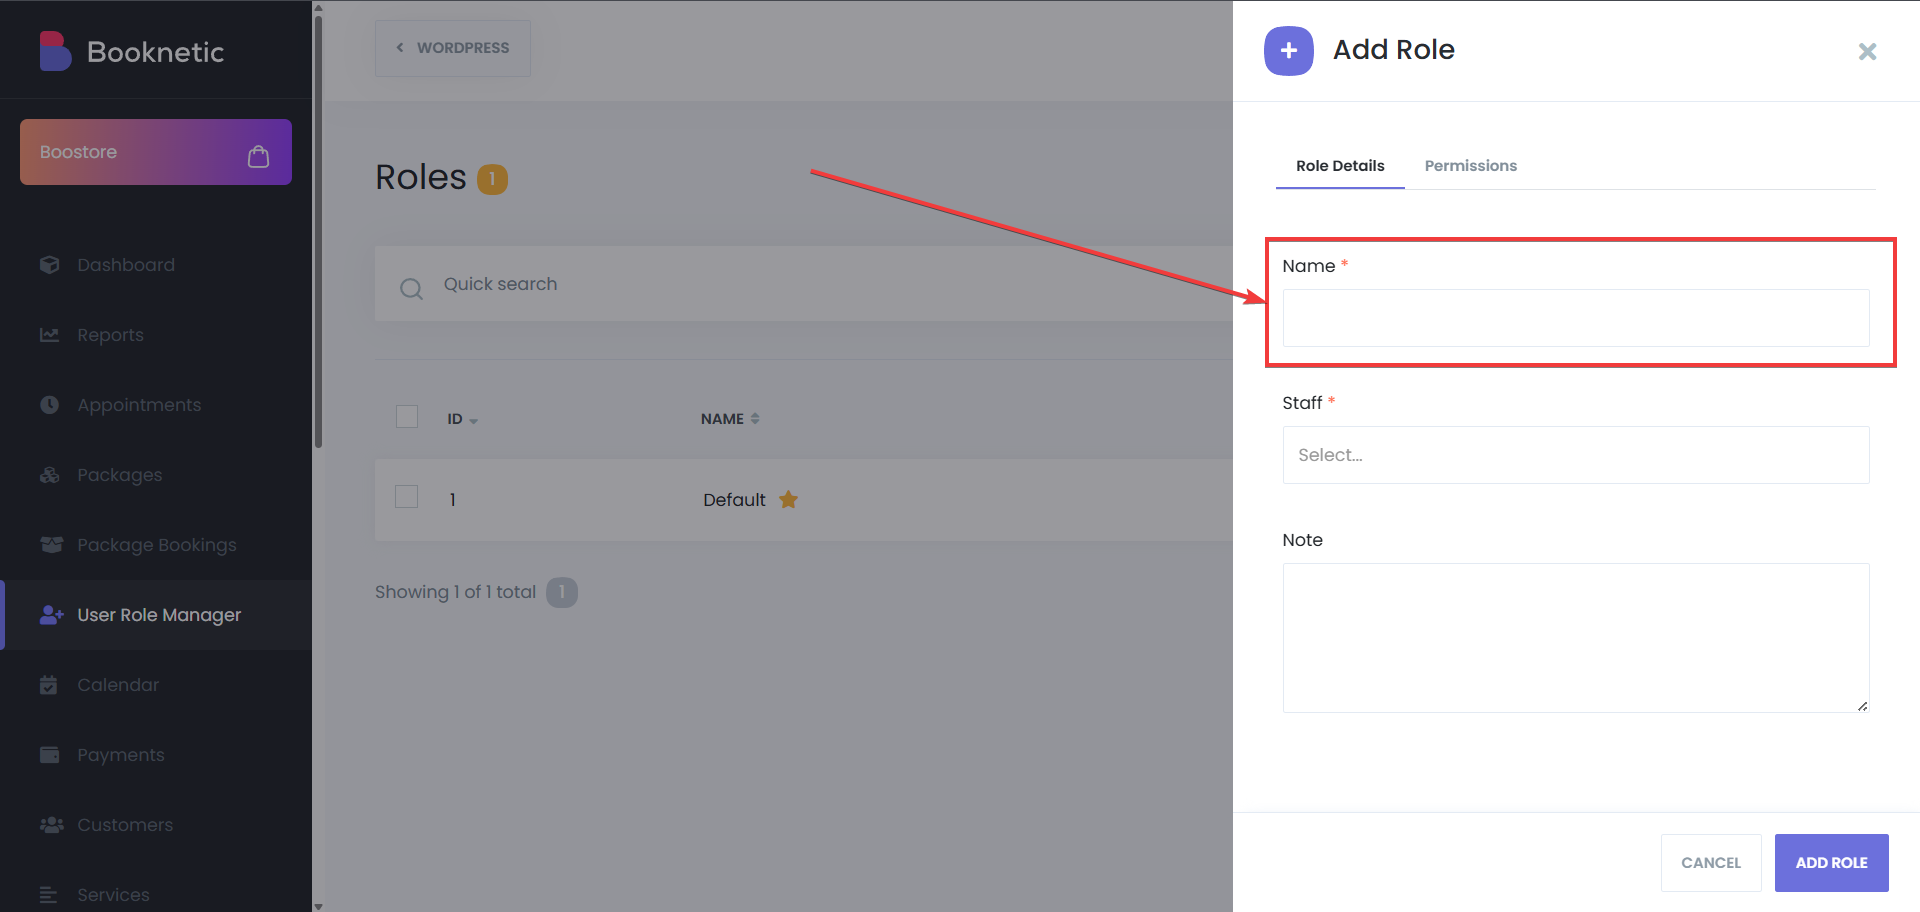
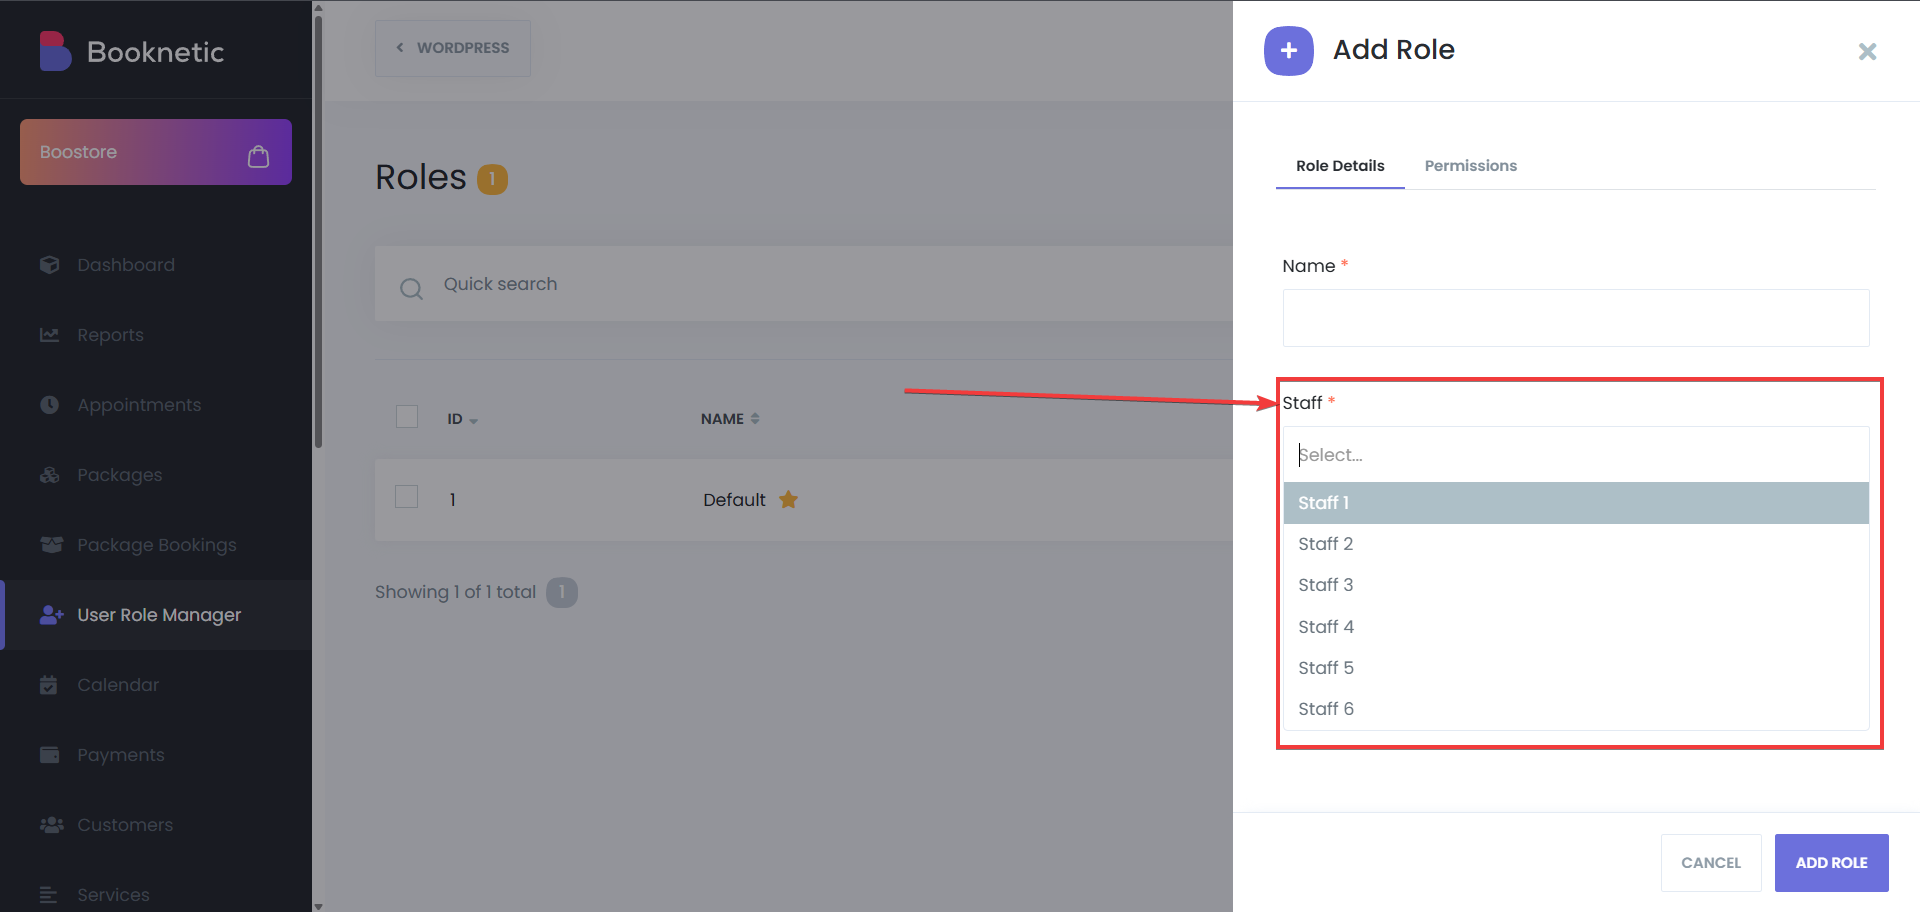
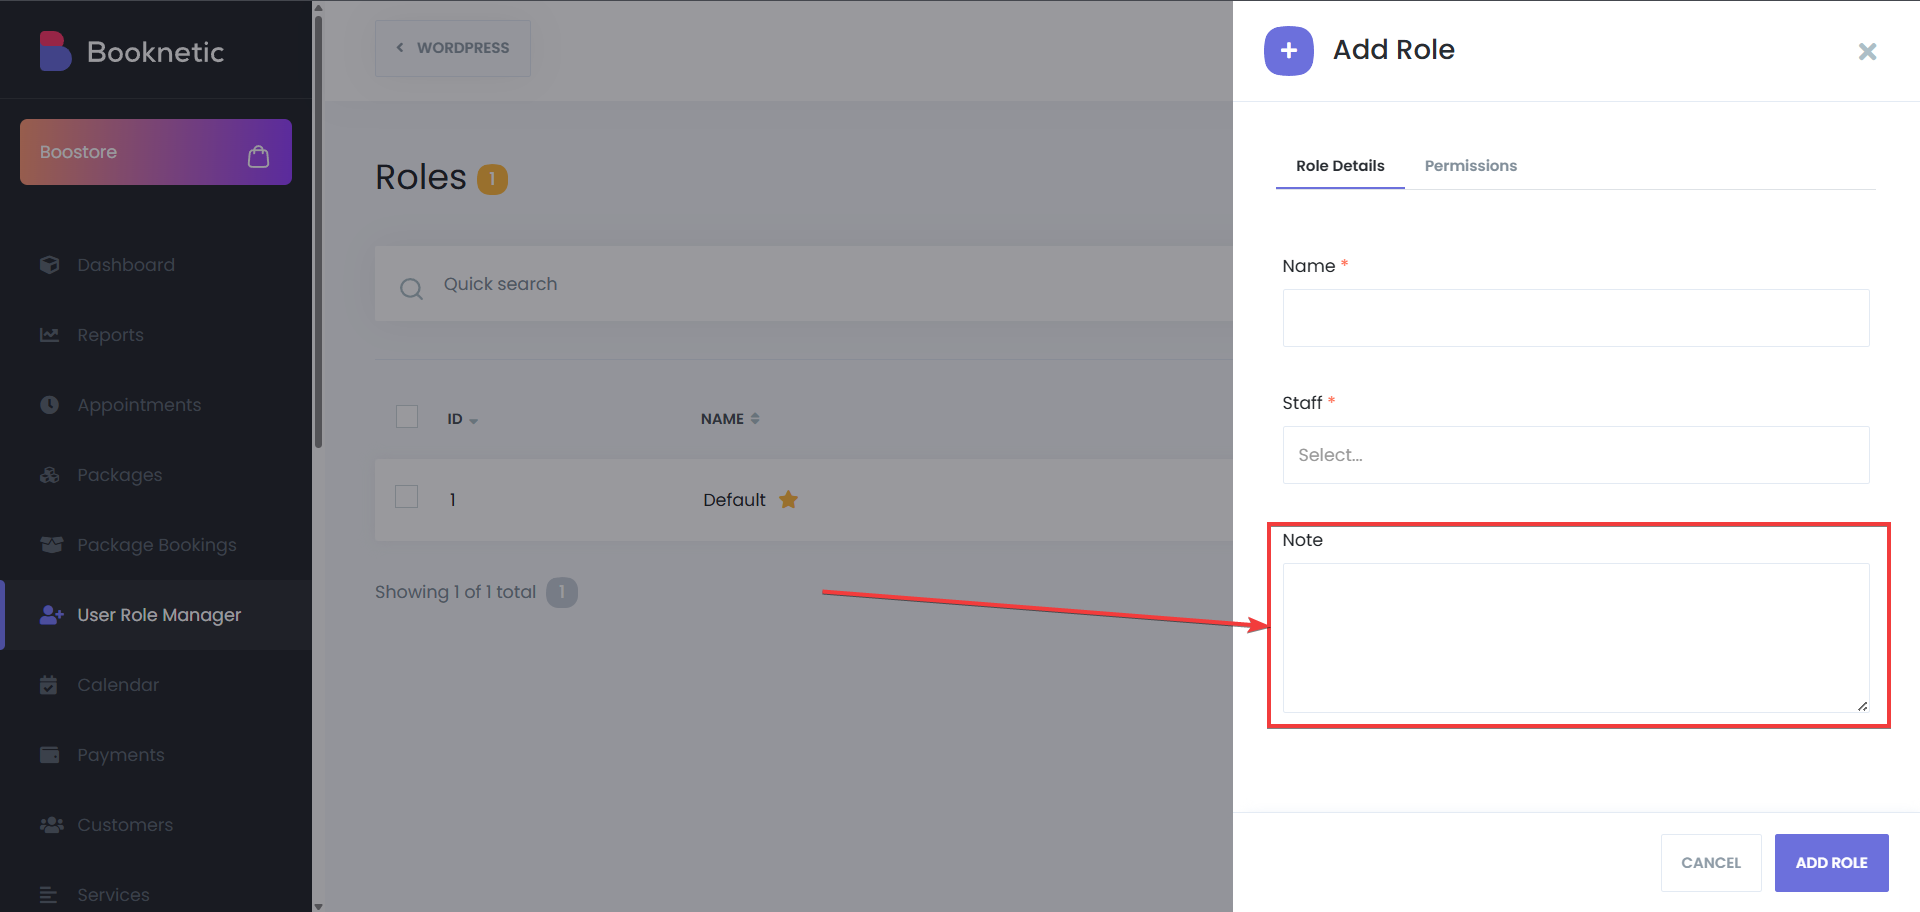
Create a New Role
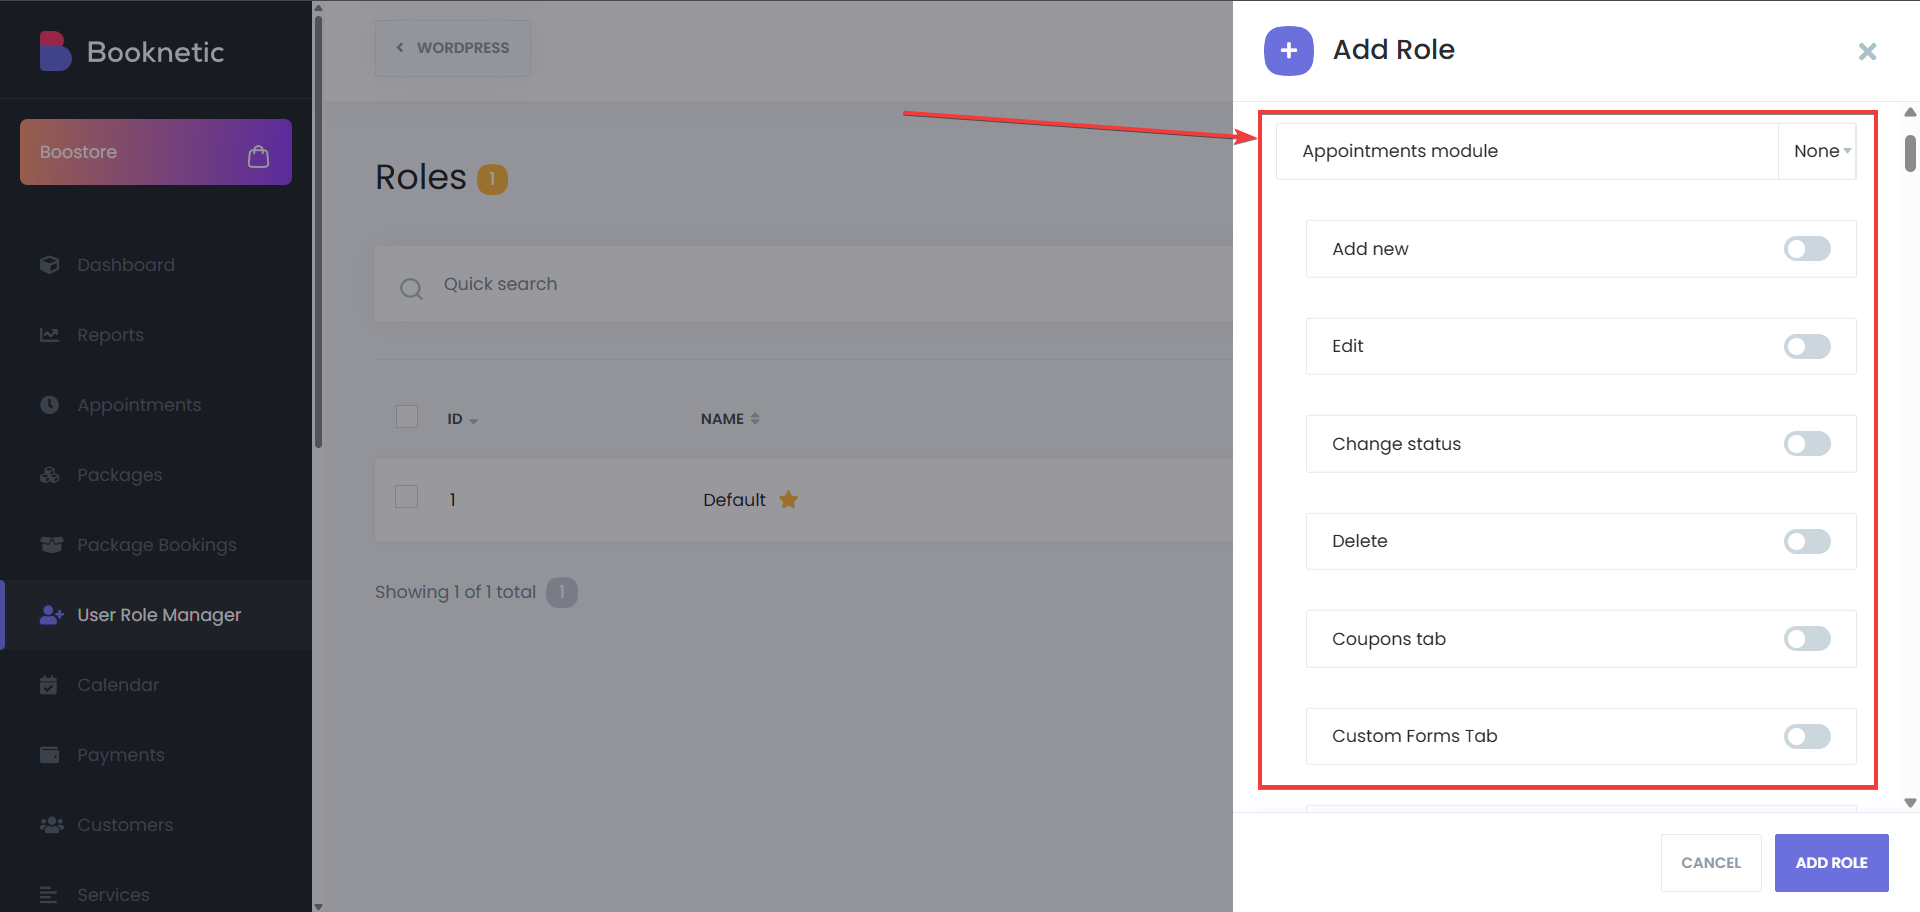
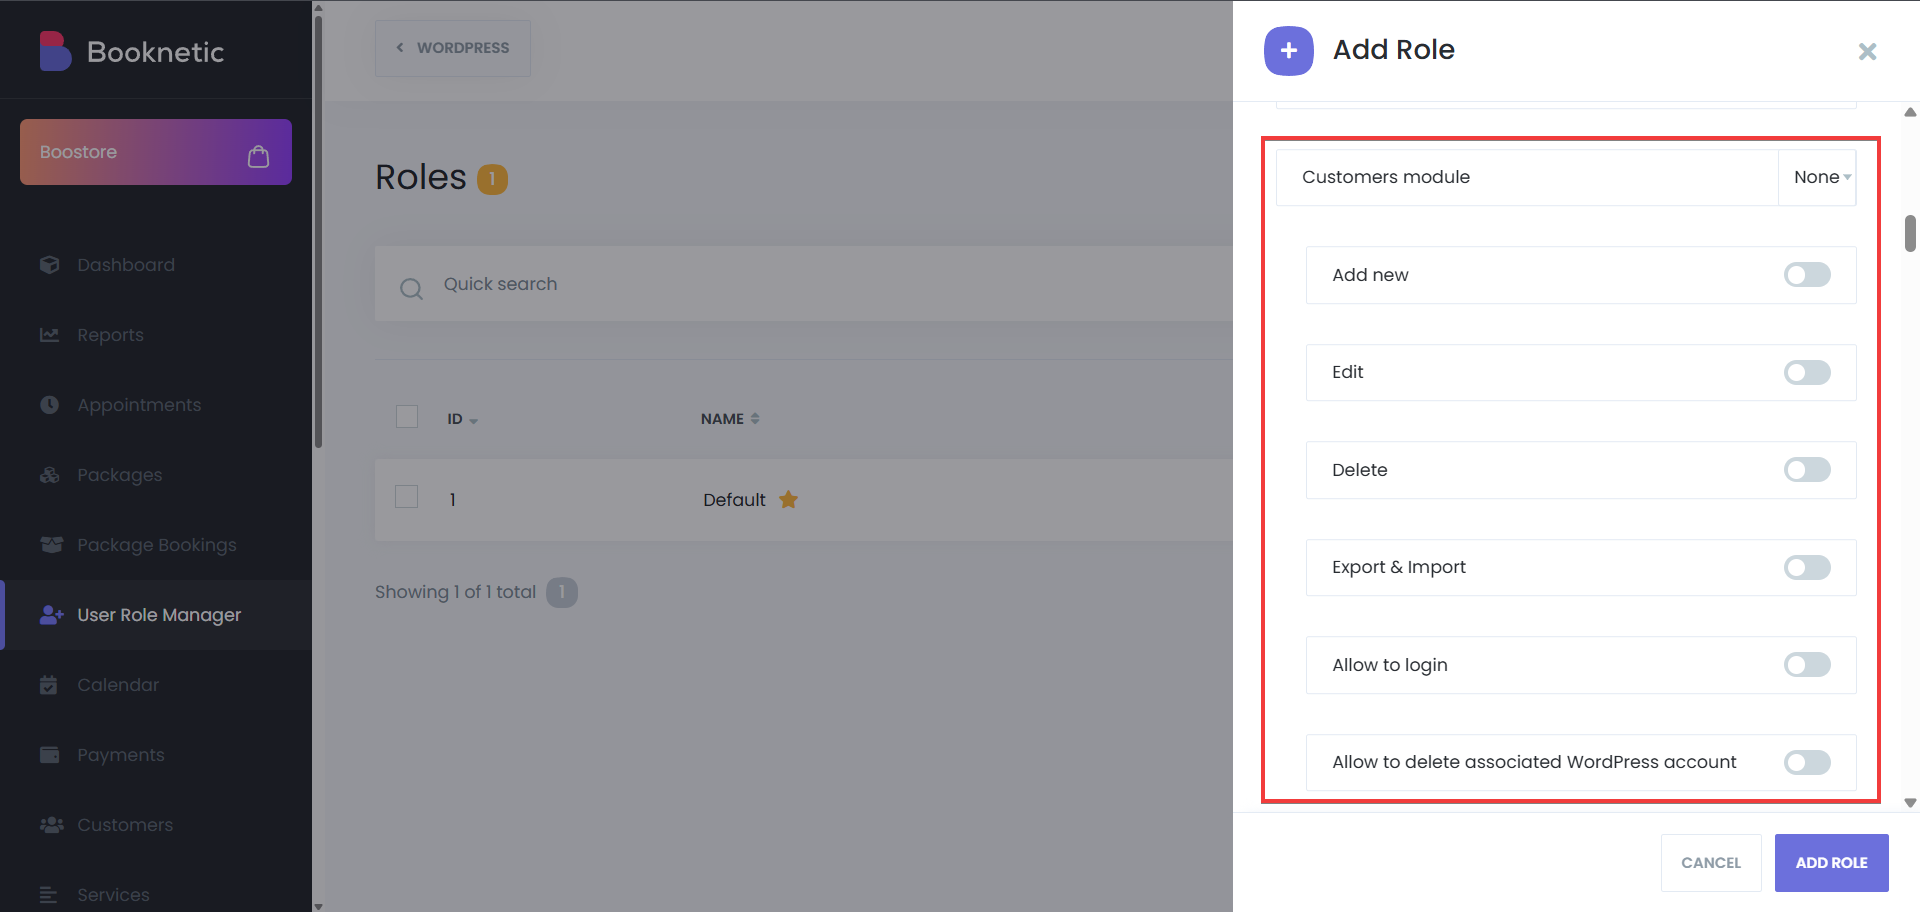
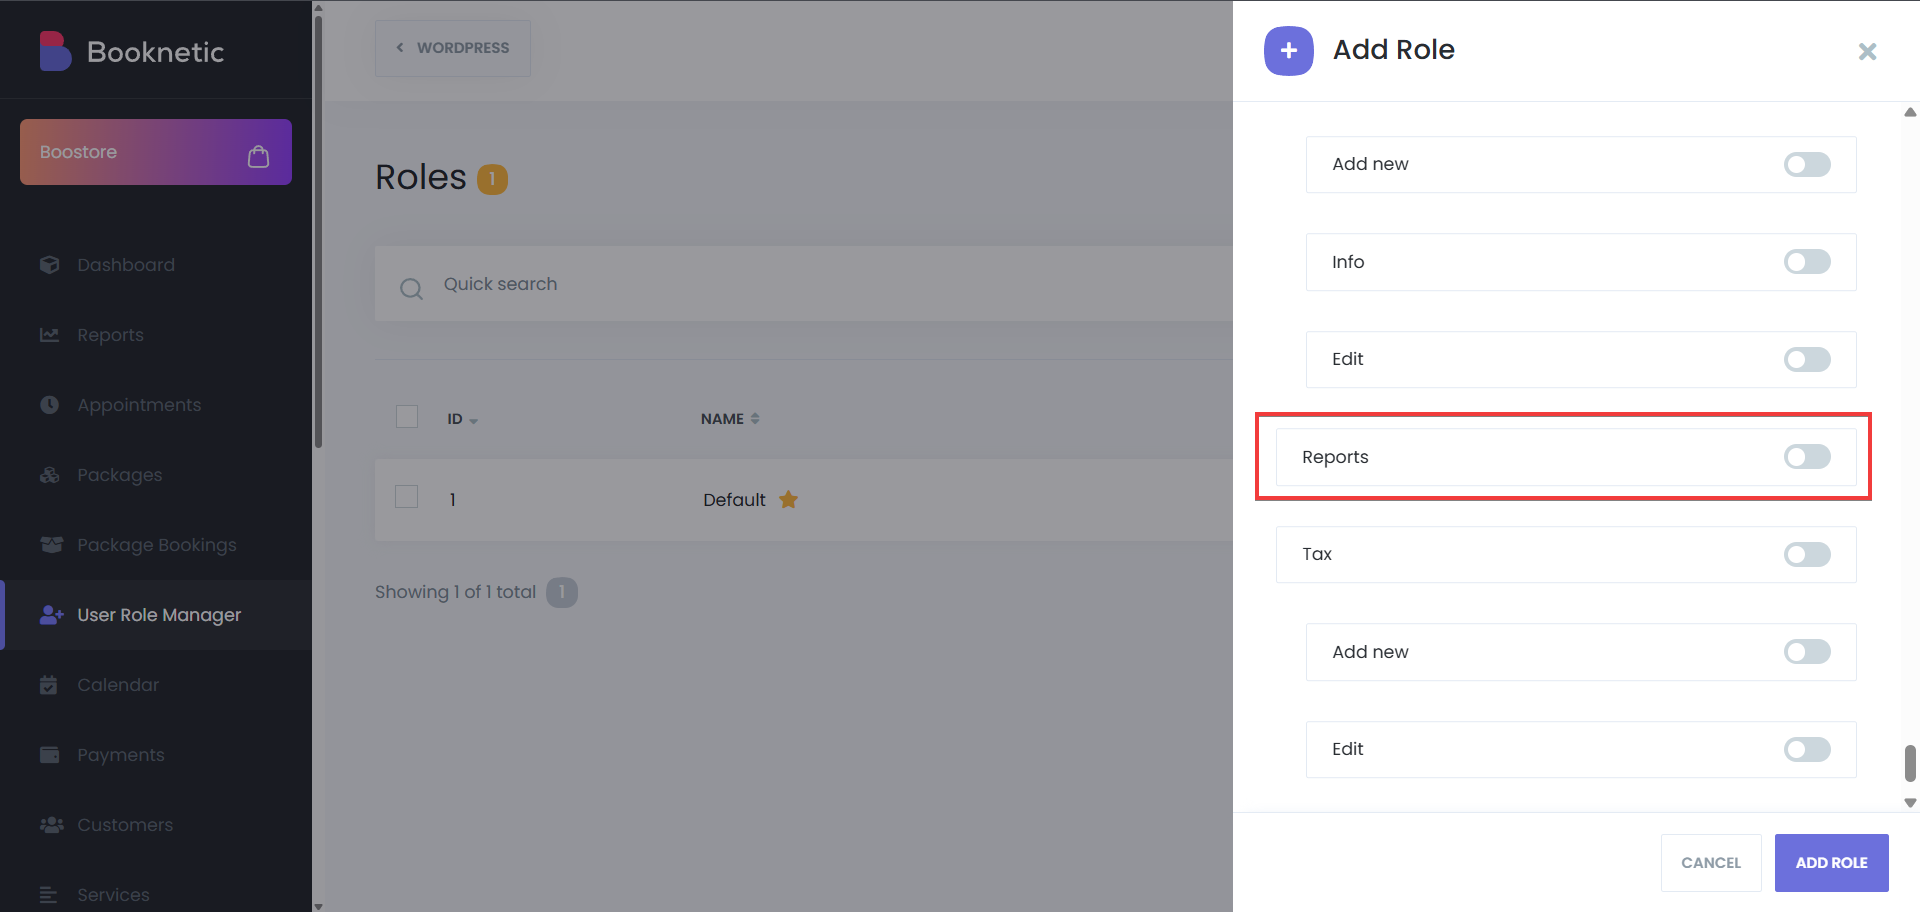
Set Permissions
After creating the role, set specific permissions for the staff under this role. You can set 3 status per permission set such as “Appointments module”. If the option “none” is selected, it stops the staff with this role from having that permission. If the option is “My”, they can have limited access, which is set by their role. And lastly if the option “All” is selected, then those staff will have full access permission, and they will also be able to access other staff’s data and manage them. You can control access to various core modules, or additional purchased add-ons such as:
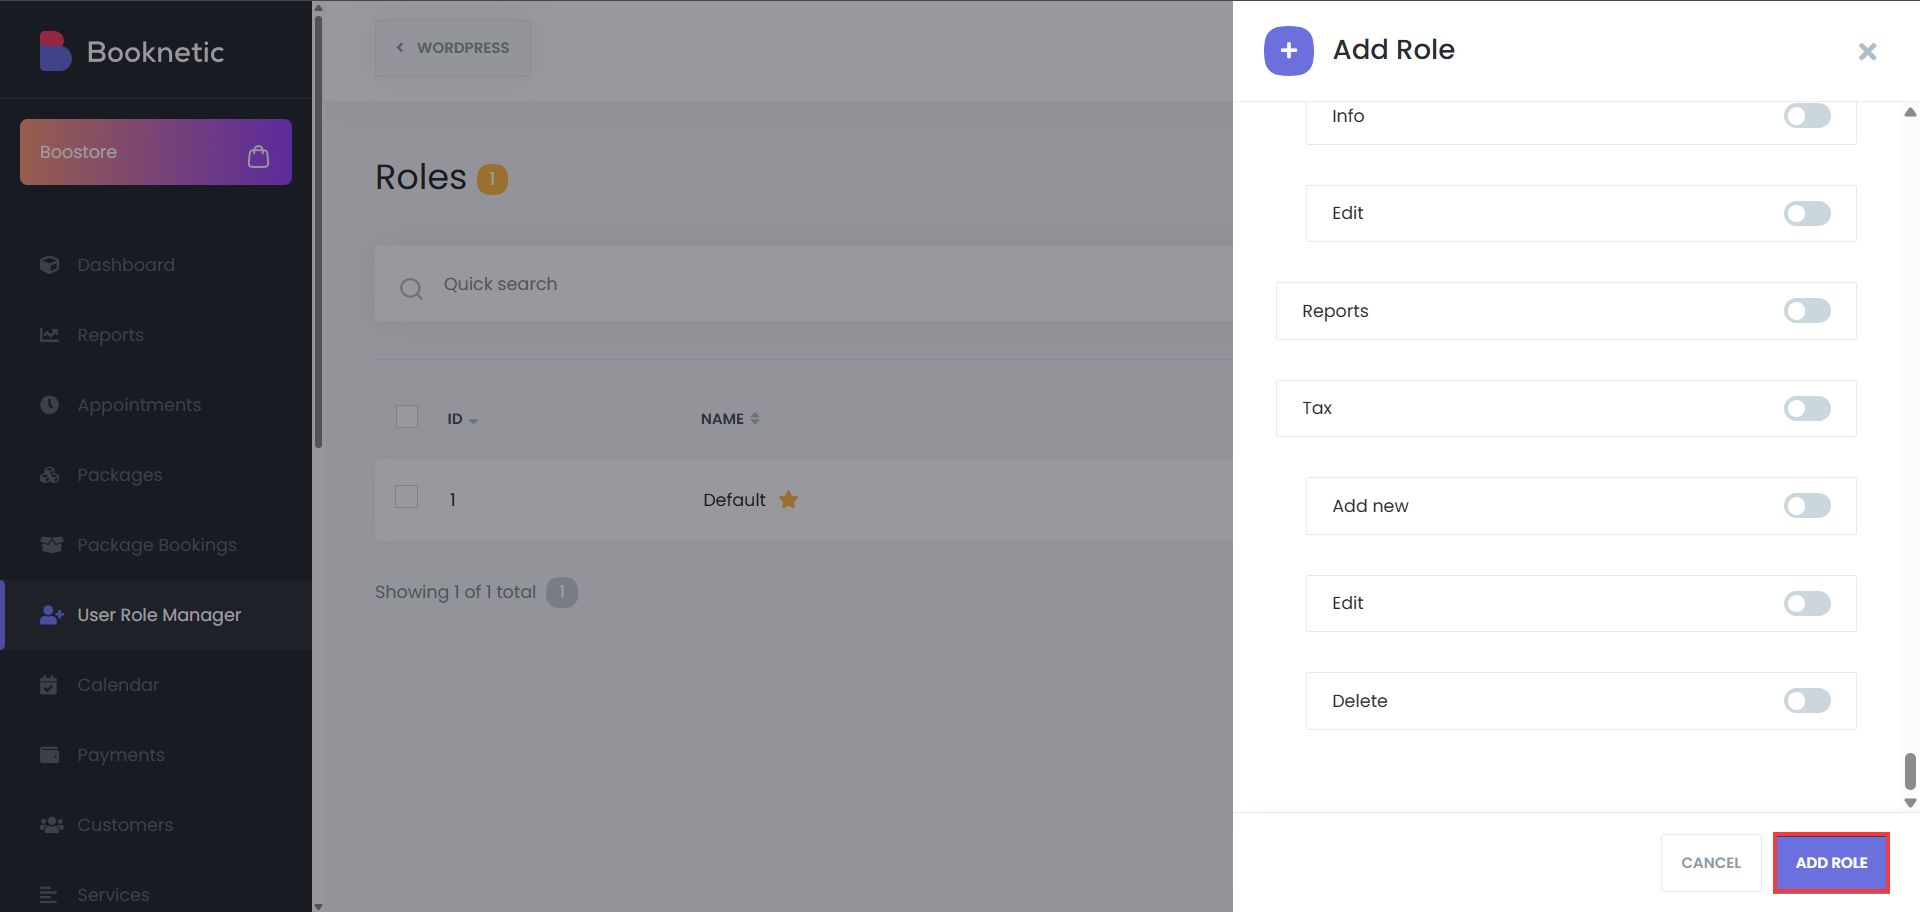
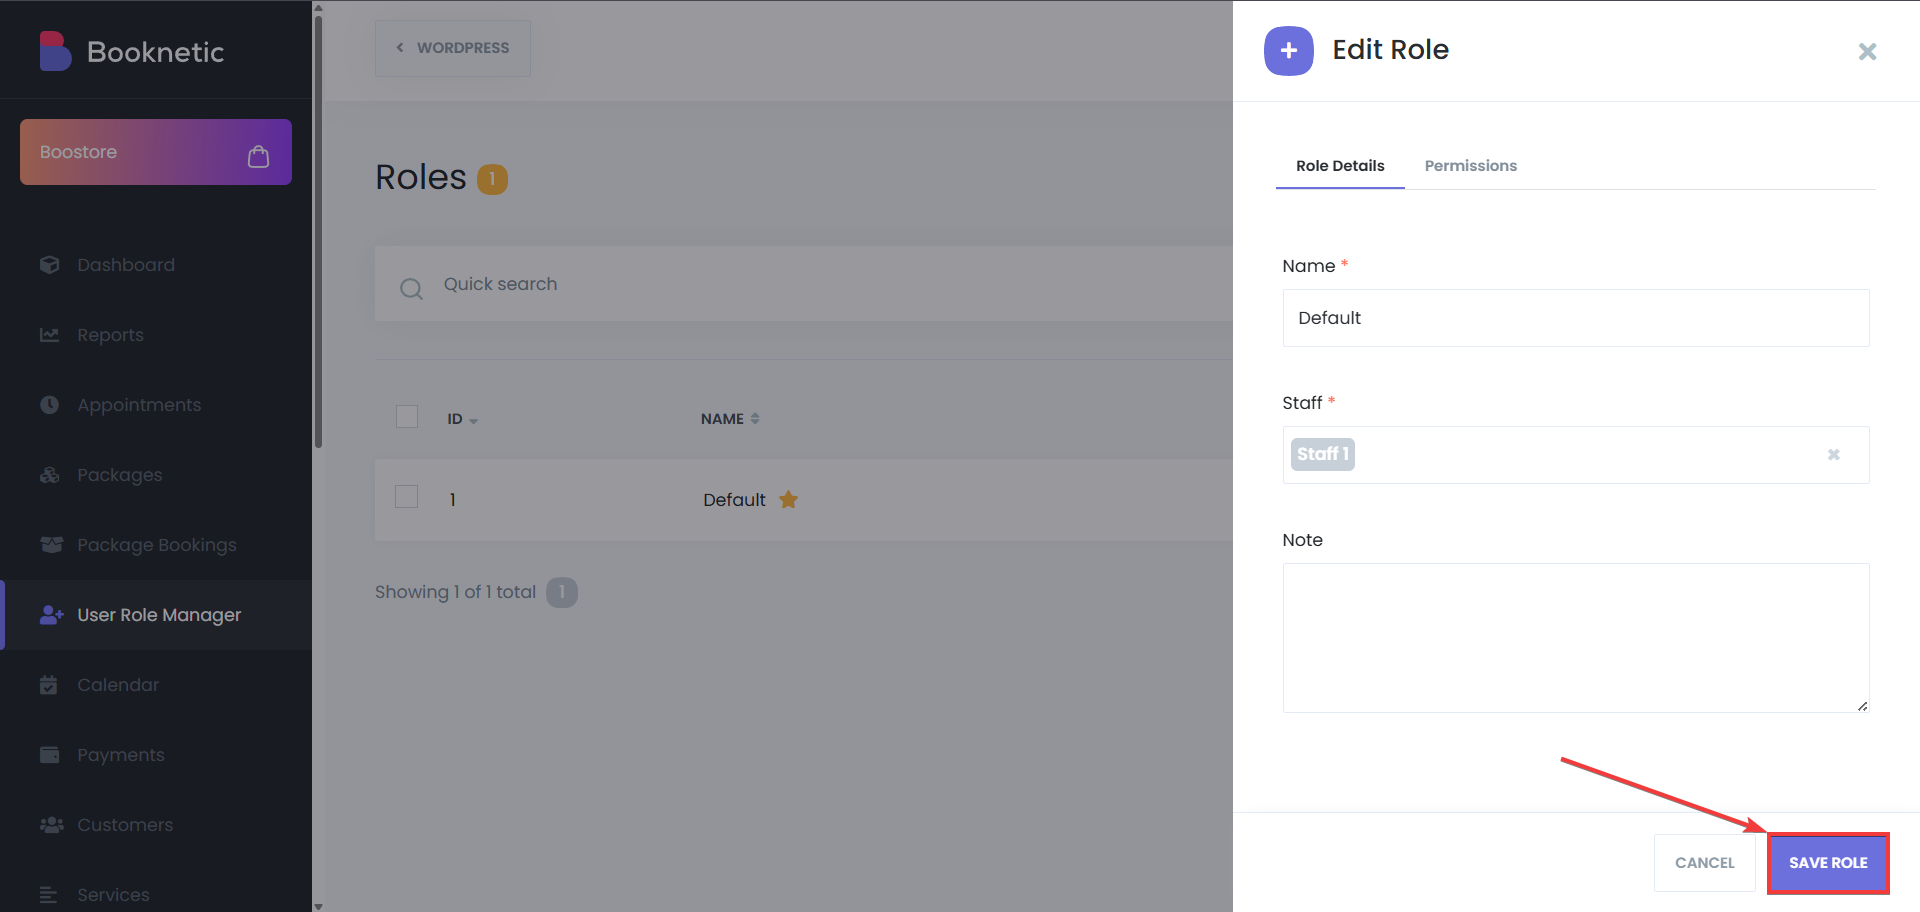
Save the Role
After configuring the permissions, click Save to apply the changes.
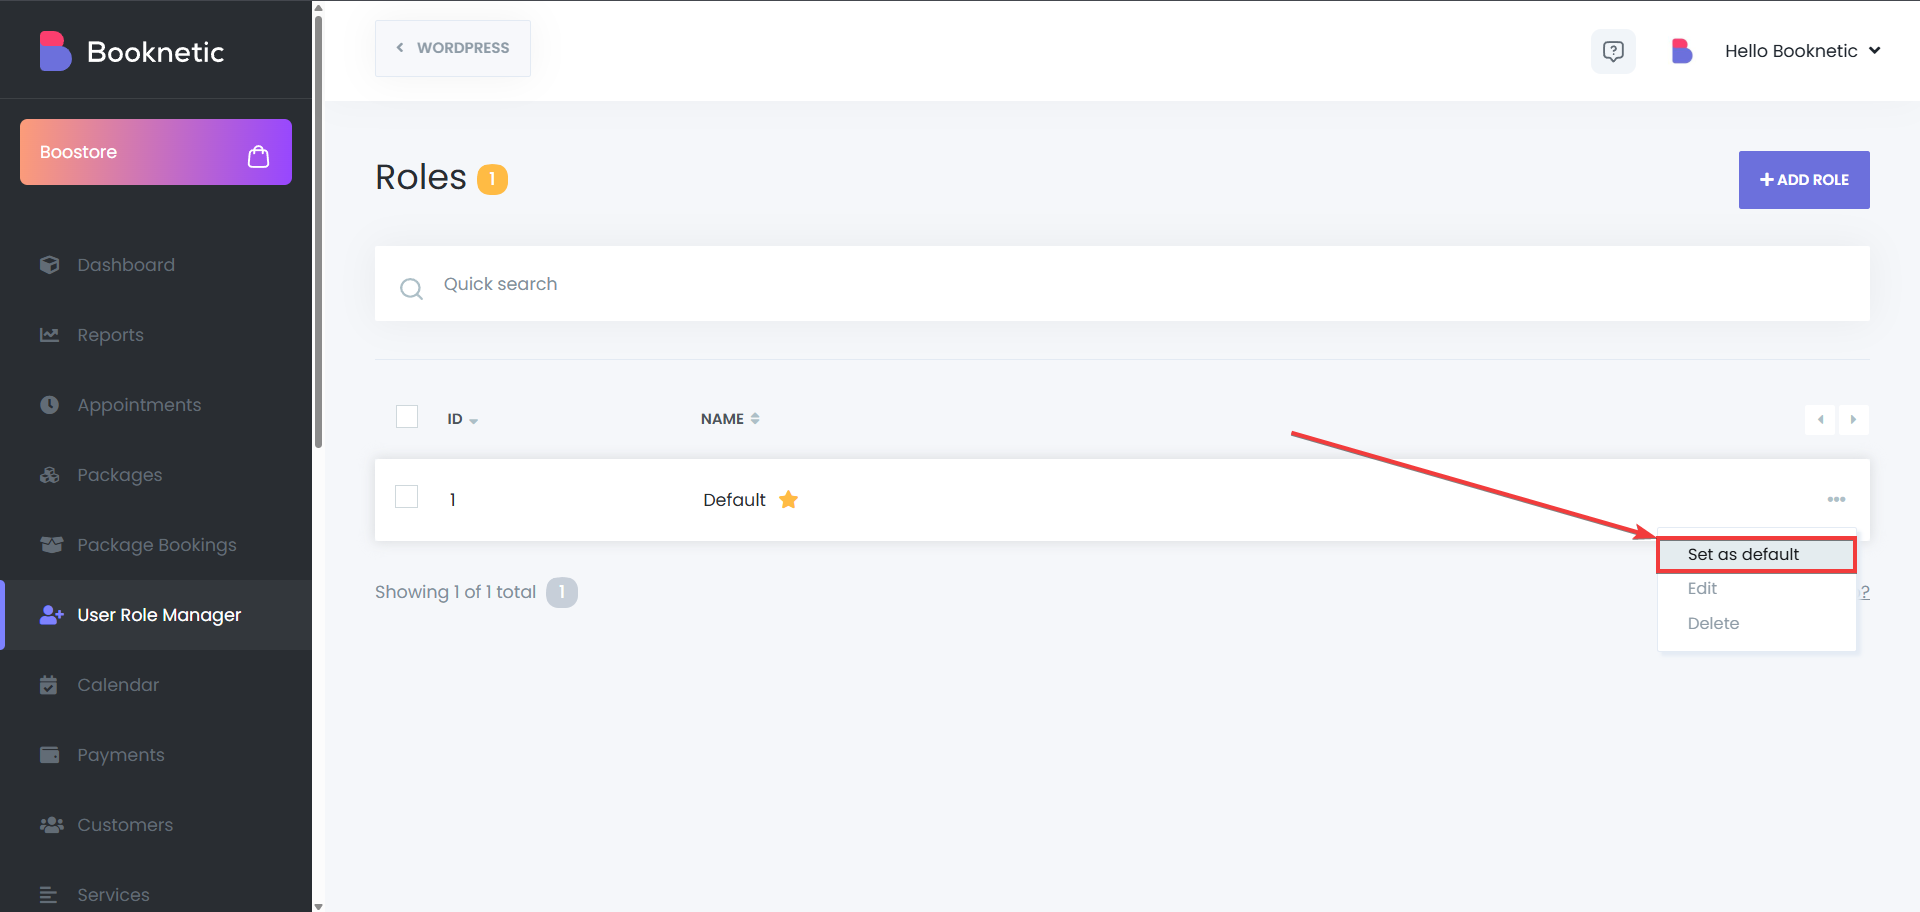
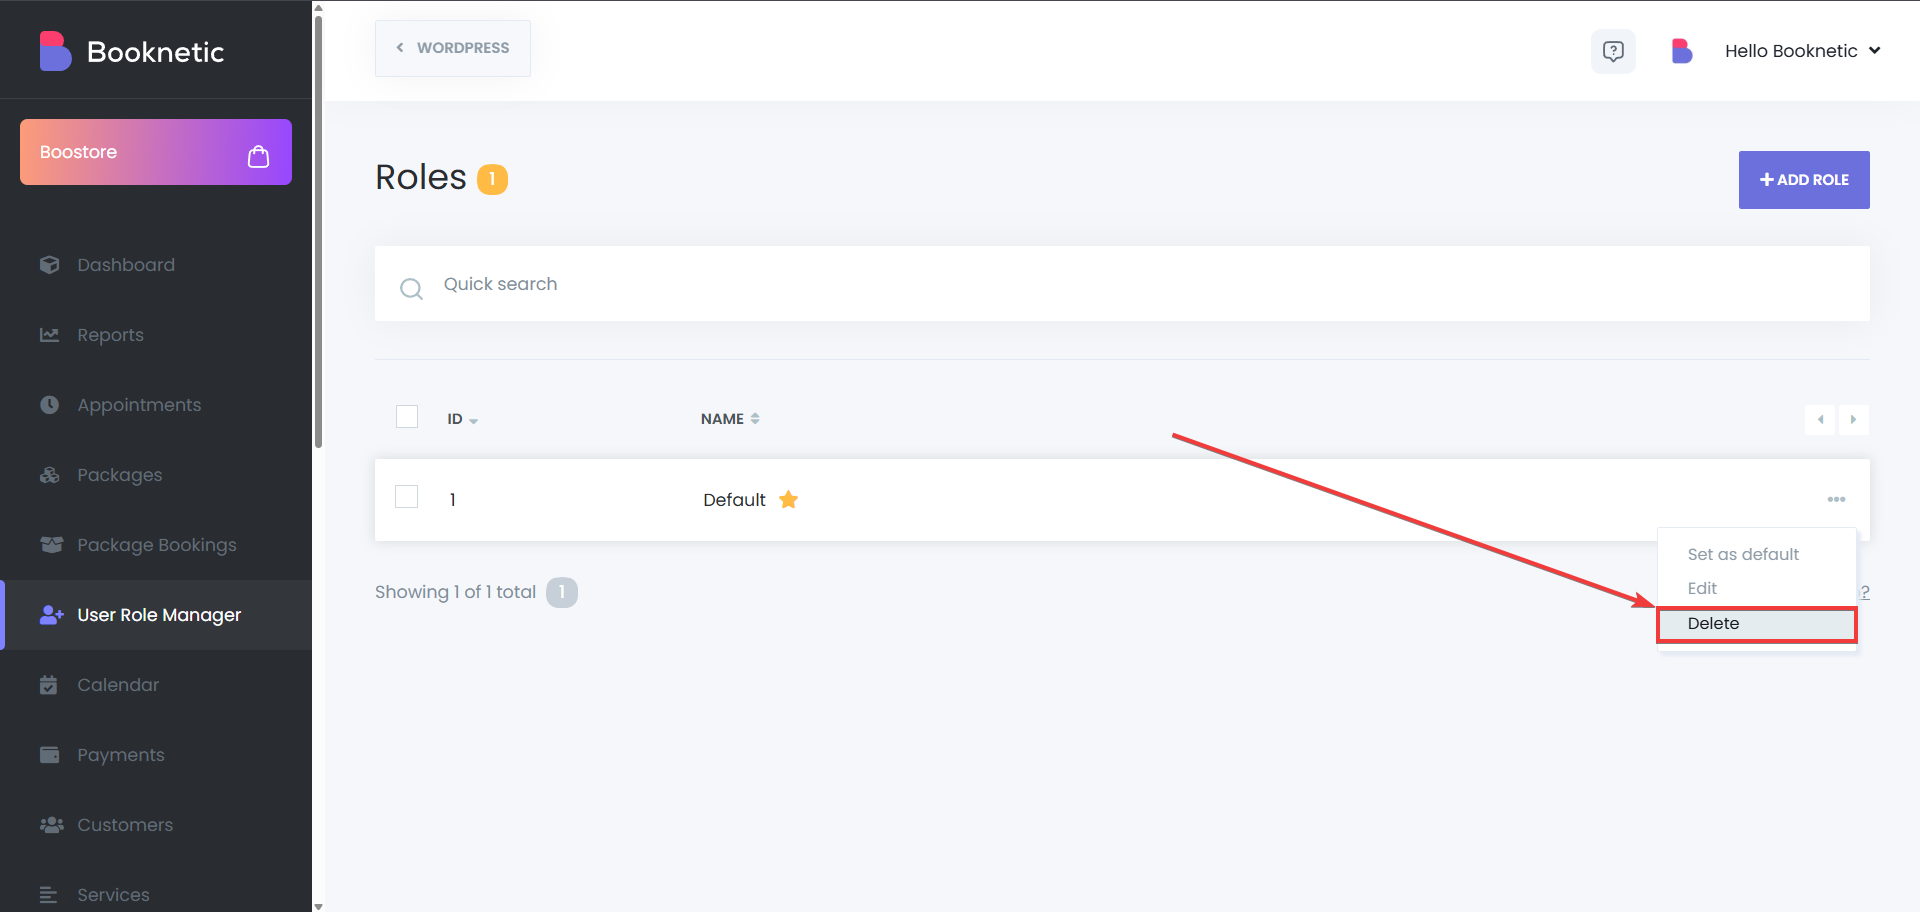
Set as default
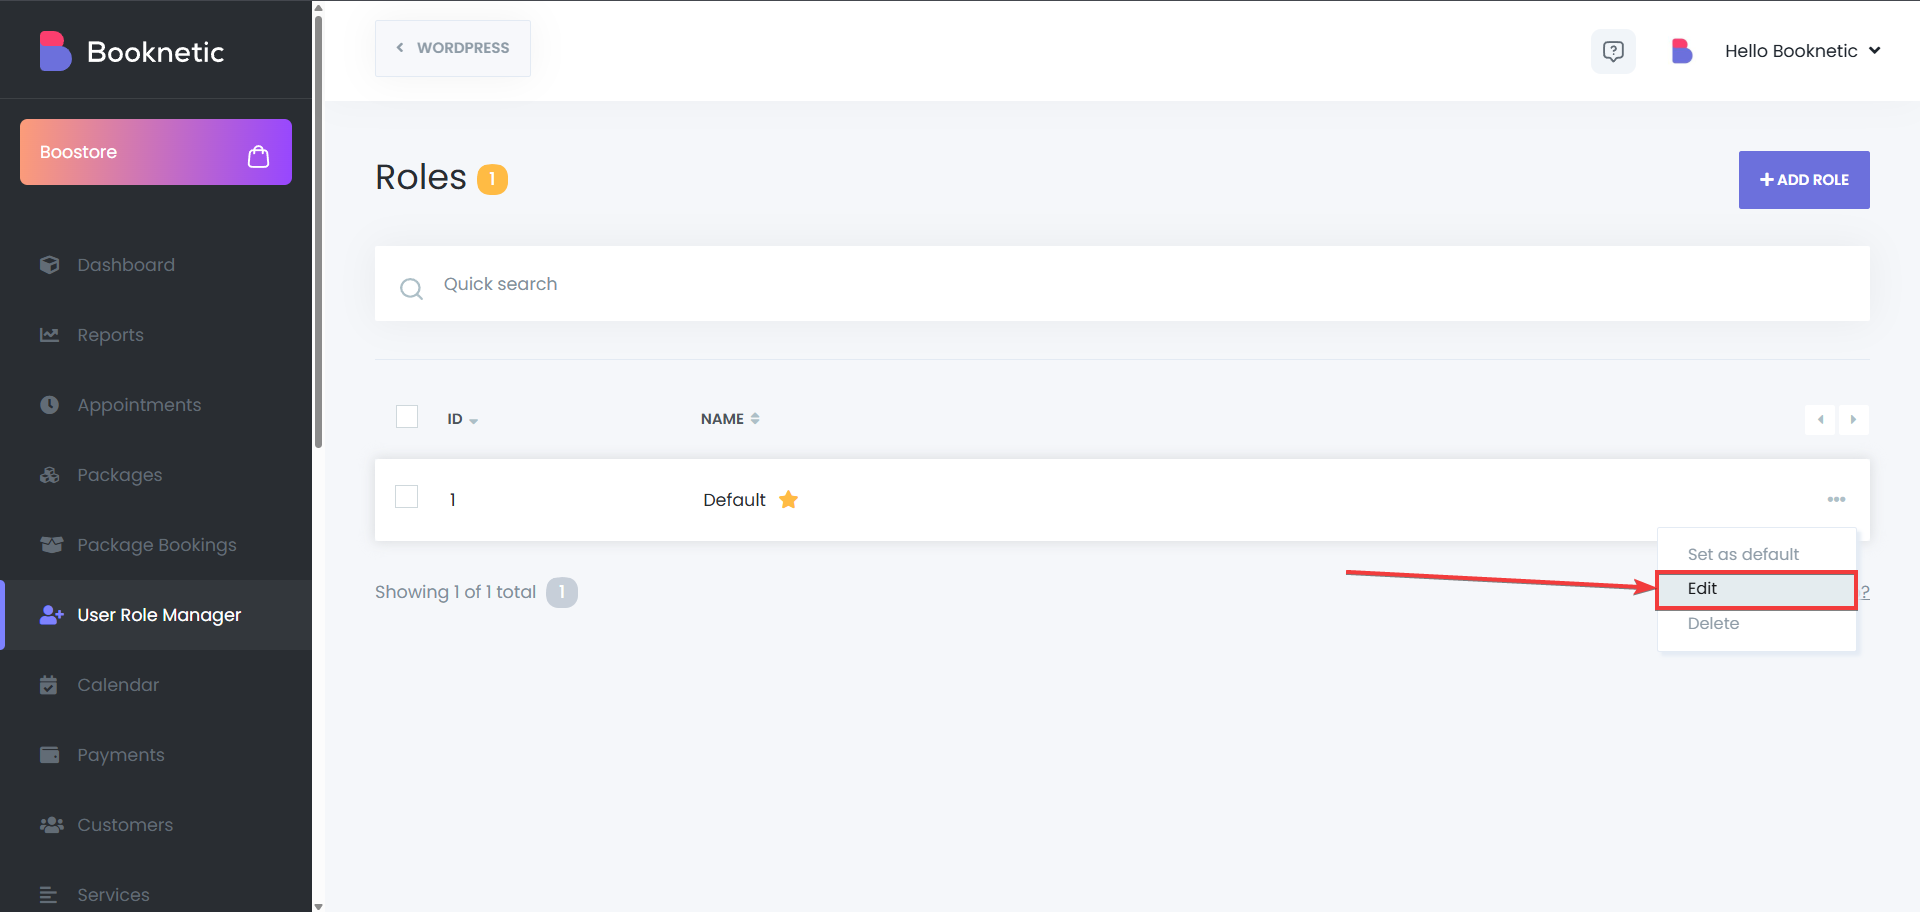
Edit a Role
Delete a Role

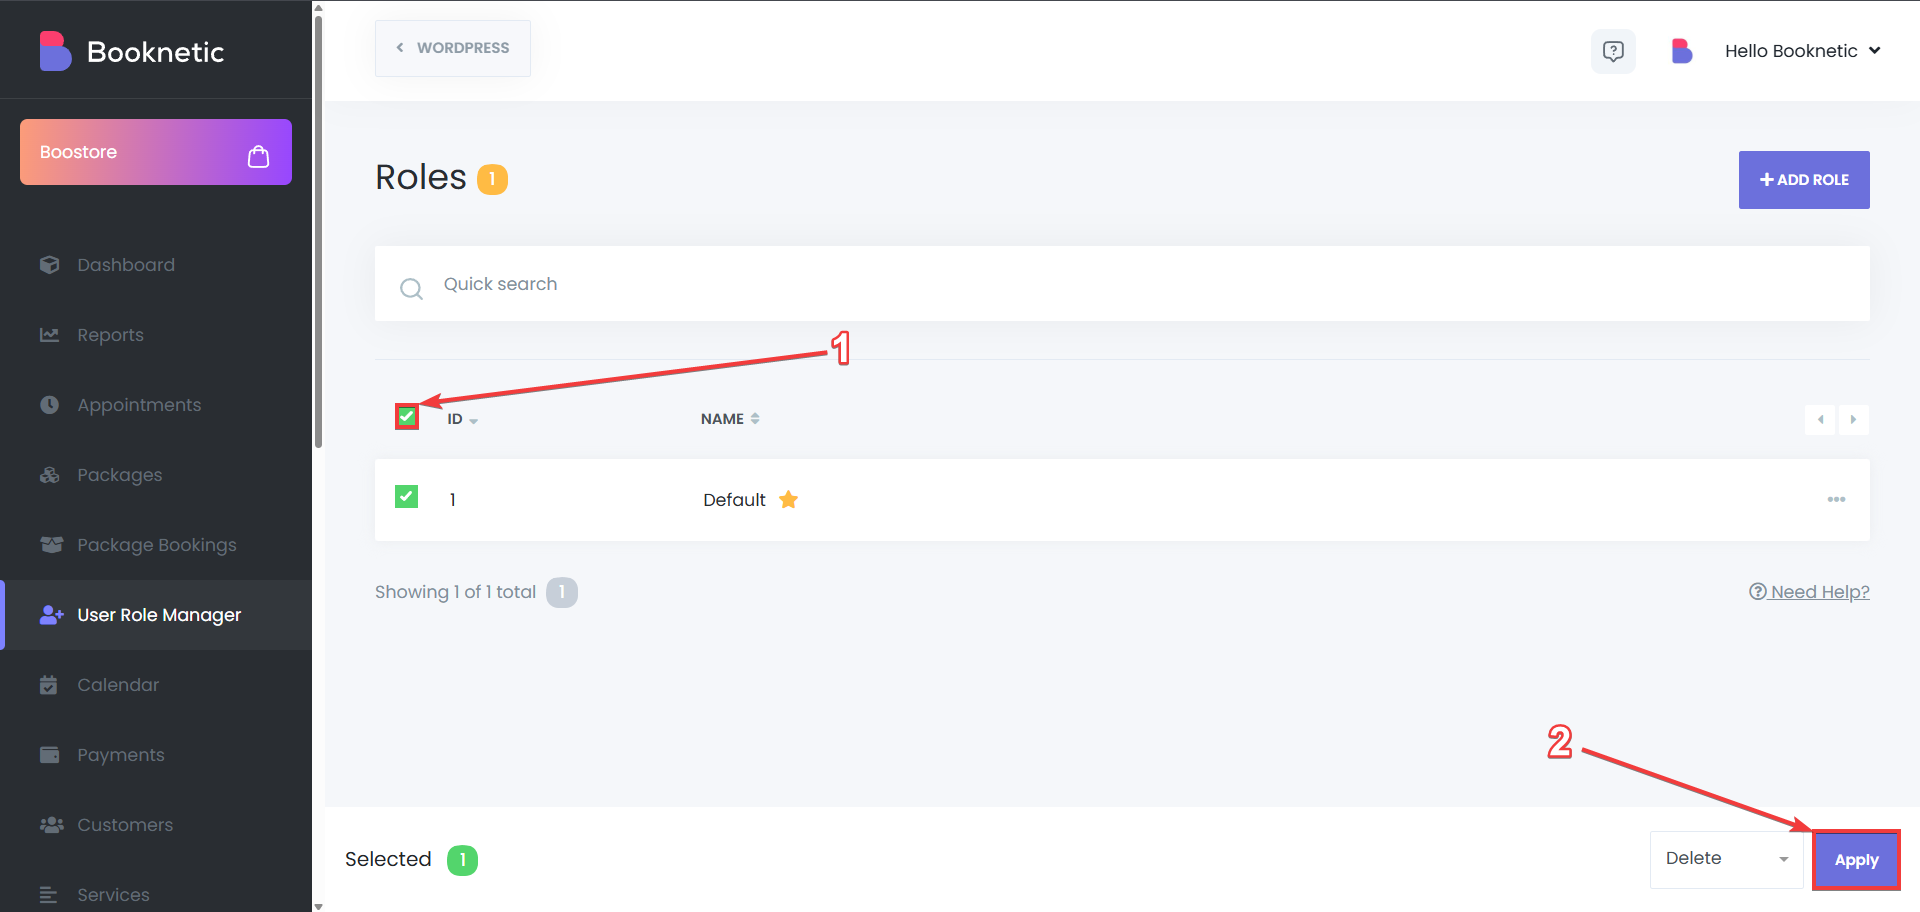
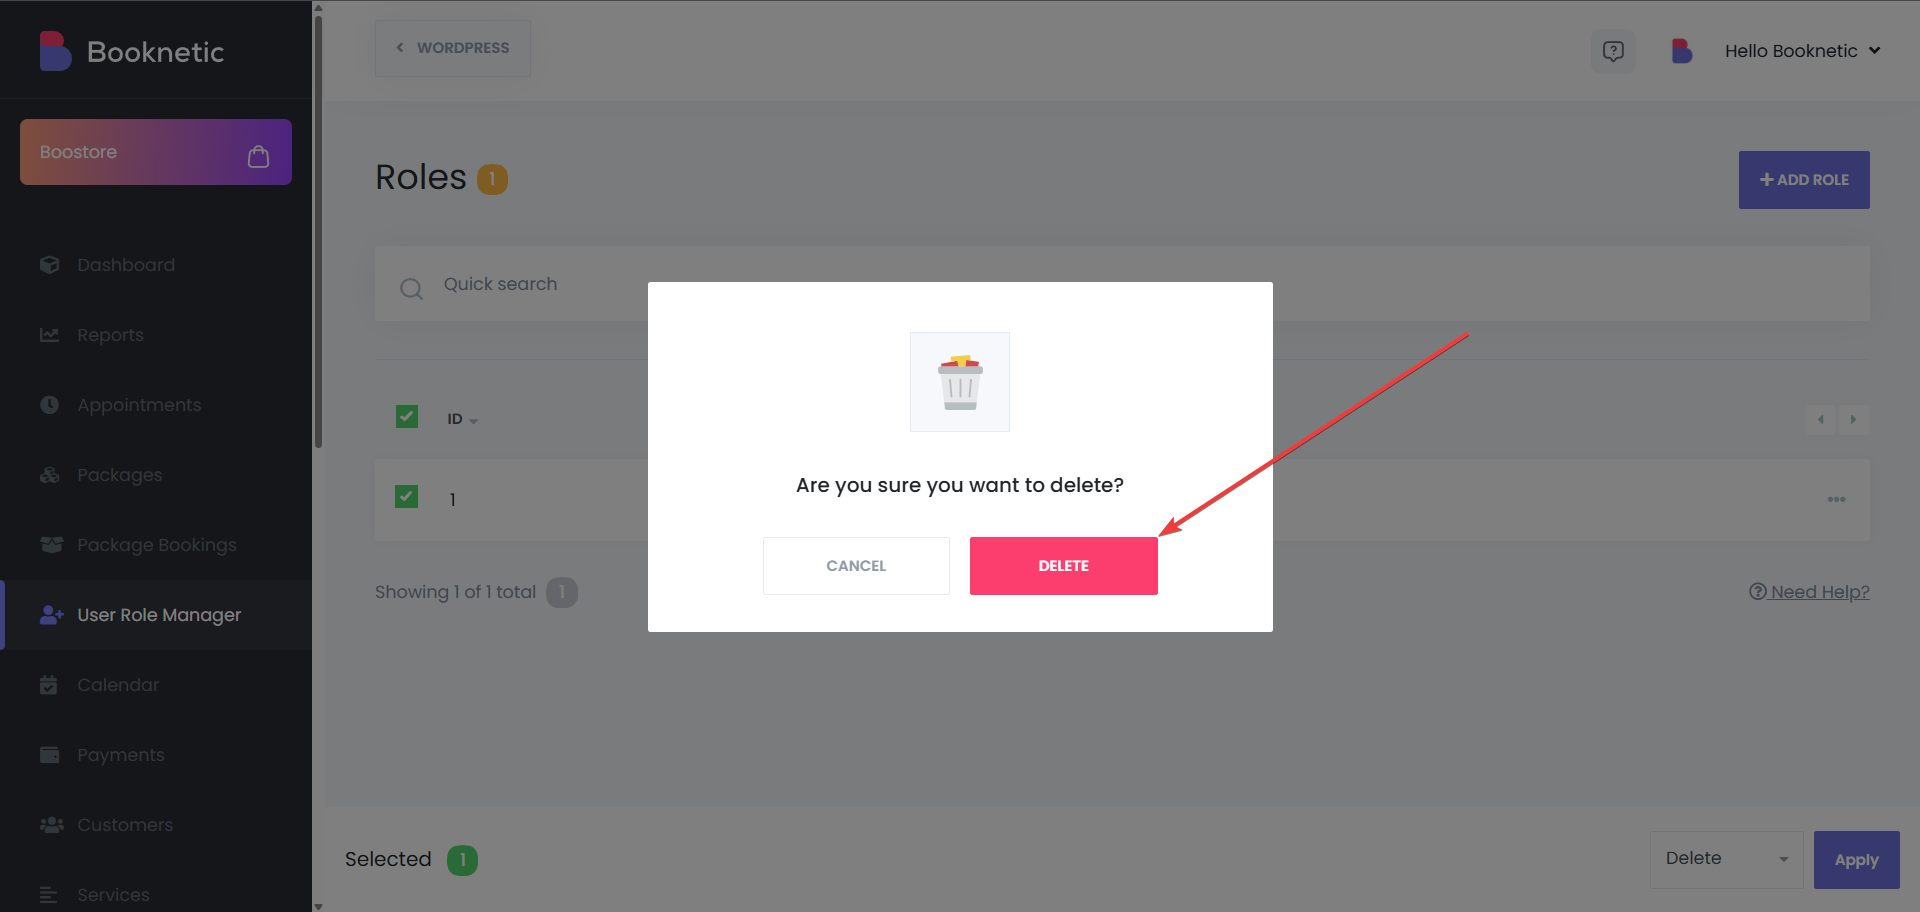
Bulk delete the Roles
Custom Permissions
Create and assign roles with customized access based on the needs of your business.
Improved Security
Limit access to sensitive data by assigning permissions only to staff who need it.
Efficient Staff Management
Easily manage the visibility of appointments, customers, and other critical information for different staff members.
The User Role Manager add-on in Booknetic ensures that your staff has the appropriate level of access based on their responsibilities. Whether you're managing appointments, customer data, or sensitive reports, this feature offers flexible control over who can see and do what within the system.